
Miles' Thomas & Friends All Engines Go 5th Birthday Party
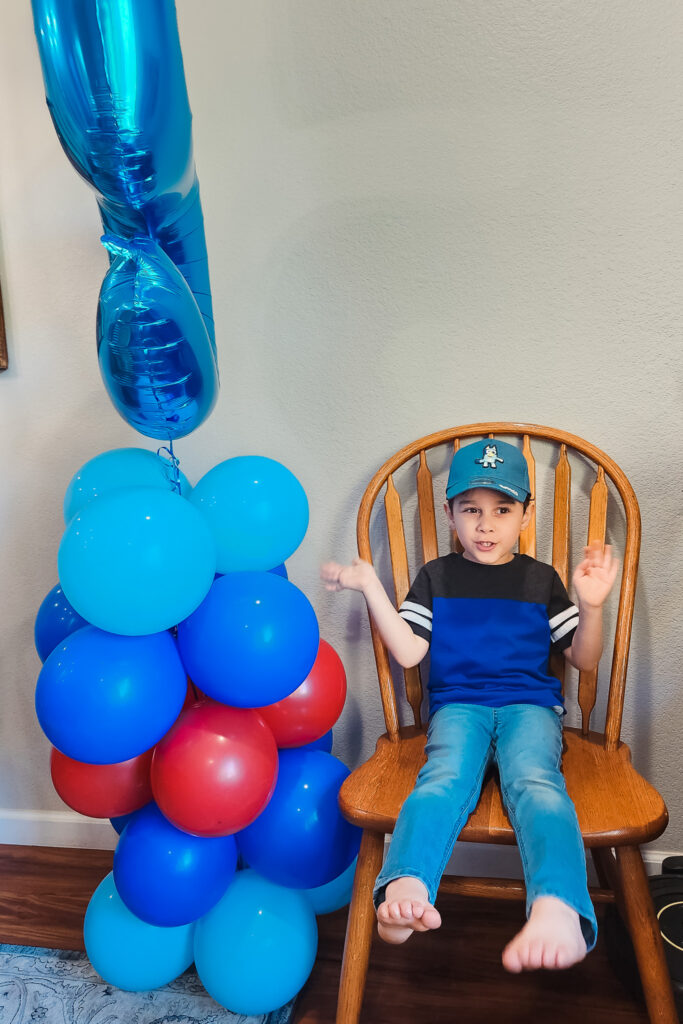
My Pi Day baby is officially 5 years old, and to celebrate we threw him a Thomas & Friends train-themed birthday party! When we asked him what kind of birthday party he wanted, there was no hesitation when he told us trains. Today, I'm sharing how I created this Thomas & Friends All Engines Go party all under $100 (with a lot of the items for free)!
For those of you not familiar with the recent Thomas & Friends series (available on Netflix), All Engines Go, I highly recommend giving it a watch with your little ones. The show, which has a cutesy and simplified art style, follows the adventures of a younger Thomas and Percy, and their adventures in Sodor with Nia, Diesel, Kana, Carly and Sandy. Other lifelong favorites like Henry, Gordon and Sir Topham Hat also make appearances in the show. However, because the series is still fairly new, there's really not a ton of party decor items available.
Start with a Good Base
When I do kid parties, I try to make one space for food and decor to help keep the design simple. This also helps to create a central point for food, gifts, party favors and more. For another example of this layout, you can check out how I decorated a centralized space for Miles' Buzz Lightyear 1st birthday party here. We were lucky enough to host both parties at my mother-in-law's house who has a much larger square footage for hosting larger crowds (thanks Nancy)!
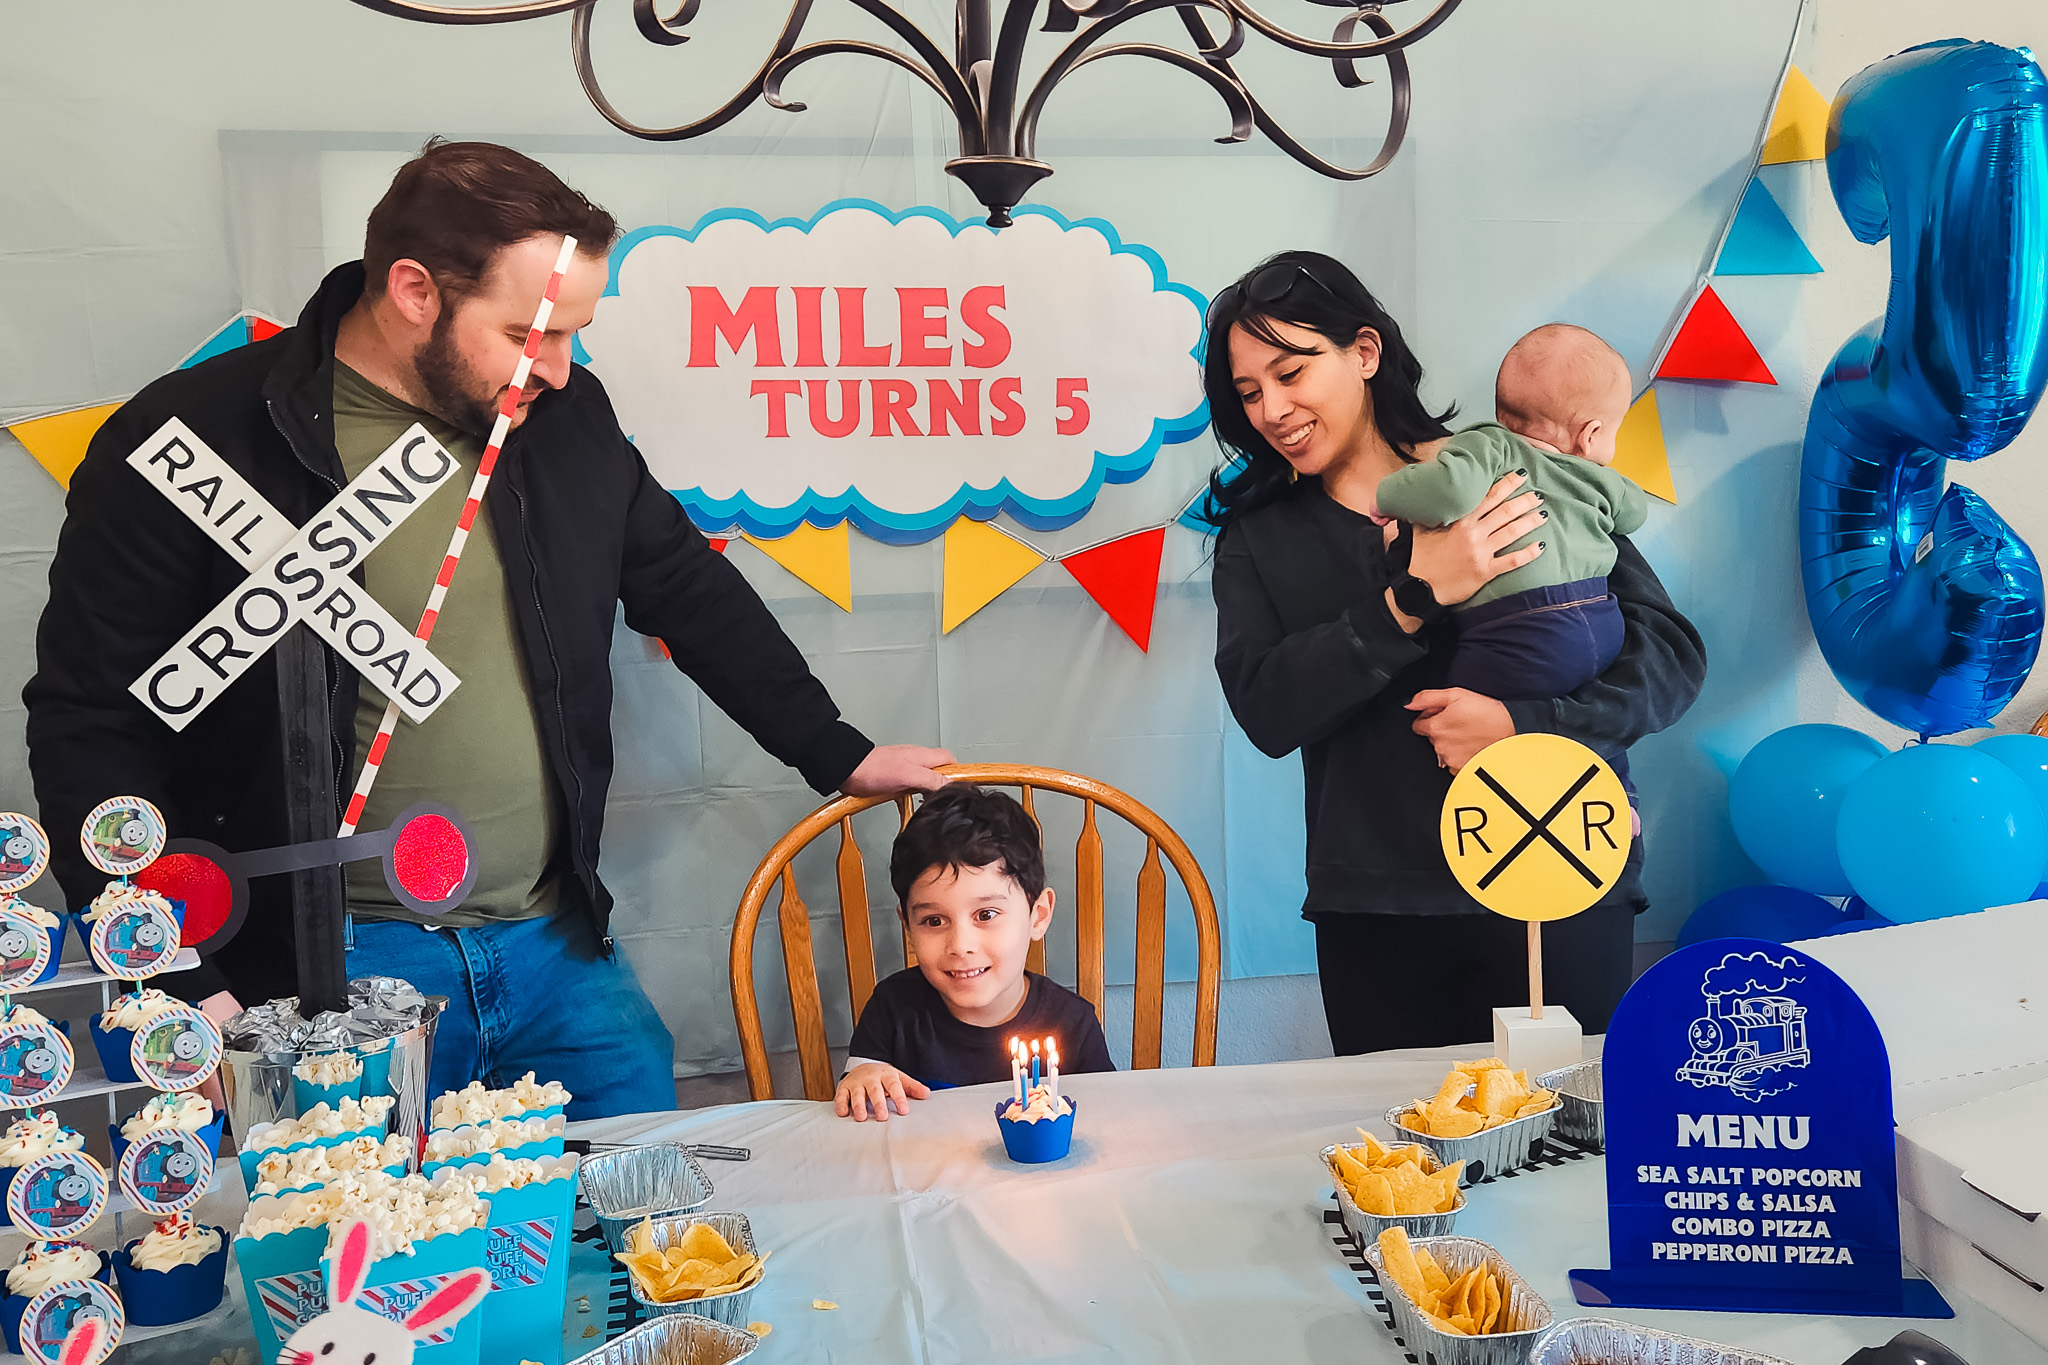
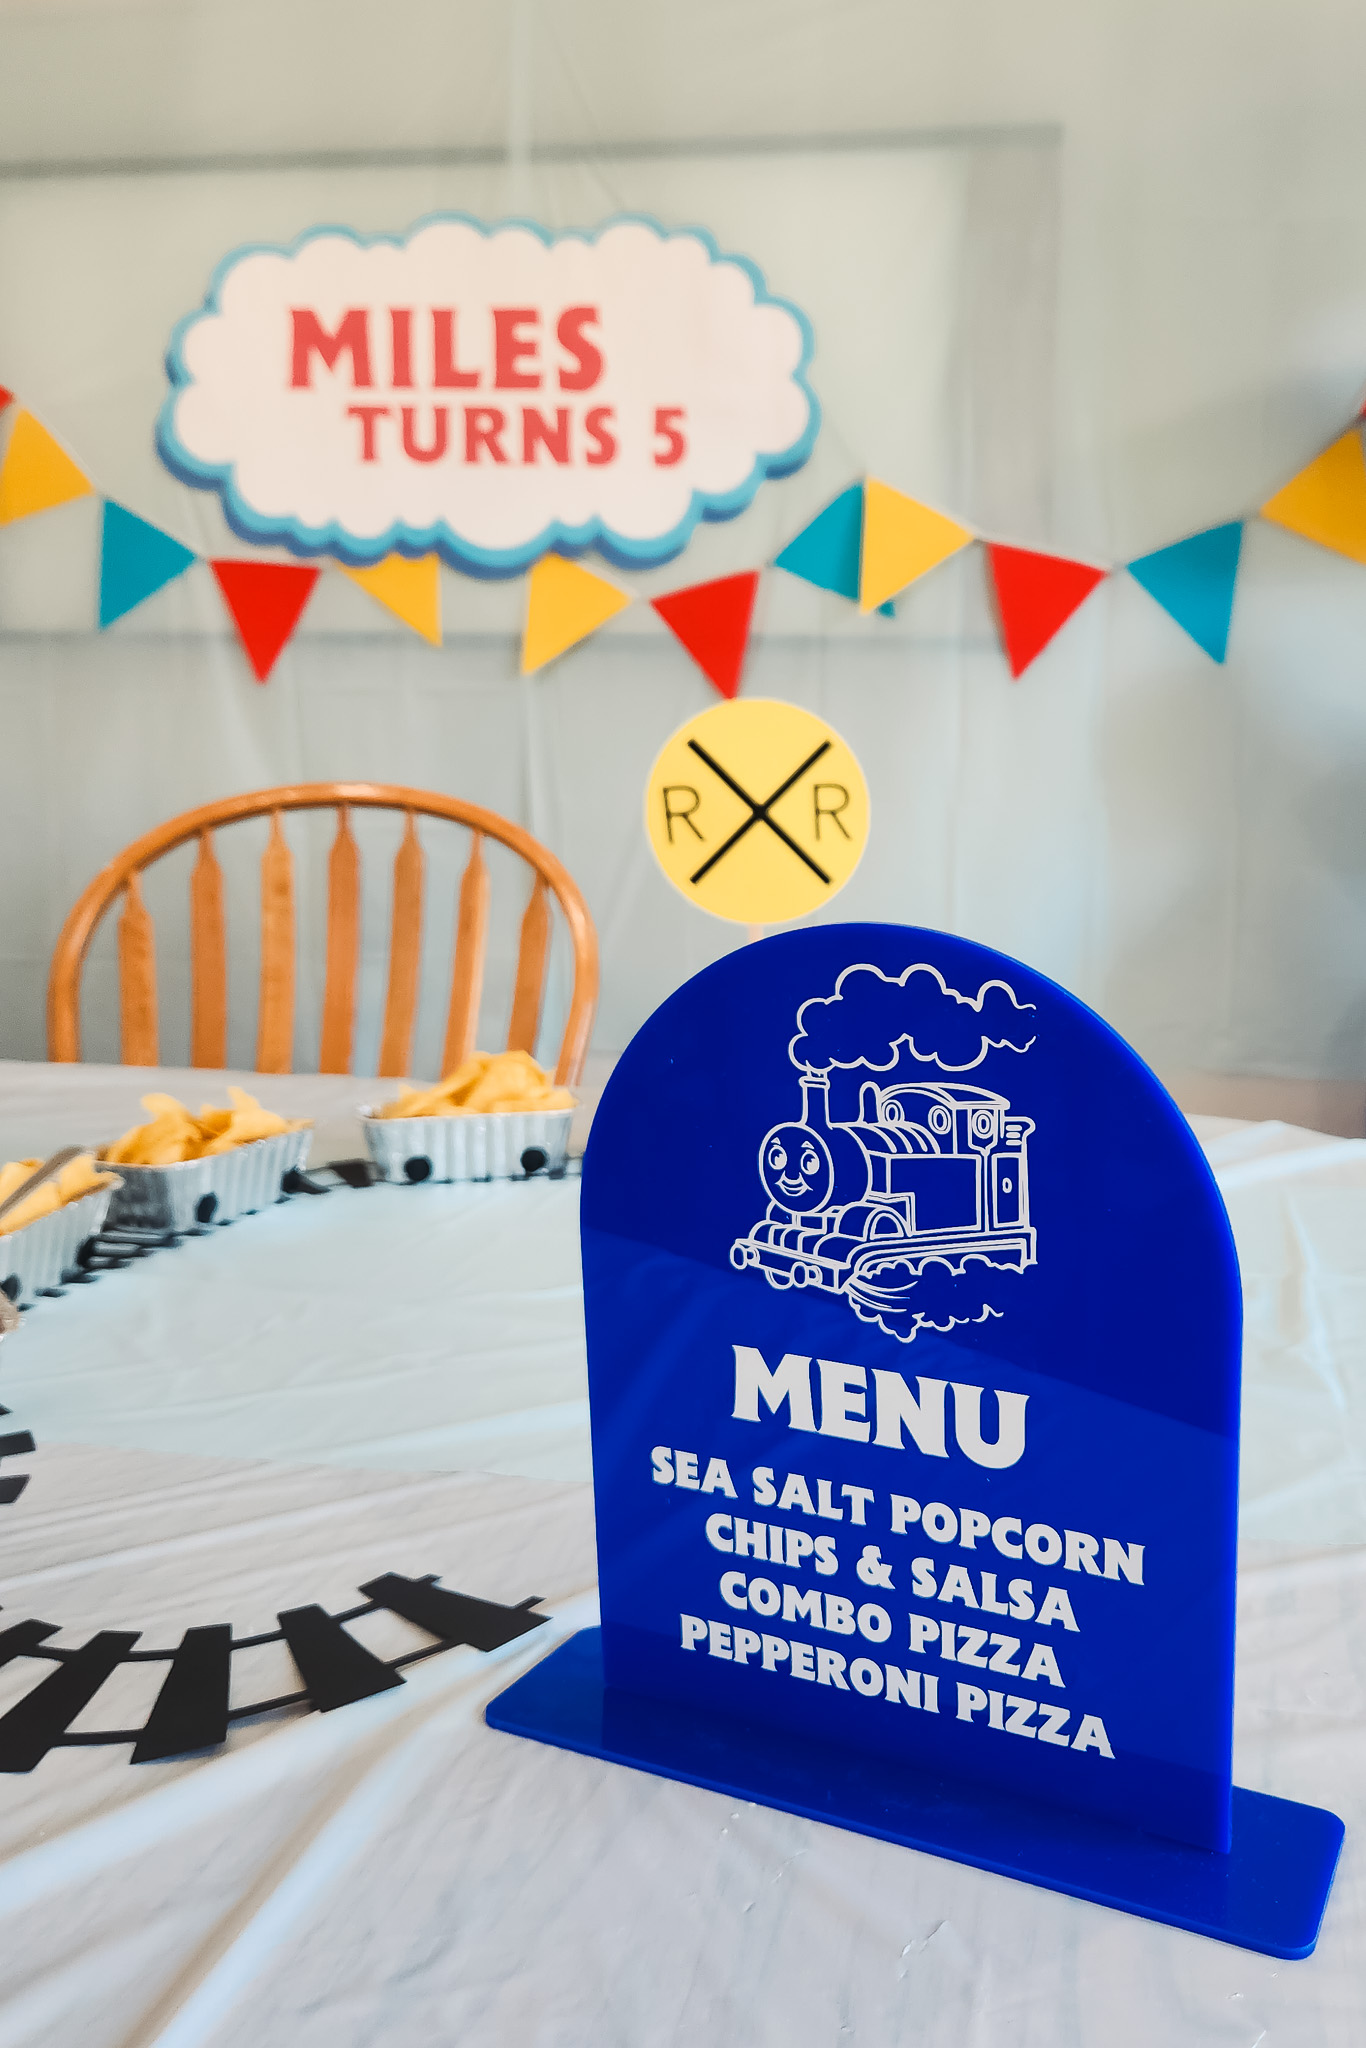
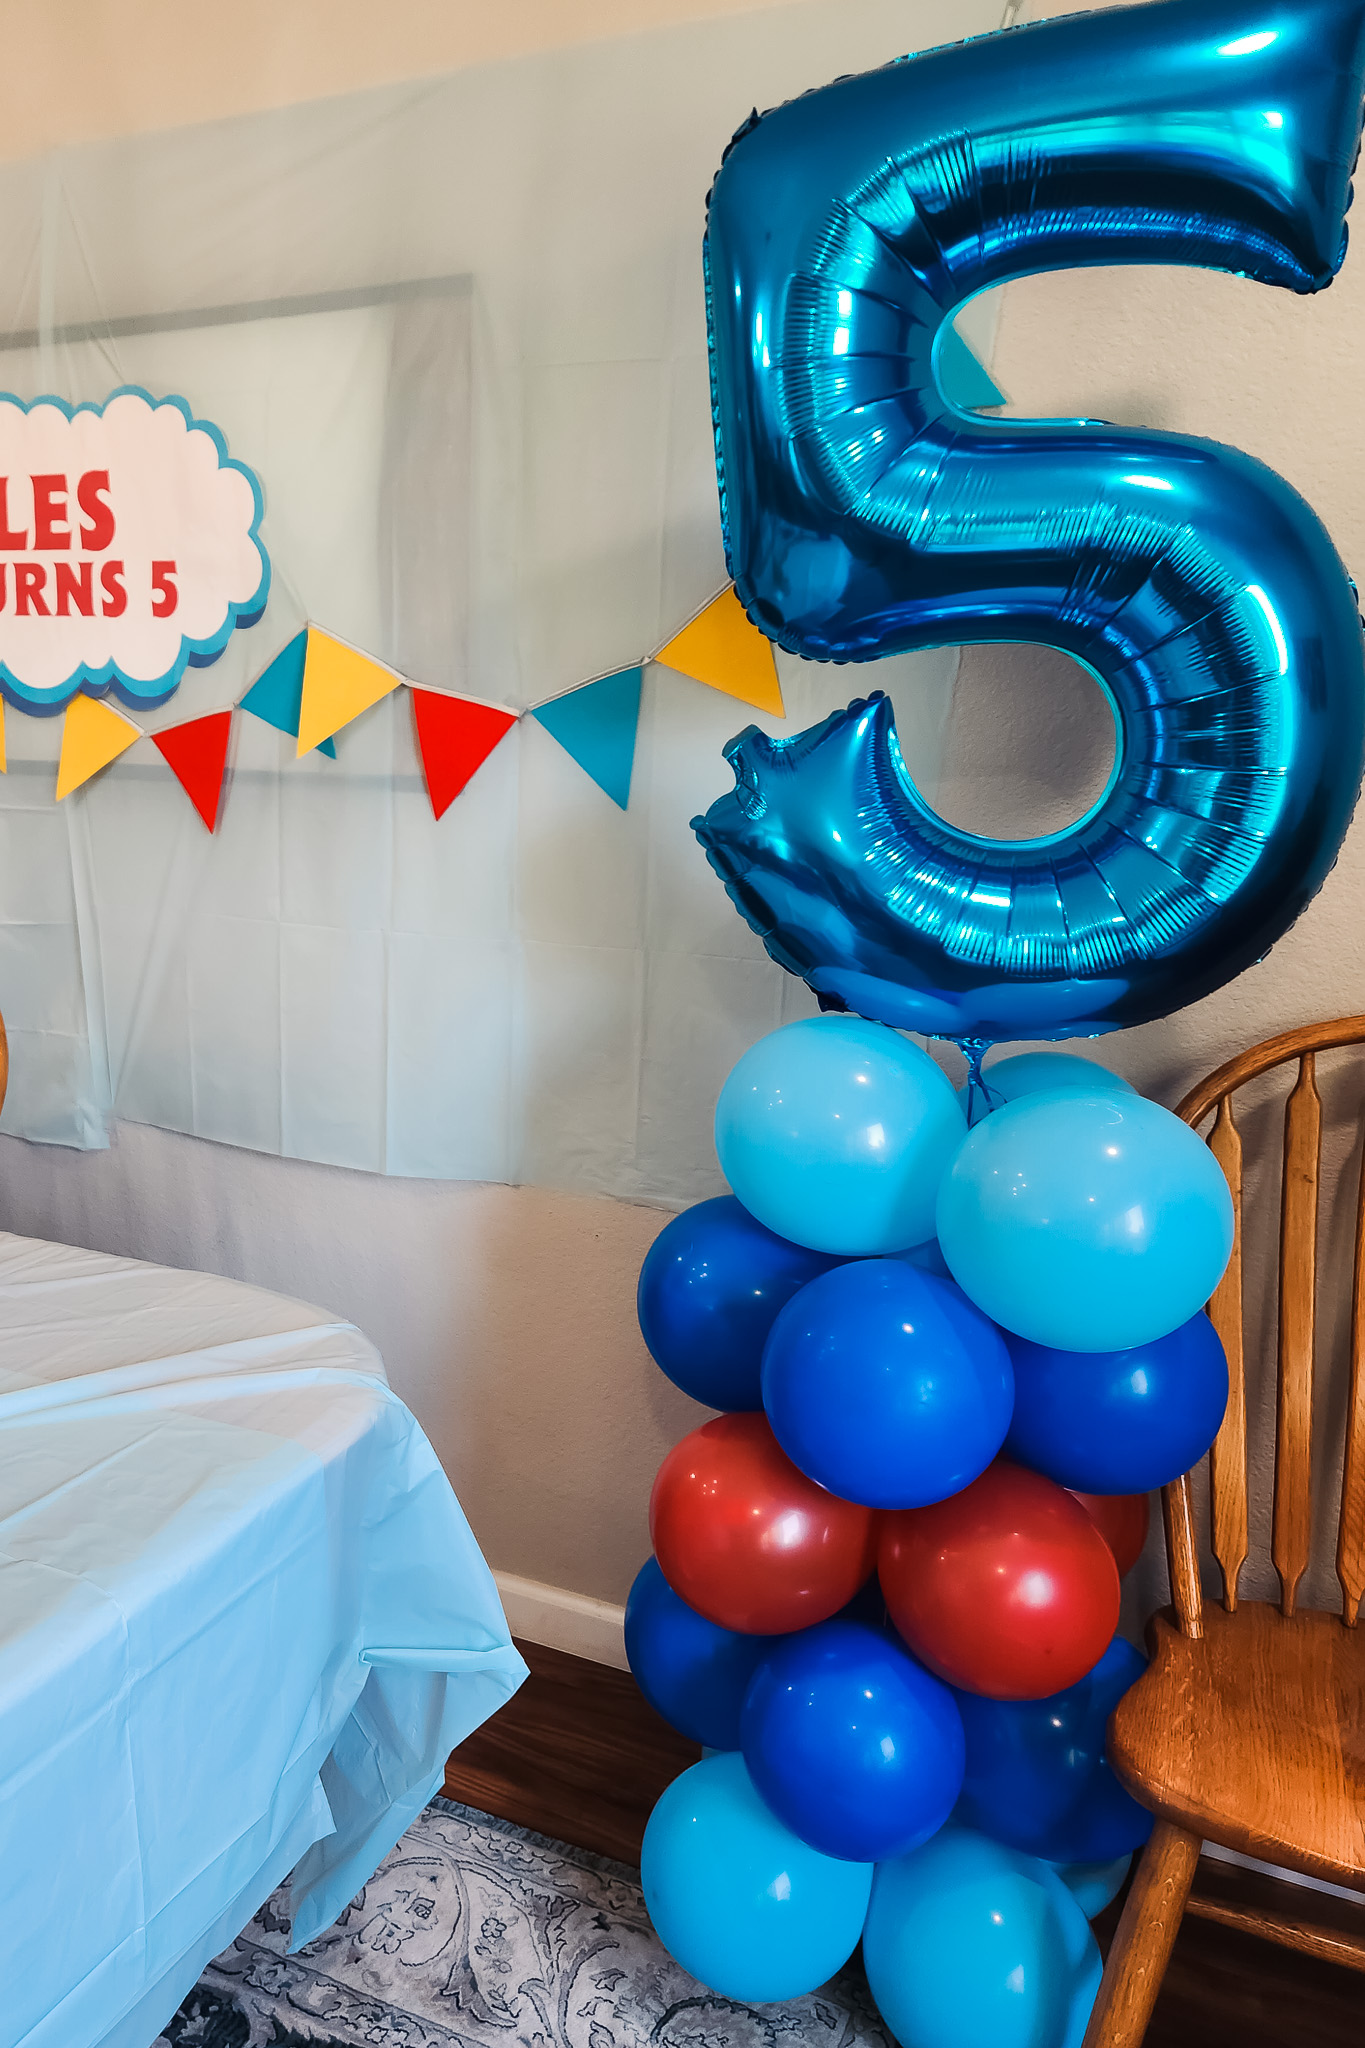
This particular table can seat 8 guests, and I had to use 2 table covers ($1.25 each) to get a good drape on it. I was able to use 1 table cover cut in half to cover the backwall, and 1 folded in half to cover a large coffee table for coloring activity space. The sign was created in Photoshop and I utilized Staples' blueprint services in full color to print the graphic I made ($8). Then, I glued the paper to poster board ($1) and some cardstock to add stability. This combined with 2 strands of bunting ($5 each) made for a great base to showcase everything else.
Keep the Food Simple
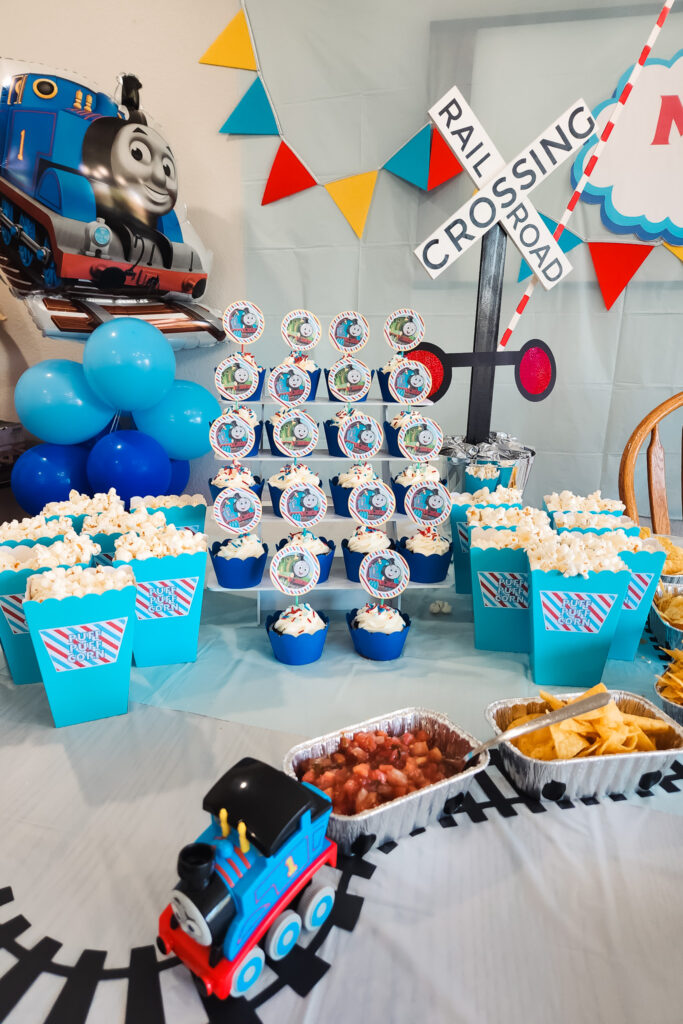
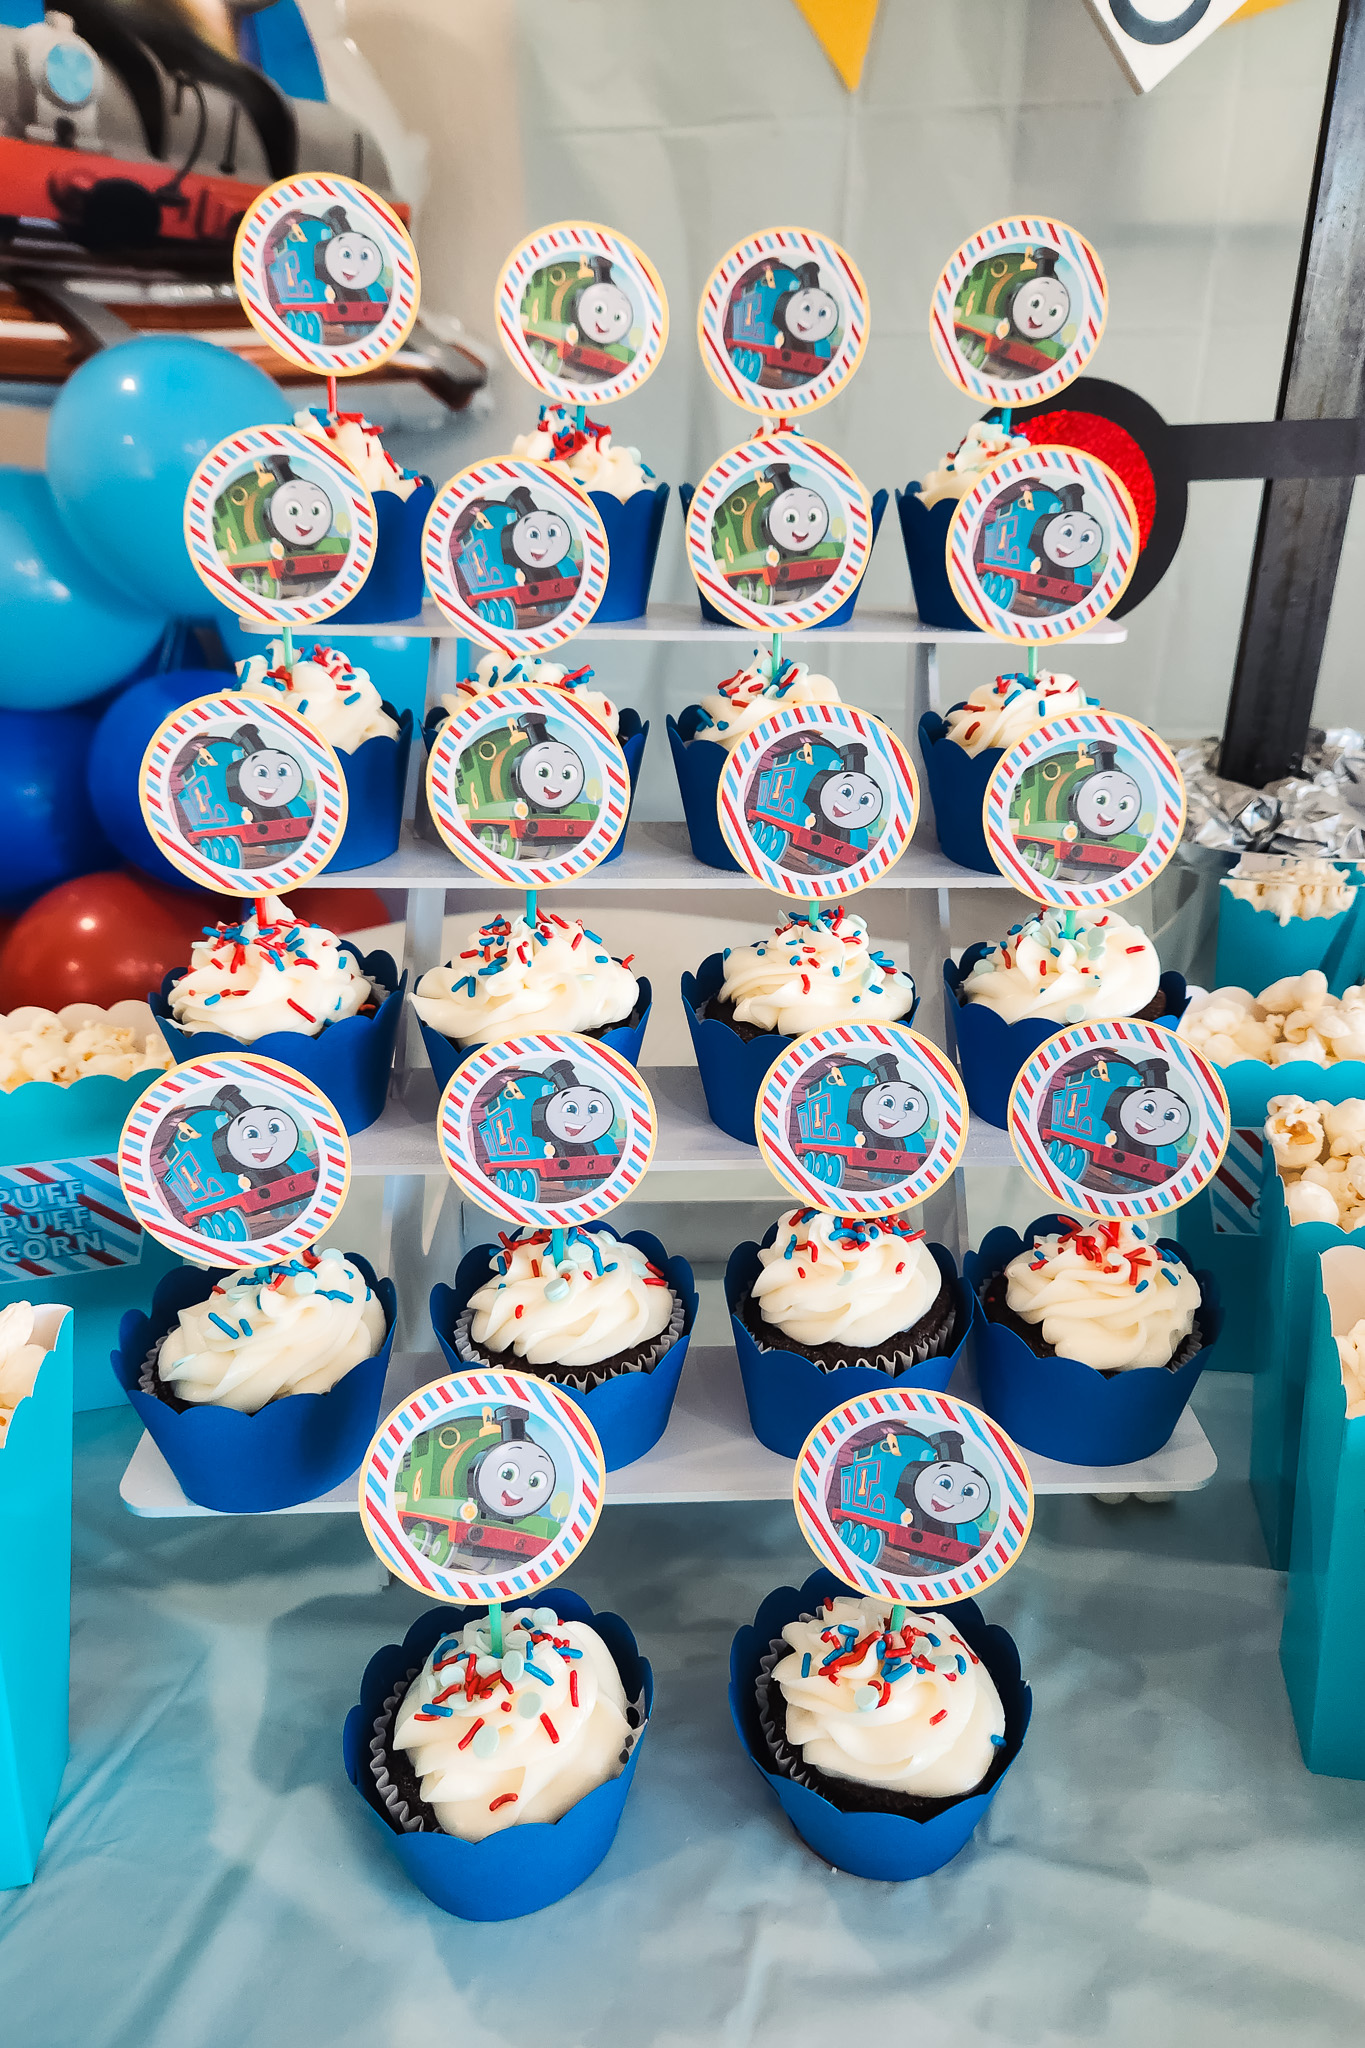
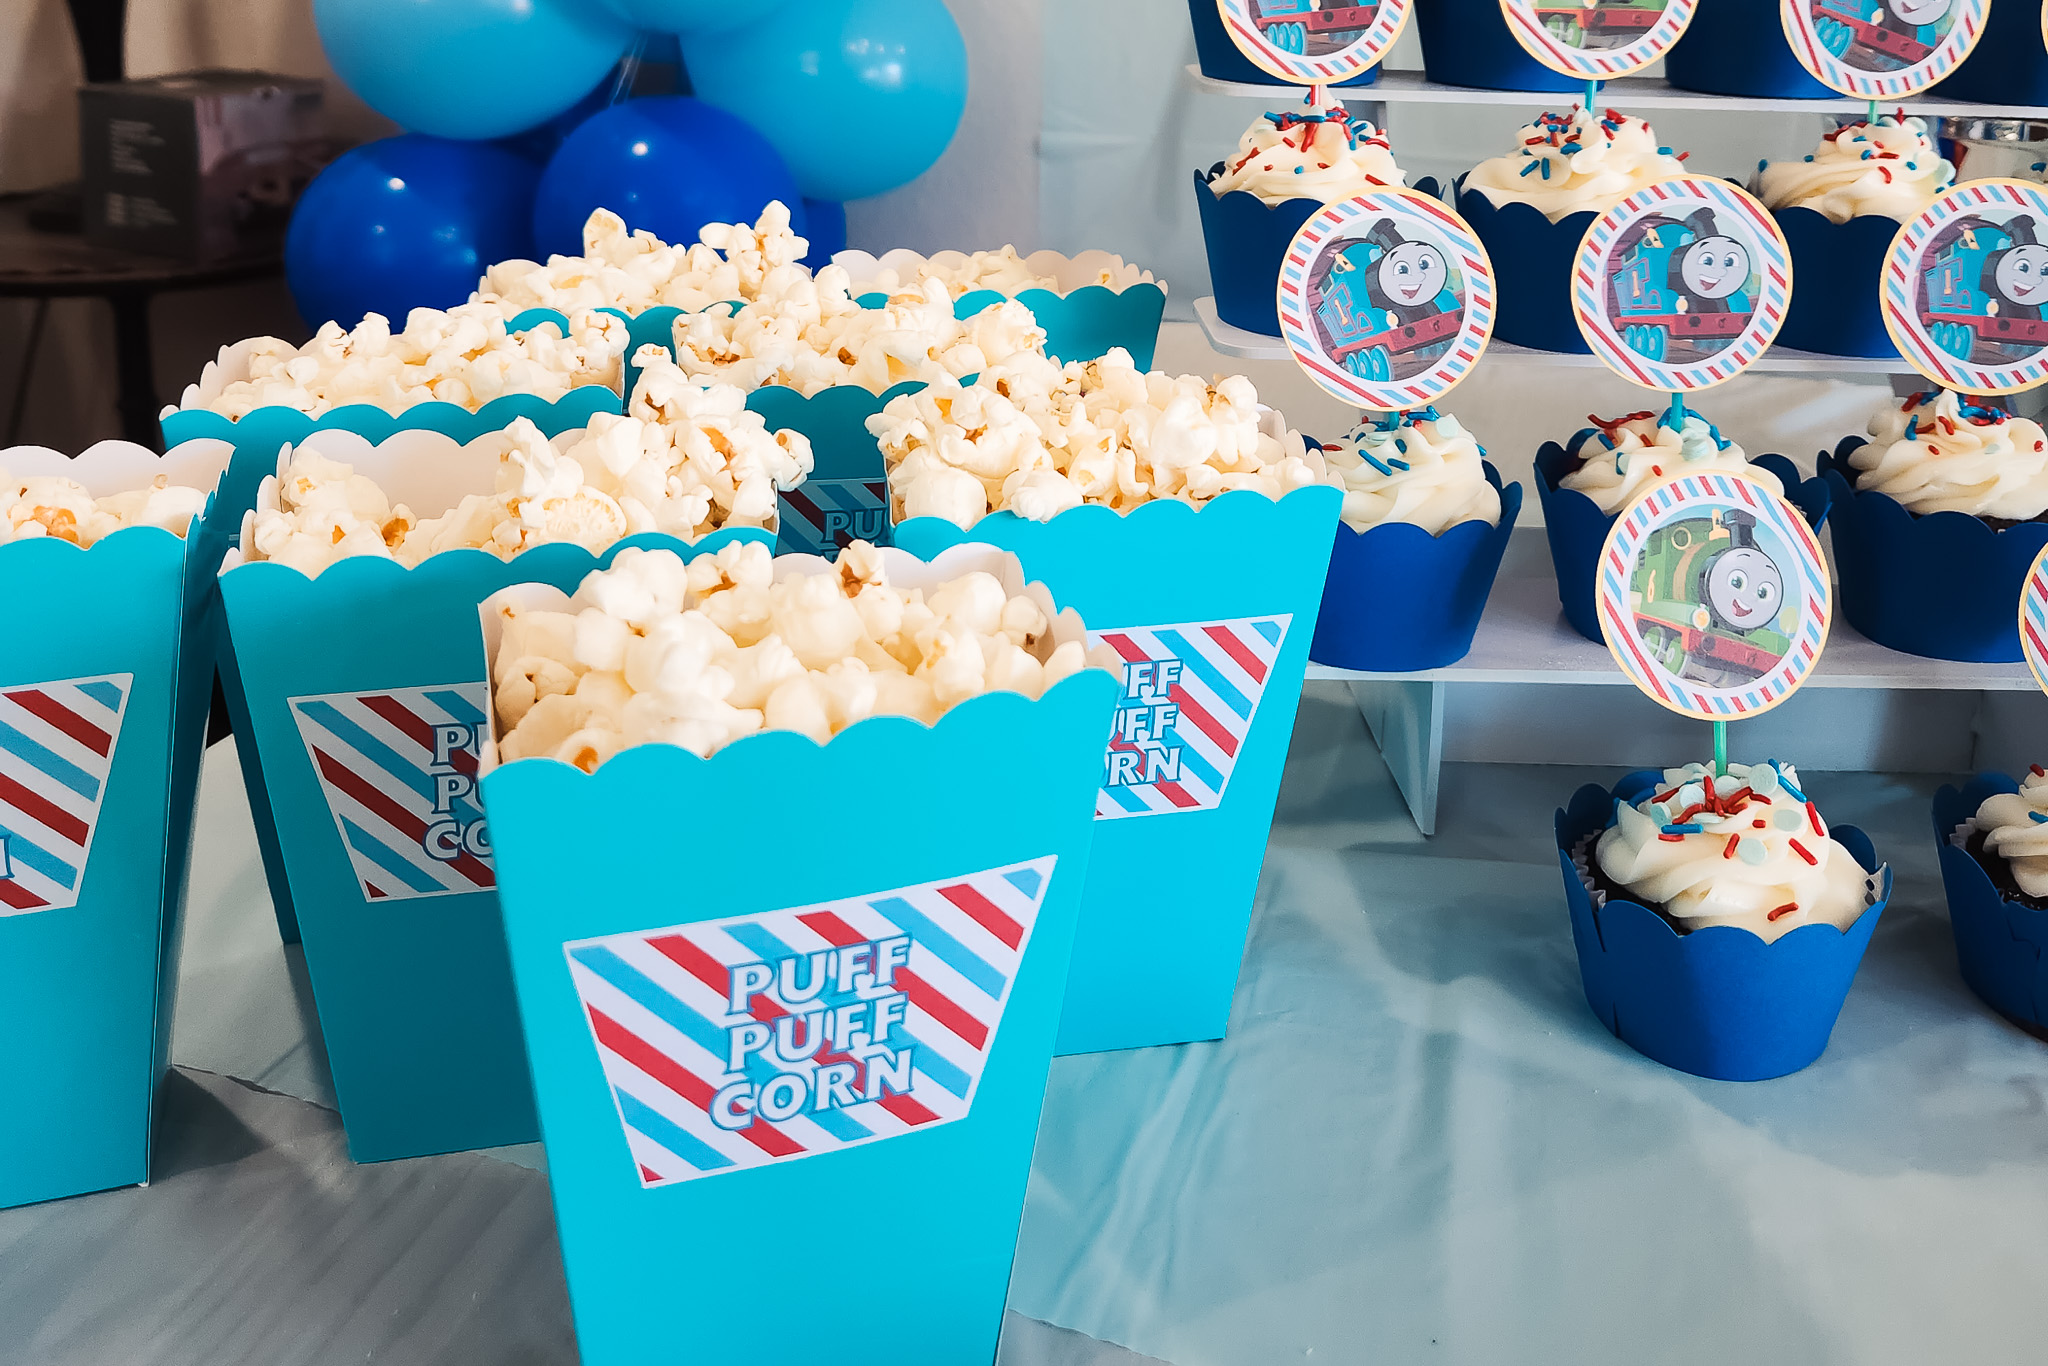
Kids parties are great because you can create a truly simplified menu that's sure to keep everyone happy! We had sea salt Boom Chicka Pop popcorn, chips & salsa, and combination and peperoni pizzas. For dessert, I made chocolate cupcakes with cream cheese frosting using Jonny Cakes' box mix hacks, and a custom sprinkles mixture. I bought the treat boxes, dinner plates, dessert plates and cups from Party City, and the napkins from Dollar Tree.
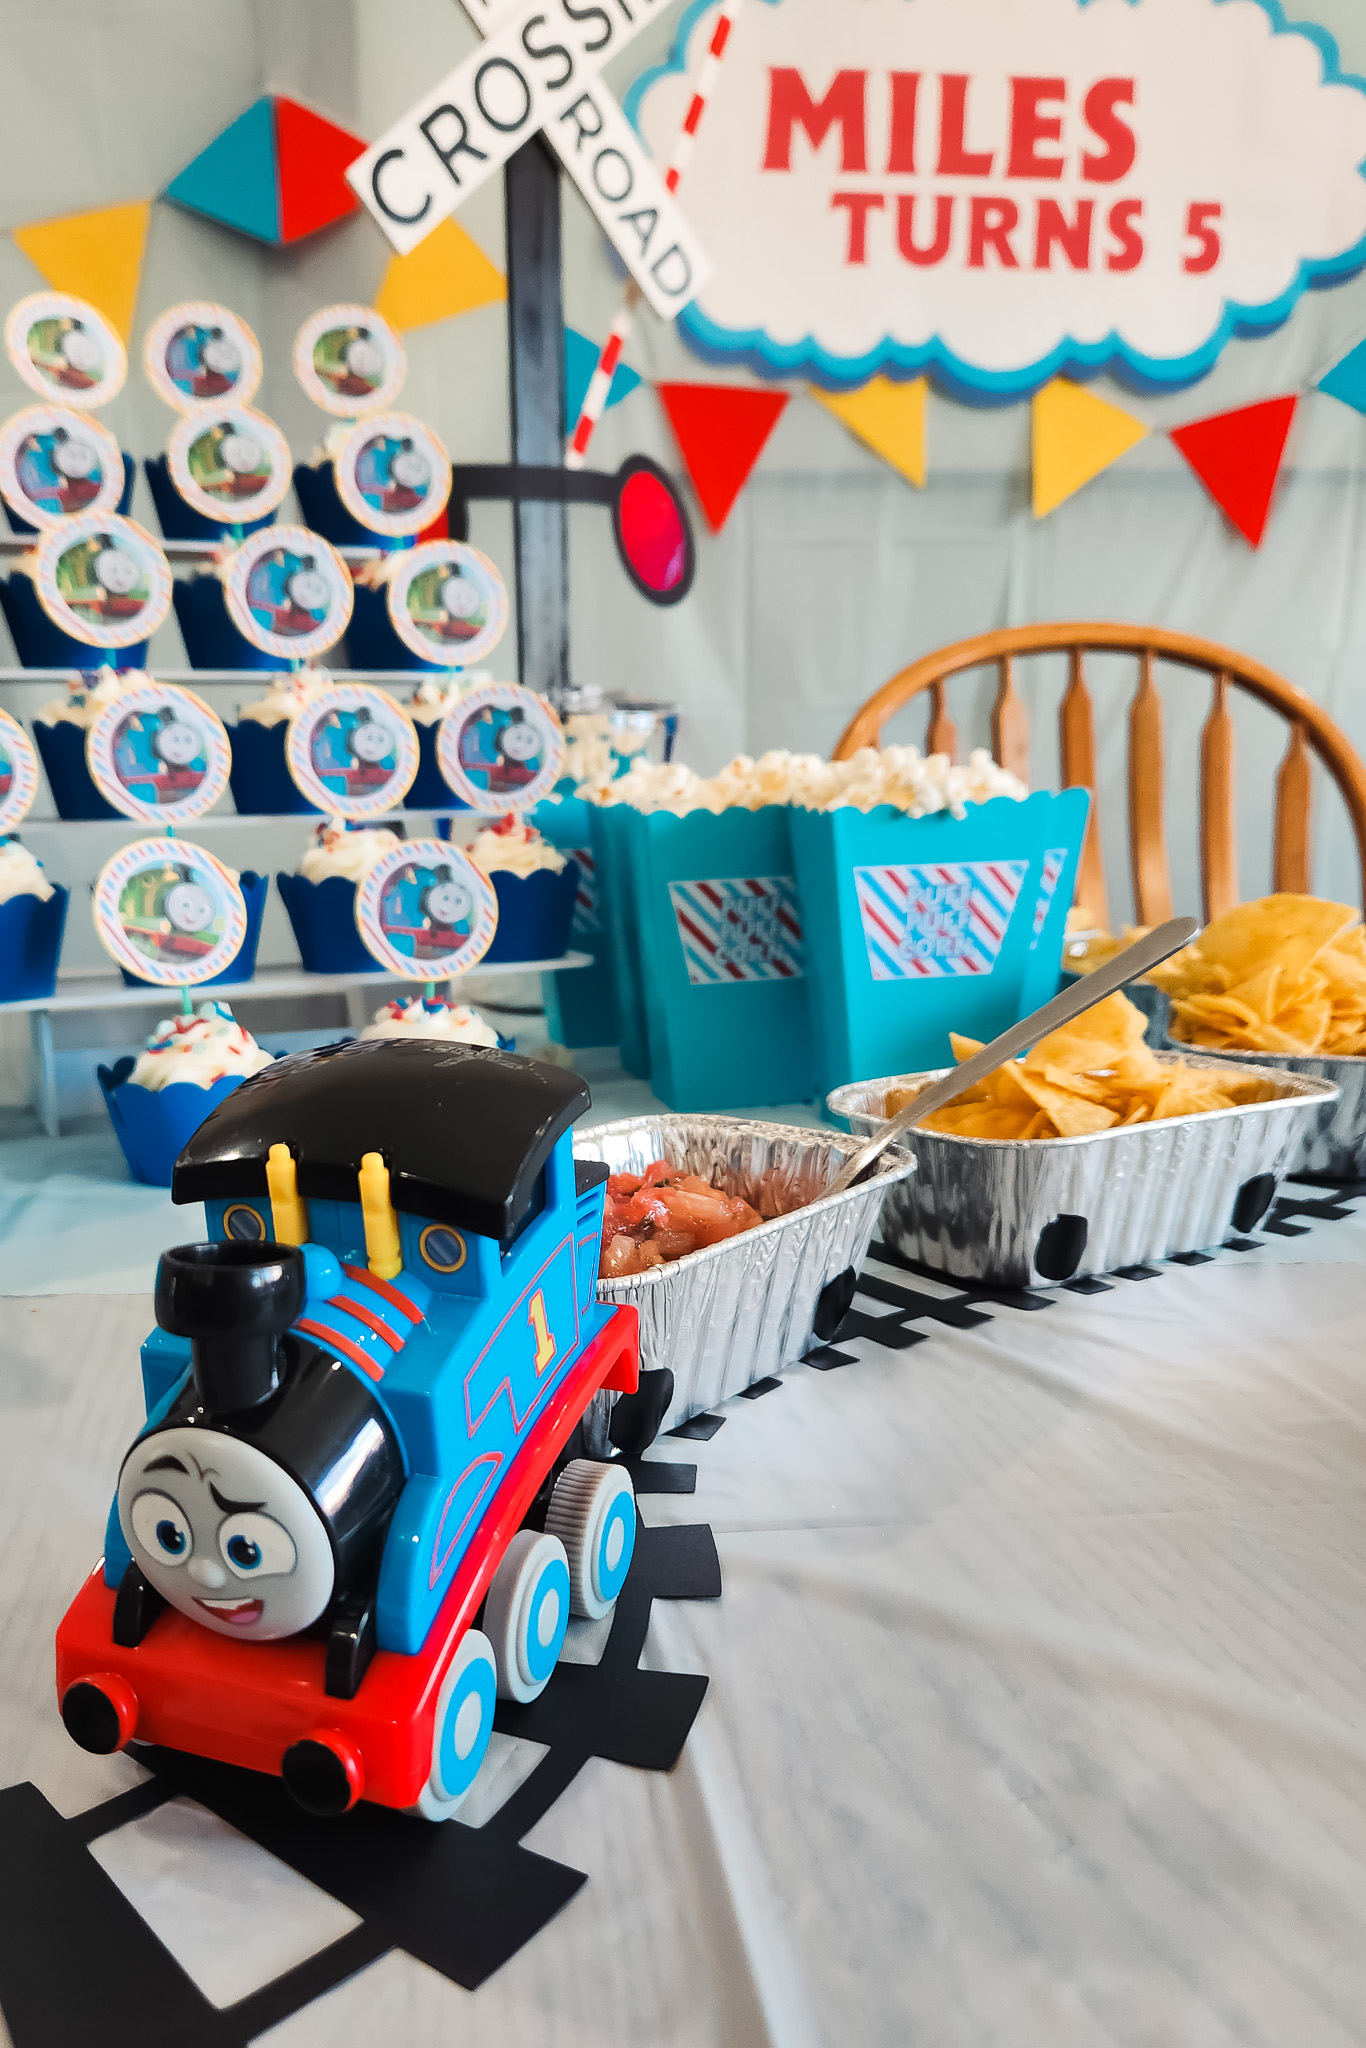
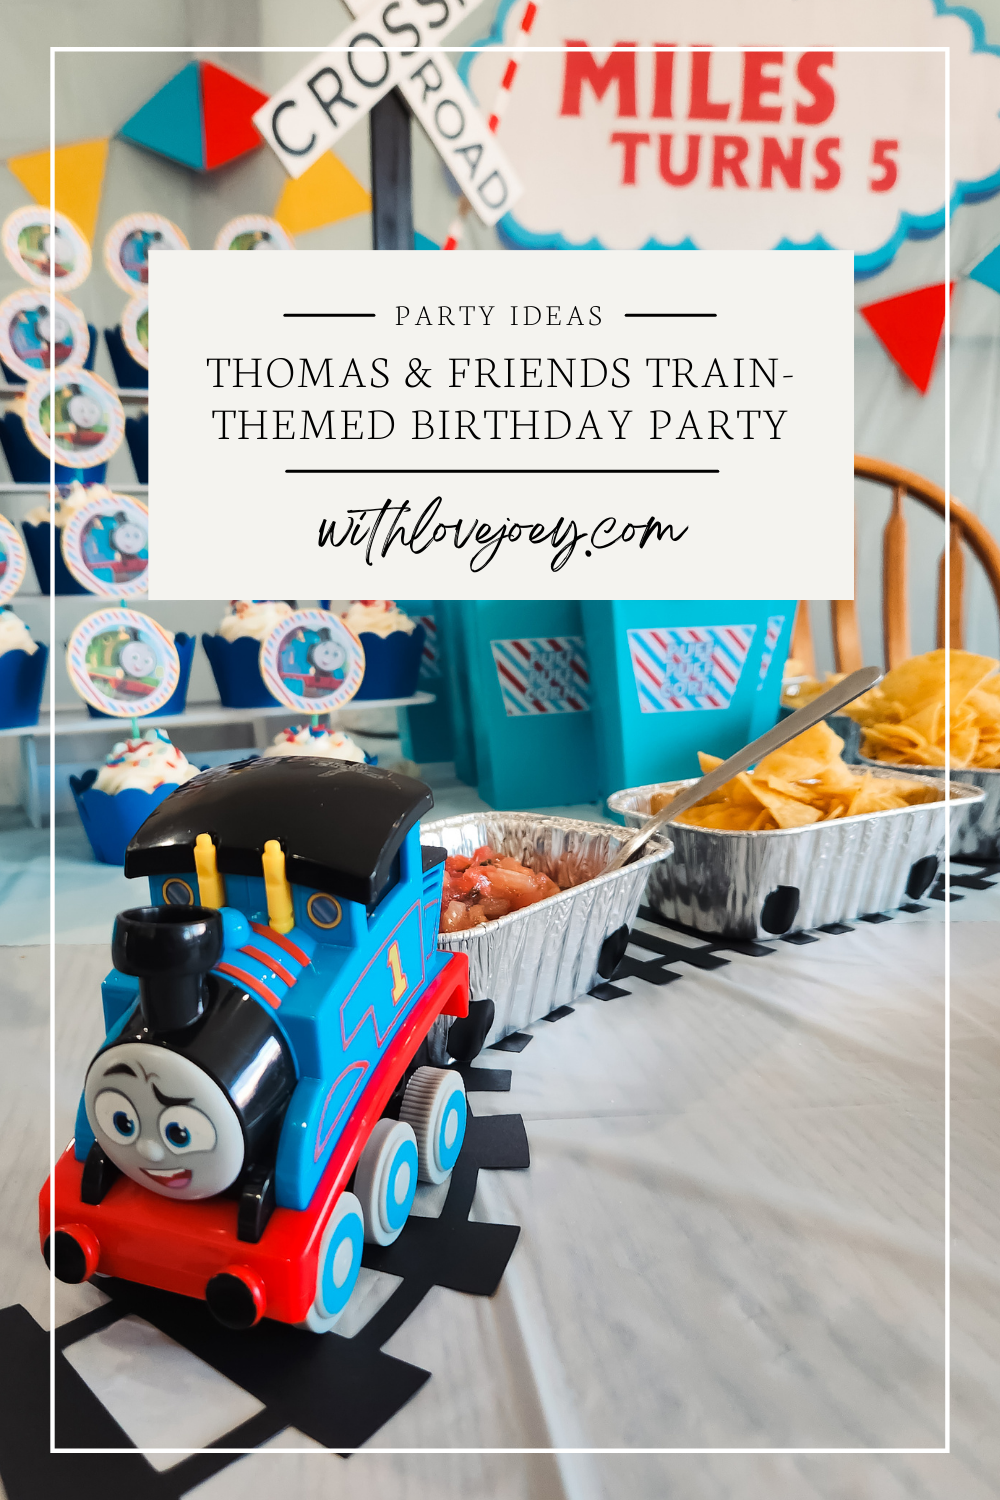
To create the chips & salsa train, I ordered Press 'n Go Stunt Thomas and Percy toys because they were the only ones large enough to match small loaf pans. I used my Silhouette to cut circles for the "wheels" on the sides of the pans and the "tracks" out of plain cardstock. The loaf pans come in packs of 5. I bought 2 sets for each train, 4 being filled with Juanitas tortilla chips (literally the most superior of tortilla chips) and 1 with salsa on each. Thomas had Mild salsa and Percy had Medium salsa.
Don't know how much pizza to order? We had 14 adults and 5 kids at our party. 4 large pizzas was plenty for our guests, with just under half a pizza of each style leftover for our dinner that night. We ordered 2 combination and 2 pepperoni, and I can't recommend going this route enough. The best way to figure it is to assume 3 slices per person, toddlers included. If you're throwing a party for small kids, ask the pizza shop to double cut the pepperoni pizza(s) for you. This will help make the slices easier for smaller hands to manage. Another way we tried to use as a calculation is 1/2 a large pizza for one family of 2 adults and 1 child.
Invest in Crafting Appliances
This part may be hard for most people, but if you invest in a craft cutting machine (I personally am a Silhouette stan), a colored printer and balloon pump, you'd be amazed at how much you can save long term on decor items for parties, holidays, and more.
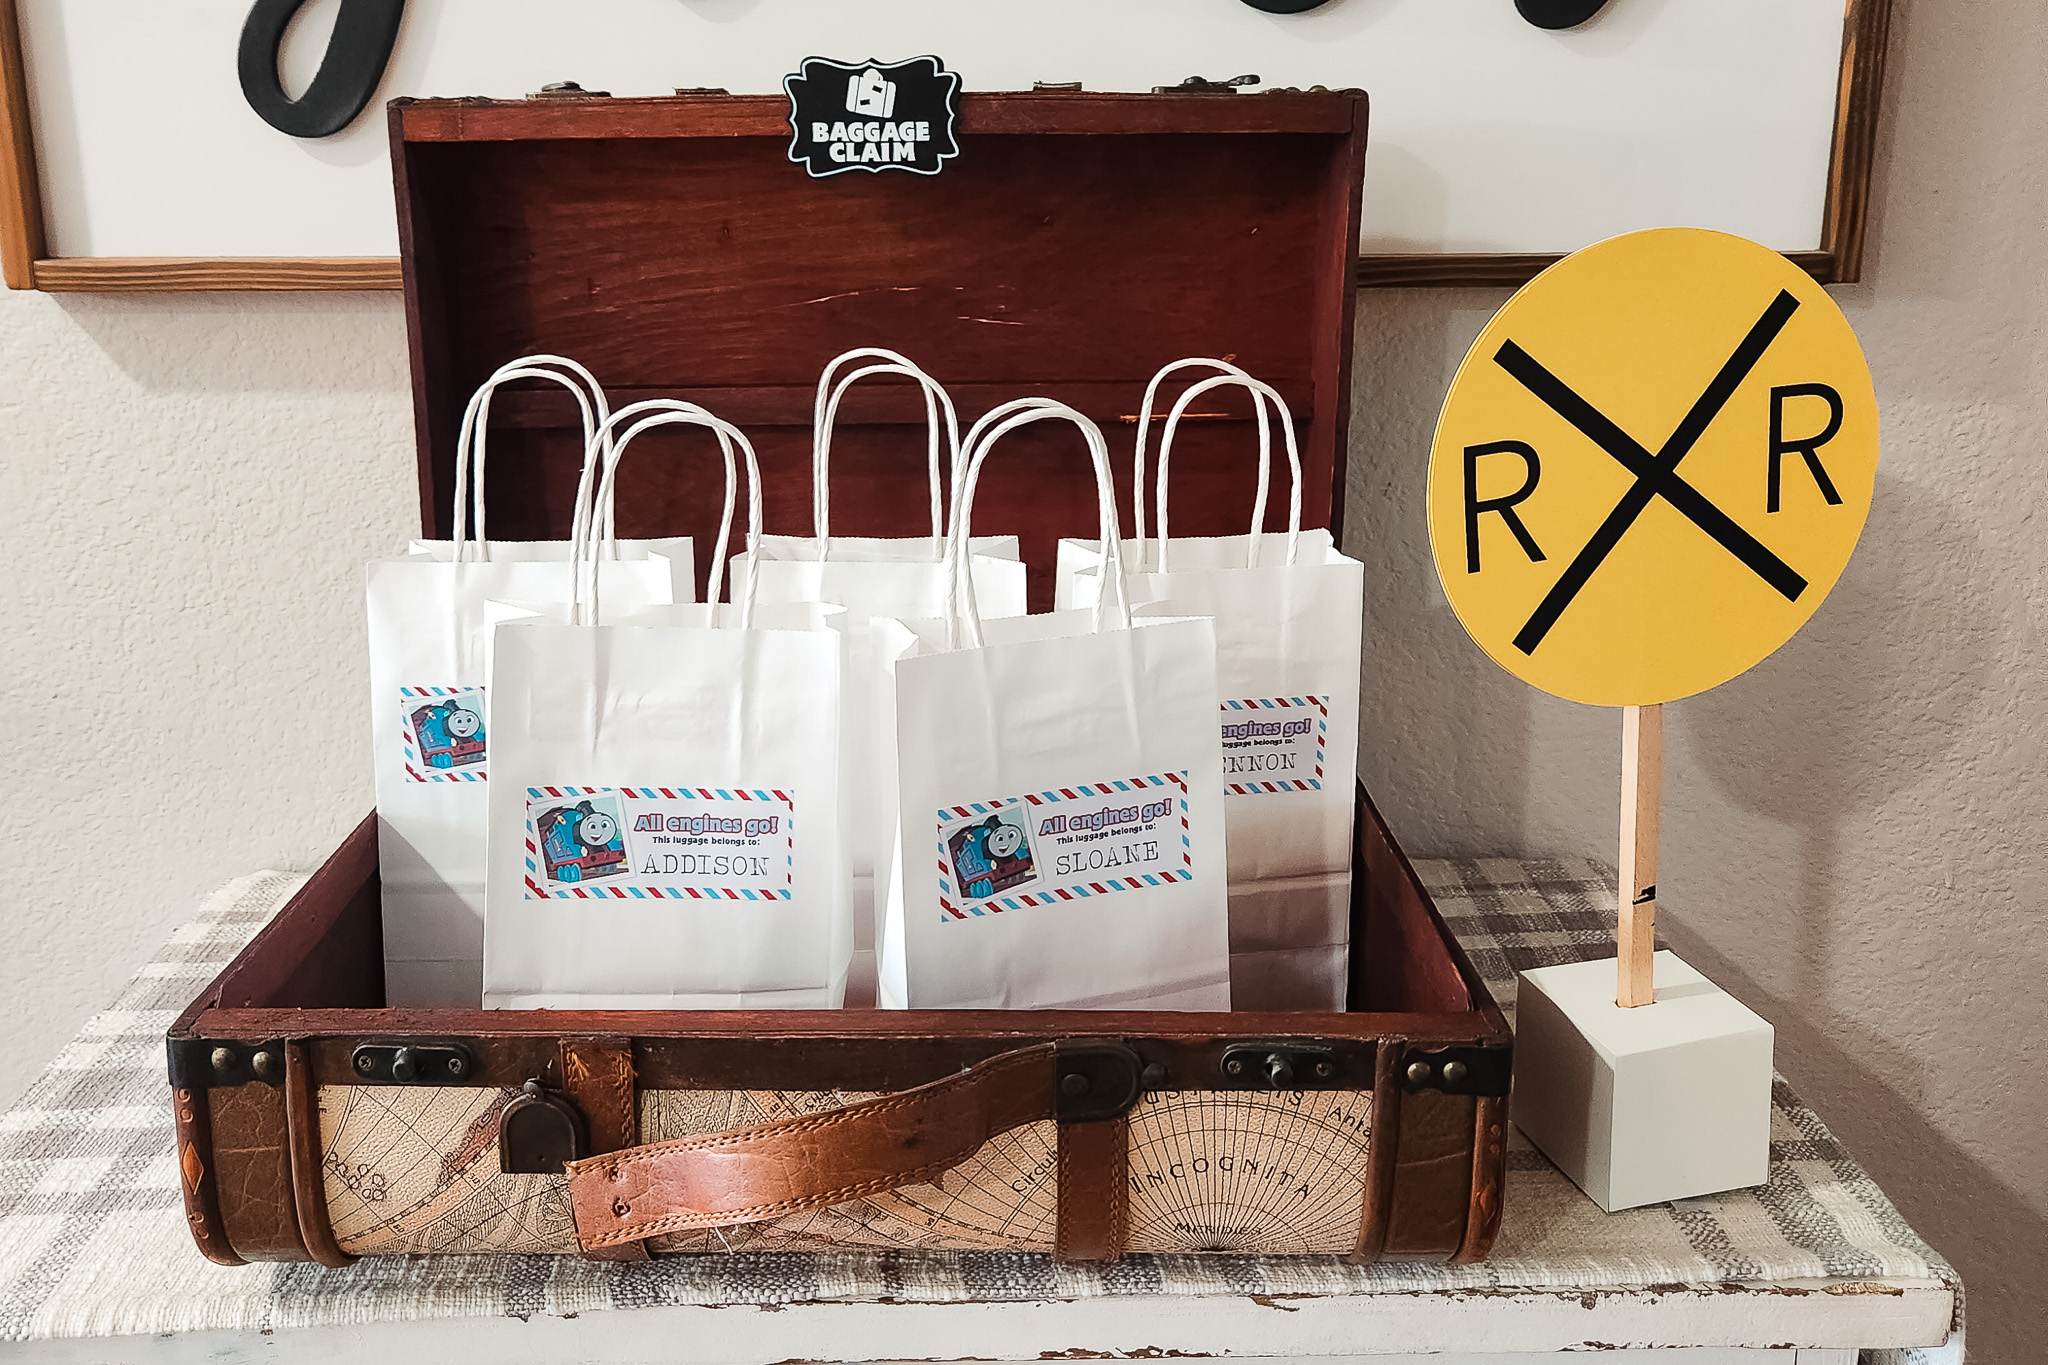
I used sticker sheet paper that I had on hand and my Silhouette Portrait machine to do the popcorn box labels, cupcake wrappers & toppers, decals for the acrylic signs (that I ordered from my sister-in-law), railroad crossing signs, "railroad tracks" for the chips & salsa train and party favor bags labels.

Signs & Balloons
I went a bit above and beyond creating wooden railroad using spare and purchase craft wood, a paint stir stick, wooden dowels, cardstock, vinyl, and acrylic paint ($6 investment for me, about $10 if all bought new). You could easily do this in a budget-friendly way using foam poster boards and paint, just by cutting out the basic shapes with a craft knife and painting the words on! I really wanted to use up supplies that I already had on hand and only purchase what I needed to complete the projects. This also gives us extra decor supplies for the boys' room when we redecorate later this year!
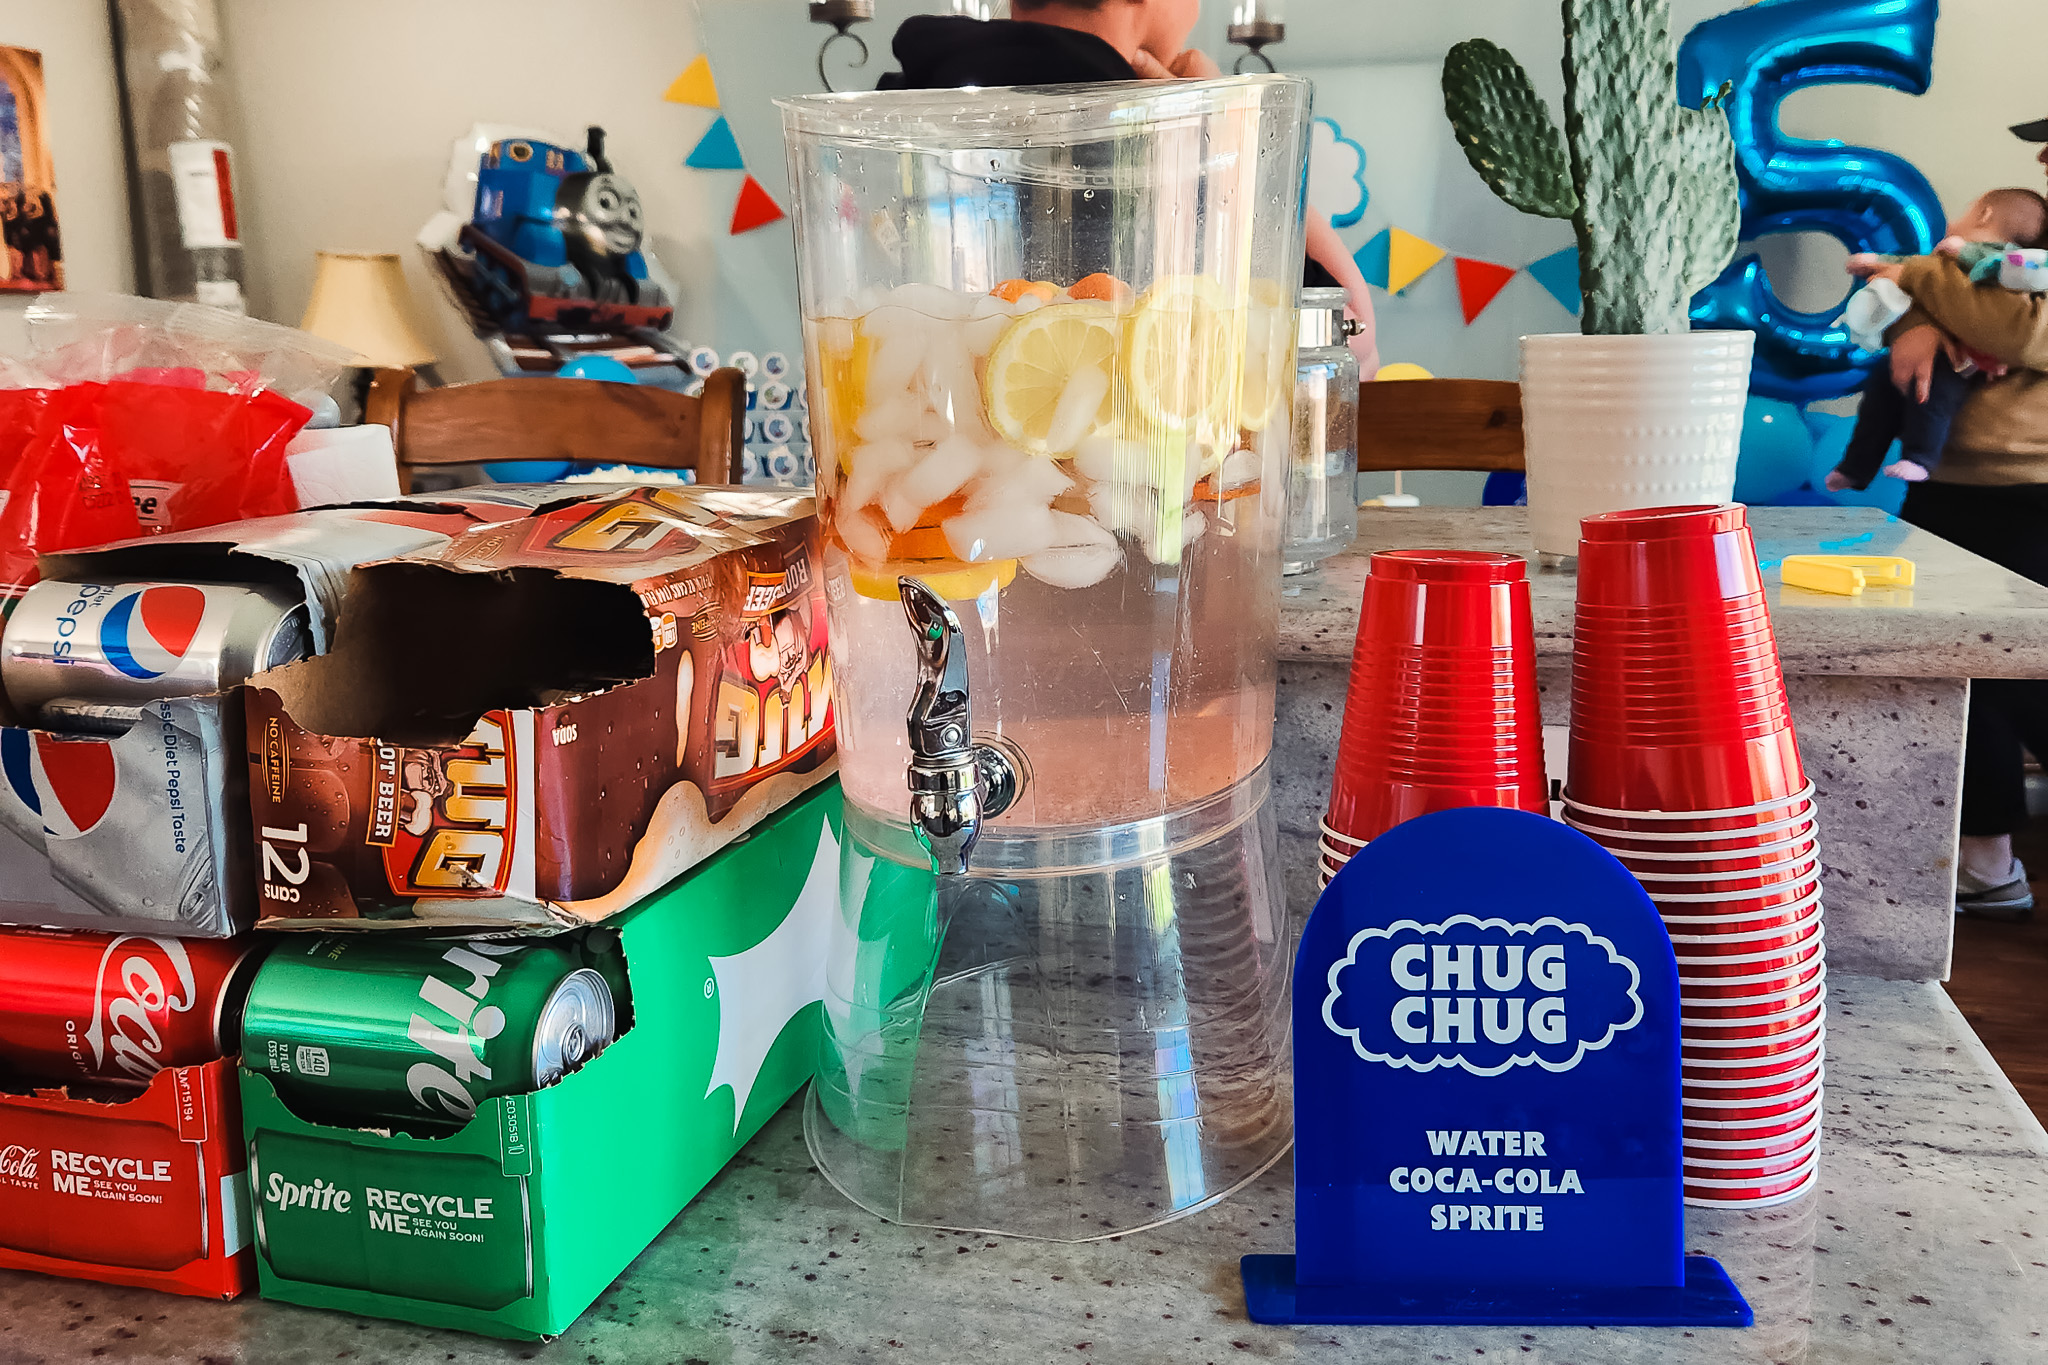
My sister-in-law cut the blue acrylic signs for me and I cut the designs for them using white removable adhesive vinyl. I wanted these to be reusable in the future for the boys' birthday parties each year, including a special one that I'm already designing for James' 1st birthday in November. While she doesn't sell these in her store, there are tons of sellers on Etsy that you can purchase similar ones from!
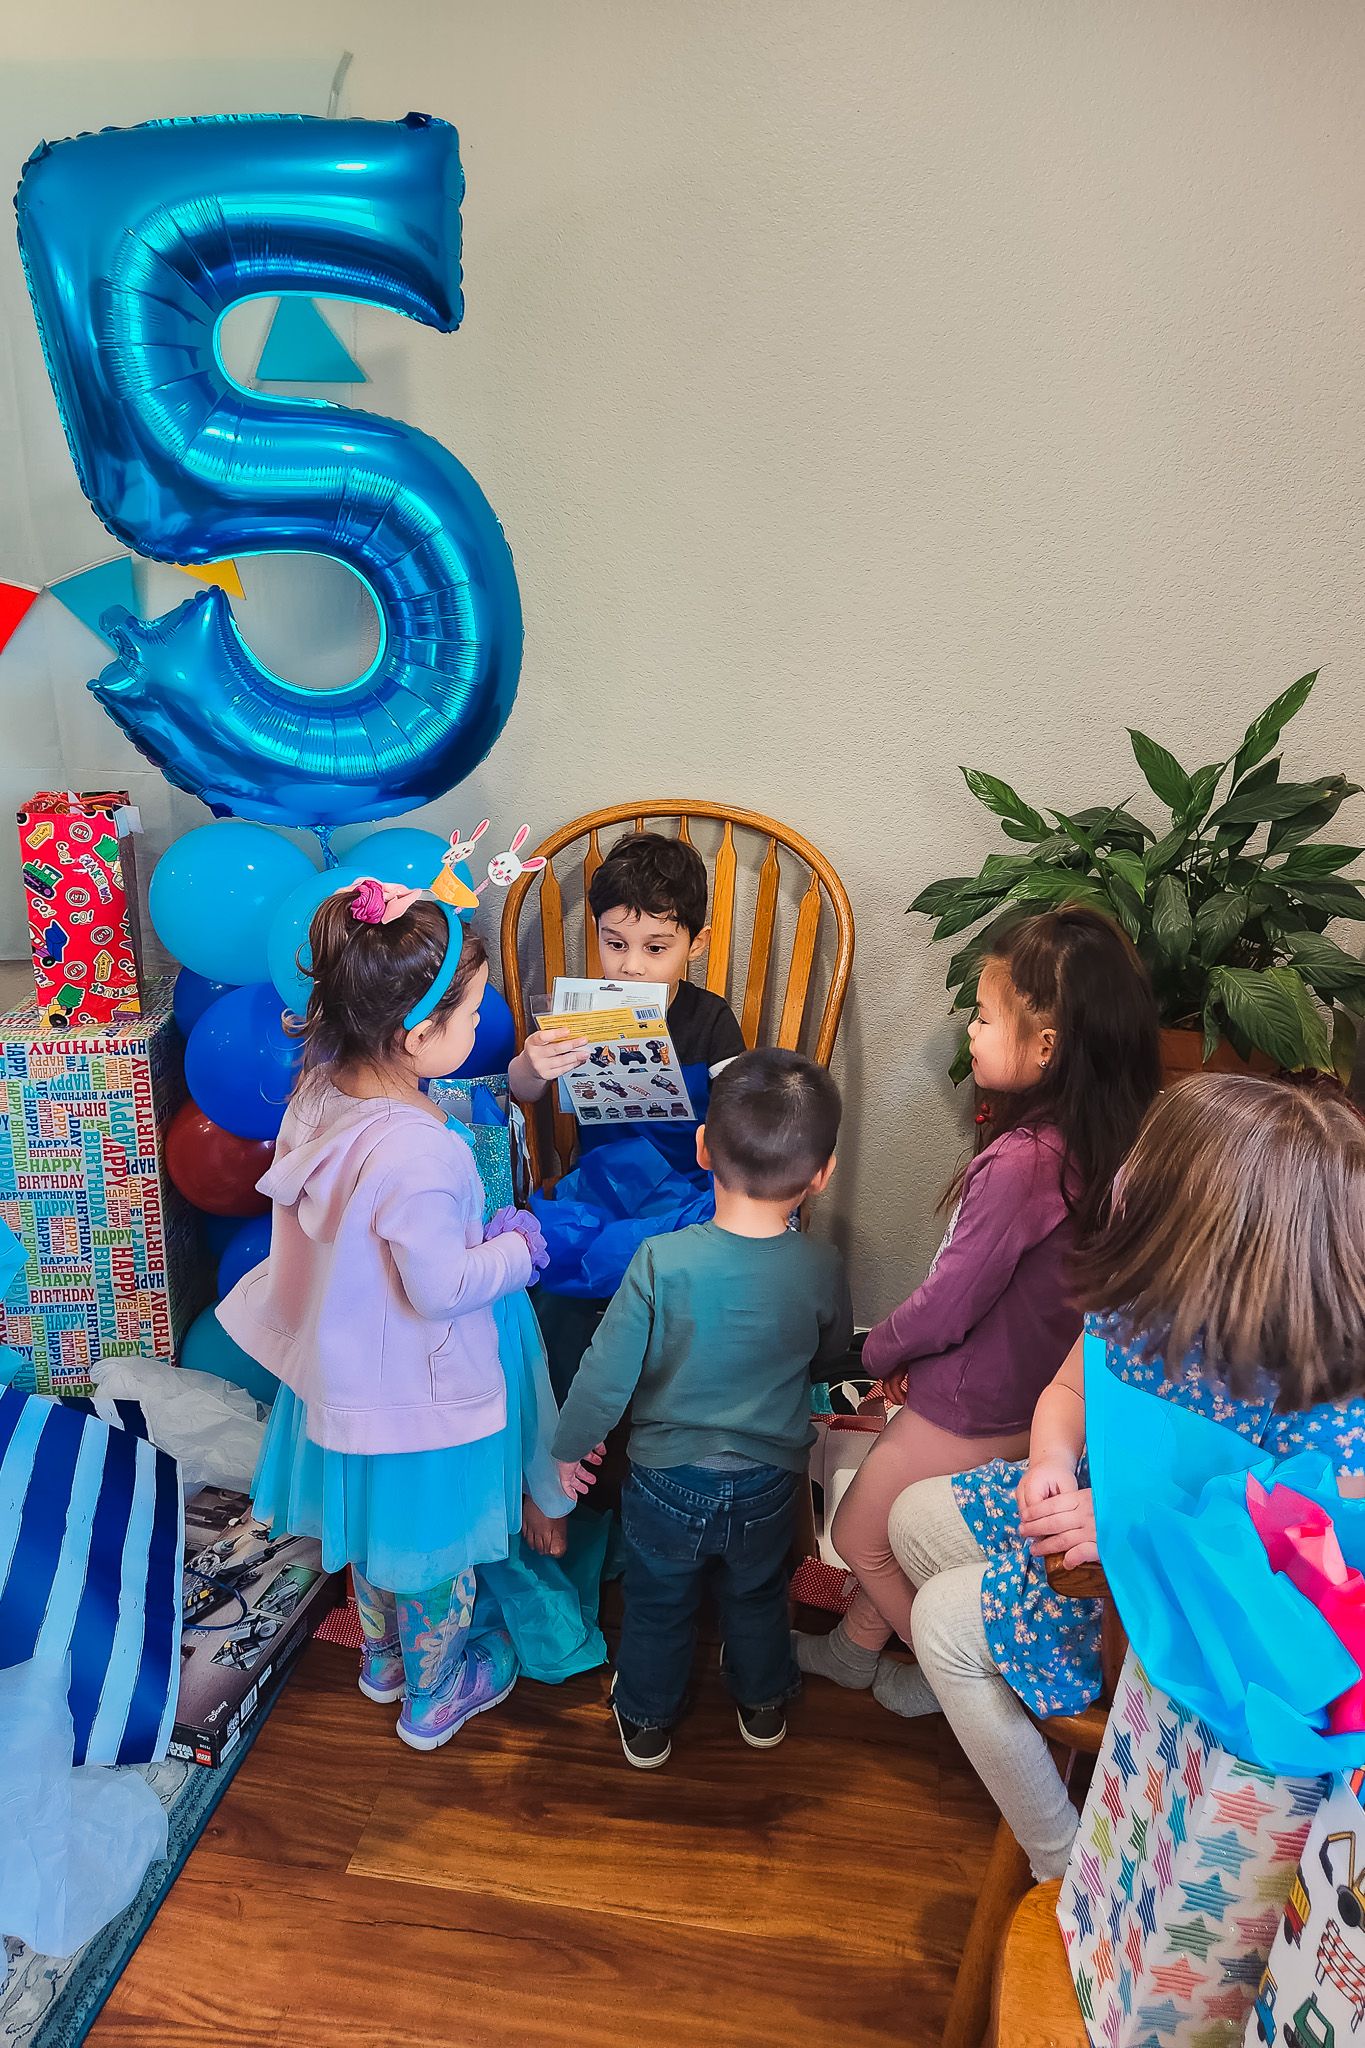
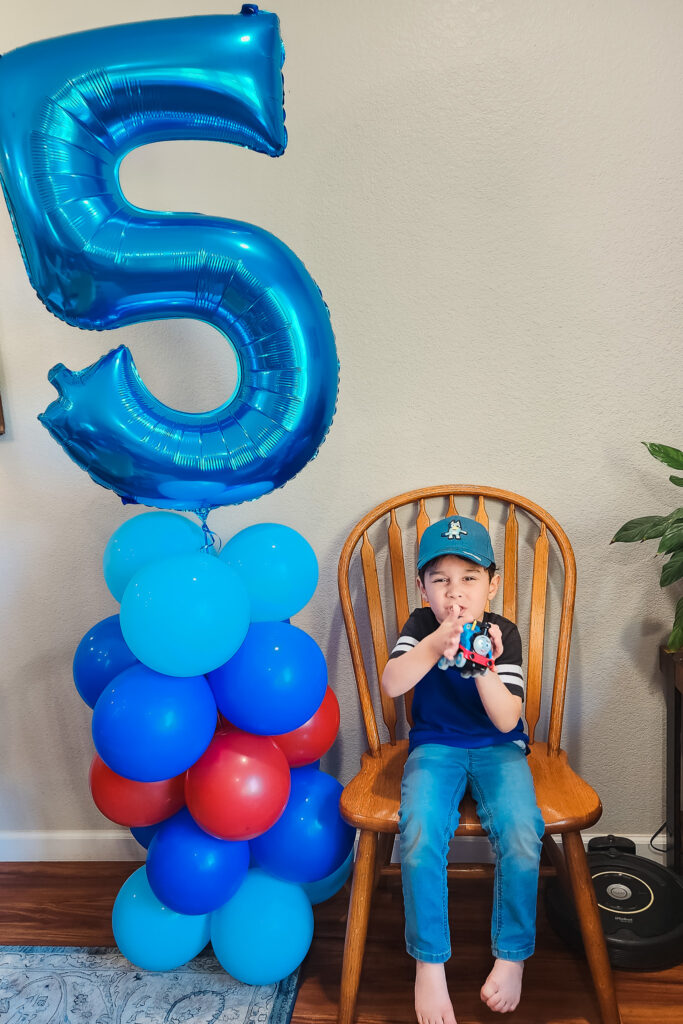
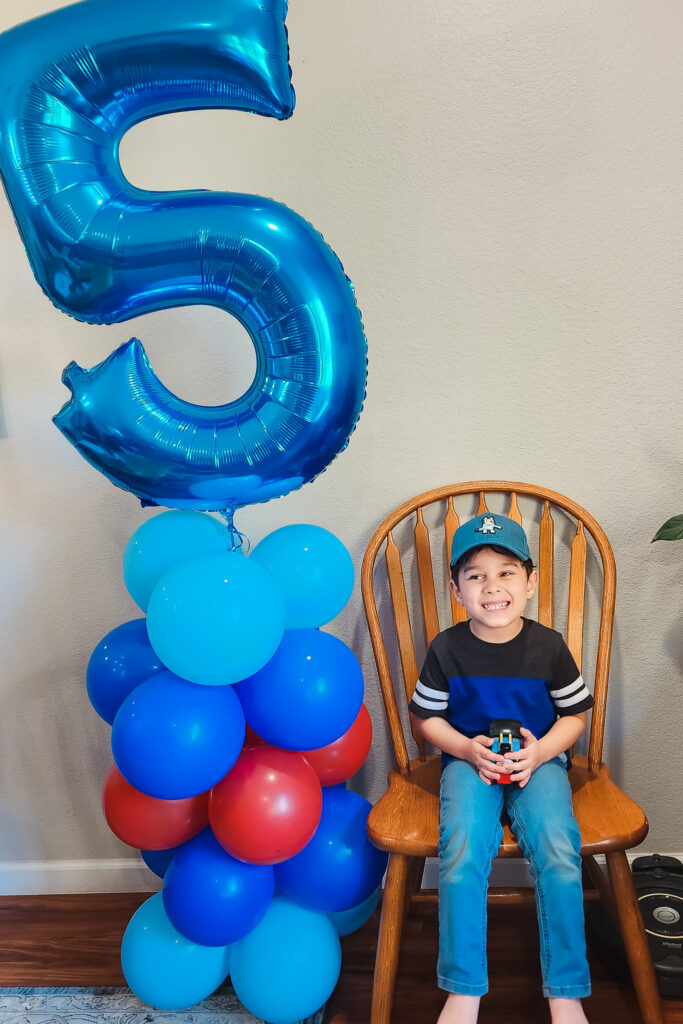
I looked up a few balloon column tutorial videos online and made the columns myself the day before the party using a balloon pump that I purchased years ago and some twine. The latex balloons are from Dollar Tree. I found a few cheap weights on Amazon and utilized the larger-than-life balloons I ordered through Party City to help ensure the columns stayed upright. We did have 2 casualties overnight, but the columns held up extremely well. While I paid about $32 for just the balloons, this would have easily cost me nearly $200 to have someone else make. No joke, I was quoted $80-$120 for just 1 column. With the help of a balloon pump (around $20 new) and my brother-in-law entertaining my boys, I got these 2 done in under an hour.
Tips: if you decide to start doing balloon columns yourself, keep in mind that your mylar balloons will absolutely need to have helium in them. I tried this for Mike's birthday in February and without helium there's no support for large mylar balloons to stay upright. If you don't have $12-20 to spend on mylar balloons, hit up your local Dollar Tree. They have some really nice ones for $1.25 and the helium to blow them up is included. The have ones with designs or solid color stars that could work really nicely.
Some Small Extras
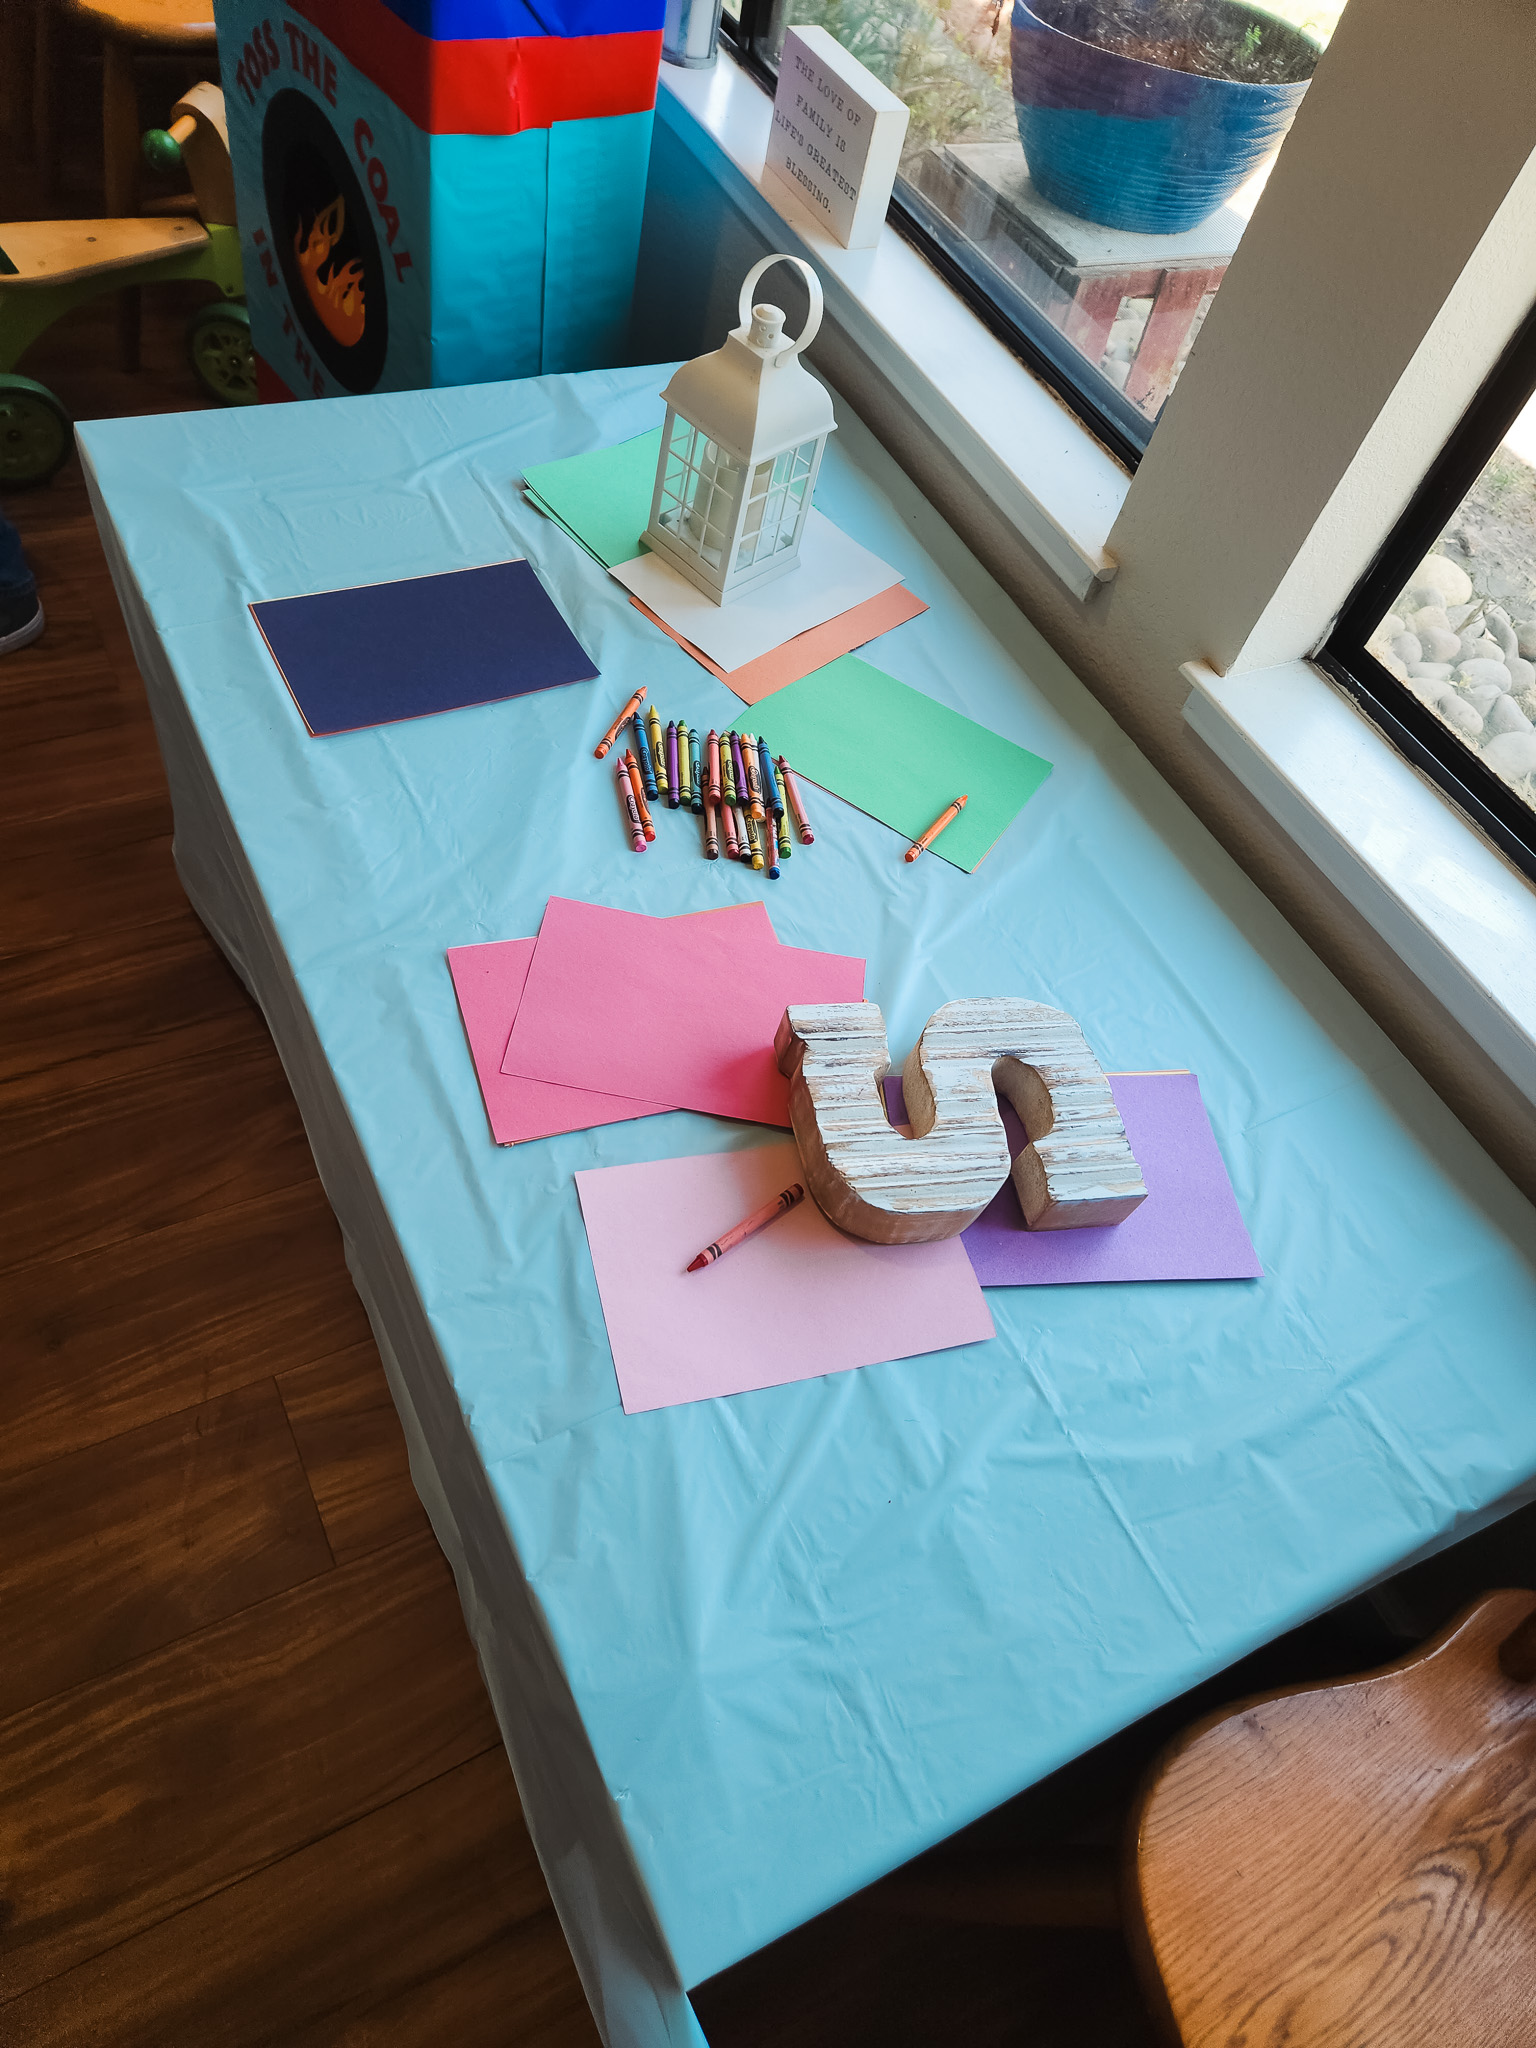
I've found that some kids benefit from what I call "quiet activity spaces", where they have a space to softly and quietly play until they feel comfortable enough to join in the rowdy fun. I used a coffee table to place some crayons and paper that some of the kids used to make drawings for Miles for his present, which was really sweet! We had the windows open and had to use some of my mother-in-law's decor as paper weights.
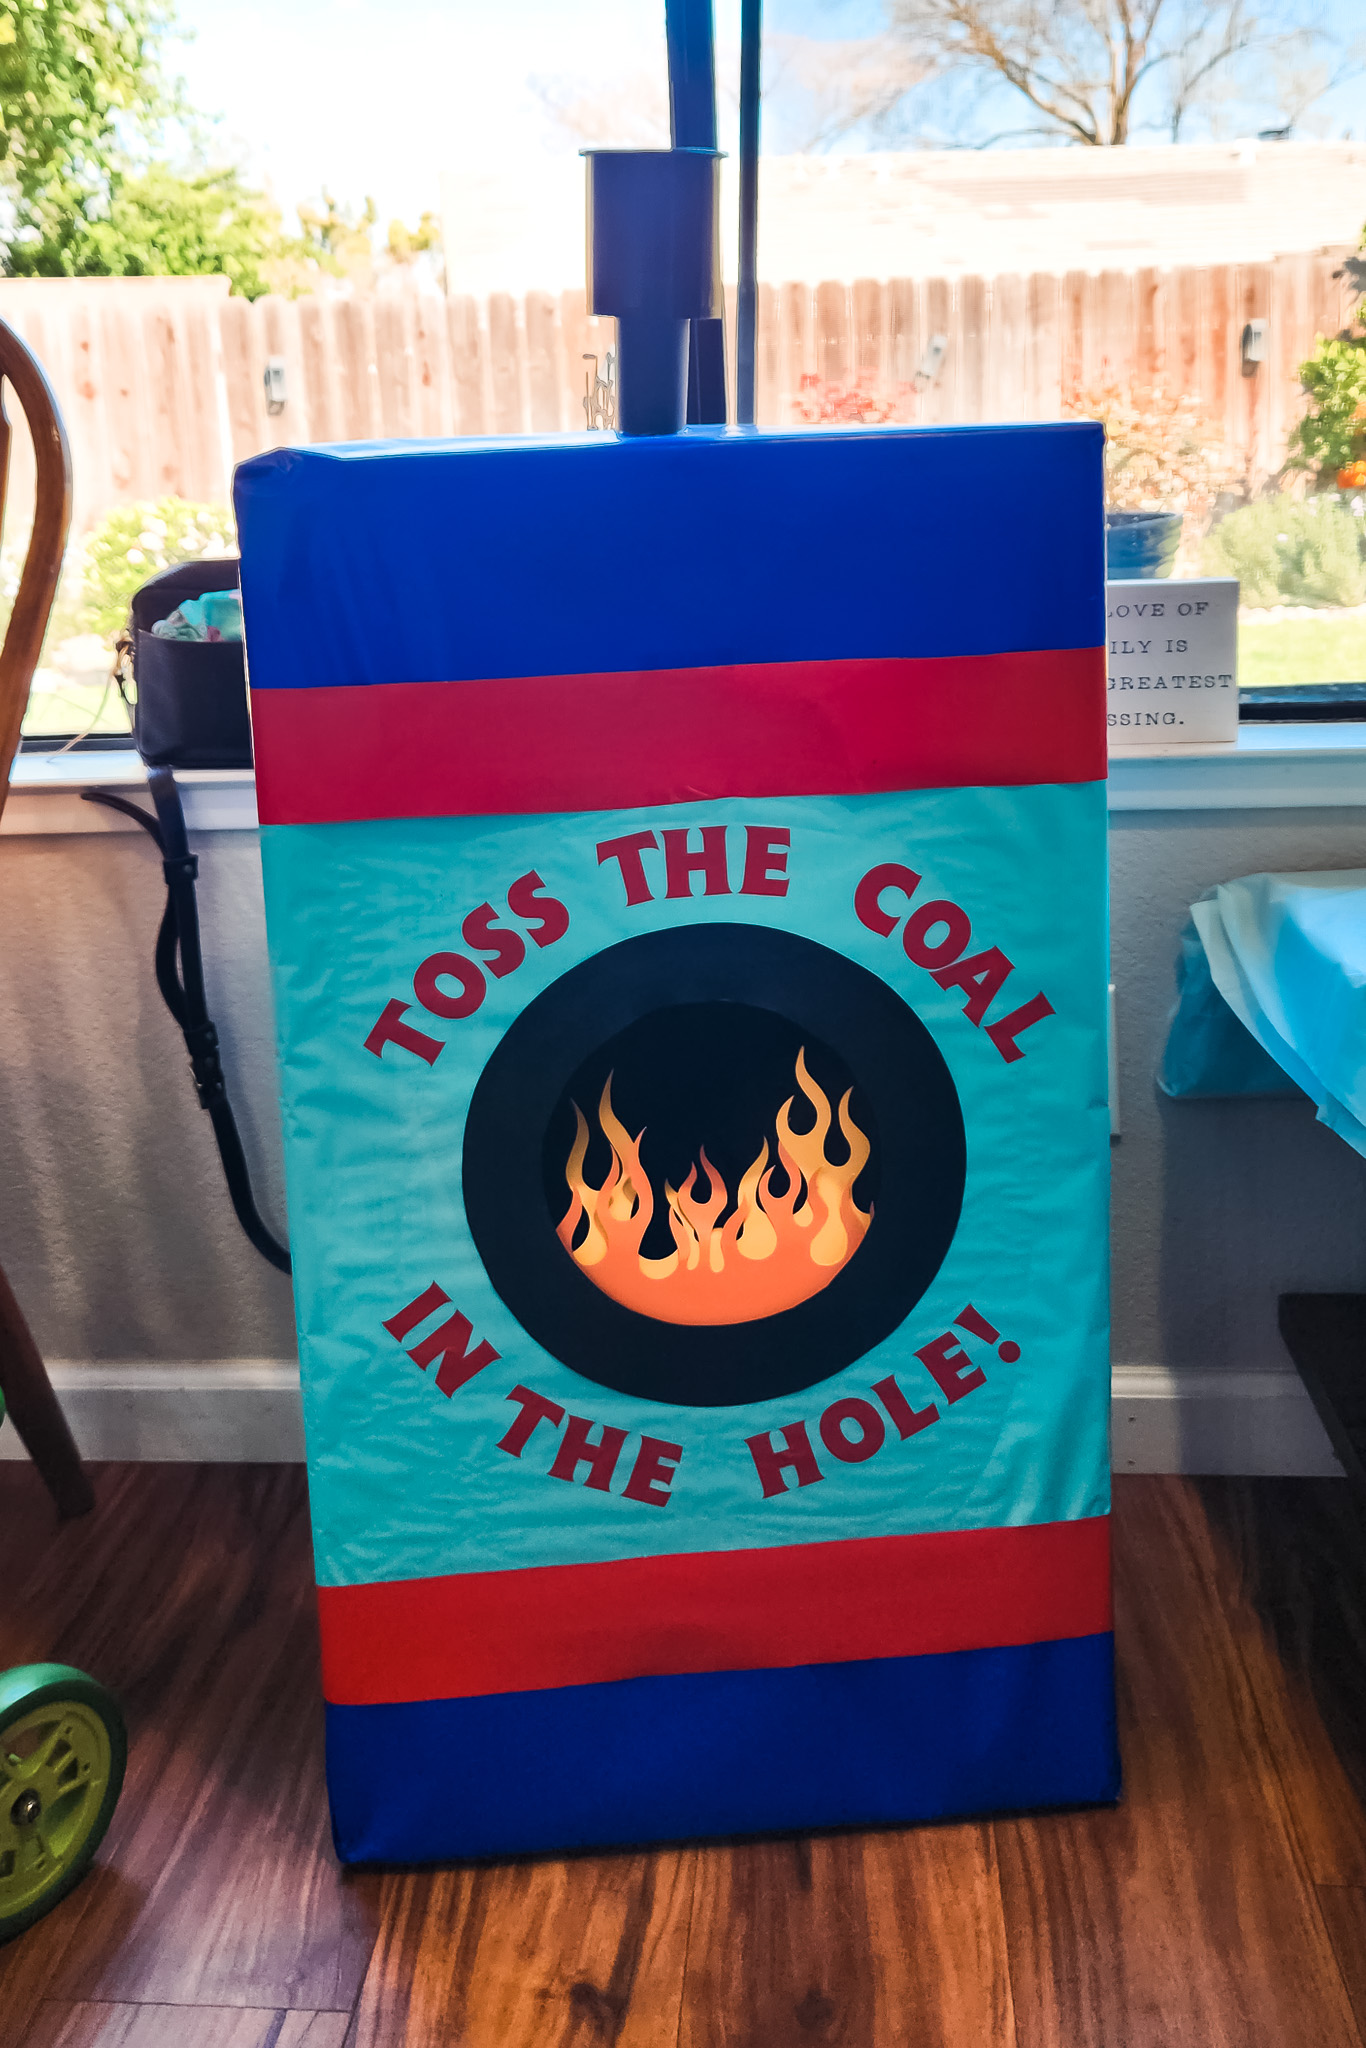
Since I knew there would be a high chance of rain during his party (thank you multiple atmospheric rivers and bomb cyclones suddenly slamming California), I wanted there to be at least one activity inside that the kids and adults could all play with. We recently upgraded Miles' car seat to a high back booster seat and saved the box to create a standing cornhole game. I'll be sharing how I built that in a separate post and will link back to it here once it's live!
I really hope this post helps you create a magical train-themed birthday party the your special train fan in your life! After so many years of small gatherings, it felt really nice to go a little more wild for a larger party. Purchasing reusable basic items can really help with cutting the costs down for future parties, so I always recommend doing that when and where you can. I'll definitely be incorporating a lot of these items for my baby's 1st birthday party later this year and I'm stoked for that!


The cake designs featured are incredible! Such creativity and attention to detail make them truly special. Thanks for sharing these inspiring ideas!
Thank you so much for this article! My son is turning 2 and LOVES Thomas (All Engines Go). It’s so hard to find decorations for the newer animated version. I have photoshop and a Cricut to DIY some decor, and I was wondering what font you used for the “Miles Turns 5” sign? I haven’t been able to find a good one, and the one you used looks prefect!
Thanks!
I loved the way you did it!
It was beautiful!
Could you share the documents for the cupcake toppers and the sign of happy birthday, please?
This is so cute! My grandson loves trains, so we are helping my daughter put together train-themed party for his 6th birthday. Do you have instructions for the Throw the Coal in the Hole game that you could share?
Thank you!
Hi Mary! I used a very large box and cut a hole in the front and a small hole in the bottom back (to grab the balls from). I then used some liquid glue to adhere some Dollar Tree wrapping paper around the box to match Thomas' colors. For the train spout at the top, I used part of a toilet paper roll and the empty icing container. I painted everything black and it worked well as a holder for the "coal". For the coal, I just used some ping pong balls. I didn't want to paint them black since we had tiny ones at the party that could potentially try to chew on them. You could also purchase bean bags online for the game. I highly recommend having some kind of weight on the box inside to help hold it down if you use anything heavier than a ping pong ball. Hope that helps!
Sorry, I also forgot to mention the text and the flames I cut with my Silhouette Portrait 3, but you can just get letter stickers for the text and cut the flames by hand. I used very lightweight colored paper vs cardstock so the kids could easily get the balls in the hole.