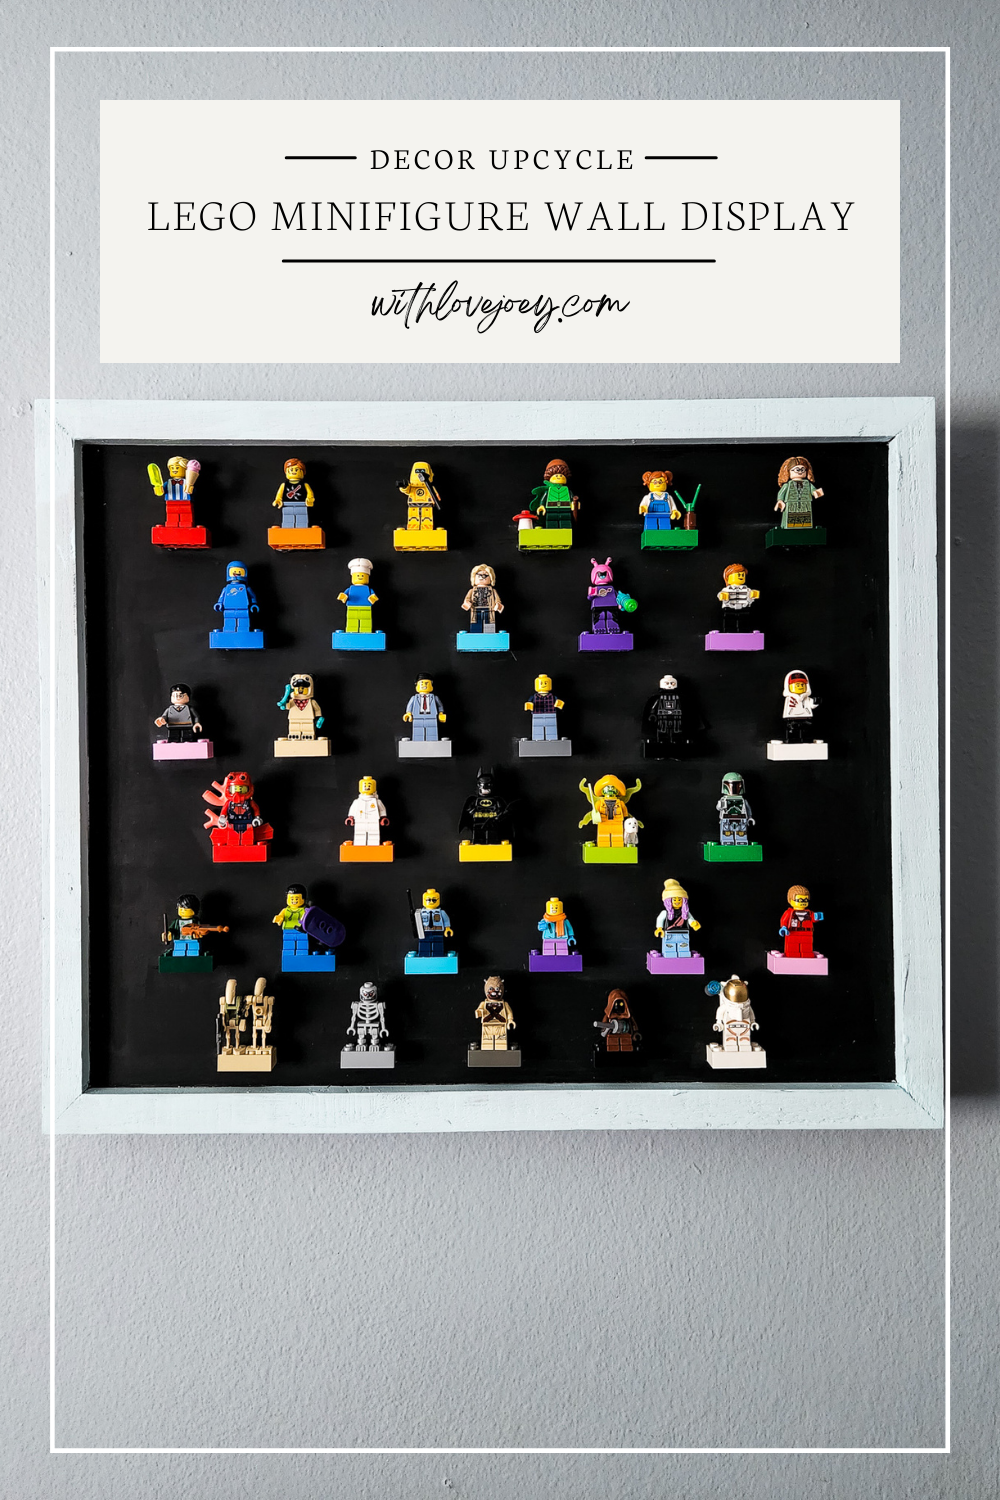
LEGO Minifigure Wall Display
My son loves 2 things in this world: LEGO and emergency vehicles. When we set out to convert his room from early toddler to big kid, we wanted his interests to reflect in the overall design. But with all the emergency vehicles and play pretend decor, I felt like LEGO was getting lost. That's when I got the idea to take some of his "guys" (as he calls them) and make a LEGO minifigure wall display.
What You'll Need
- Large wooden sign (mine measures about 17" x 21")
- E6000 glue
- Hot glue gun & glue sticks
- Paint & brushes or wood stain
- LEGO minifigures
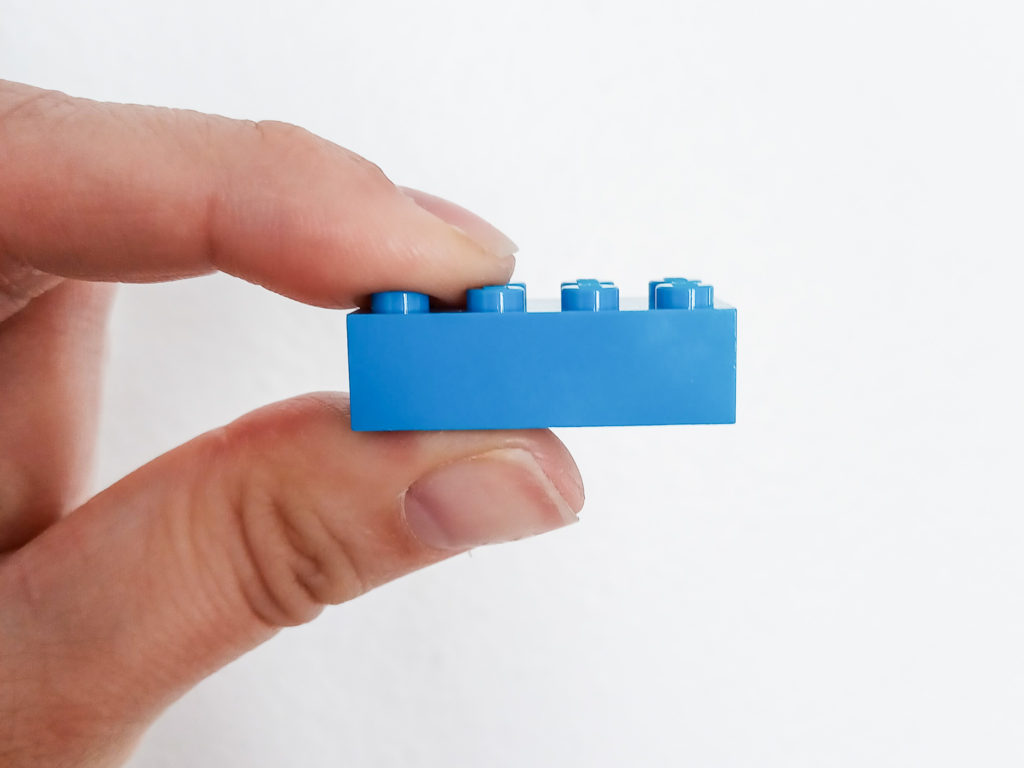
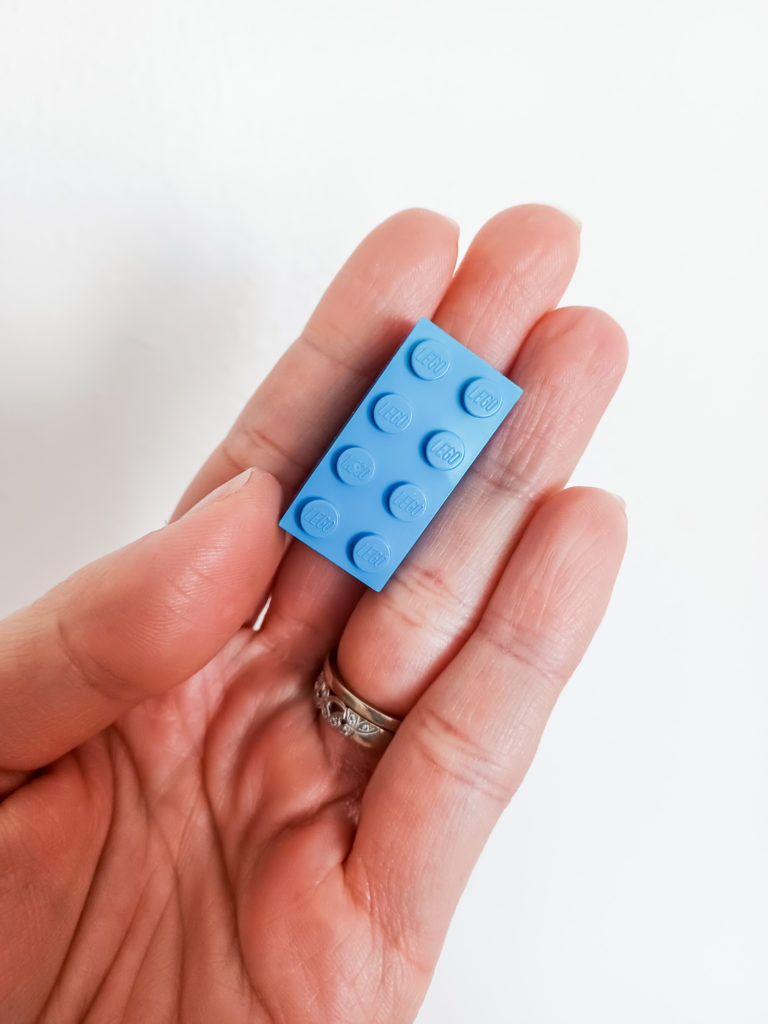
- LEGO bricks (2x4x2; you can use 2x2x2 if your minifigures will not be displayed with accessories)
Here's What You Do
Prep Your Board
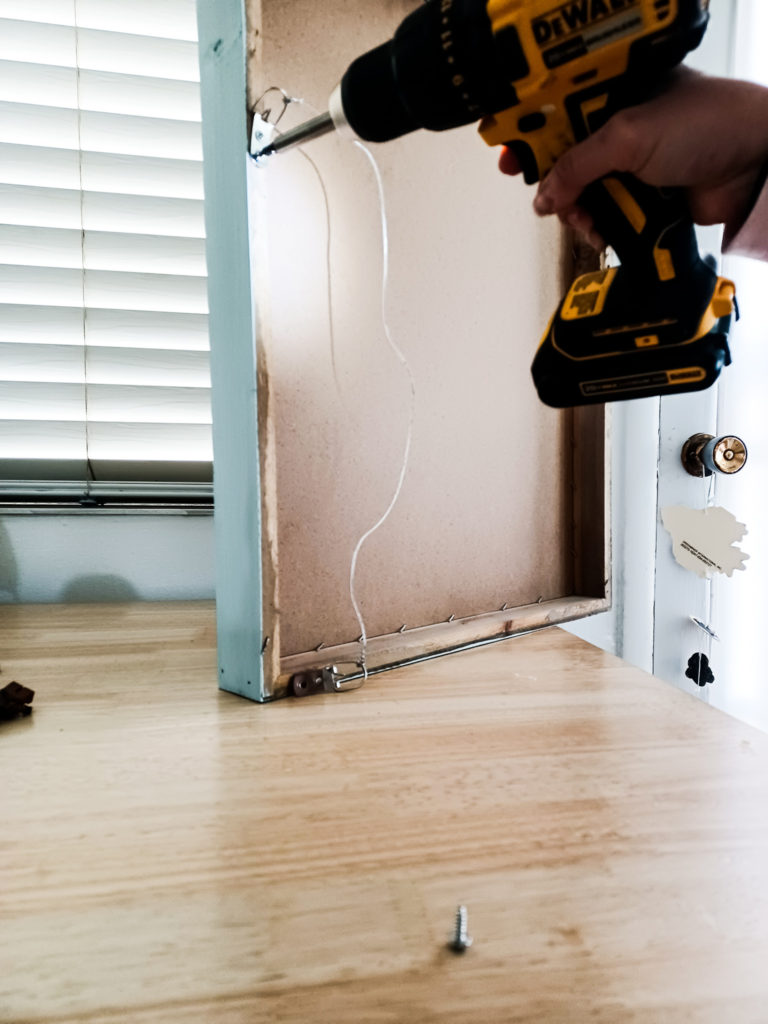
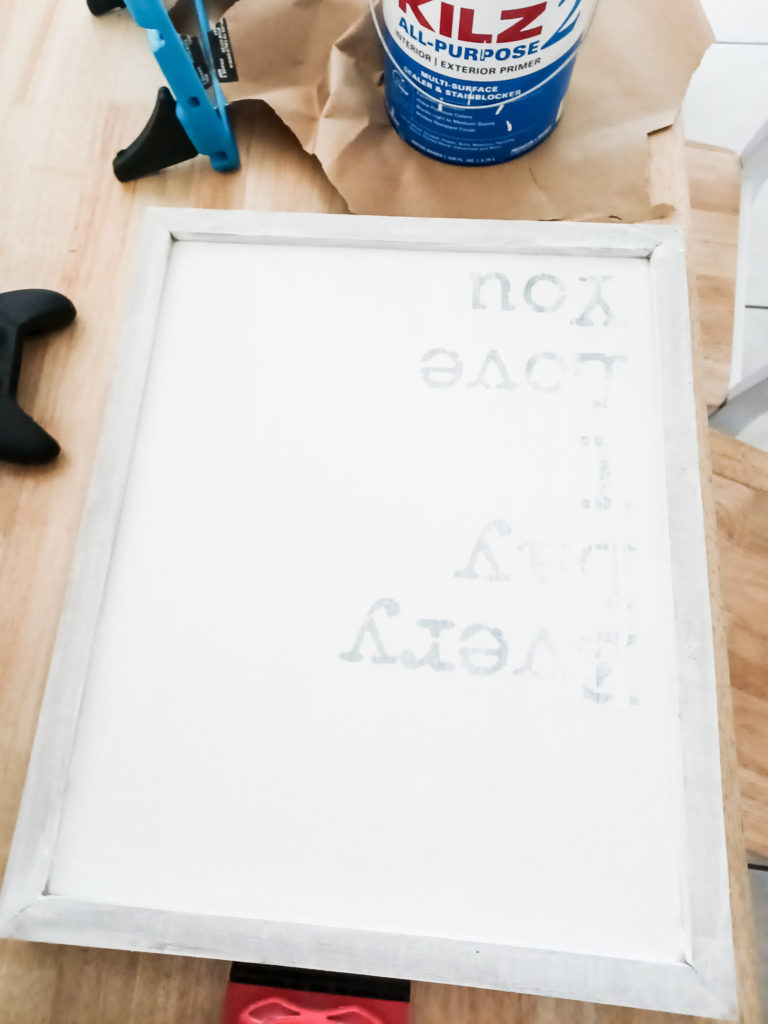
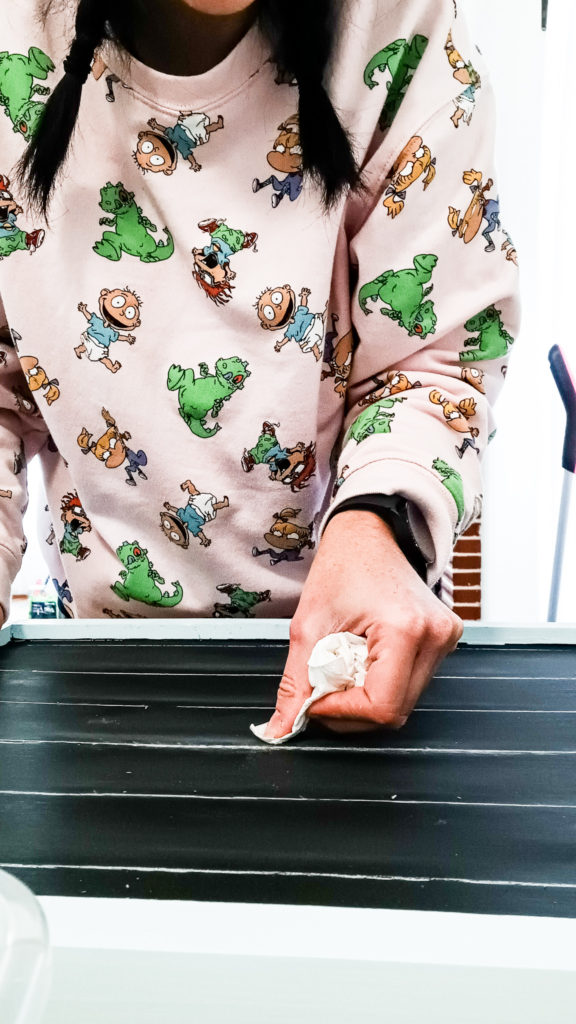
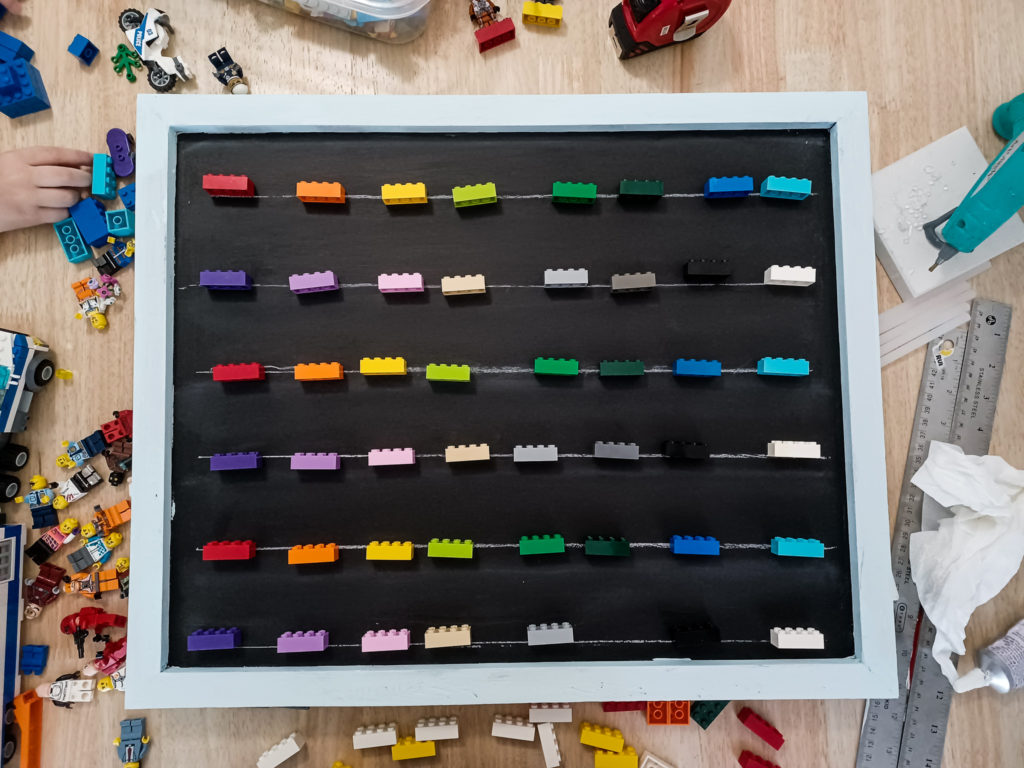
To make your LEGO minifigure wall display, you'll first need yo get a wall sign that's going to be big enough for your space and the number of minifigs you want to display. I bought mine secondhand off of Facebook Marketplace. There are a lot of craft supply stores that carry these plain for under $20, but I always recommend grabbing one secondhand if you can! Then, paint (or stain) your sign. I started by removing the hardware on the back, doing a thin coat of my KILLZ primer paint all over the front and frame, then painted the background of the sign black and the frame sky blue. My board had a weird wire hanging setup, so I removed that to use a sawtooth hook instead.
Measure Twice, Glue Once
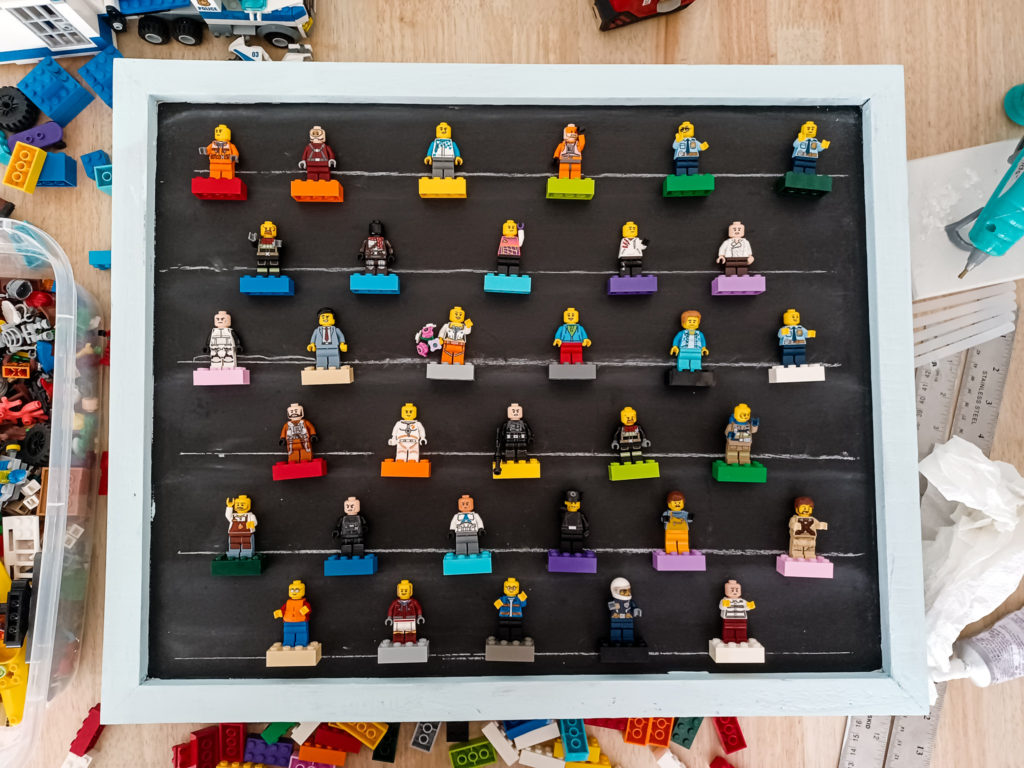
Plan out your minifig placement BEFORE you start gluing anything down. I had planned on putting 50-60 pieces on this board, but after attaching the minifigures to the bricks and placing them, I realized they were extremely overcrowded and it made the LEGO minifigure wall display very busy. I wanted this to be a functional art piece, and that was not giving me the vibe. In the end, the number was cut in half and I'm so happy I did so!
To get my placement as perfect as possible, I used math, chalk and a ruler to mark where all of the bricks would go. I highly recommend placing the minifigs on the bricks and laying them all out together to ensure there's enough spacing between pieces. Don't worry too much if you mess up the spacing. You can trick the eye by placing wider minifigs in places where there is too much space, and small fries like Ewoks and kids on lines where the line spacing was too narrow.


Assemble Your LEGO Minifigure Wall Display
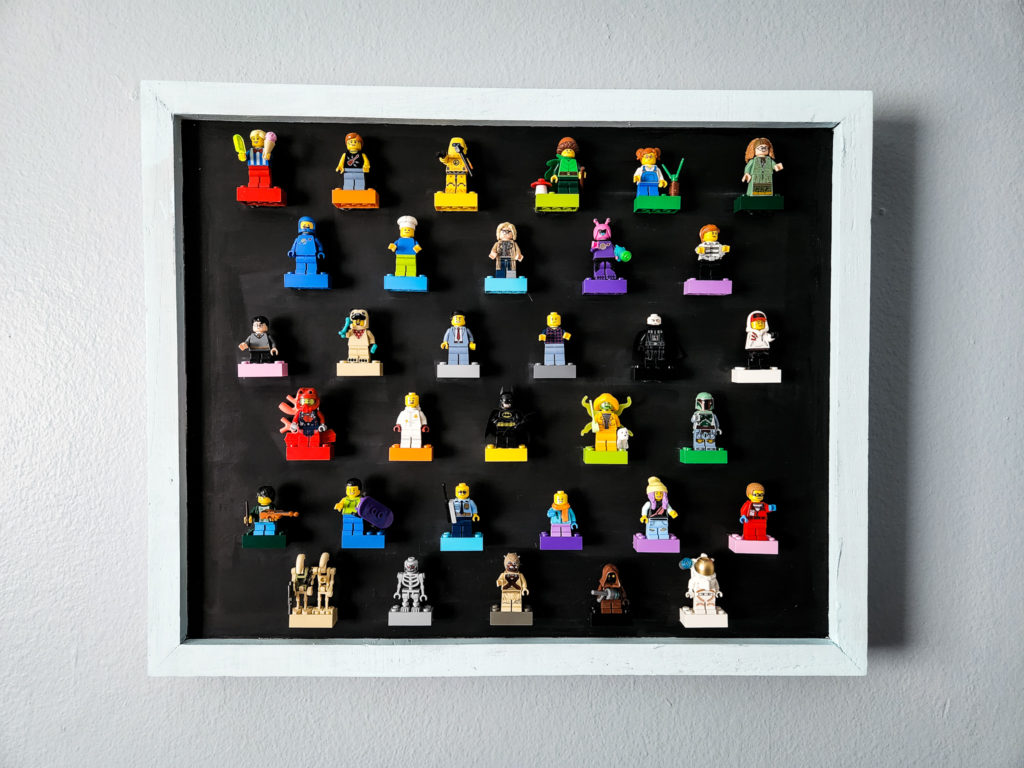
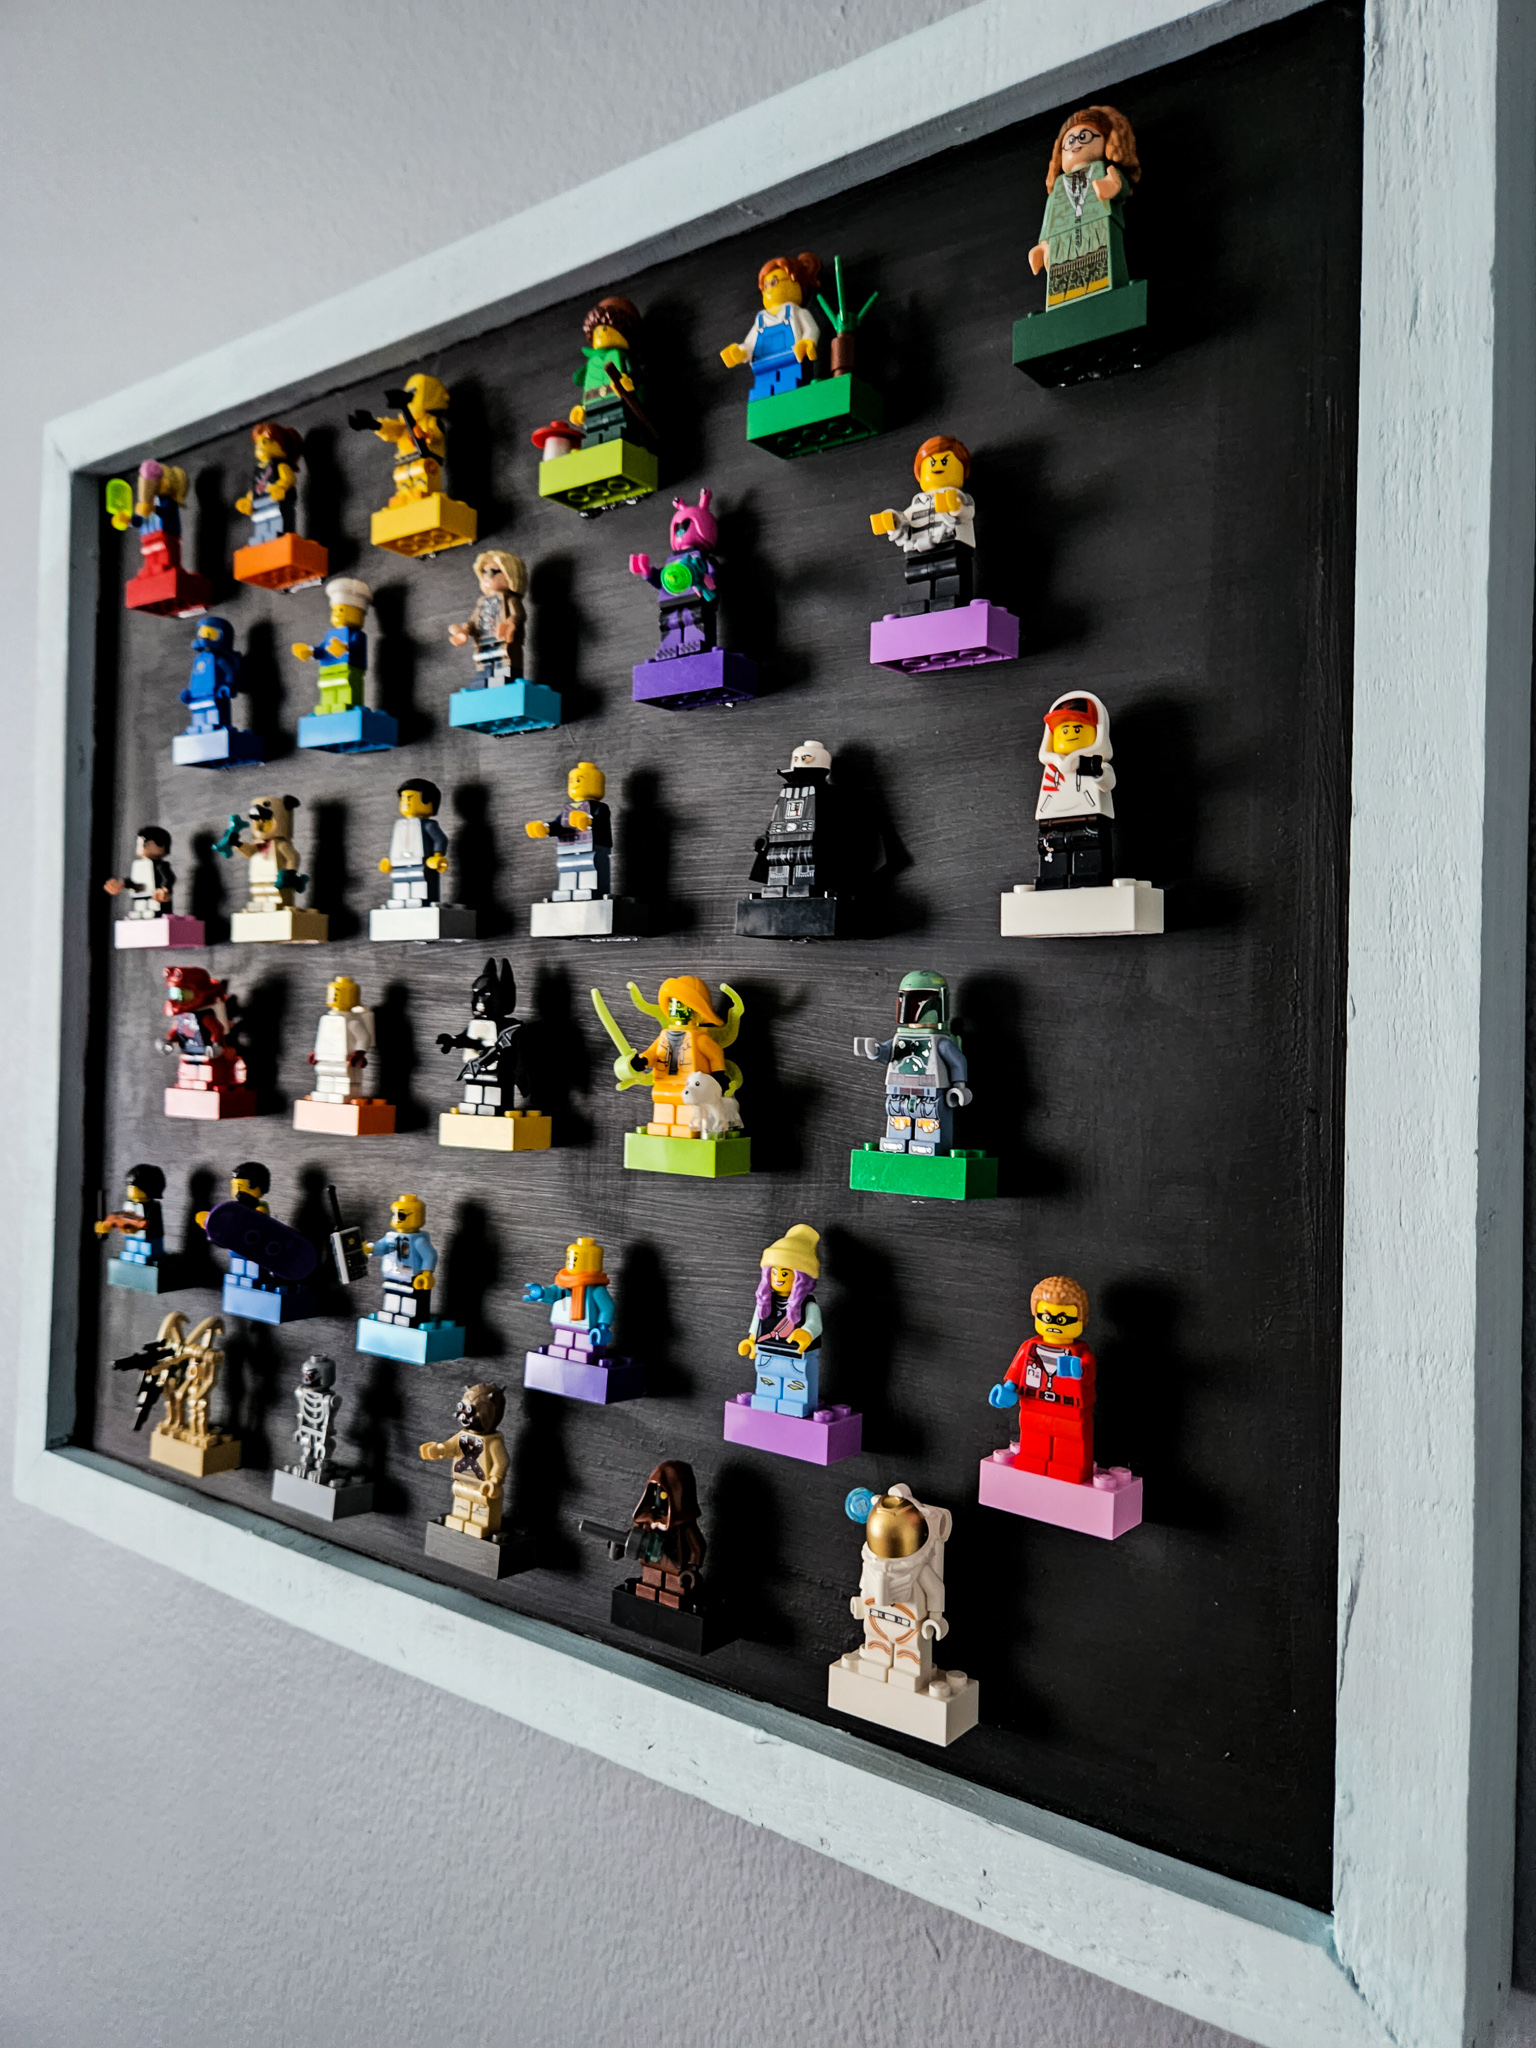
Place a couple of dots of hot glue and a line of E6000 on each brick to attach it to the board. The E6000 will help make sure the brick stays on the board when the minifigs are being removed and the hot glue will help with adhering the bricks fast so you can move on with the projects. Once all your bricks are placed, add on your minifigures and mount to the wall! Be sure to use screws on the wall as the LEGO pieces can add weight over time.
How Will You Make Your LEGO Minifigure Wall Display?
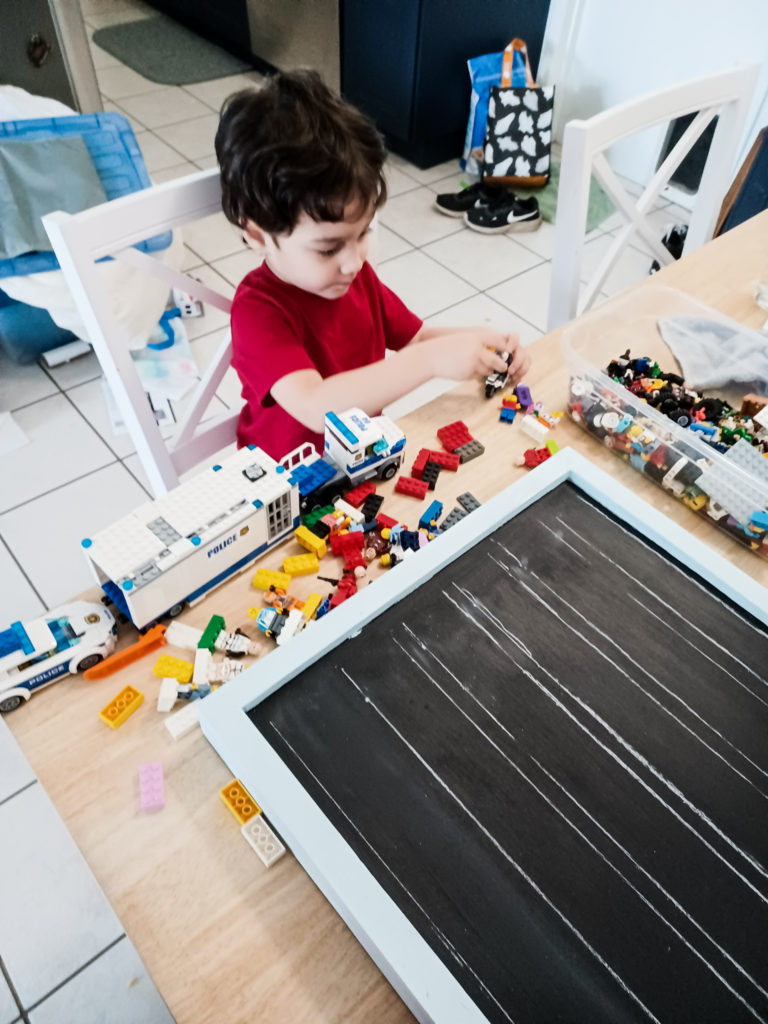
I loved making this piece so much that I've started working on a few upcycle signs for our office! If you're low on bricks, you can check your Facebook Marketplace or local Buy Nothing group to see if anyone has any to spare. Half of my bricks were gifted to me, but there's always bricks at thrift stores and on Ebay available.

If you make this piece, be sure to tag me on Instagram or link me your blog post! I always love seeing your takes on my creations and reposting your work to my Instagram Stories!
I might make a Harry Potter themed one for myself in the office soon. OH! Or maybe even a Star Wars one for Mike! The possibilities are endless...