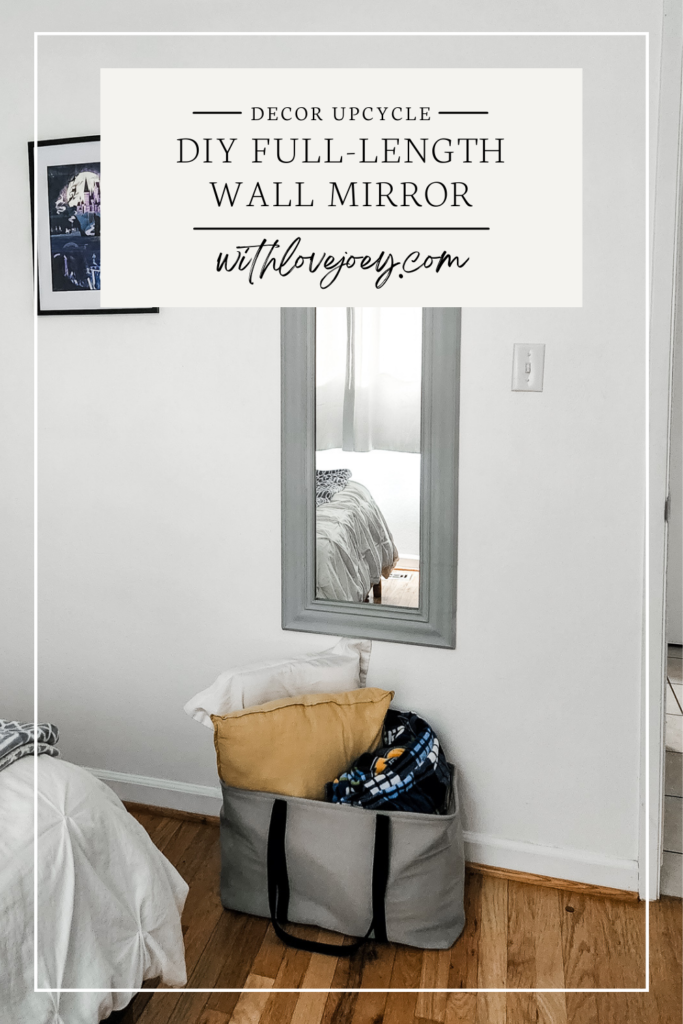
DIY Full-Length Wall Mirror
Full-length wall mirrors are very expensive. When you can find them in budget-friendly stores, they either lean glam style, or literally only lean and can't be mounted. I've found myself having such a hard time deciding on a wall mirror because I don't take those kind of investments lightly. So, I decided to find a way to make a DIY full-length wall mirror in the mean time. I tested my theory on how to make a framed mirror for my mom's Christmas present first. I took a 36x48 mirror that I bought from Lowes and added a backless frame to it for my Mom which she loves to pieces. After experiencing just how easy it was to make that, I knew I had to try my hand at framing a full-length one from scratch.
What You'll Need
- Wall molding (Similar to what I used)
- Mirror (similar to what I had)
- E6000 glue
- Staple gun & staples
- Wood filler
- Sandpaper (80-120 grit)
- Spray primer & paint
- Sawtooth hooks
- Work gloves & safety glasses
Here's What You Do

Prep the Mirror
First, remove the paper backing and frame from your mirror gently and carefully. Wearing work gloves, be sure to pull away sideways and not in a paper-ripping motion. The edges of your mirror will be extremely sharp, which could cut you. If you pull the frame away from the mirror like you're trying to rip paper, you will destroy that mirror. The older the mirror, the weaker the glue's hold will be. I had one of those classic cheap dorm wall mirrors for nearly 10 years, and it's followed me everywhere since I moved into my first studio apartment. The frame was basically destroyed, so I gently pulled it away from the mirror and it didn't even fight me. I highly recommend trying to find one secondhand on Facebook Marketplace or at your local thrift store first, since the glue will be older and the frame easier to remove. You can also try taking a hair dryer and heating up around the edges of the frame to soften up the glue.
Cutting Your Frame
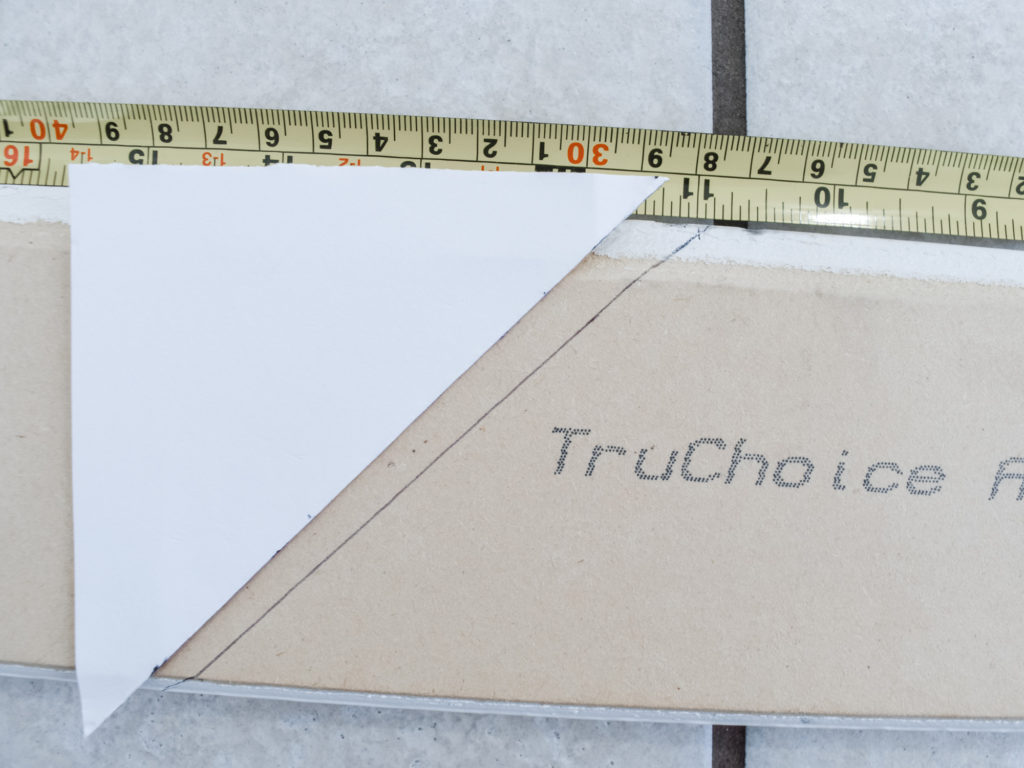
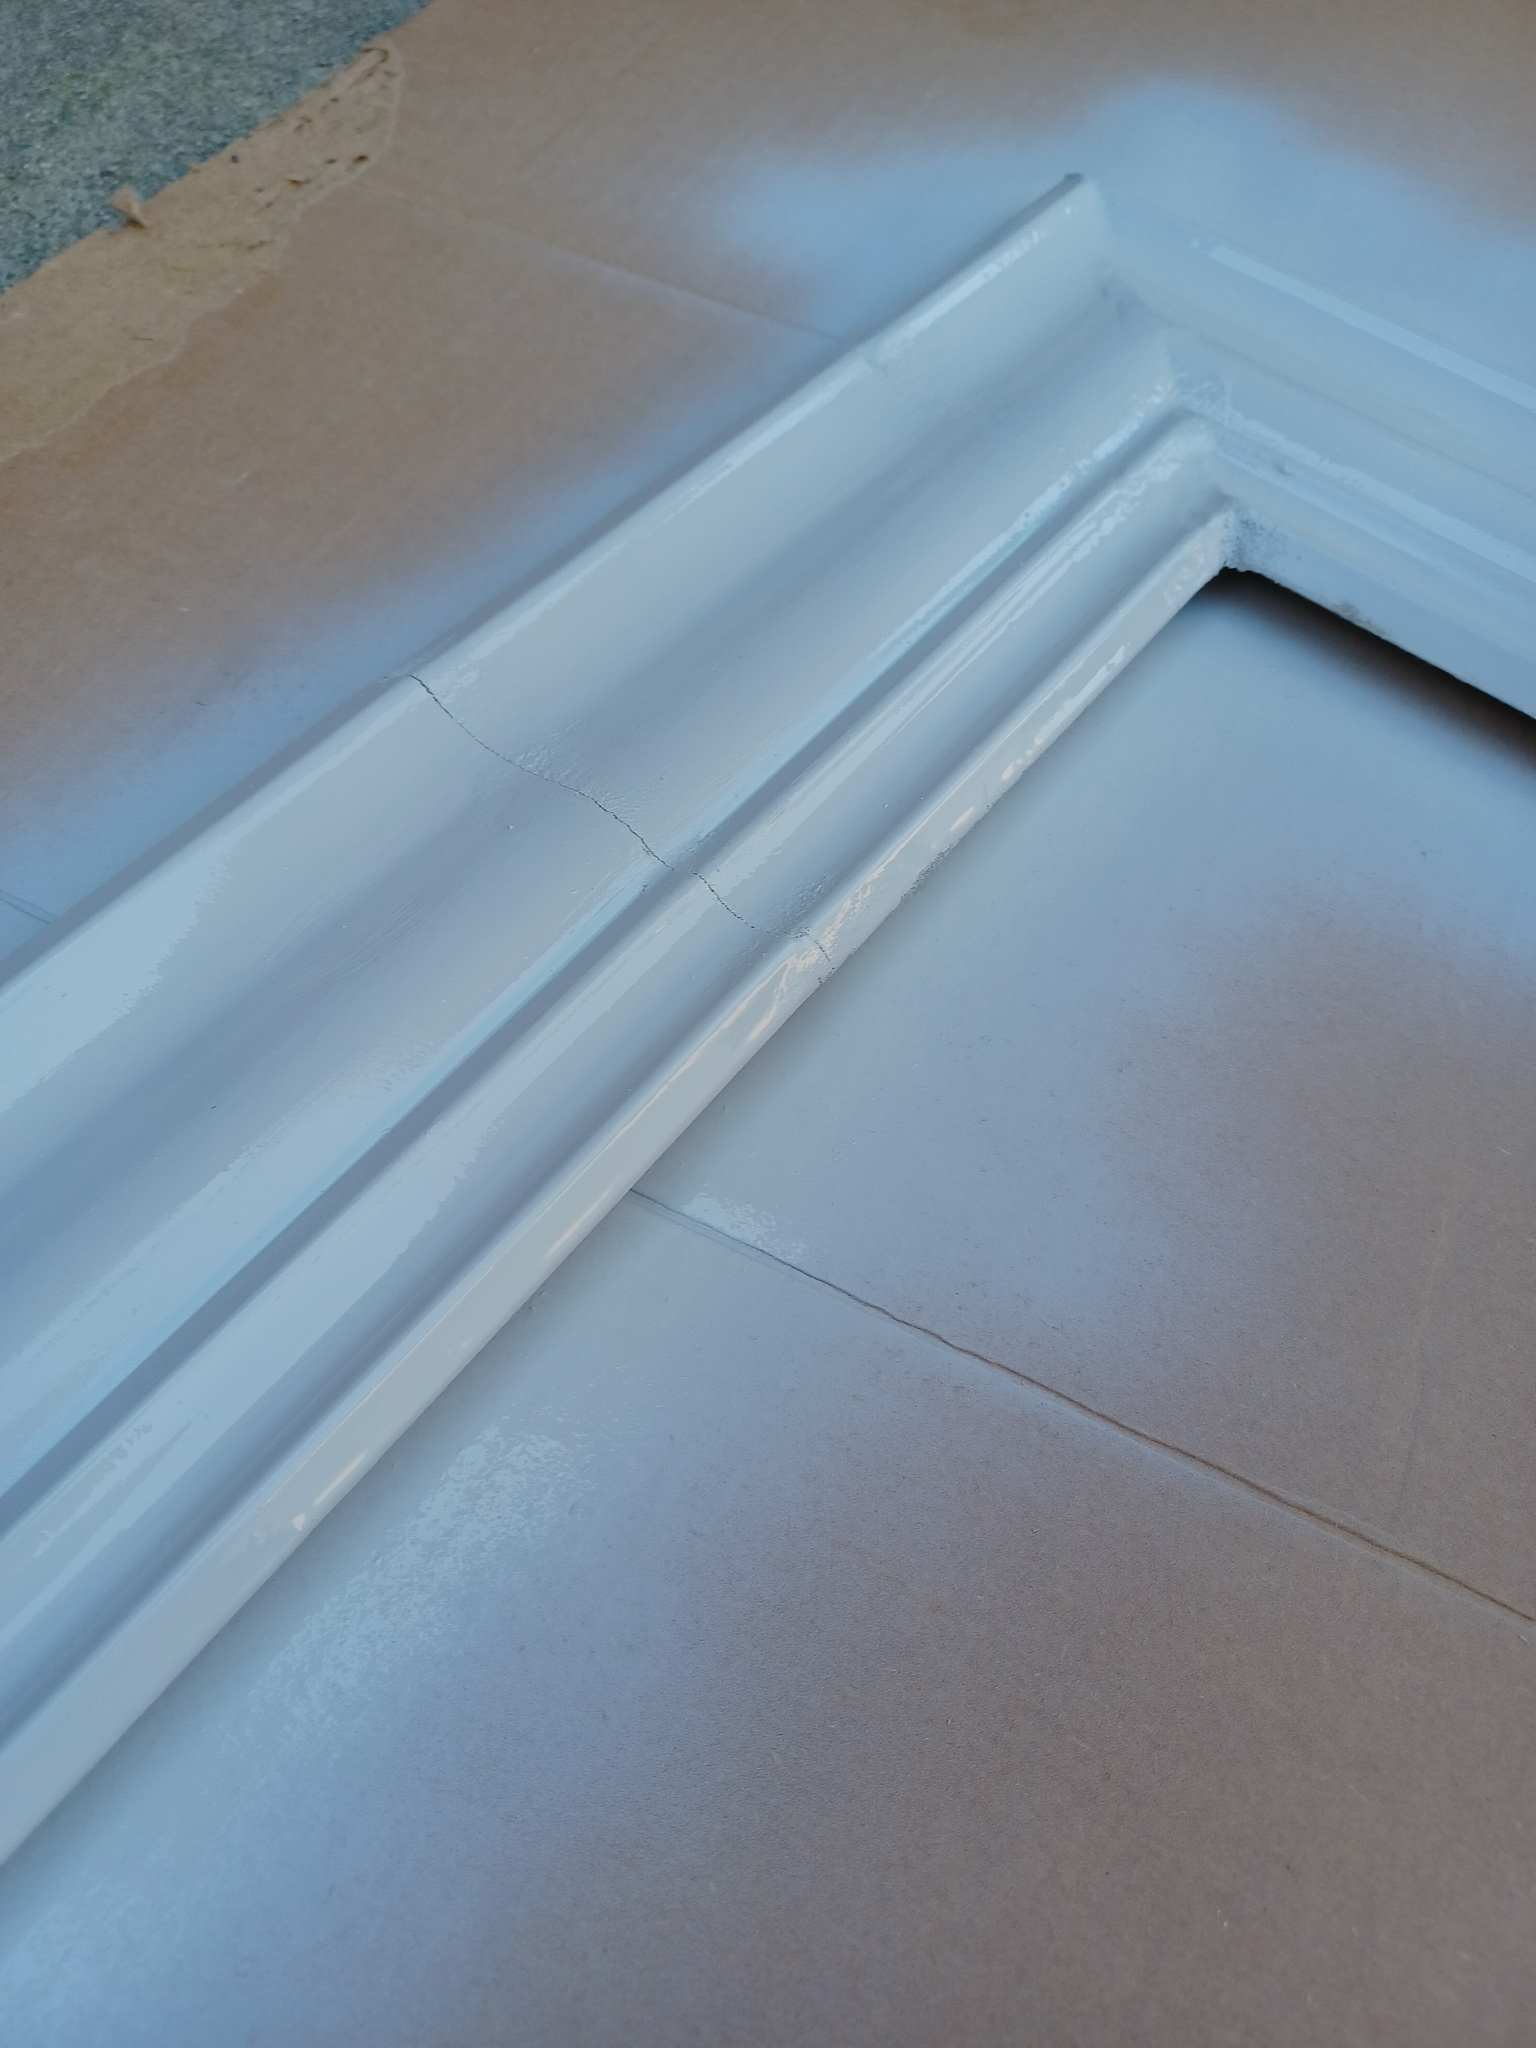
Measure the frame for your mirror. You will want at least 0.5" overlap of the wall trim to the mirror so the mirror has something to adhere to. Allow for an additional 0.5" if you're using crown molding since it'll be raised a bit off the mirror.
The difference between crown and window molding is that crown is angled to connect your wall and ceiling together. Whereas a window & door (or wall) trim will lie flat on it's back.
Be extra sure that you are cutting your angles all the same way so that the pattern continues perfectly all the way around. You'll be cutting 45 degree angles inward. This means that the longest side of the molding will end up as the outer edges of the frame, while the shortest side will be the part that overlaps the mirror. If you cut your angles the wrong way, just cut them the right way and shrink your mirror width.
I will admit that I didn't follow my own advice and I accidentally cut one of the long sides the wrong way. I didn't have extra molding since I was gifted my material off my local Buy Nothing group and I was on a massive time crunch (my toddler was napping), so I made a bold move: I took a few of the scrap pieces and piecemealed one of the corners together. My husband is a stickler for project perfection. Small knicks in corners and scratch marks drive him up the wall. He still hasn't noticed the joints in the frame, and its been WEEKS! As long as you properly fill with wood filler and do your best to smooth out the joints with a fine grit sandpaper, you shouldn't be able to see the corners or lines of connection.
Assembling the Frame
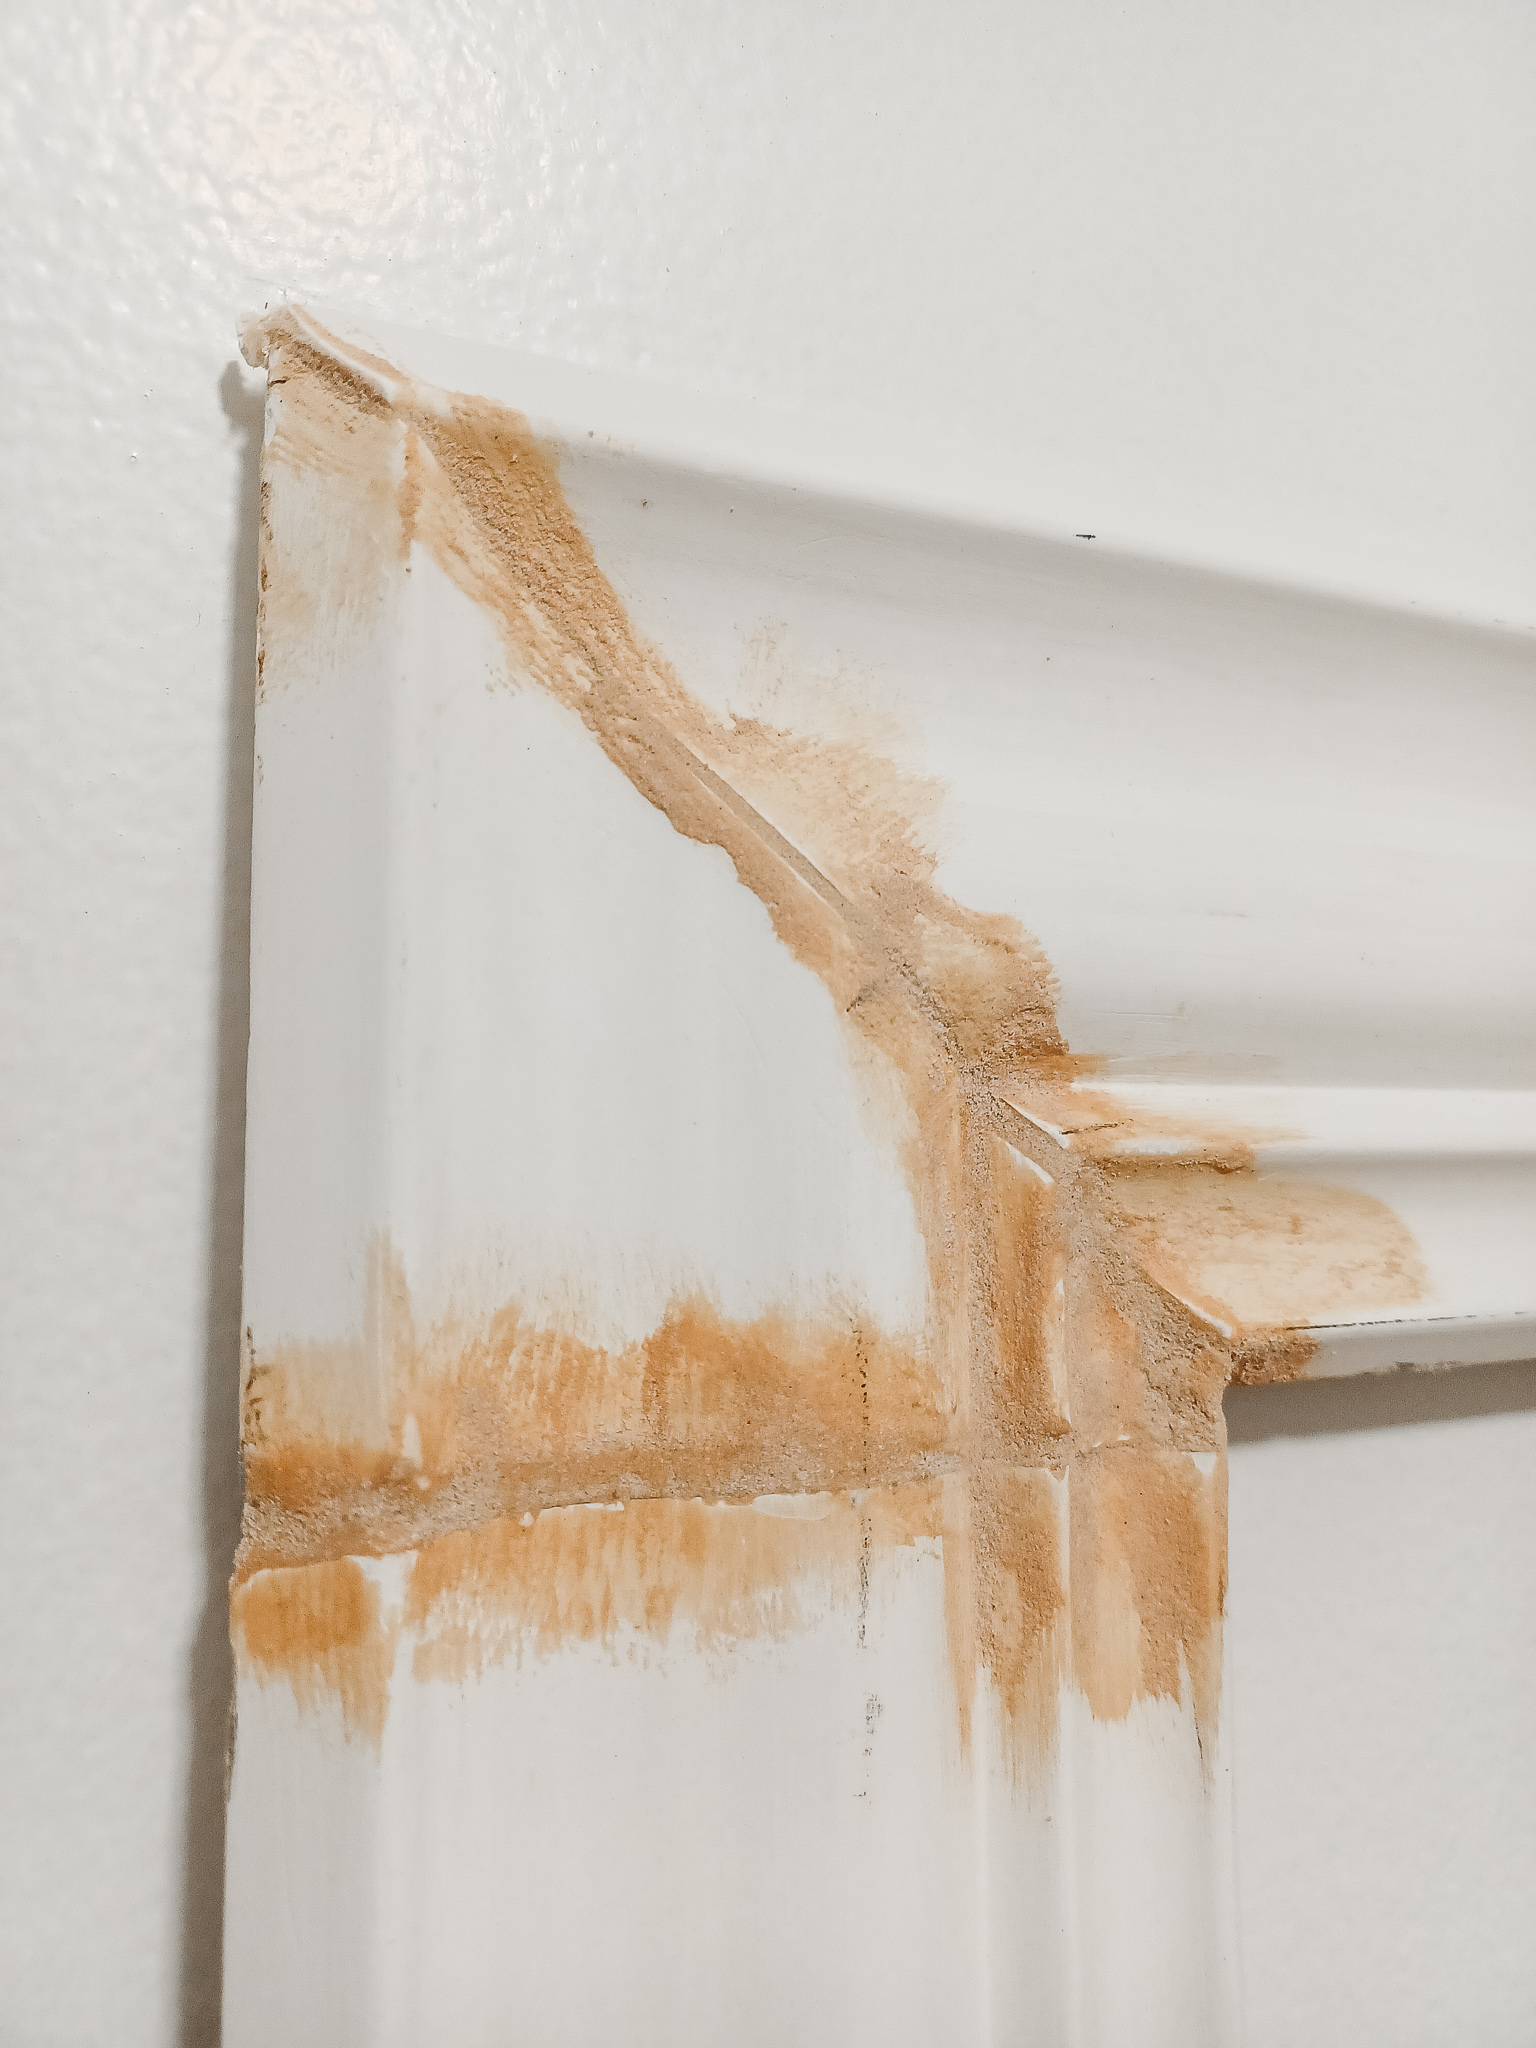

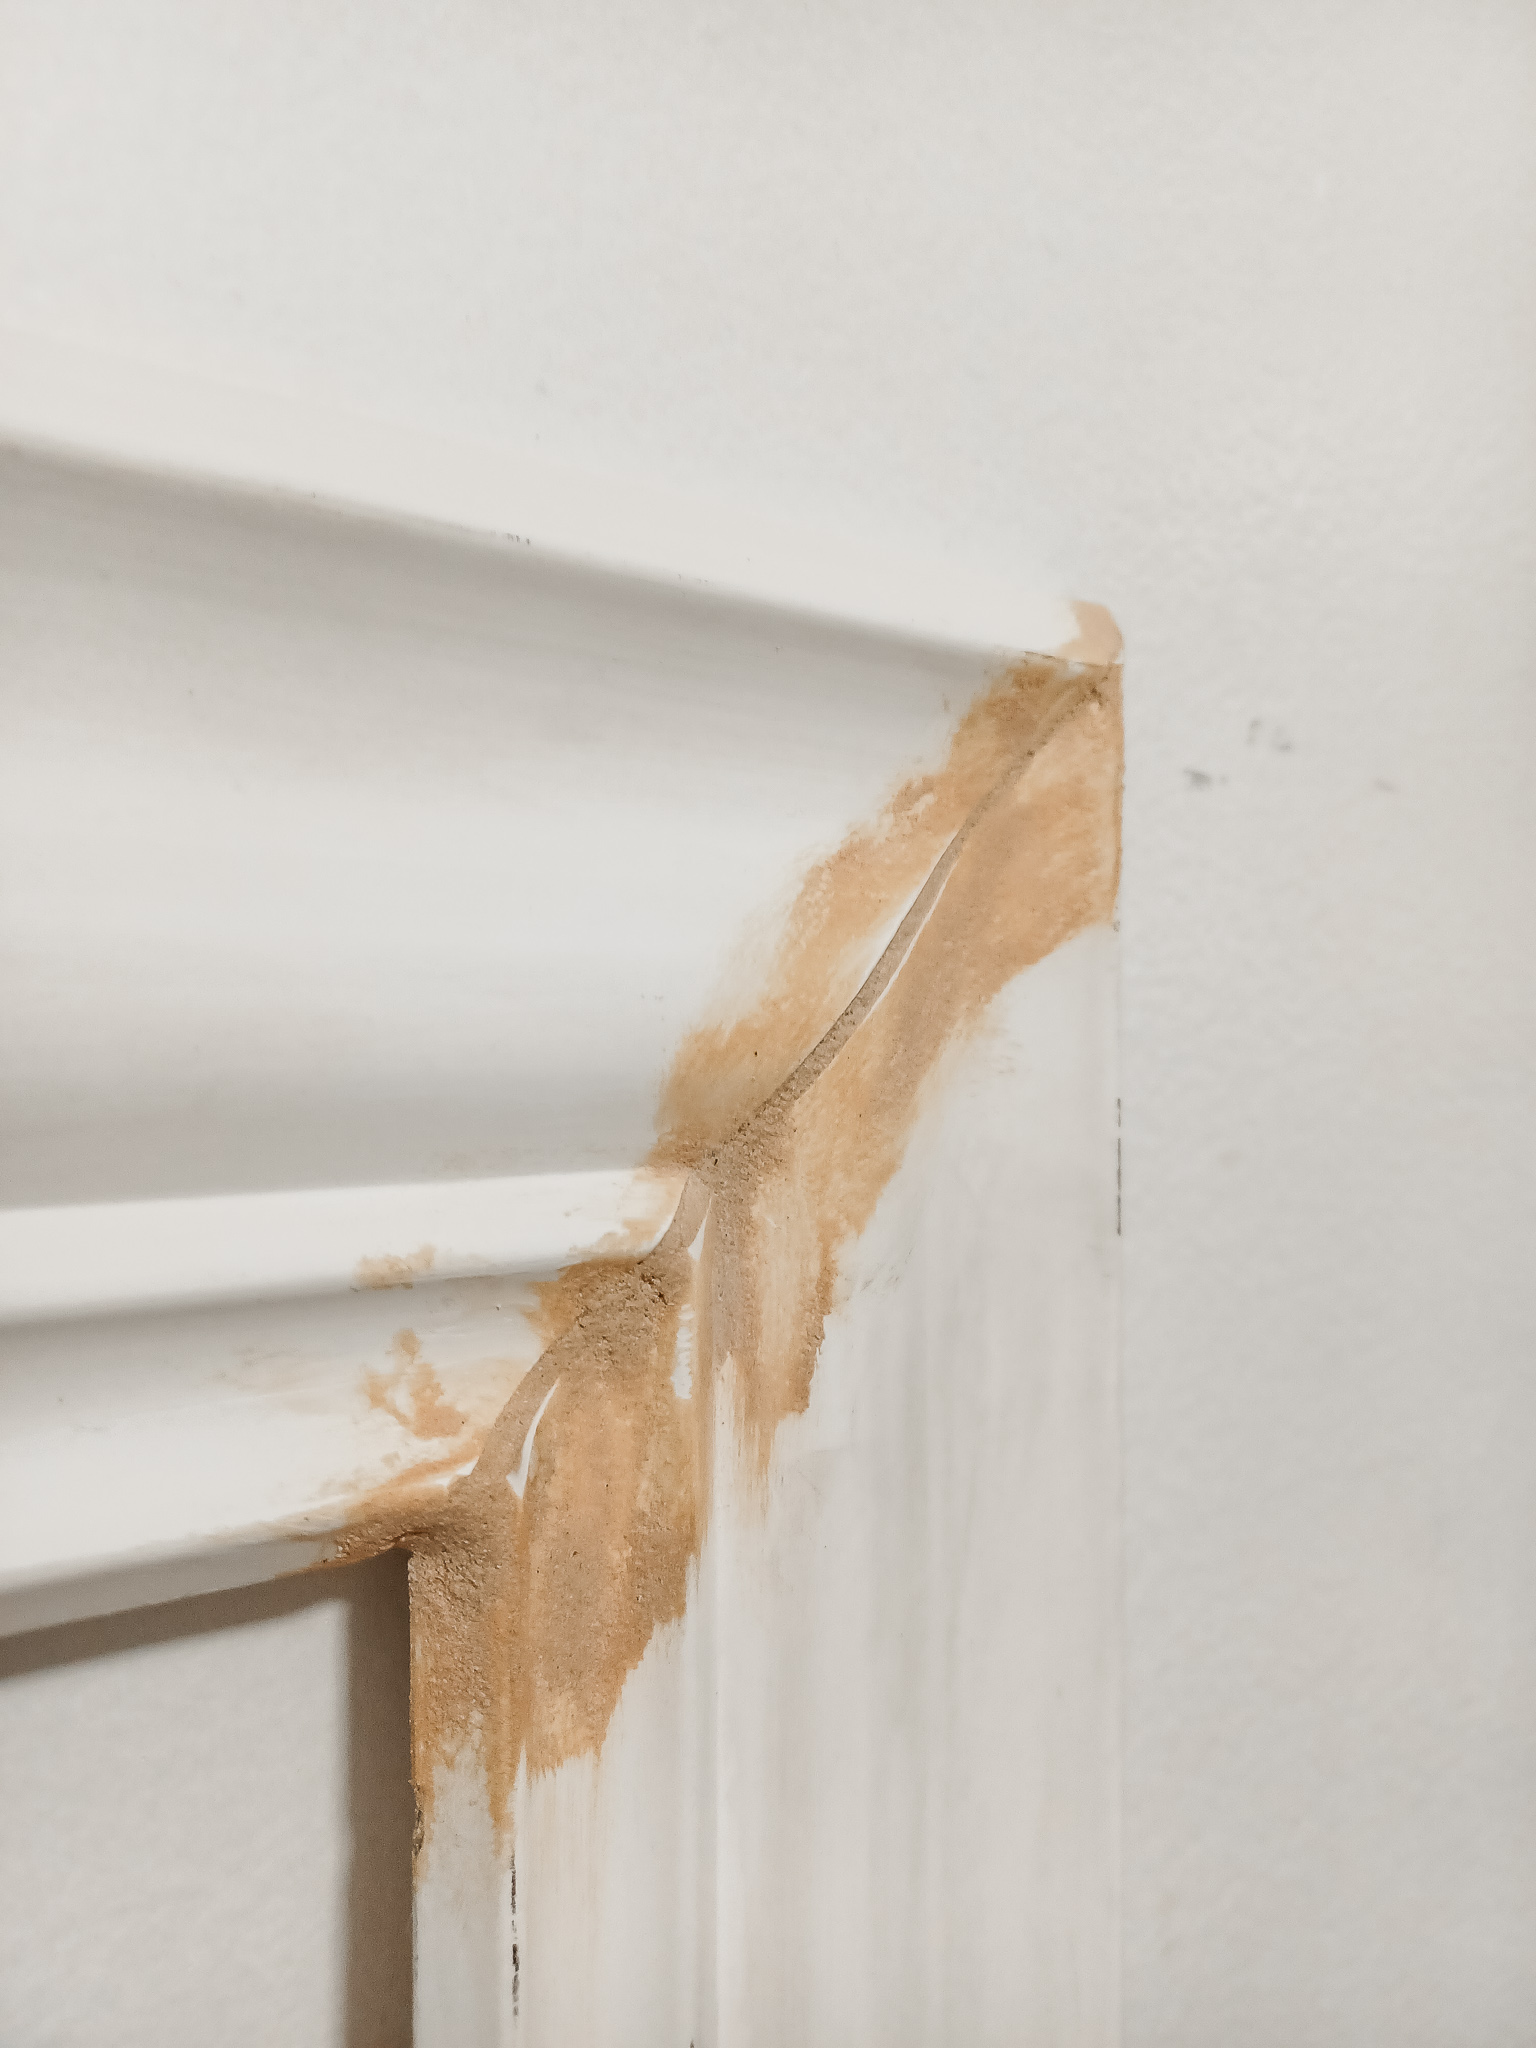
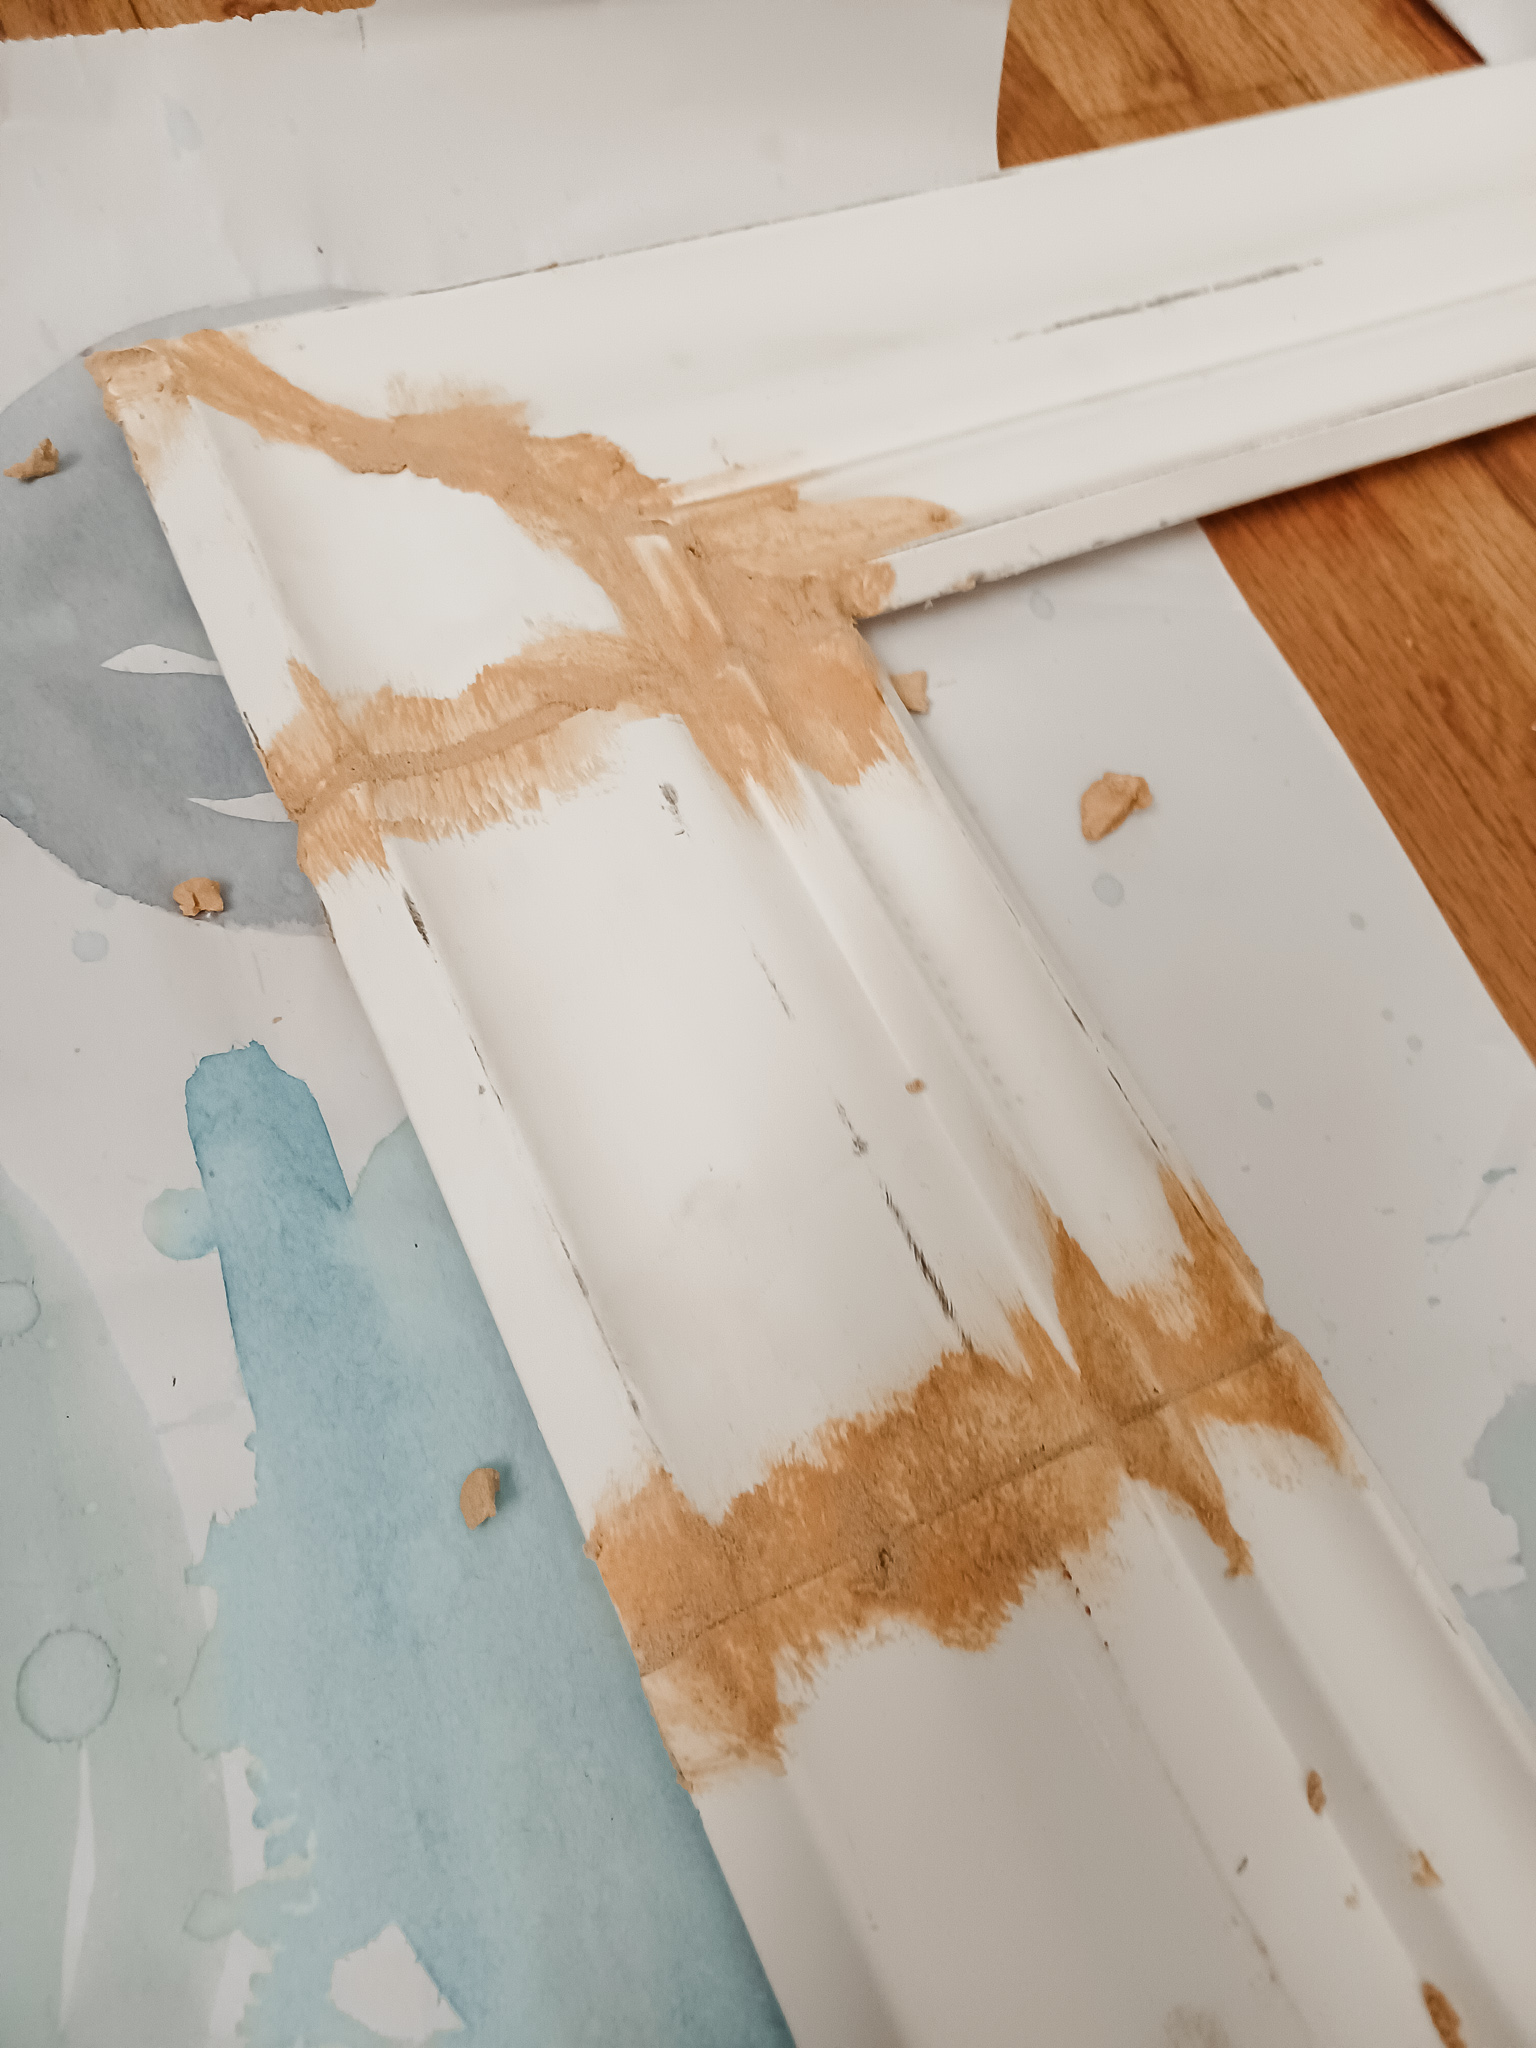
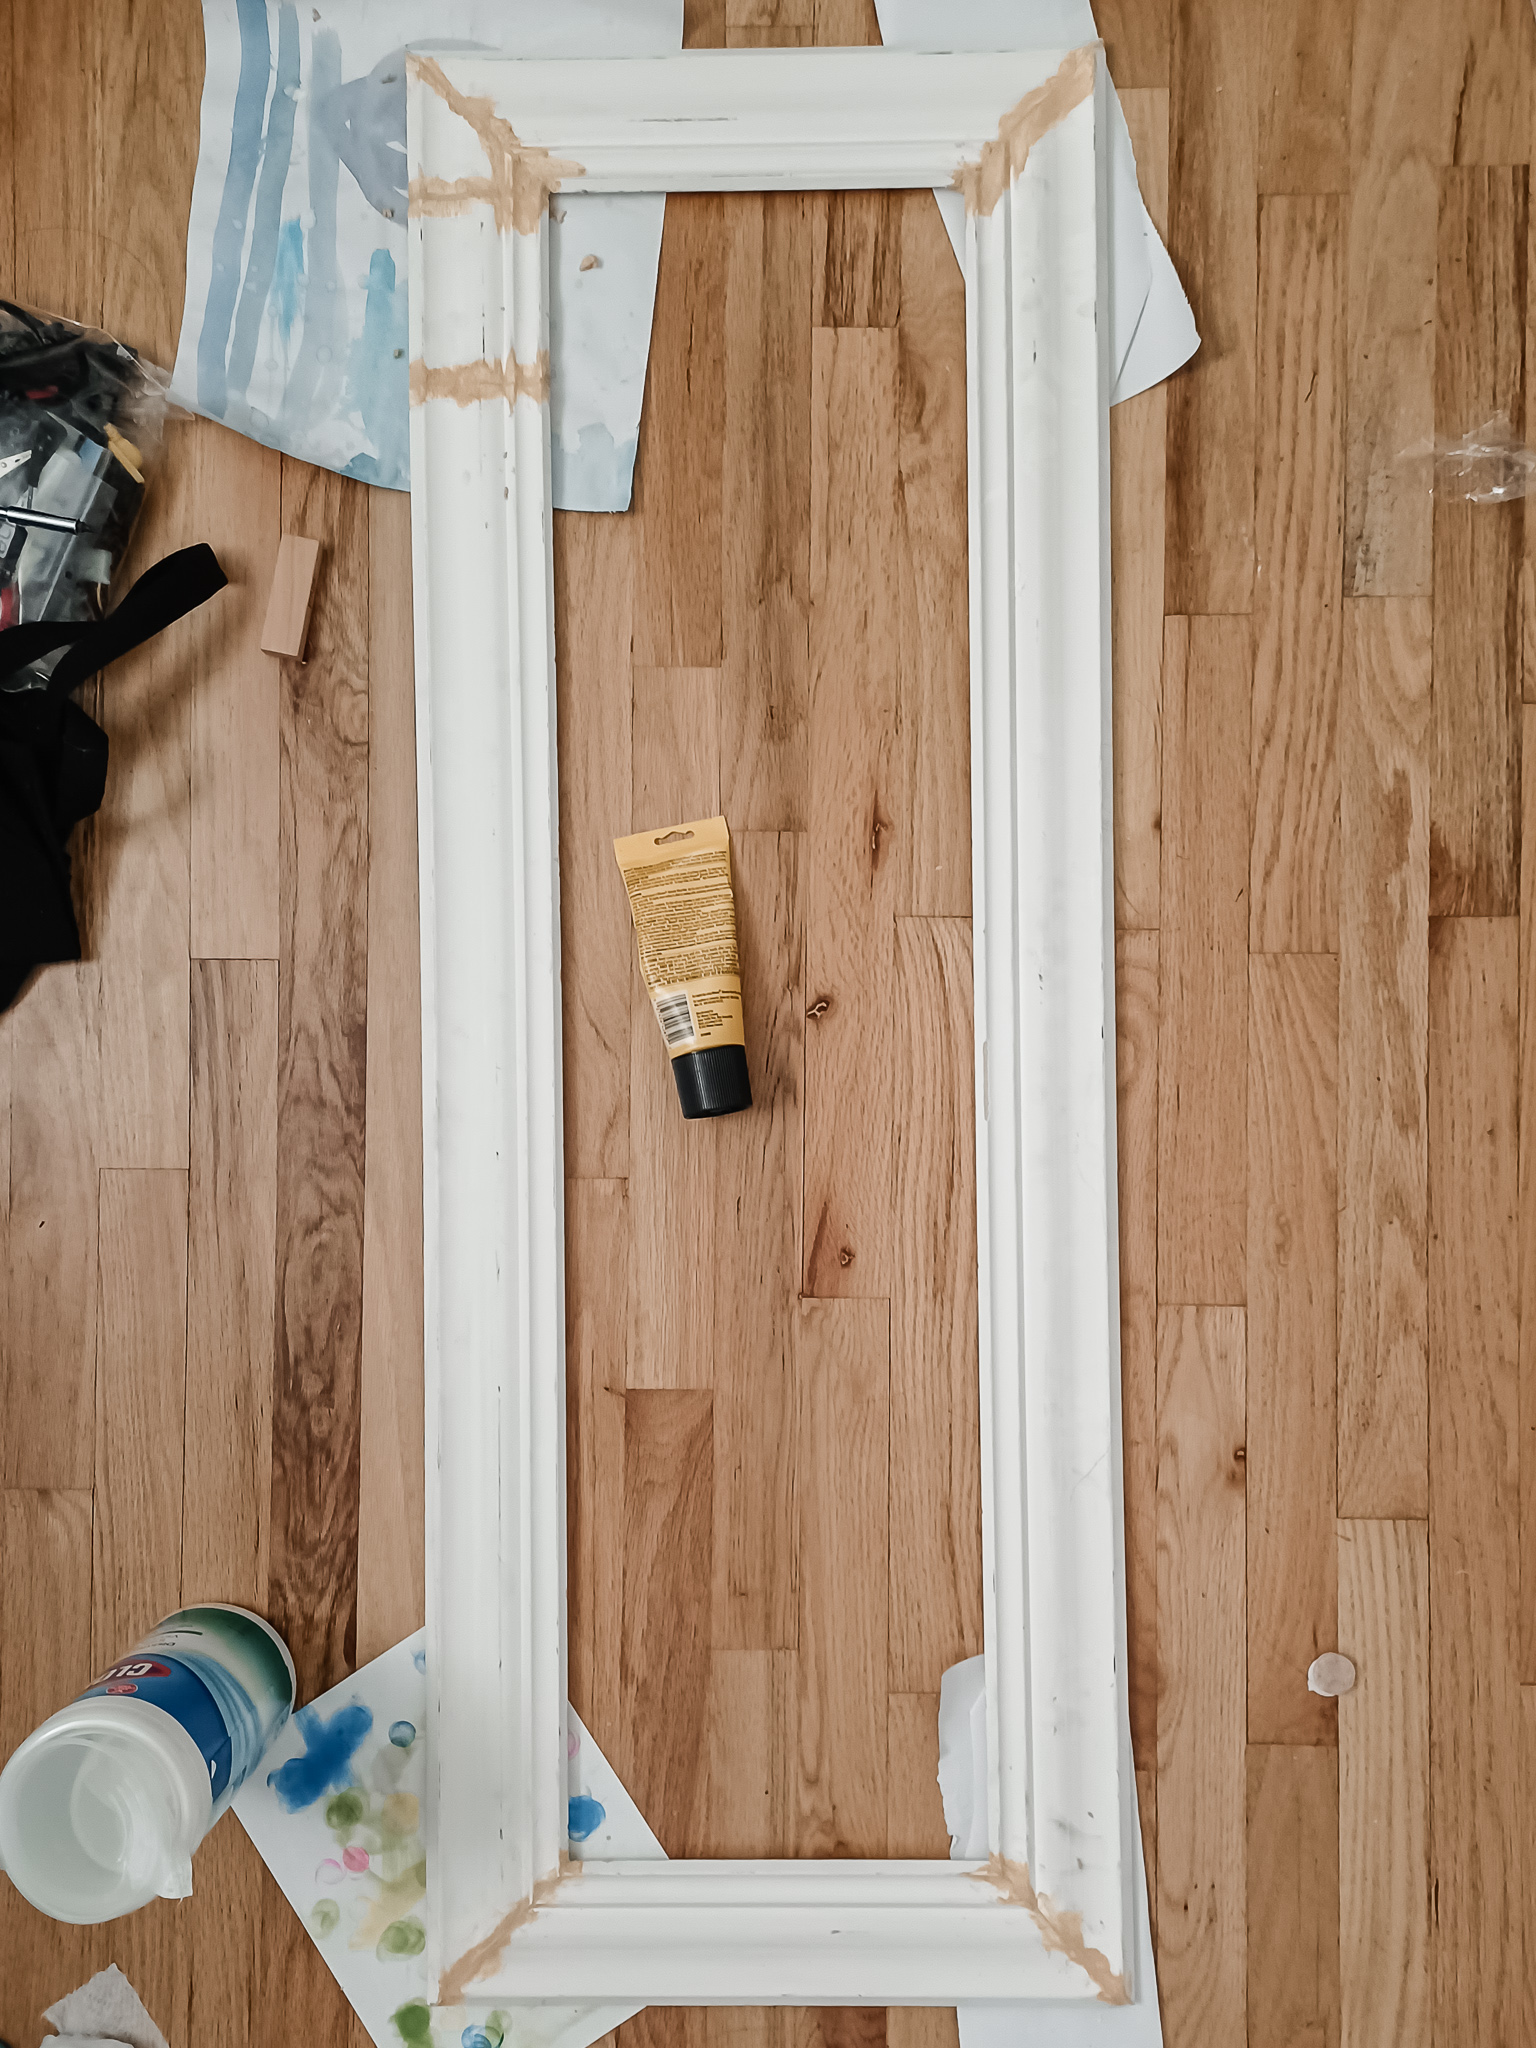
Once you have the molding pieces cut, lay them face down on the floor. Use your wood glue and staple gun to connect the pieces. Wait until the glue completely dries before flipping it over. You'll want the glue dry not only for stability, but also because you don't want the wood filler to trap any moisture in the middle. Add your wood filler to the seams of the corners (and any mistakes). I recommend using your fingers to make sure everything is flush with the molding. Once fully dry, use a fine grit sandpaper to smooth out the wood filler. Repeat if necessary.
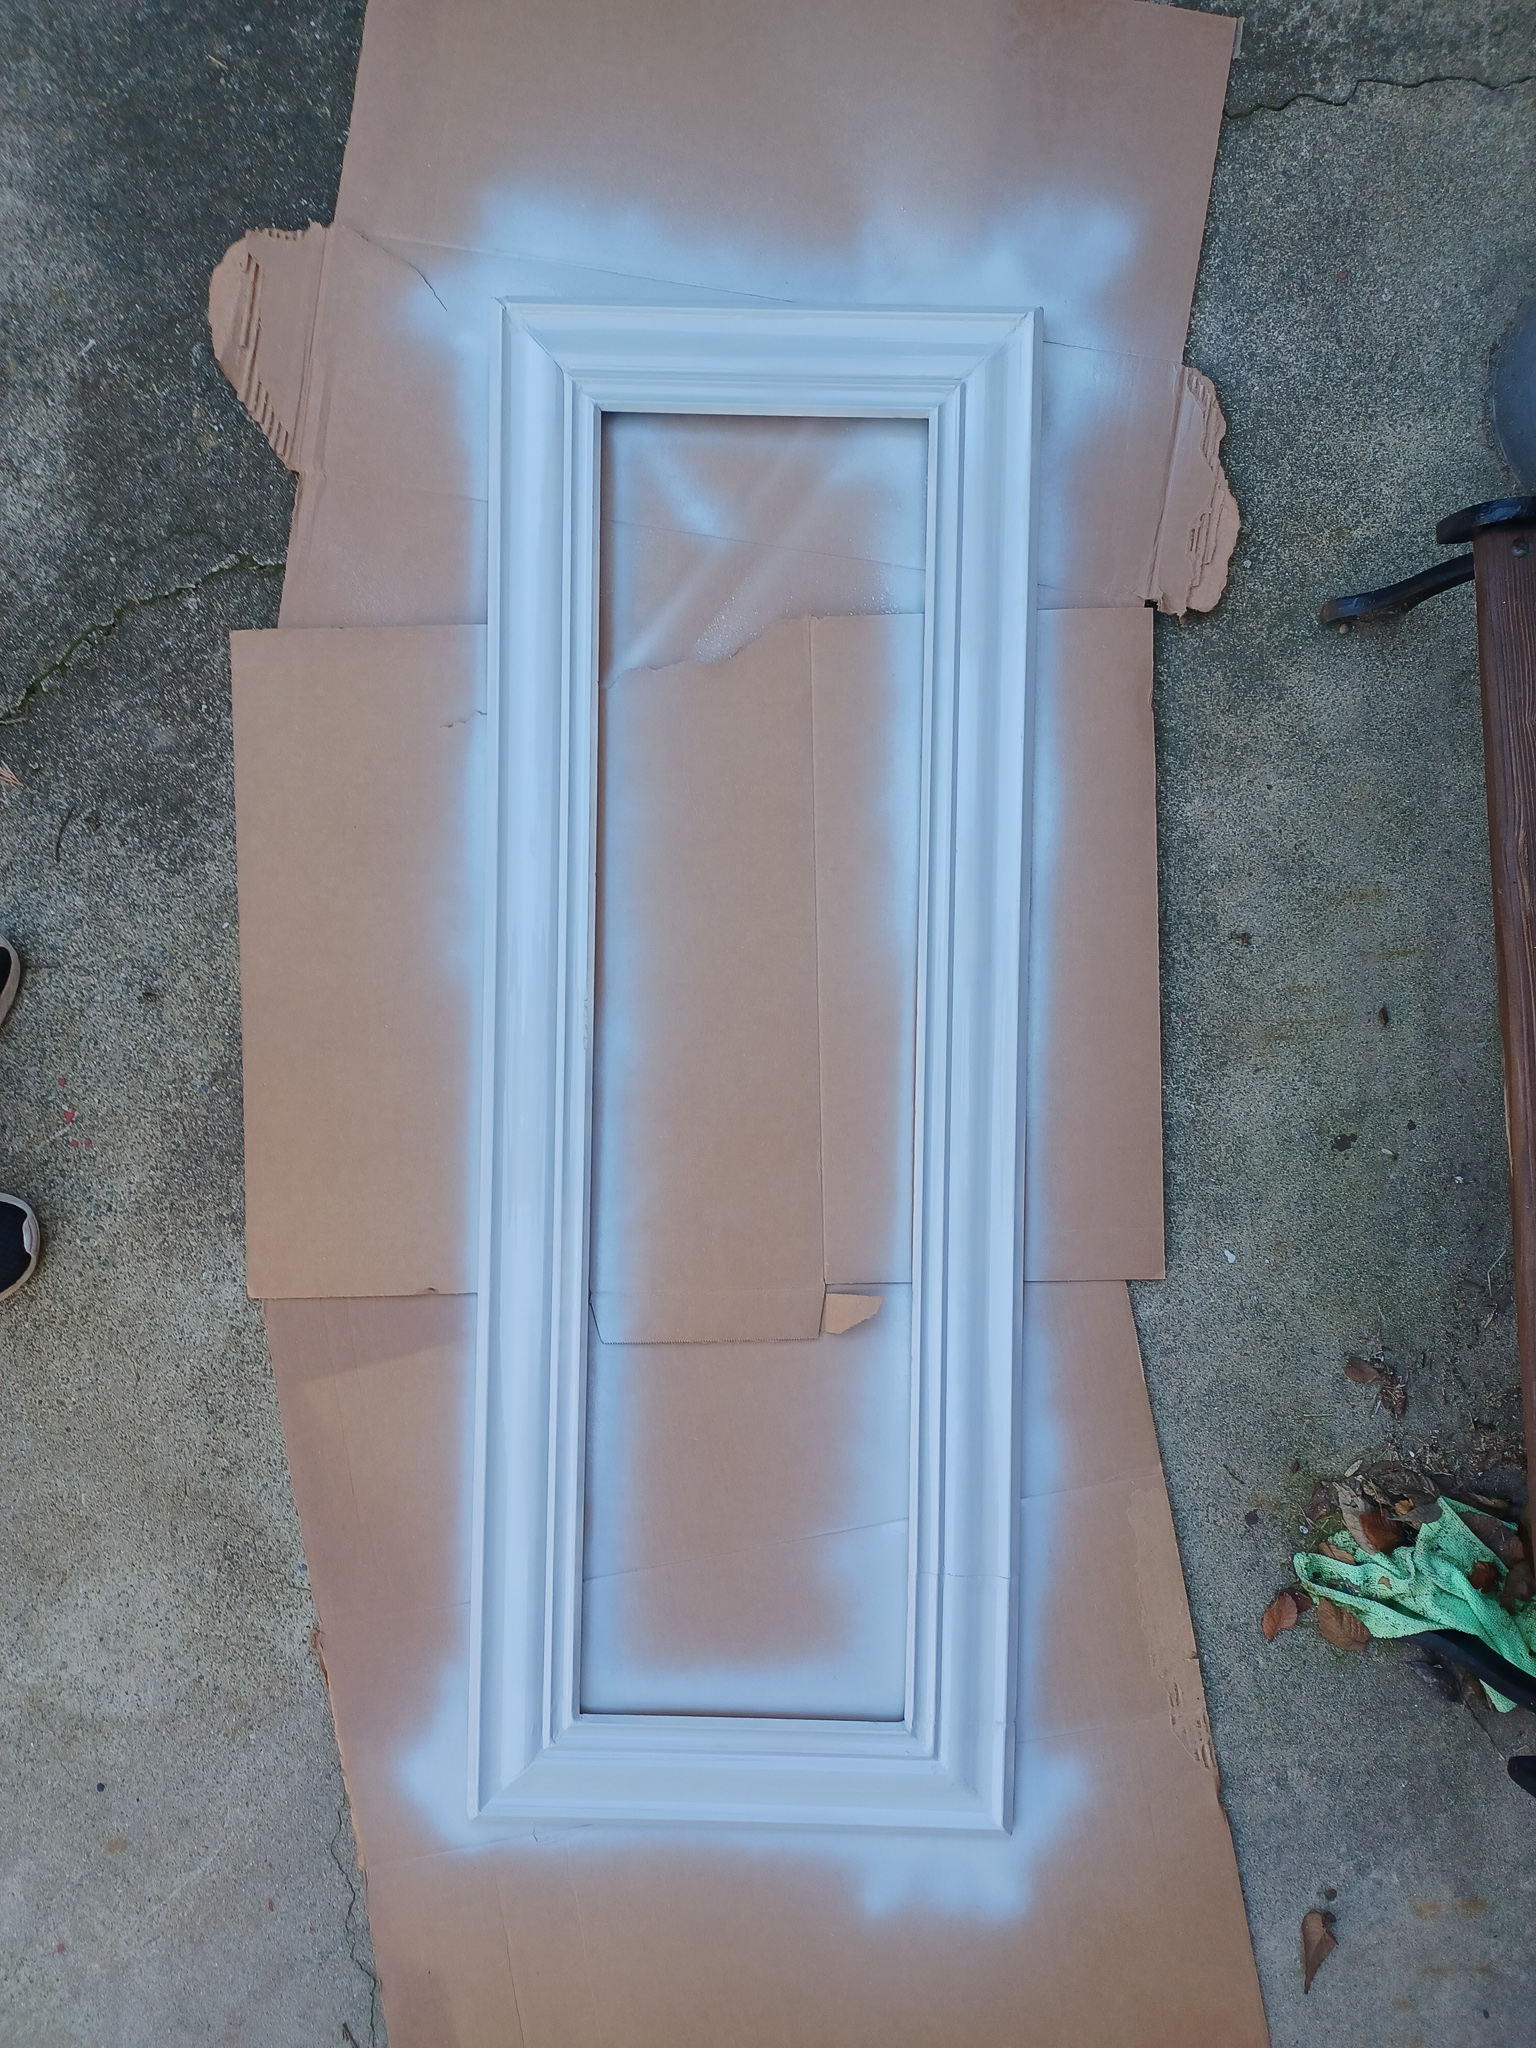
Take your frame to a well-ventilated area to paint. I used Rustoleum Primer in white to give everything a nice topcoat for the new color to sit on top of, and covered overall in Krylon Chalky Finish in Misty Gray. If you're using crown molding, make sure you paint an inch or so of the inner part of the frame that will sit on top of the mirror. I didn't catch this at first and you could see the brown backside in the reflection. I had to cover everything up and repaint. Ideally, you'll want to give your frame a full day to dry and cure before adding the frame to the back. This will help make sure that you have less chances for paint dent and scratches when you go to attach the mirror. If you don't have more than a few hours, lay down cardboard, a bedsheet (that you aren't worried about potentially getting paint on) or wrapping paper on the ground to rest the frame on top of.
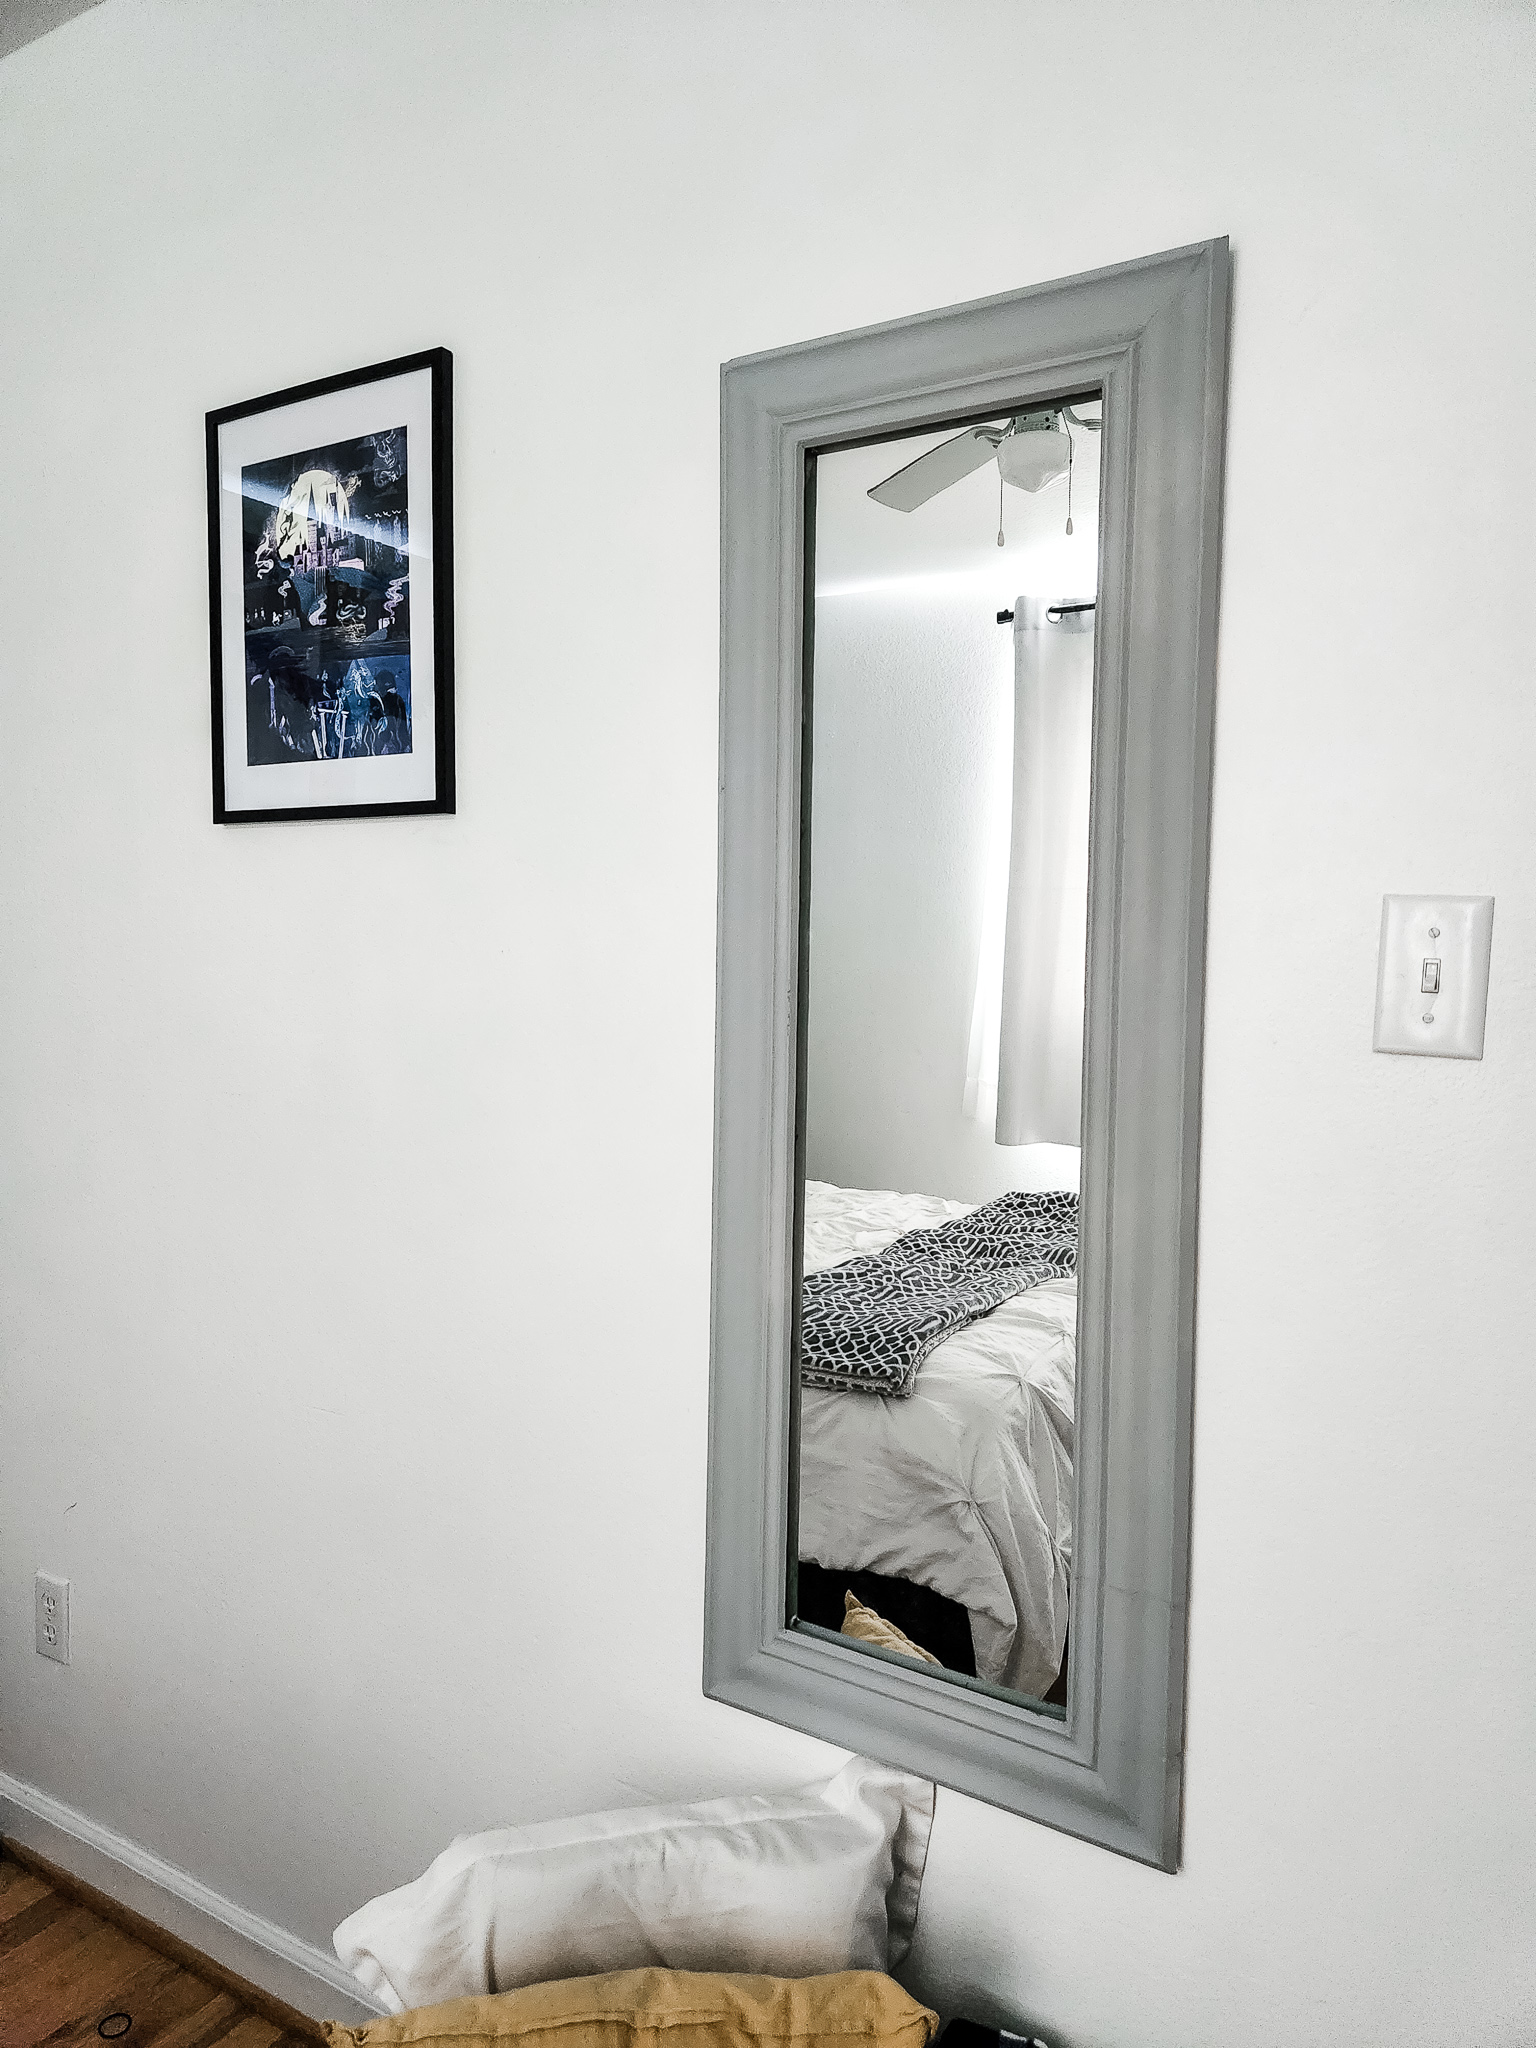
Finally, place lines E6000 glue on the inner part of the frame and place your mirror on top. Allow your glue to dry for at least six hours before flipping it over. E6000 glue is epoxy glue, and epoxy needs a full 24 hours to cure. Once the glue has completely cured, screw 2 sawtooth hooks to the top two corners of the frame. Use screws in the wall to mount it, as the weight will be more than nails can handle. And your DIY full-length wall mirror is complete!

Hang Your Diy Full-Length Mirror
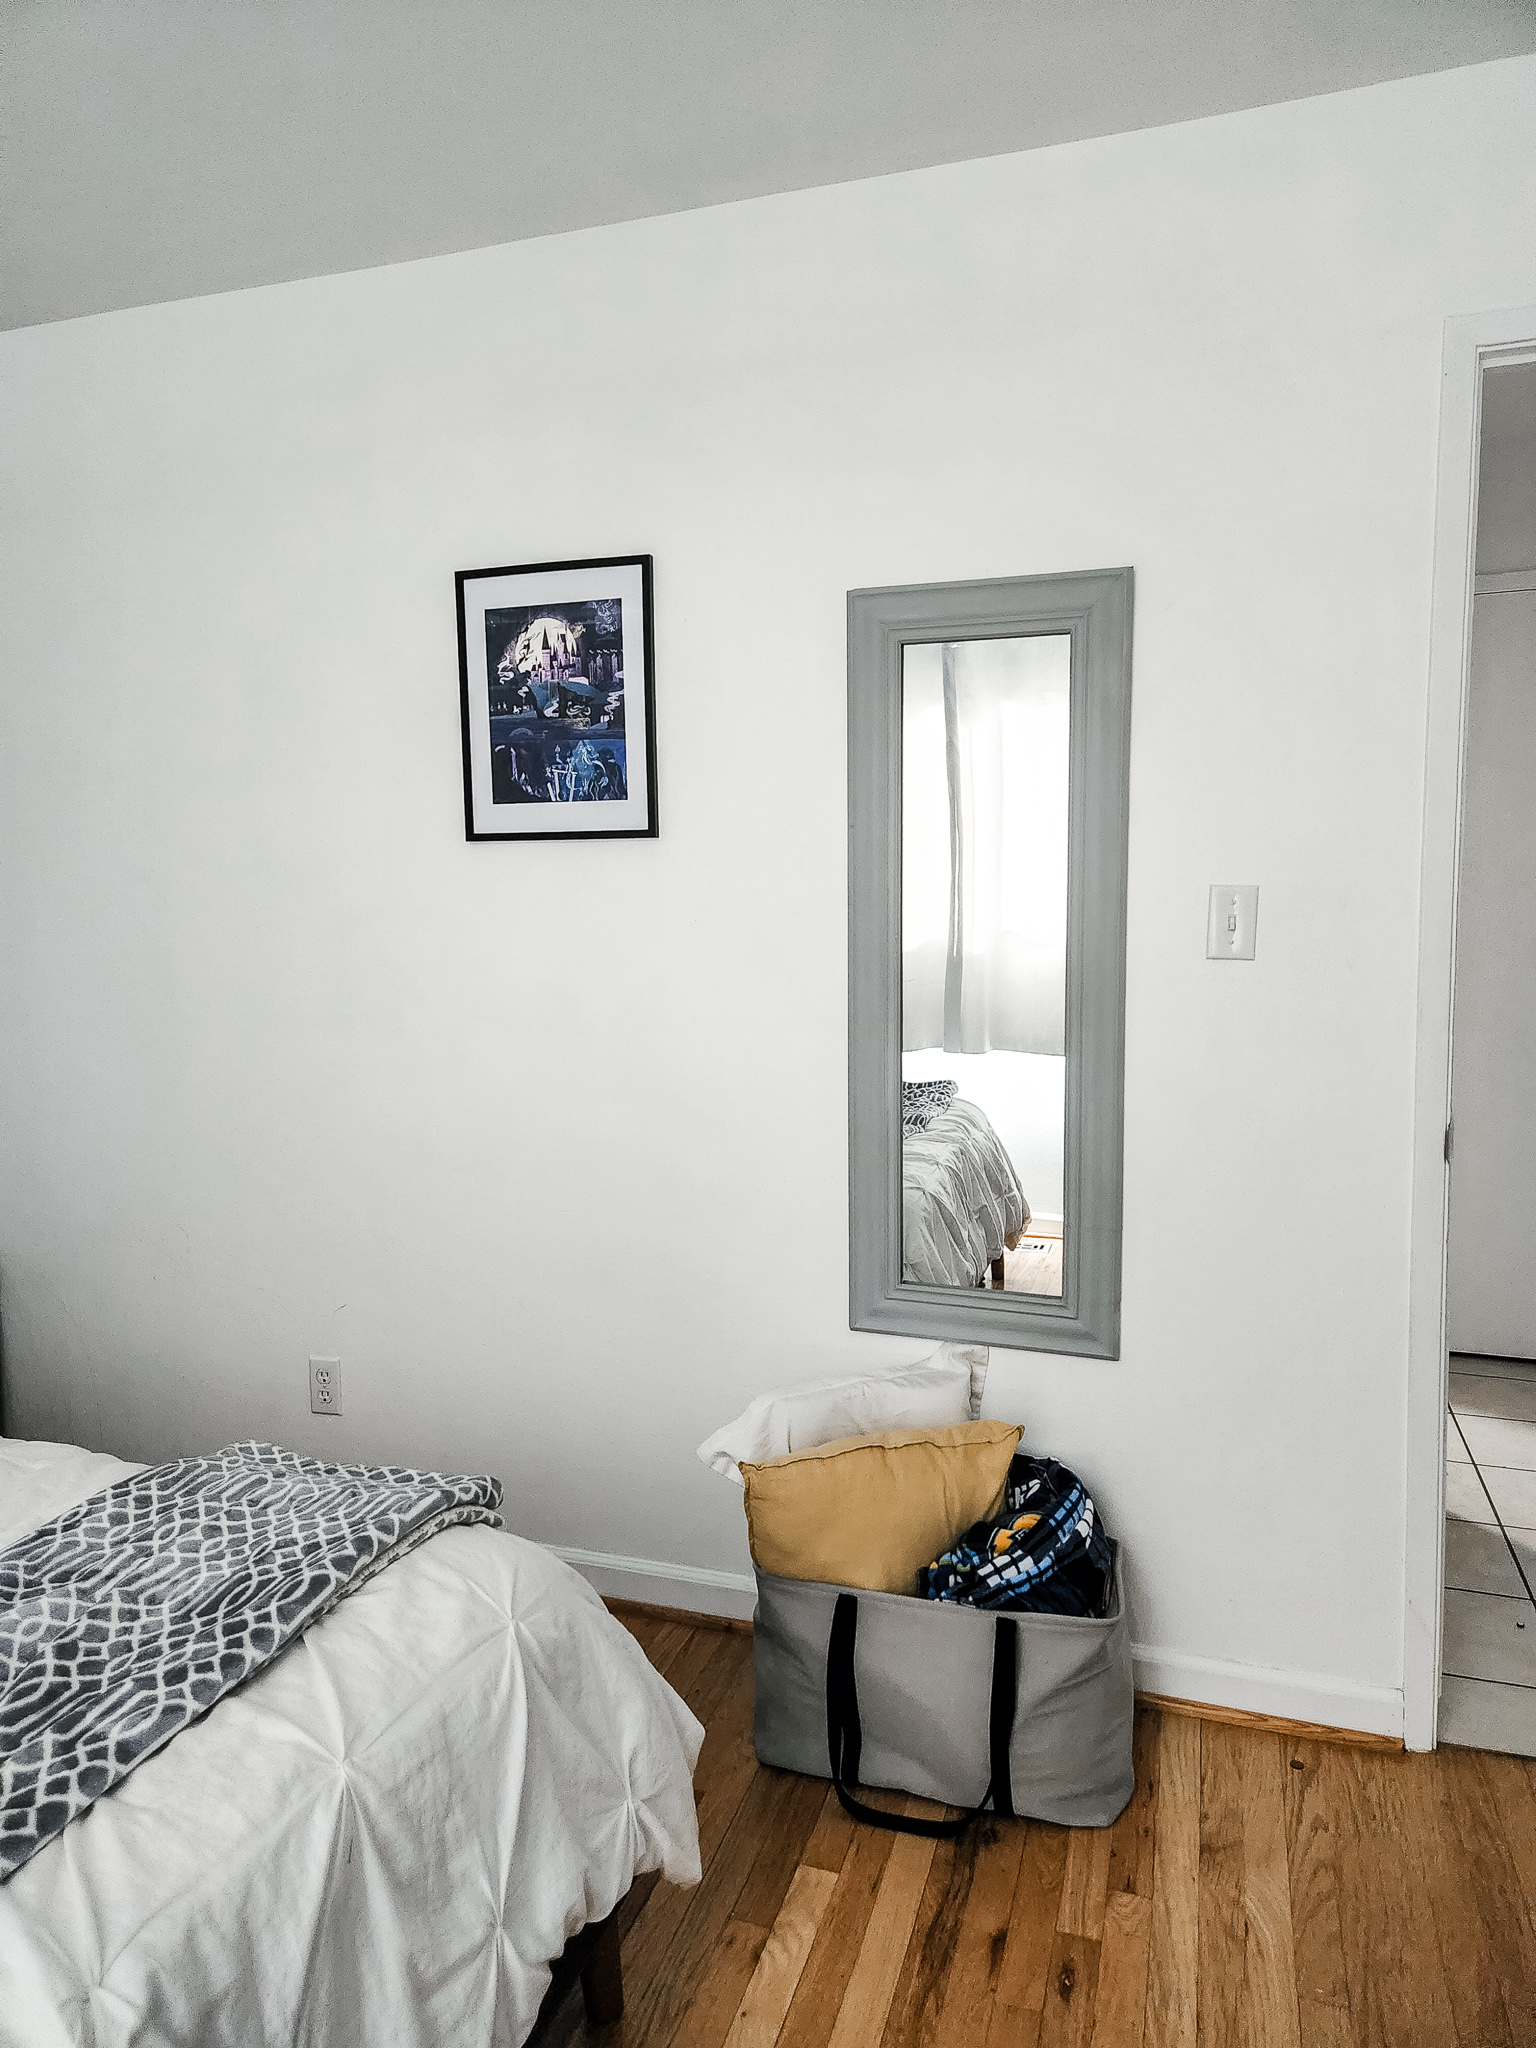
This project took me a few days to complete, but I only worked on it for a few minutes each day. The project isn't hard, there's just a lot of passive time waiting for things to dry or cure. If you're like me and you really only have your kid's naptime to work on extensive projects, this is perfect one to take on. I've been loving having the mirror in my room and it's helped renew my desire to get dressed in things not loungewear. I'm excited to do more fashion posts here and on my Instagram. I've loved working on this project so much that I picked up another mirror off my Buy Nothing group and plan on using up my other piece of trim to make one to sell or gift!
If you make this project, be sure to link your post in the comments or tag me on social media (@withlovejoey everywhere)! I love seeing your projects and your takes!