
Important Tips For Building An IKEA Kitchen
Next in my IKEA kitchen remodel series, I'm covering important tips for building an IKEA kitchen. These will help your process run smoothly and efficiently! This post is also going to have a LOT of "during" photos from the kitchen renovation, so you'll be to see how we used some of these tips in action. If you didn't see my first post in the series with my kitchen reveal, be sure to click here to check it out! You can also subscribe to my monthly newsletter where all the posts for the month are recapped and linked for your convenience in one email!
Utilize the kitchen planner software on the IKEA website
Make sure that you use all accurate measurements when planning your IKEA kitchen. The planning software is extremely detailed unlike any other free planner that I've been able to find. As the saying goes, "measure twice cut once"! Be sure to account for door openings, and make sure that the space between your cabinet and your wall is at least an inch or two apart in your measurements. And yes, you will need spacers and cover panels.

If you can please your order all at once online for delivery.
Not everyone will experience what it's like remodeling a kitchen during a pandemic like I did, but one thing I do wish that I had done was ordered everything online all at once. In my area, and the majority of the area across North America, the Navy door fronts are not available in store. As way to lessen the financial below, we thought it would be a good idea to purchase everything at separate times. This was such a massive mistake on our part. While it did help drastically with the financial aspect, we didn't account for possible long-term shortages. In total, I had to make 4 online purchases and 3 in-store purchases for all of my inventory. At the very least, order your online items in one go, and all of our in-store pickup items directly afterwards. IKEA also charges $99 for deliveries, so make those delivery orders worth the cost!
Double check your inventory the second it gets in your hands, whether online or in-store!
I didn't realize that I was missing so many items when I left the store during my first trip, which was absolutely my fault. I should have checked before leaving but I didn't and that caused a lot of problems for us. Additionally, when I began assembling the cabinets, I realized that my 36-in sink cabinet had a broken panel. Luckily I was planning a trip to recover my missing items two days later but had I not I would have had to make a whole separate 45-minute drive just for that one cabinet. Your cabinet bases are your main items so be sure to always check those first. Doors can easily be replaced and shipped quickly, but cabinets are needed to set the stage for everything else.
If your items get delivered, be sure to check every single item that gets handed to you versus what it is you ordered. While I never had an issue, my sister-in-law had someone else's entire order delivered to her when her items arrived. Luckily for her my mother-in-law caught everything and was able to get the matter resolved right then and there. The people who do the delivery are contracted through IKEA. It put them in a real bind for when her contractors arrived later that evening to set up the kitchen that they didn't have. When I picked up items in the store, I opened every single box and double checked them before loading them in my car. It may seem silly, but it's a lot better to deal with the hassle there rather than when you get all the way home!

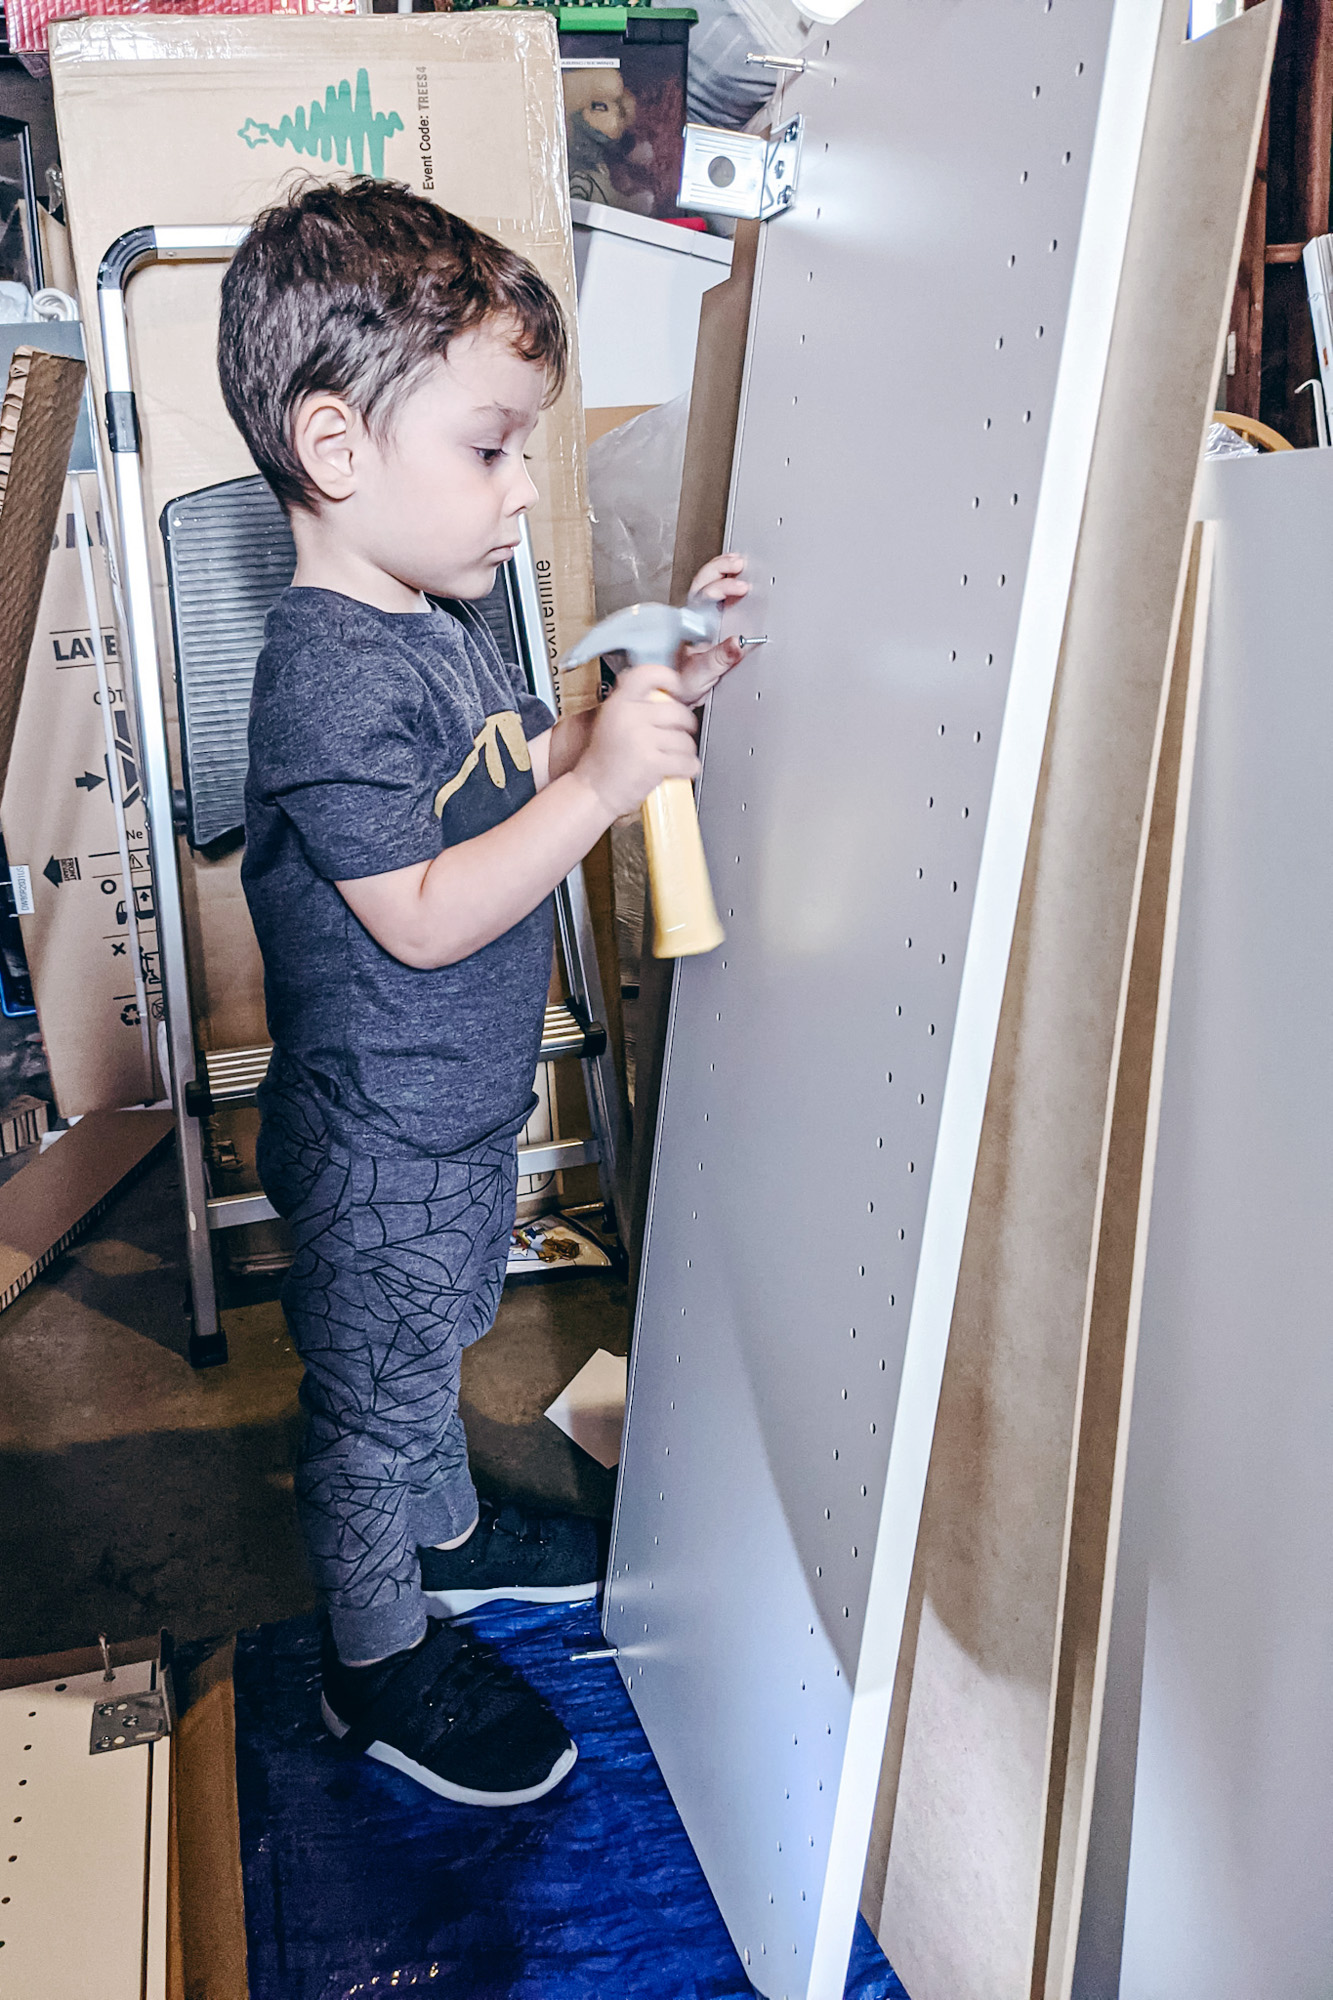
Assemble all of your cabinets ahead of time to save time stress (and even possibly money)
Assembling the cabinets has been one of the easiest things I've ever done. And I've assembled a lot of IKEA furniture in my day. They are a little bit on the heavier side so for those of us with weak backs please keep that in mind. However, I was still able to assemble them all by myself while my husband worked. Many contractors will cut you a discount if you assemble all of the cabinetry yourself, even sometimes the contractors you use through IKEA. Just note that base cabinets need 2 people to stand them on their legs after assembling.
Consider going through an outside company for your countertops
We were originally going to go through IKEA for our quartz countertop, but the turnaround times we're going to be really long and we were potentially looking at a month out before getting our countertop. So we checked our local hardware stores to see how much the cost would be to get our three small cabinets done. While Lowe's has a minimum square footage that they will work with, Home Depot does not and, in our state, Home Depot does not charge sales tax for the purchase and installation of the countertops. In total are counter top cost about $400 less with Home Depot than it would have with IKEA, and we were able to get a high-end quartz brand installed.

Check out Home RenoVision DIY's coverage of how to install IKEA kitchens on YouTube
Mike and I happened to independently find Home RenoVision DIY on YouTube during our research phase of installing the cabinets. He gave us the confidence to go into this project, and that's what you need when any whenever you're going into a remodel project of any caliber. He simplifies the installation of IKEA kitchen cabinets, as well as doing floating islands. Click here to watch his video on that.
Get the cover panels, even if you're doing an all-white kitchen
For the longest time, I honestly believe that we didn't need the cover panels for the cabinets. I thought it was silly and that it didn't make sense since the cabinetry of the IKEA cabinets is already white. It seems like an unnecessary amount of money to spend, but in reality you actually do need it. The sides of the cabinets have holes in them for attaching the backing and the bottoms and tops. The cover panels are used to help cover those up. There are two different types of white: glossy and matte. We used the Axstad line for the navy lower cabinets and FÖRBÄTTRA for the upper white cabinets. While this line has Navy and gray, it does not have white. And that is because they use one line for both the glossy and regular whites. In conclusion, yes you absolutely do need the cover panels do not skip on them.


Overpay for your countertops and get the refund later
Something that they may or may not tell you is that providing an inaccurate set of dimensions for the countertops can cause a massive delay in your installation process. What all of the vendors told me was that you should always overestimate the length of the countertops you need. Your depth will almost always be the same at either 26" or 16", depending on the type of countertops you're installing. We happen to be doing 2 - 26" depth counter tops and 1 - 16" countertop for our buffet area in the dining room. I overestimated by about 8" on every single countertop and overpaid by $100 or $200 doing this to help Ensure that we had zero delays. If you underestimate and you have to pay extra, this will cause a production delay until you can get in store or on the phone to pay the difference. A 2-day delay in you paying them, could cause a couple of days to a couple of weeks delay in them being able to reschedule coming out. Trust me, those 10+ days without a countertop are an absolute nightmare. Don't underestimate!


Cover the ground with the original boxes when assembling the cupboards
Depending on the size of the inside of your home there's a good chance you'll probably be assembling the cabinets in your garage or home exterior spaces. Cabinets, no matter what company you use, will scratch easily on outdoor services. Also, consider the fact that the cabinets from IKEA are white, so you'll want to make sure the ground is covered before you begin working. Home RenoVision DIY suggested using the original boxes that the cabinet bases come in as ground cover for your assembly spaces. This is a great way to reuse what you already have, and protect your product at the same time. I also grabbed two blue tarps from the Dollar Tree and an old rug to help with extra staging areas. You might be able to get away with not doing this for the base cabinets, but you will especially want to do this for the upper cabinets, since you'll be able to see the underside in certain situations.
And lastly, if you decide to do drawer pulls get a drawer pull drill template
Invest $8 into a drawer pull template. I'll link here the one that I'm using for mine (it's an affiliate link, but there's no added cost to you). This helps make sure that you install your handles in the same spot every single time. The template goes from 3" to 5" handles, which means it's center to center of each part that connects to the actual cabinet itself. If they say it is a 3" center to center, more often than not the actual handle will probably be about 5" long. Even if you're doing knobs, using the template is a great idea because it'll still keep everything in the exact same spot every single time.

I really hope that these tips help you with your IKEA kitchen remodel adventure. it can be extremely stressful and take much longer than you expect to assemble your kitchen, but the end result is always worth it. As every DIYer will tell you: trust the process.
You got this! If we can do it, you can, too!
Check out the full series here:
We Remodeled Our Kitchen!
The Cost of Our IKEA Kitchen
How to Save on a Kitchen Remodel
New Kitchen Haul


Thank you for sharing your process! It is so helpful to hear some of the potential pitfalls before we have to experience them ourselves! I am looking forward to seeing your final beautiful kitchen!