
Wreath Napkin Rings Tutorial
Our Thanksgivings might looks different this year, but that doesn't mean our dinner tables need to look any less decorative! Our small family will be enjoying our yearly tiny turkey dinner for 4 (and a toddler) and I couldn't be more grateful for that this year.

Before I get into the hustle of food preparations (I spread it out over a few days to make the day-of easier to cope with), I thought I'd take out 30 minutes of my day to slow down and do a fun little wreath Napkin ring tutorial for you all!
The great part about this project is it can also make for a great miniature centerpiece if your table scape doesn't allow much room for big, elaborate ones. Check out my post here for how I made these spring mini wreath pots for my baby shower helpers. You could easily add wooden letters for a monogrammed look!

What You'll Need
- Miniature pinecones (similar)
- Berry Sprays (similar)
- Hydrangeas or miniature leaves (similar)
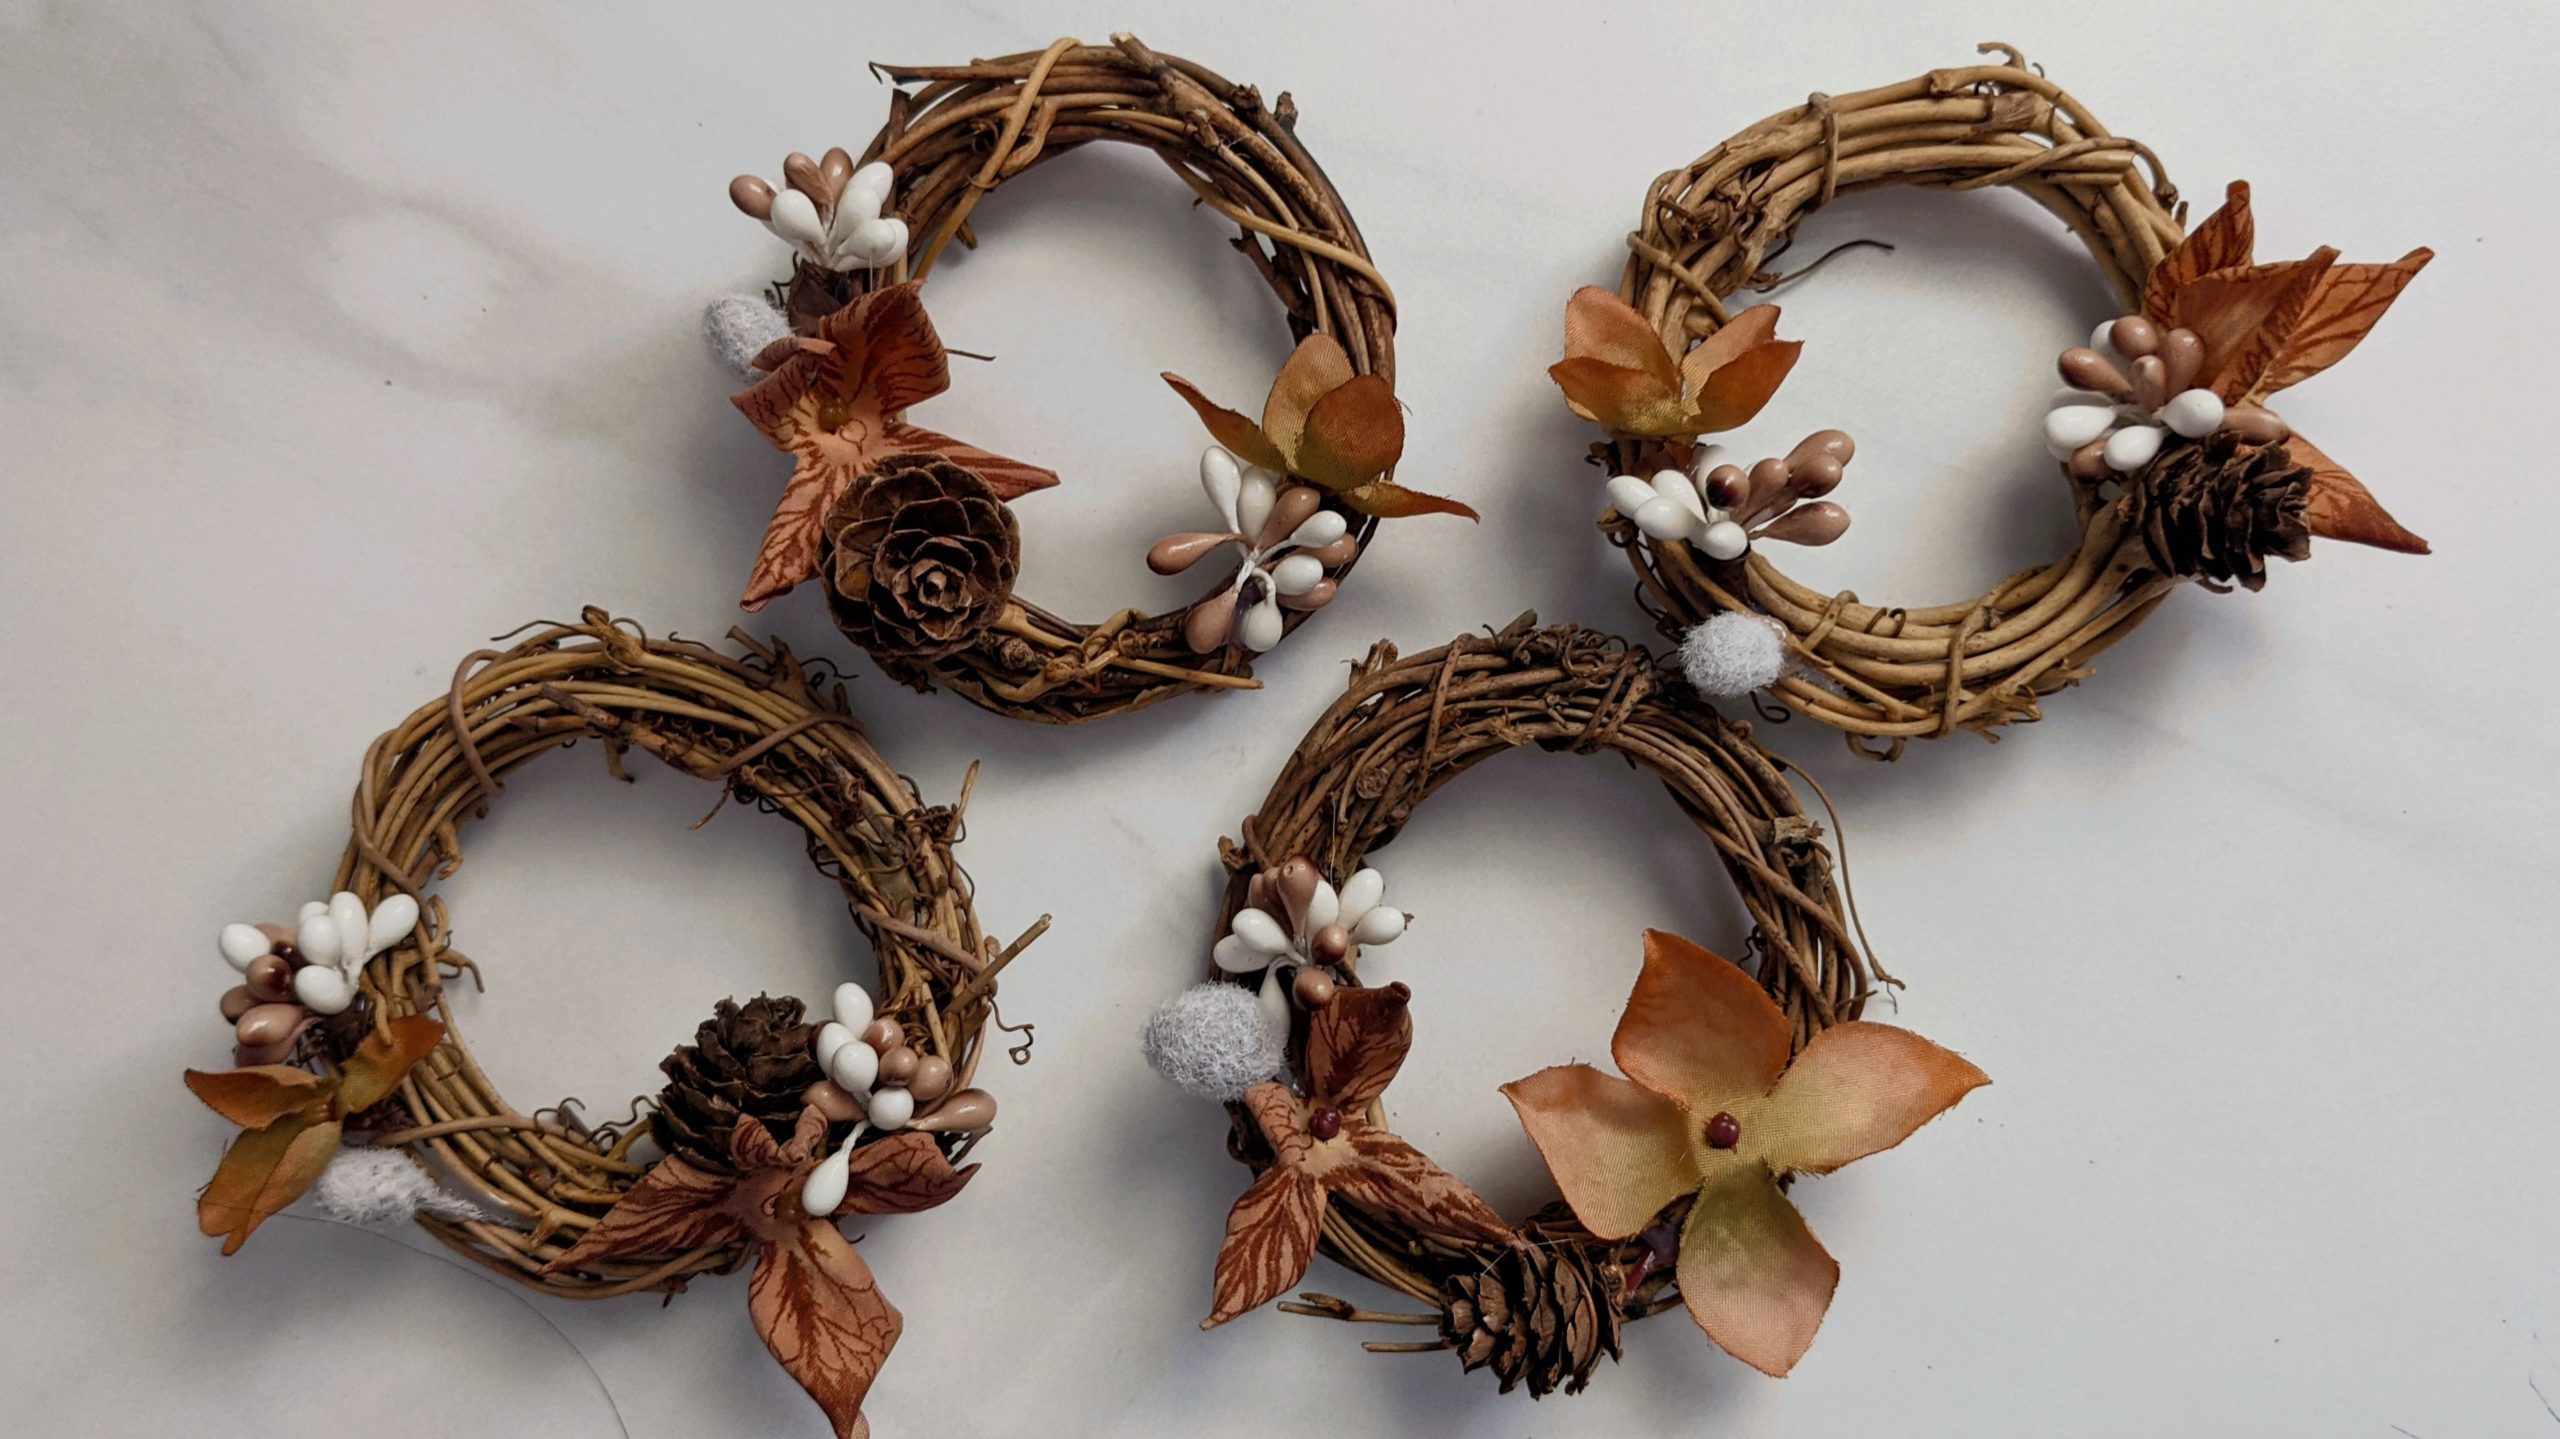
- 3" Grapevine Wreaths (comes in packs of 5 or 6; similar)
- Hot glue gun and sticks
- Wire cutting pliers

Here's What You Do
Start by trimming down the pieces you want to use. Since these wreaths are only about 3" and the flowers will be glued down you won't need a lot of stem.
For this project, I used pieces of fall silk flowers and accents that I had on hand. I've linked similar items that are typically available in store right now, but you can really get creative with this using colors that are more akin to your scheme at home! You'll want a pack of mini 3" wreaths (sold in packs of 5 or 6), and for each wreath you'll need at least 1 or 2 small flowers, a mini pinecone, and a piece or 2 of berries.

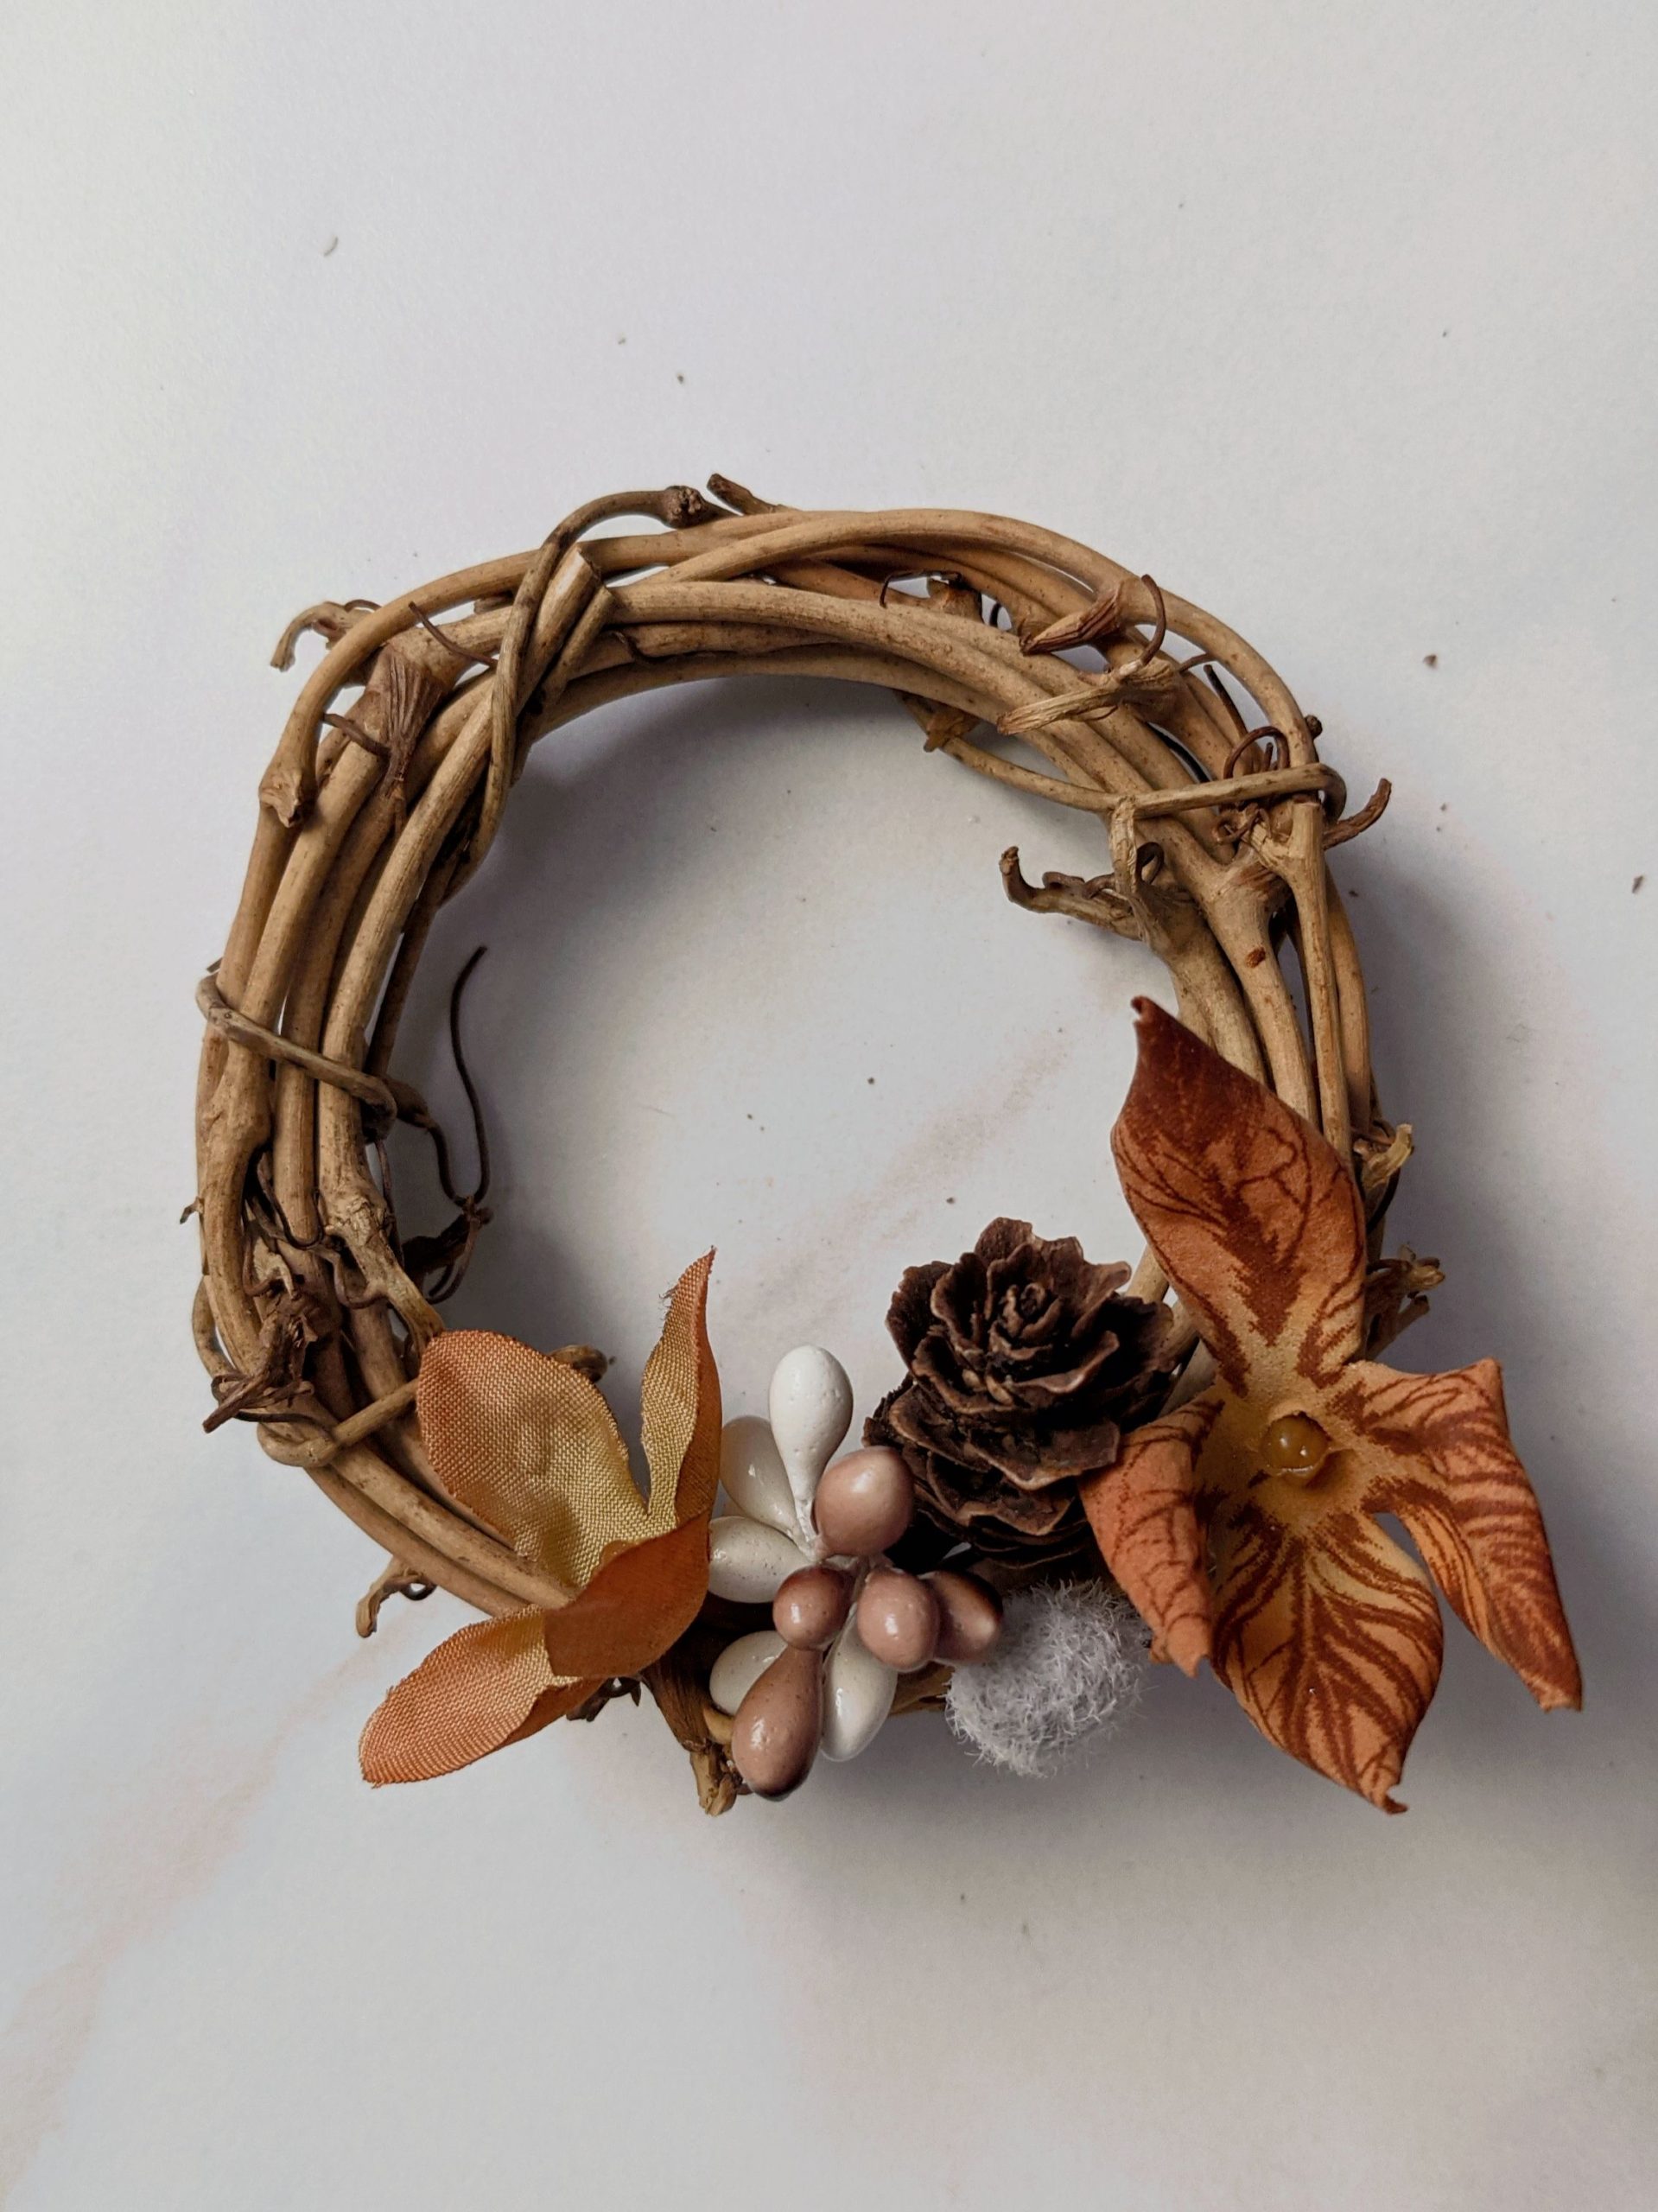
Always test out where you want to place your flowers BEFORE gluing them down, unless you like to live life on the edge then by all means: live your best life! Once you have your pieces in place, pick them up one by one and add a dab of glue to keep it attached in place.
If you love doing seating assignments, you could glue wooden letters onto the wreaths for each person's first name!

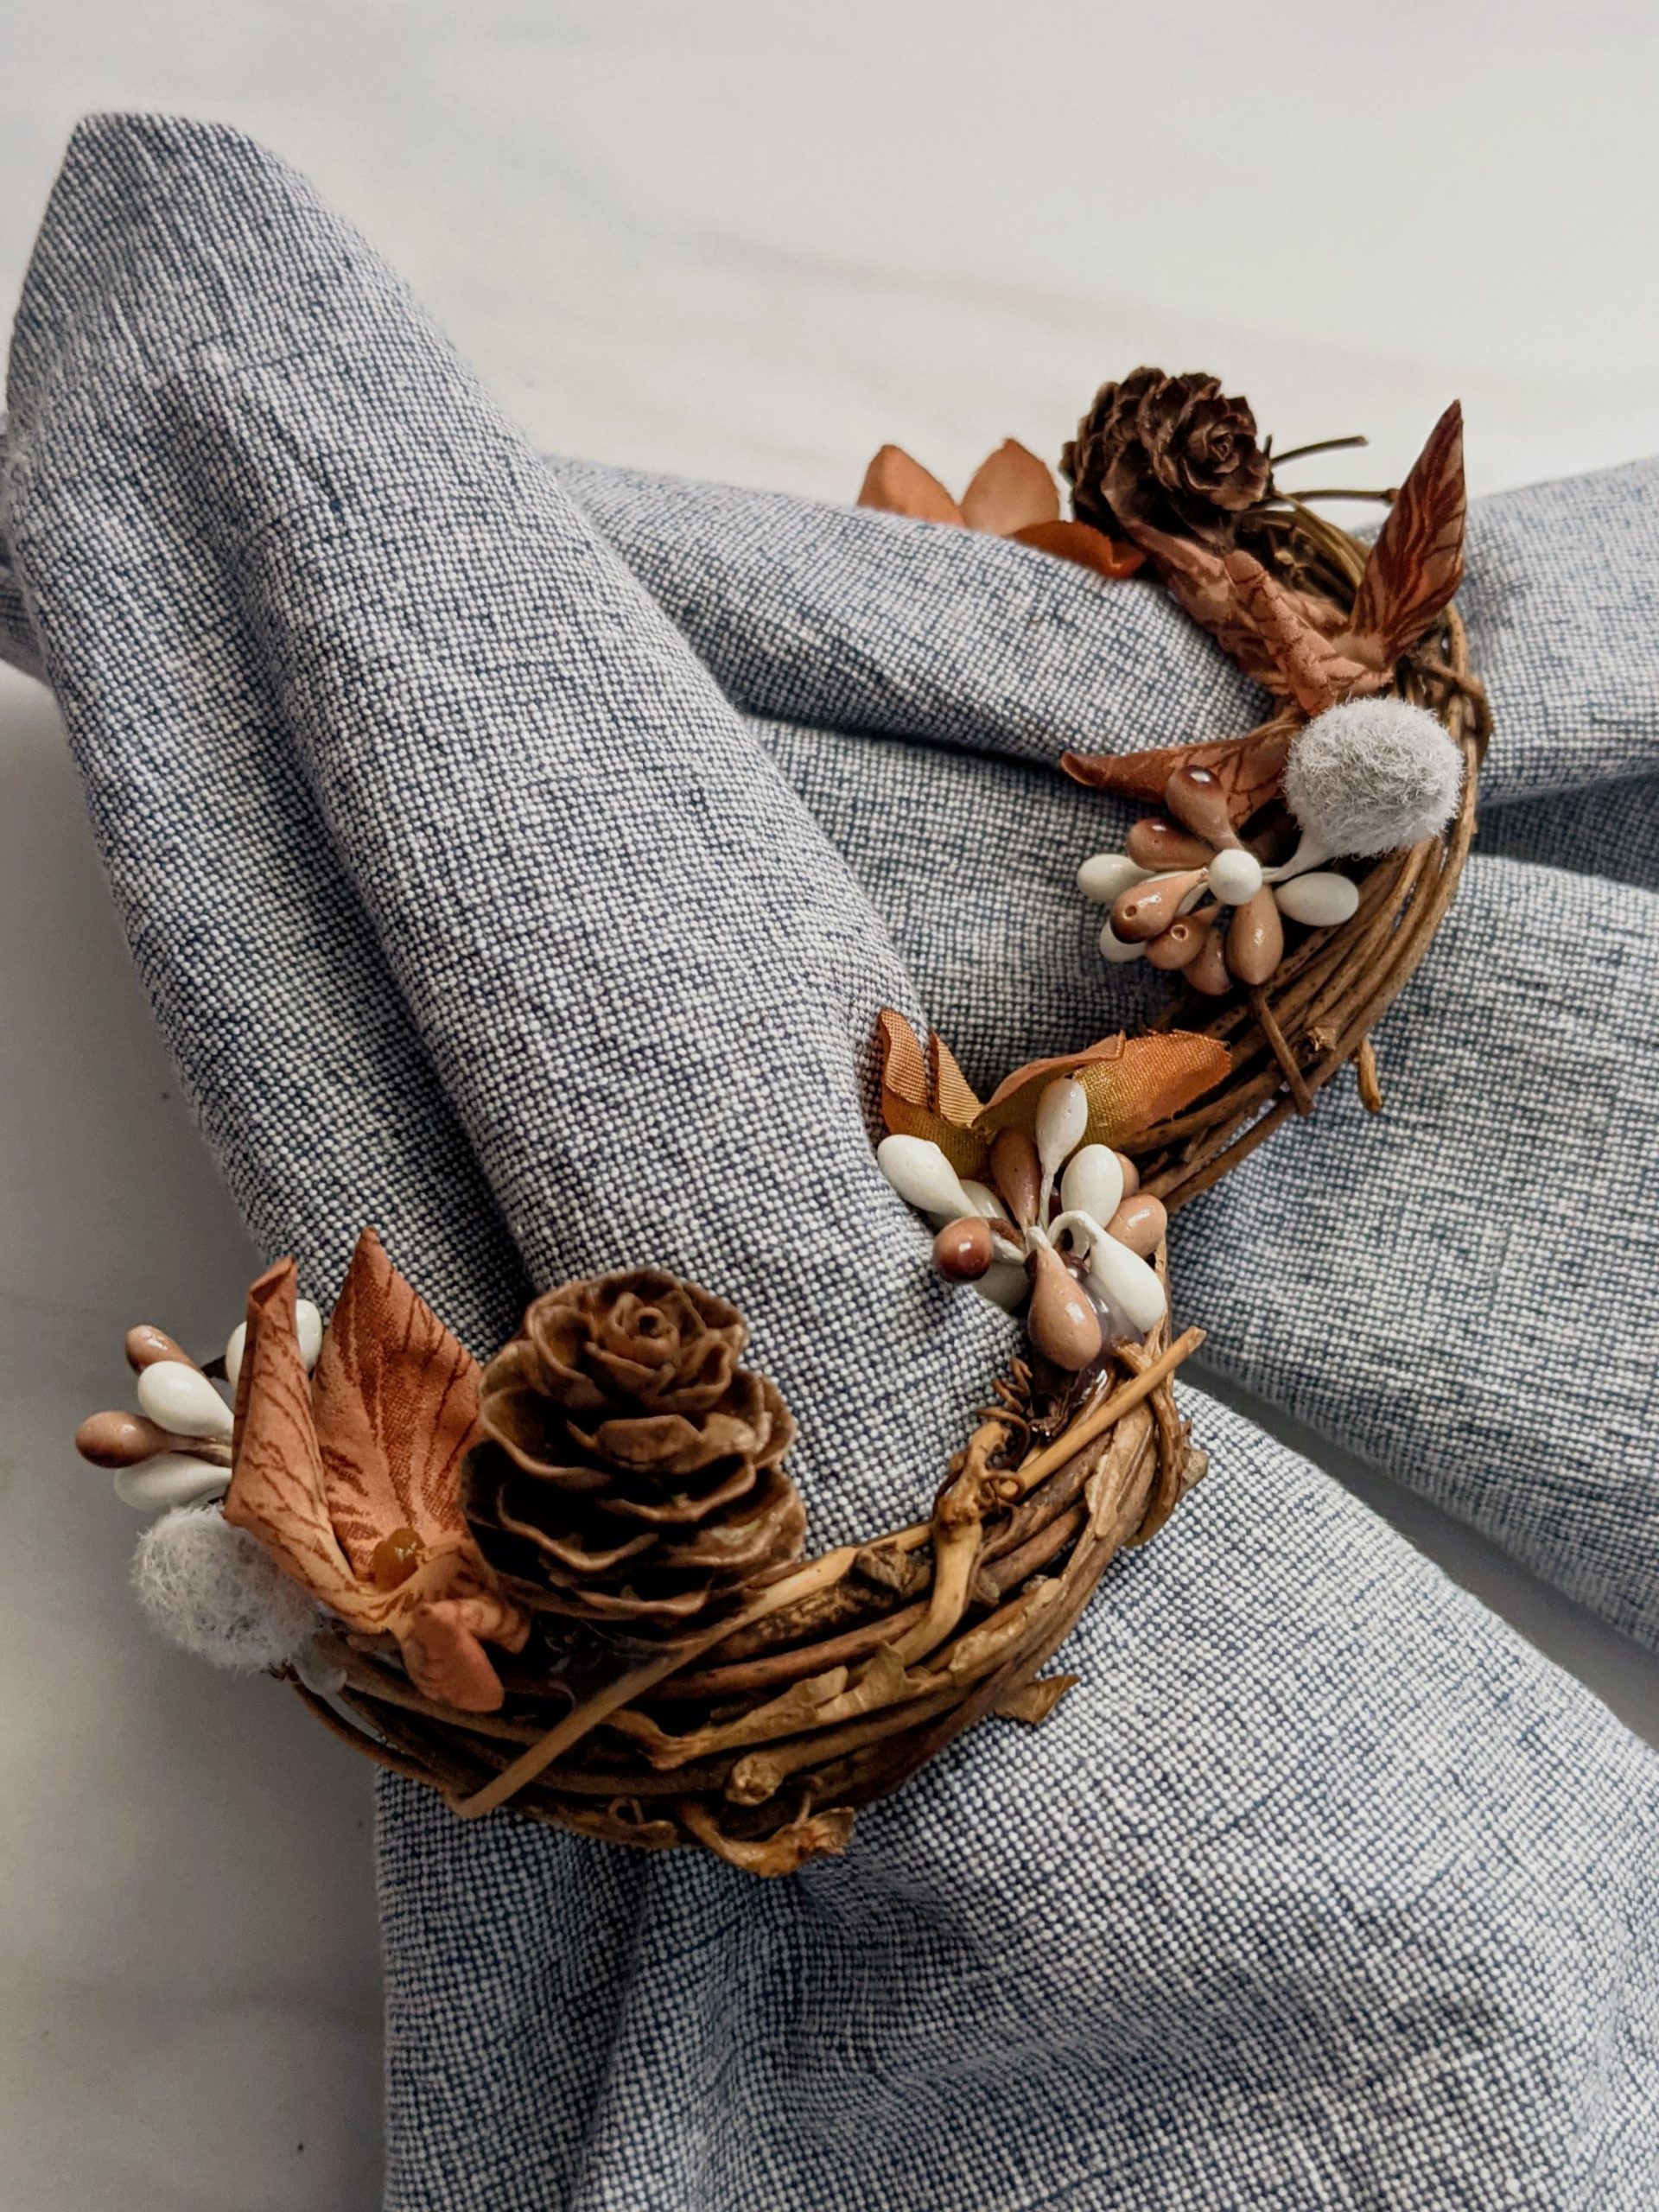
For use, I recommend the gathered triangle napkin layout over the rolled napkin. With the napkin rolled, it doesn't sit flat enough to see the wreath. The gathered triangle look works for both fabric and paper napkins. Open up the napkin so it's in the large square form. Pinch in the middle and pull up. If automatically falls into a sort of come triangle pull the pinched part through the wreath and lay flat on your dinner plate!


With the hustle and bustle of Thanksgiving, it's nice to take a few minutes out and have a calming craft that doesn't require much skill, effort or time. I hope you enjoy this little craft project and that it brings a little something extra to your dinner table this year! If you make this craft, be sure to tag me on Instagram (@withlovejoey) or link to your blog post below. I'd love to see your creations!

