

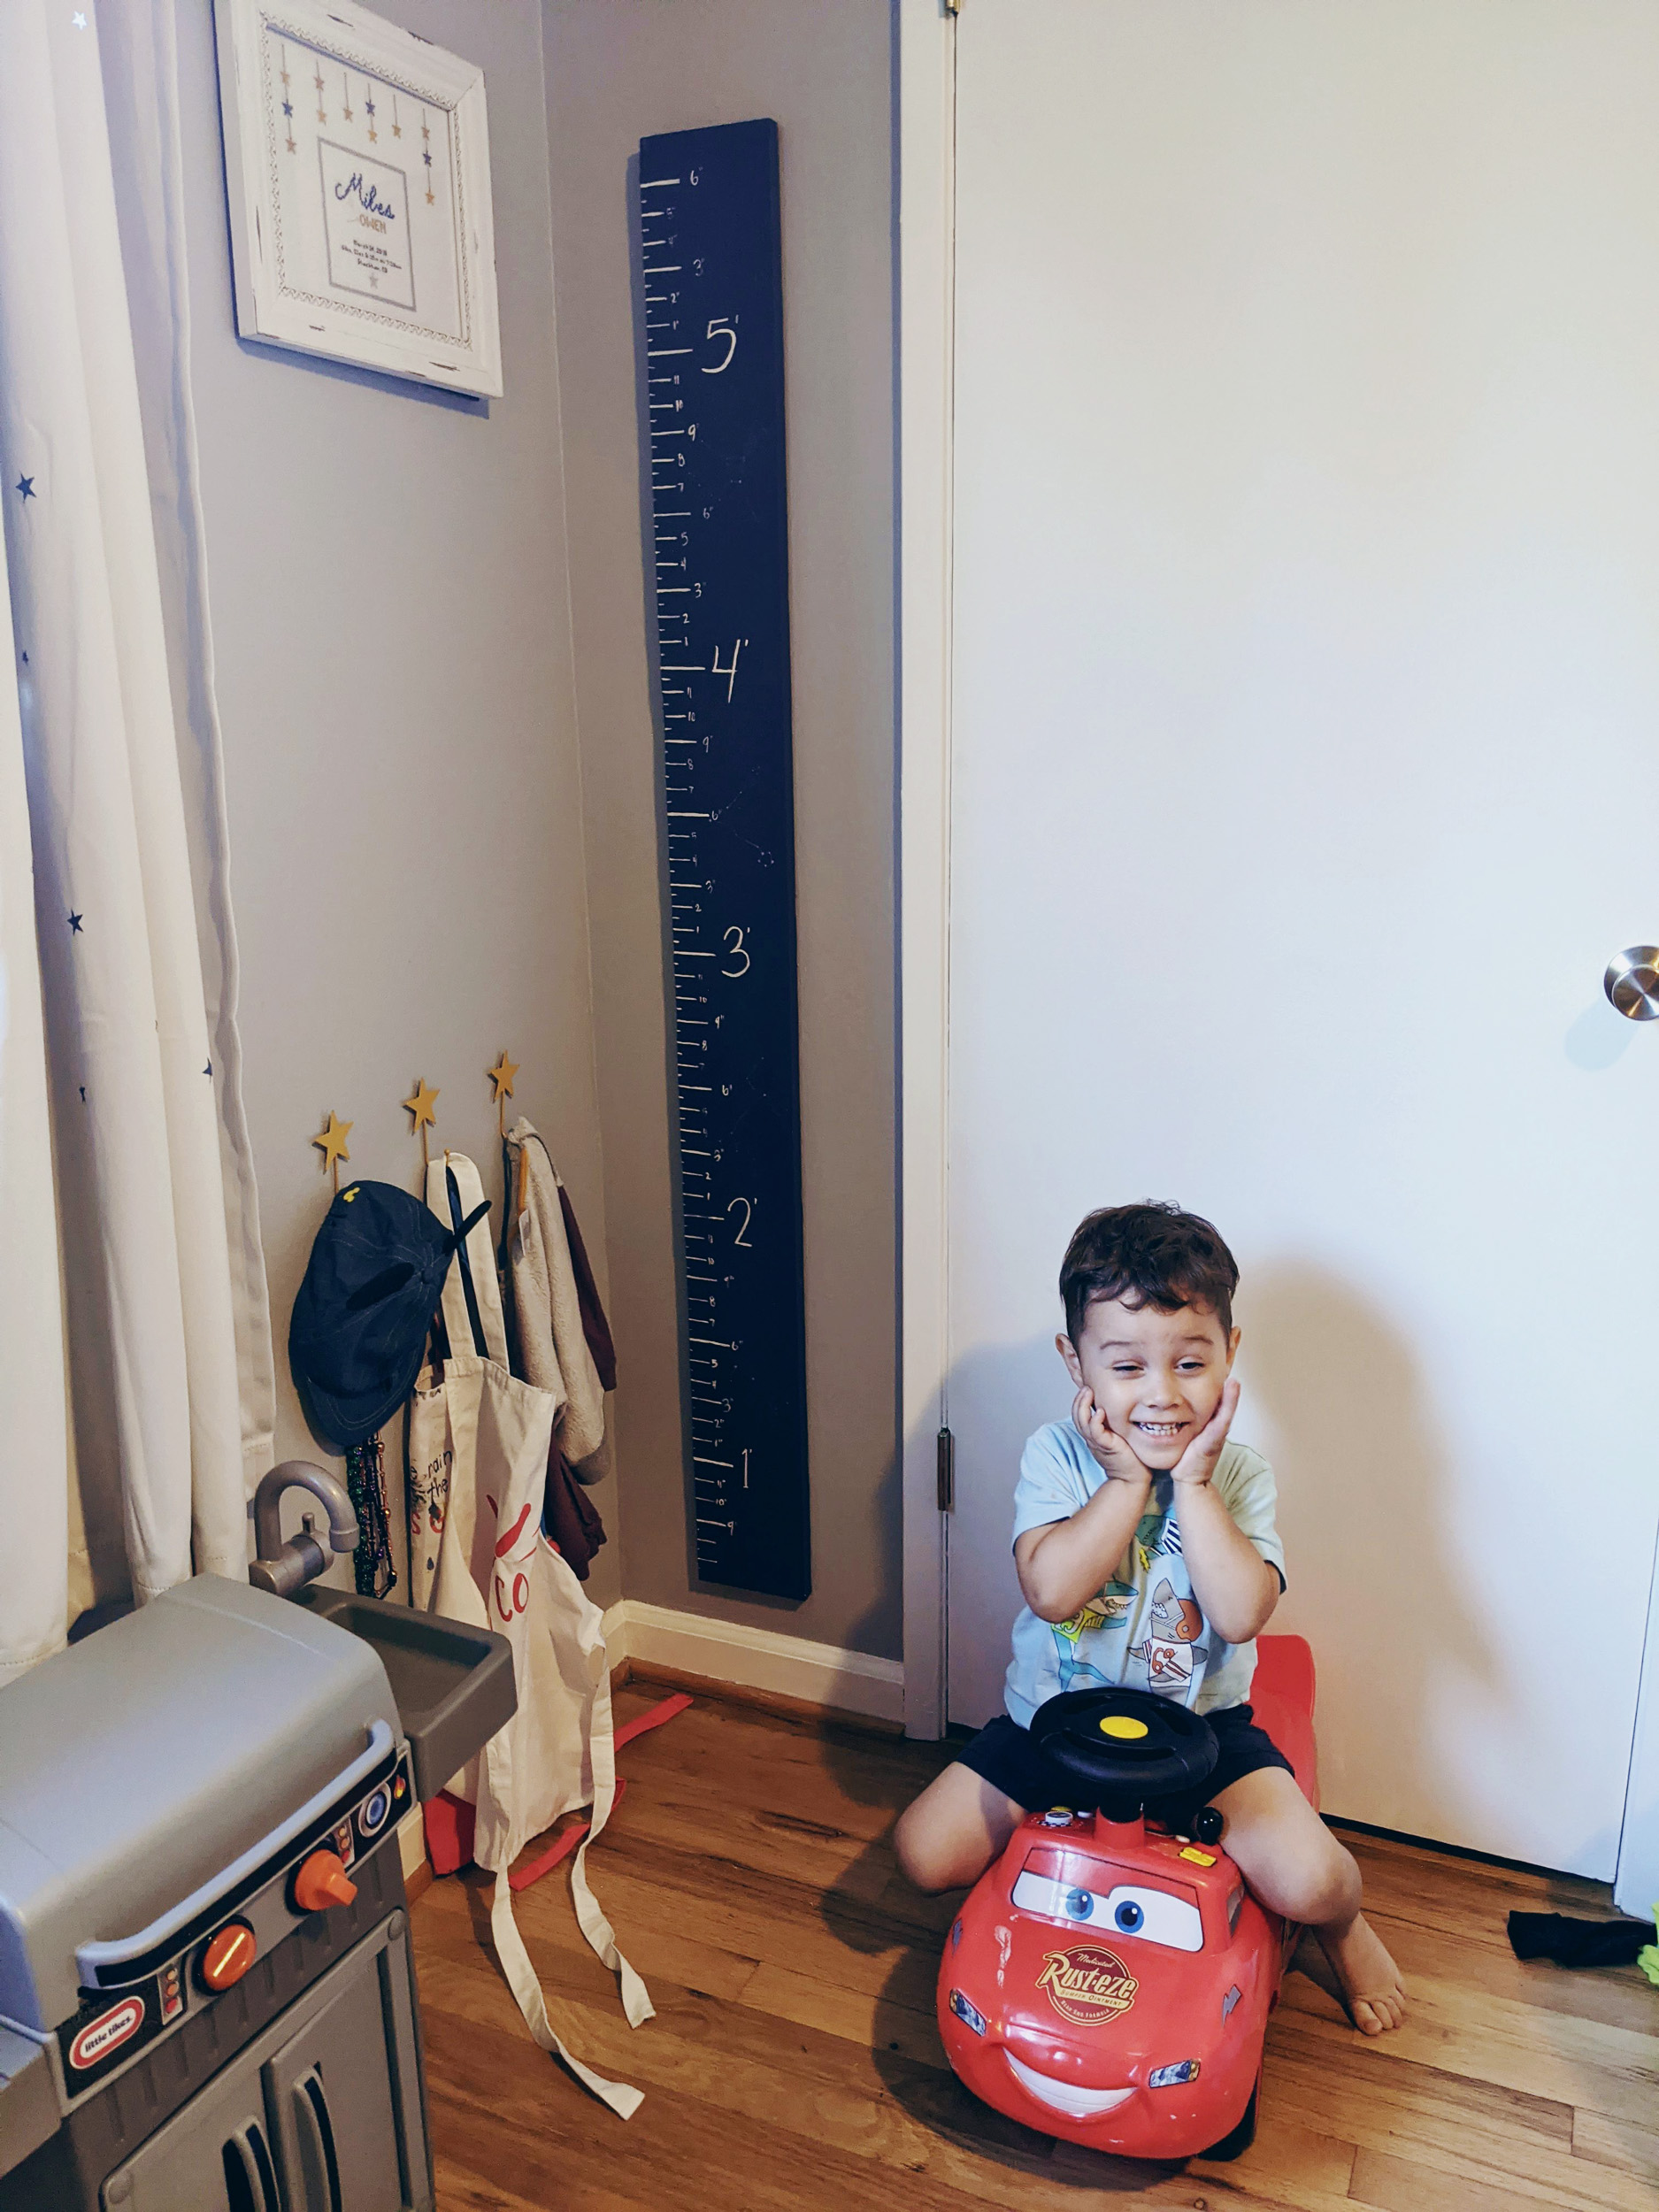
Wooden Growth Chart
I recently fell in love with the idea of creating a wooden growth chart for my son, Miles, that he would be able to have as a keepsake later on in life. The idea that even painting the opposite side for his future child to use made my heart swell three sizes bigger that day!
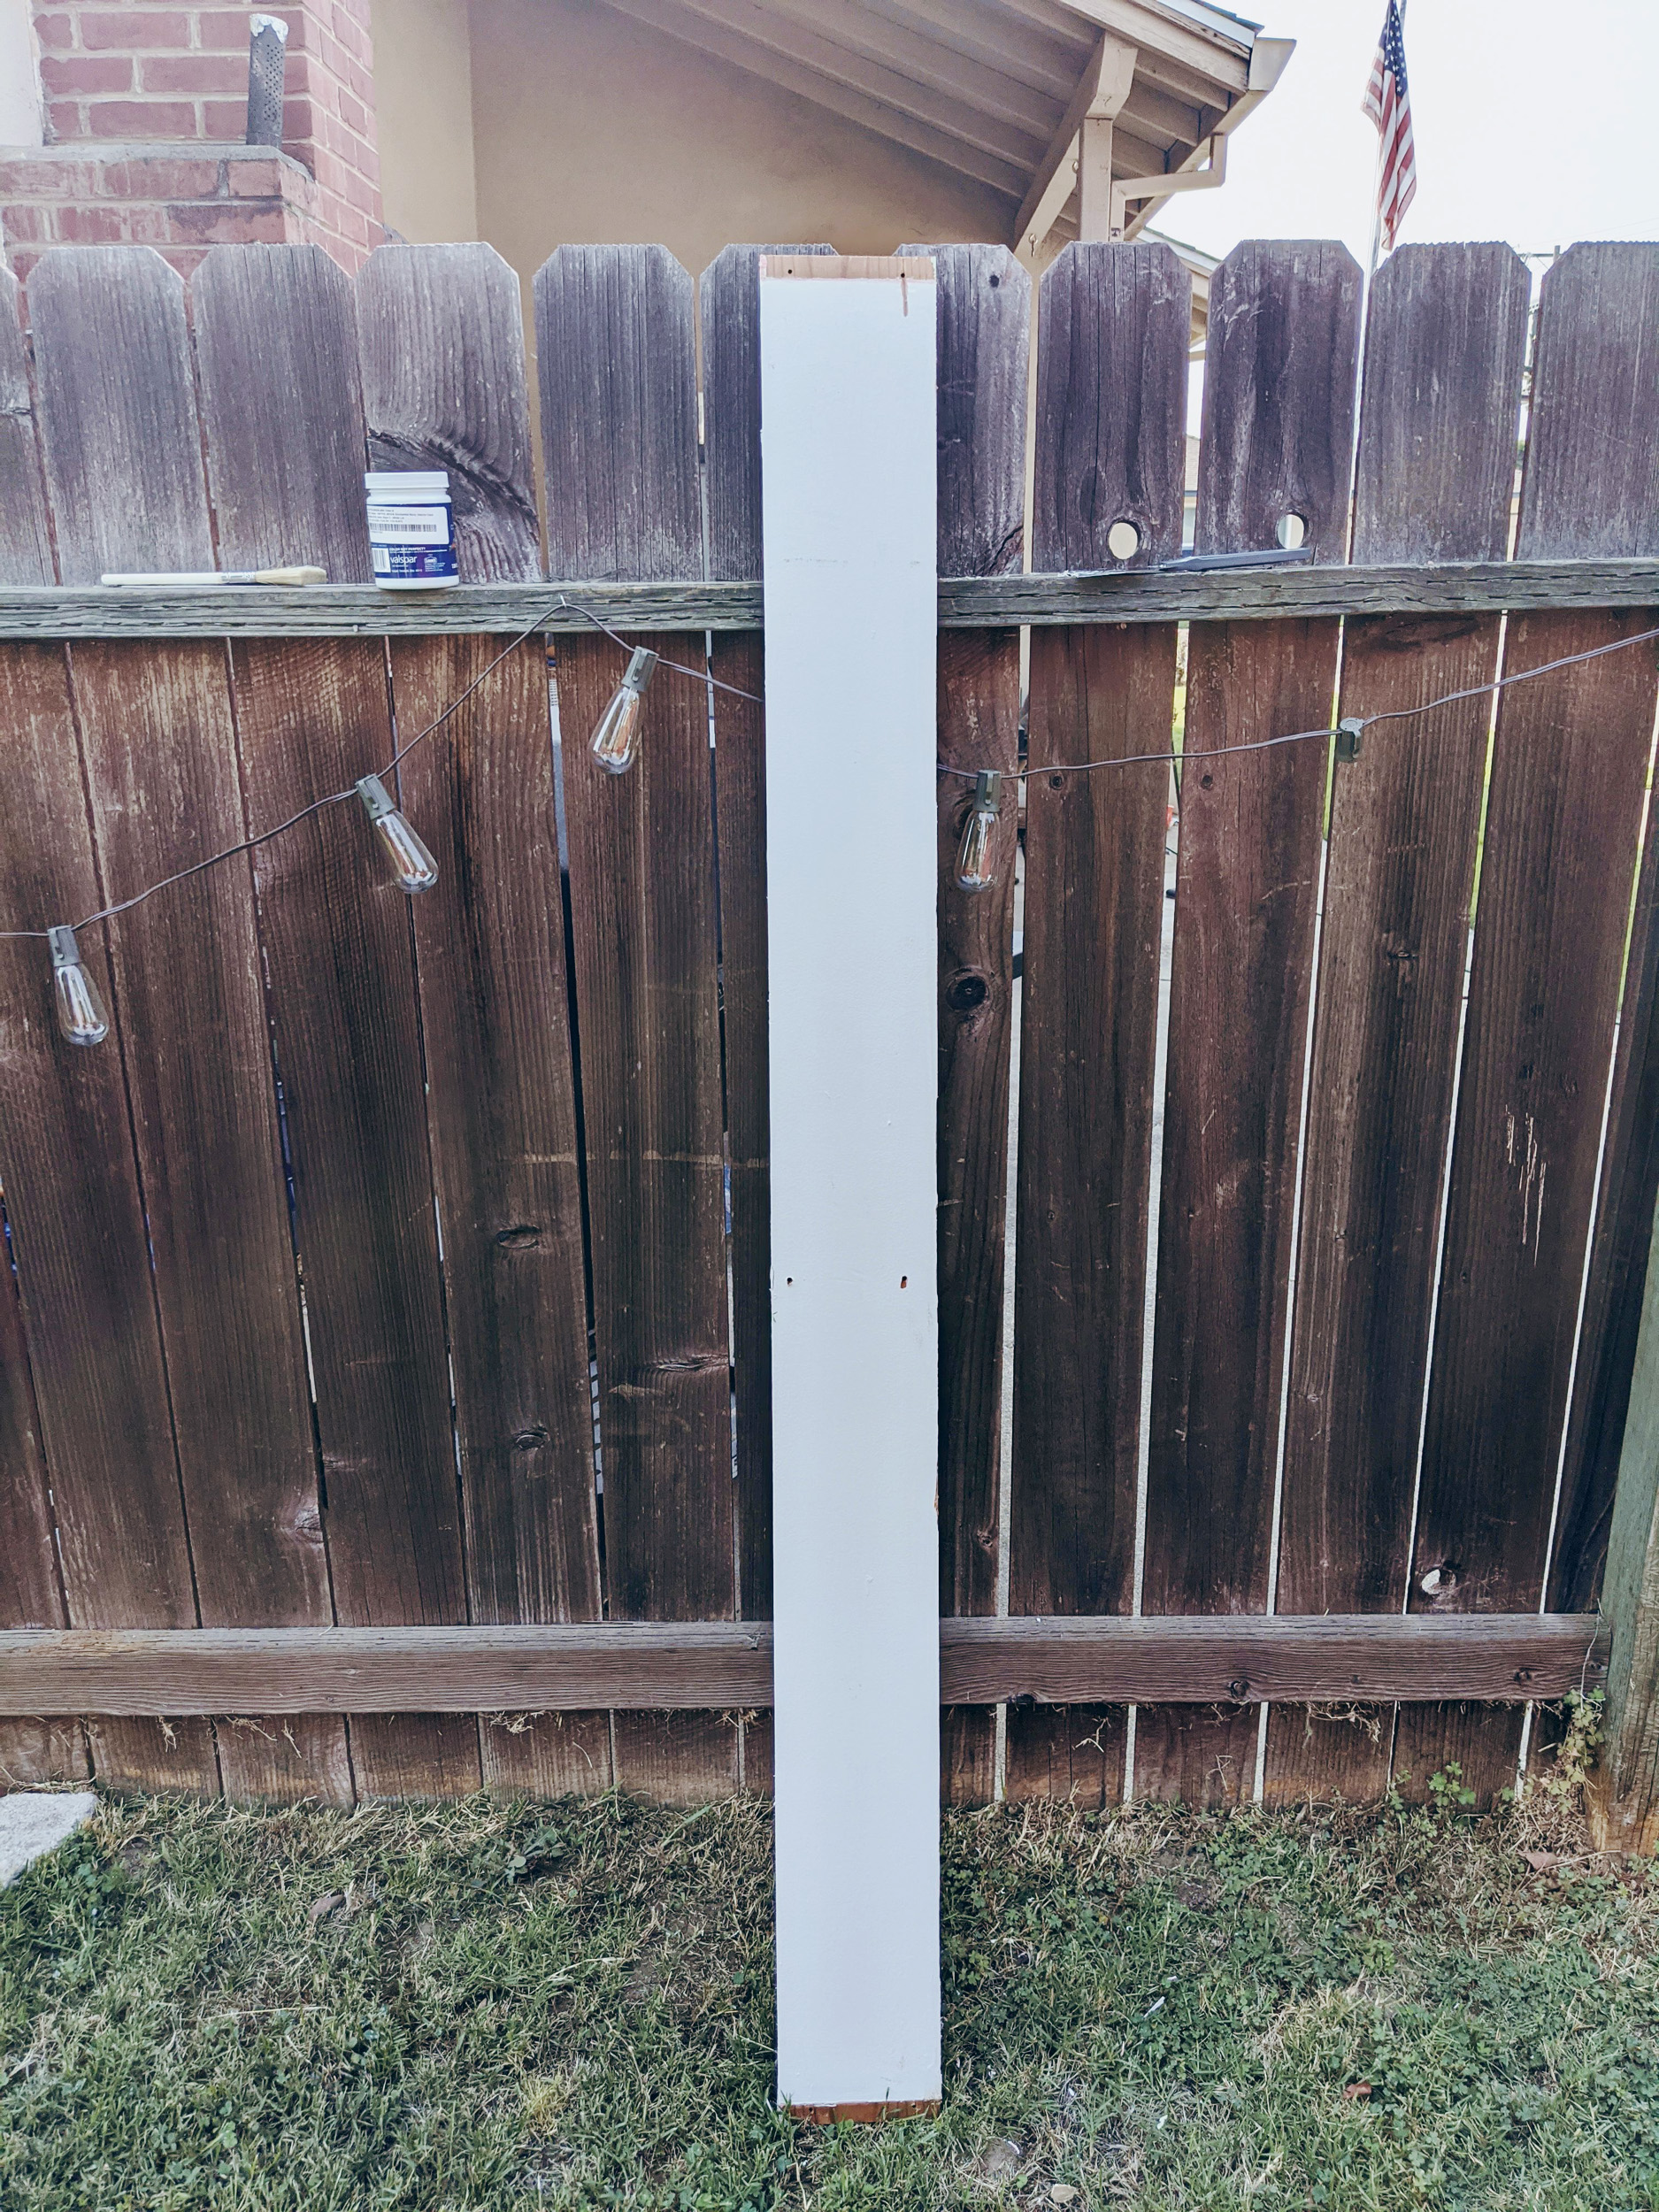
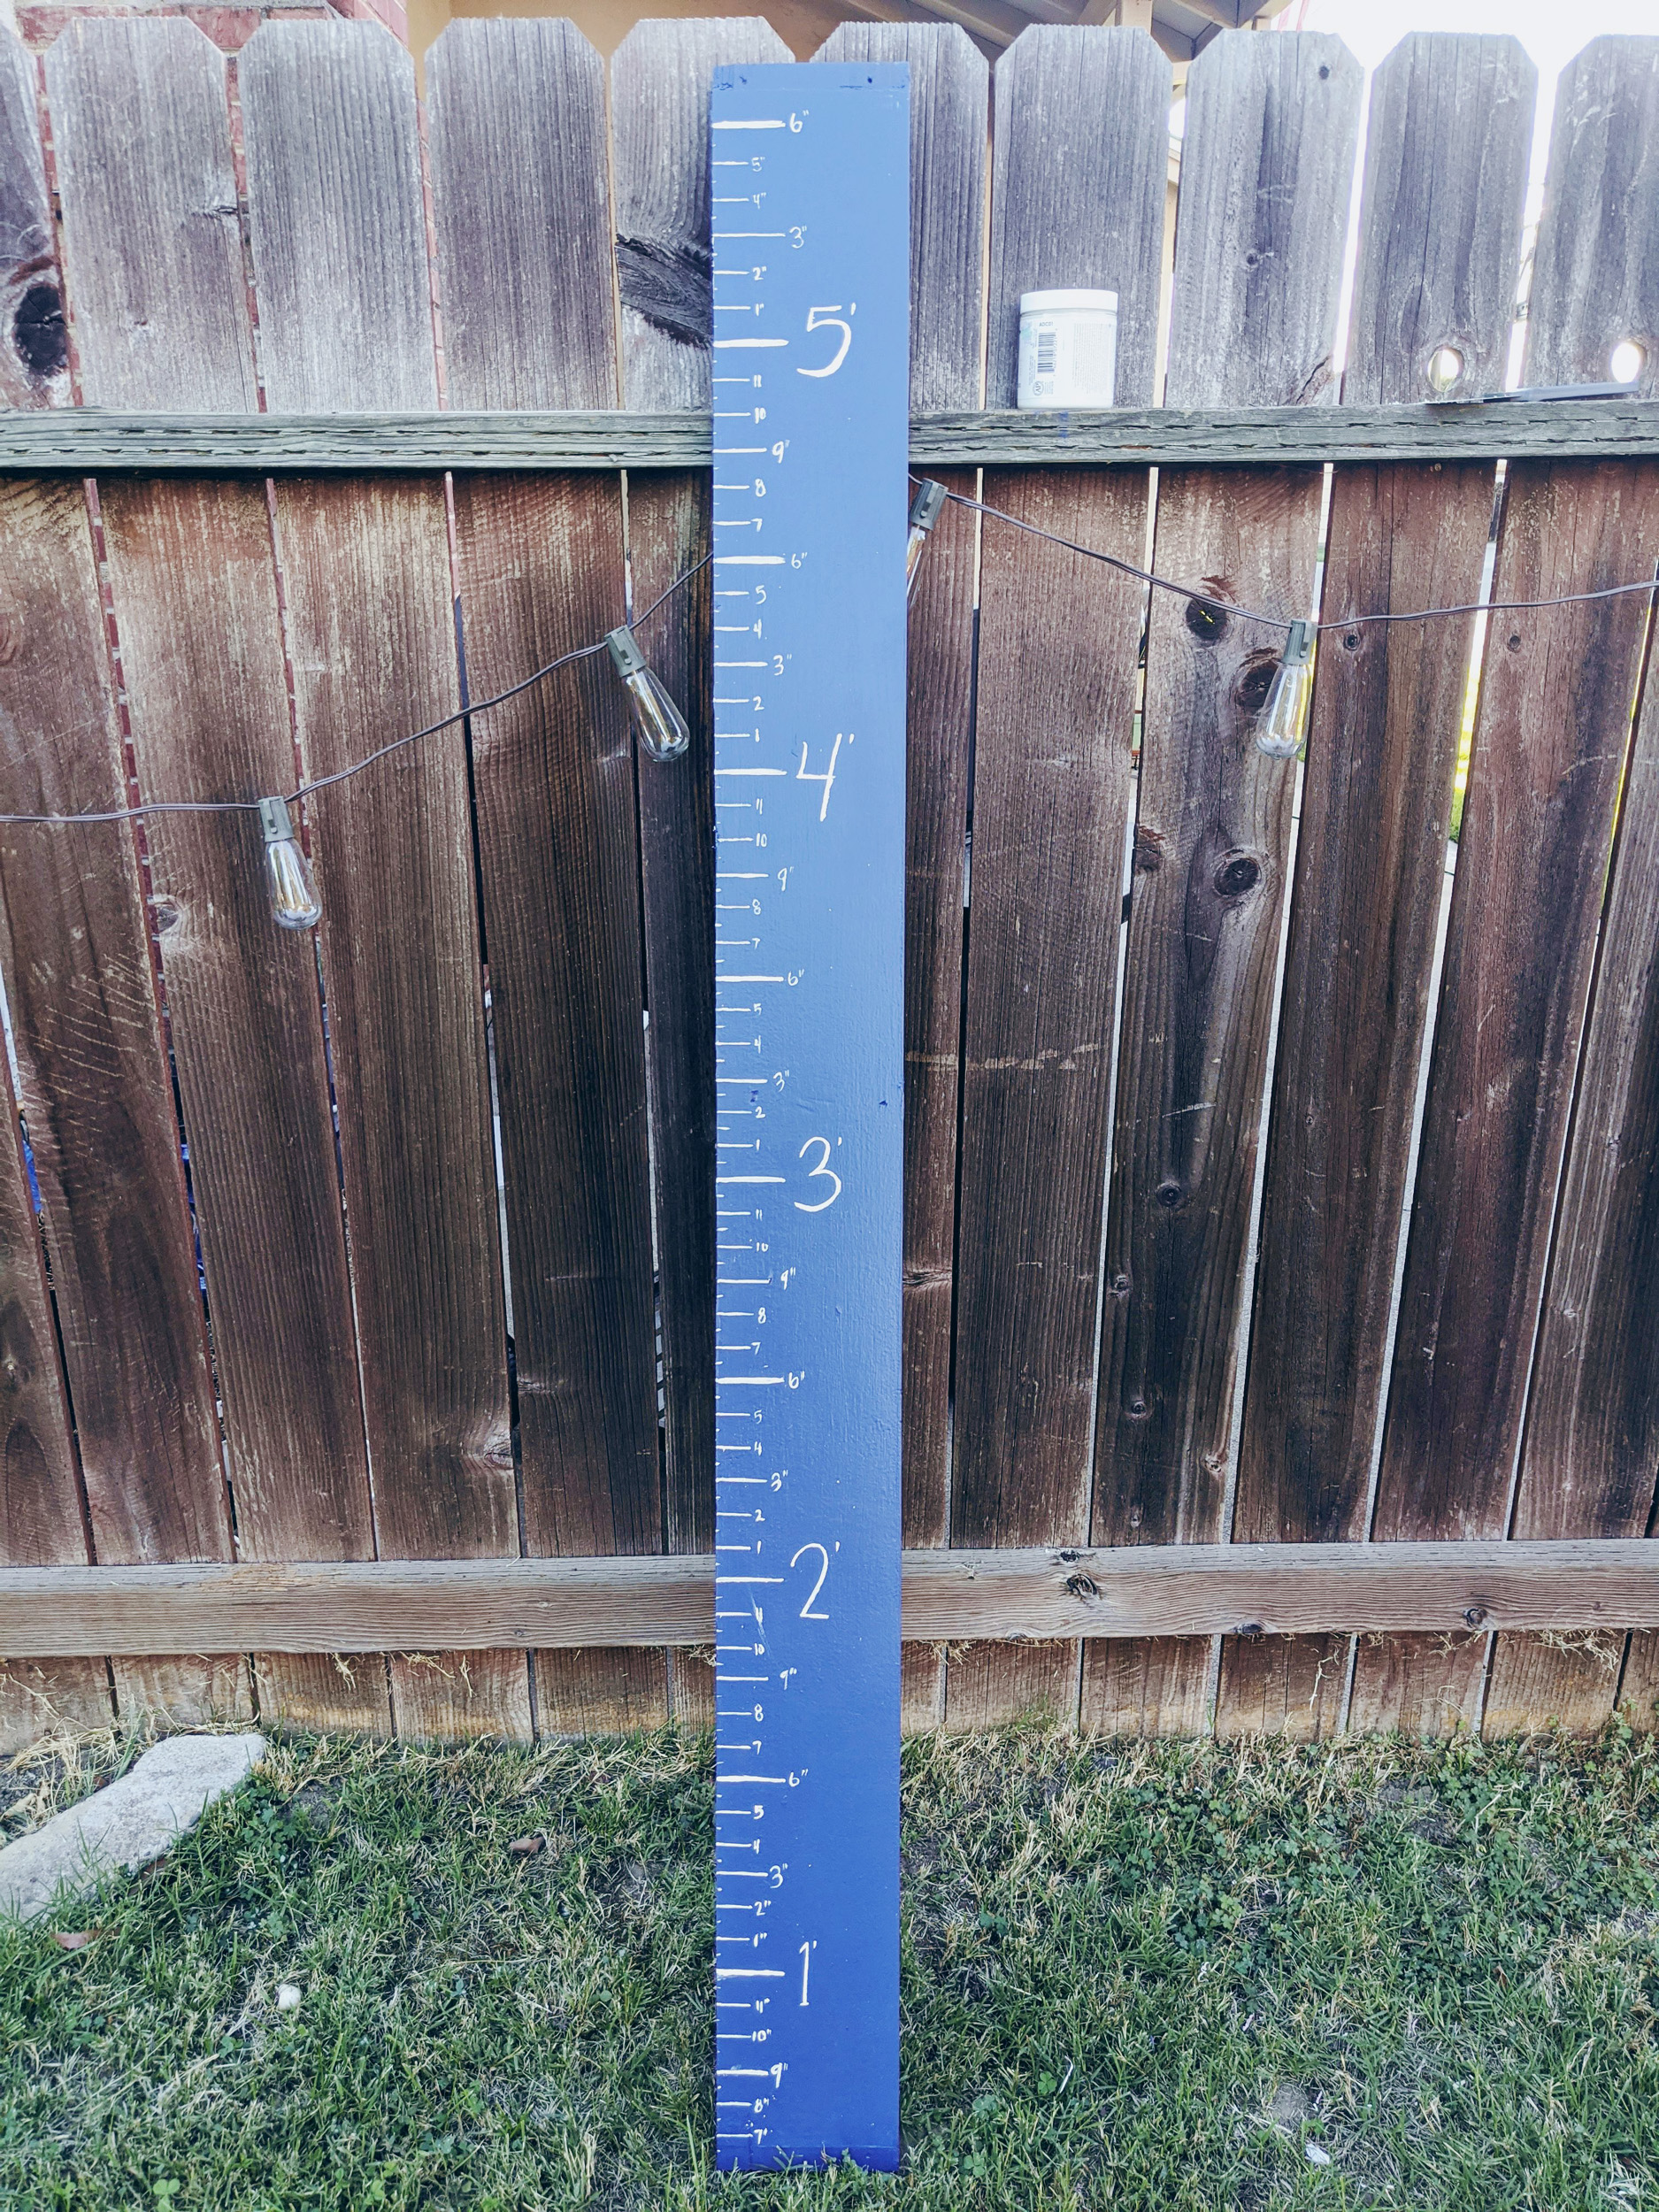
I took one of the brace boards from my closet renovation and gave it a nice coat of blue paint. I happened to have a small sample jar of Valspar's Classic Navy on hand for a door makeover that I never used, and it happened to work perfectly with the color scheme in his bedroom. These little sample paint jars only cost about $4 and can be tinted to any color you like!
The first thing I did was made sure to scrape off any rough edges of dried up paint or caulking that happened to be along the corners. Since I wasn't going to be using this paint for anything else I didn't mind having to do two or three coats. I took a ruler and marked little lines going from the bottom to the top starting at 6" and going all the way up to 5' 6".
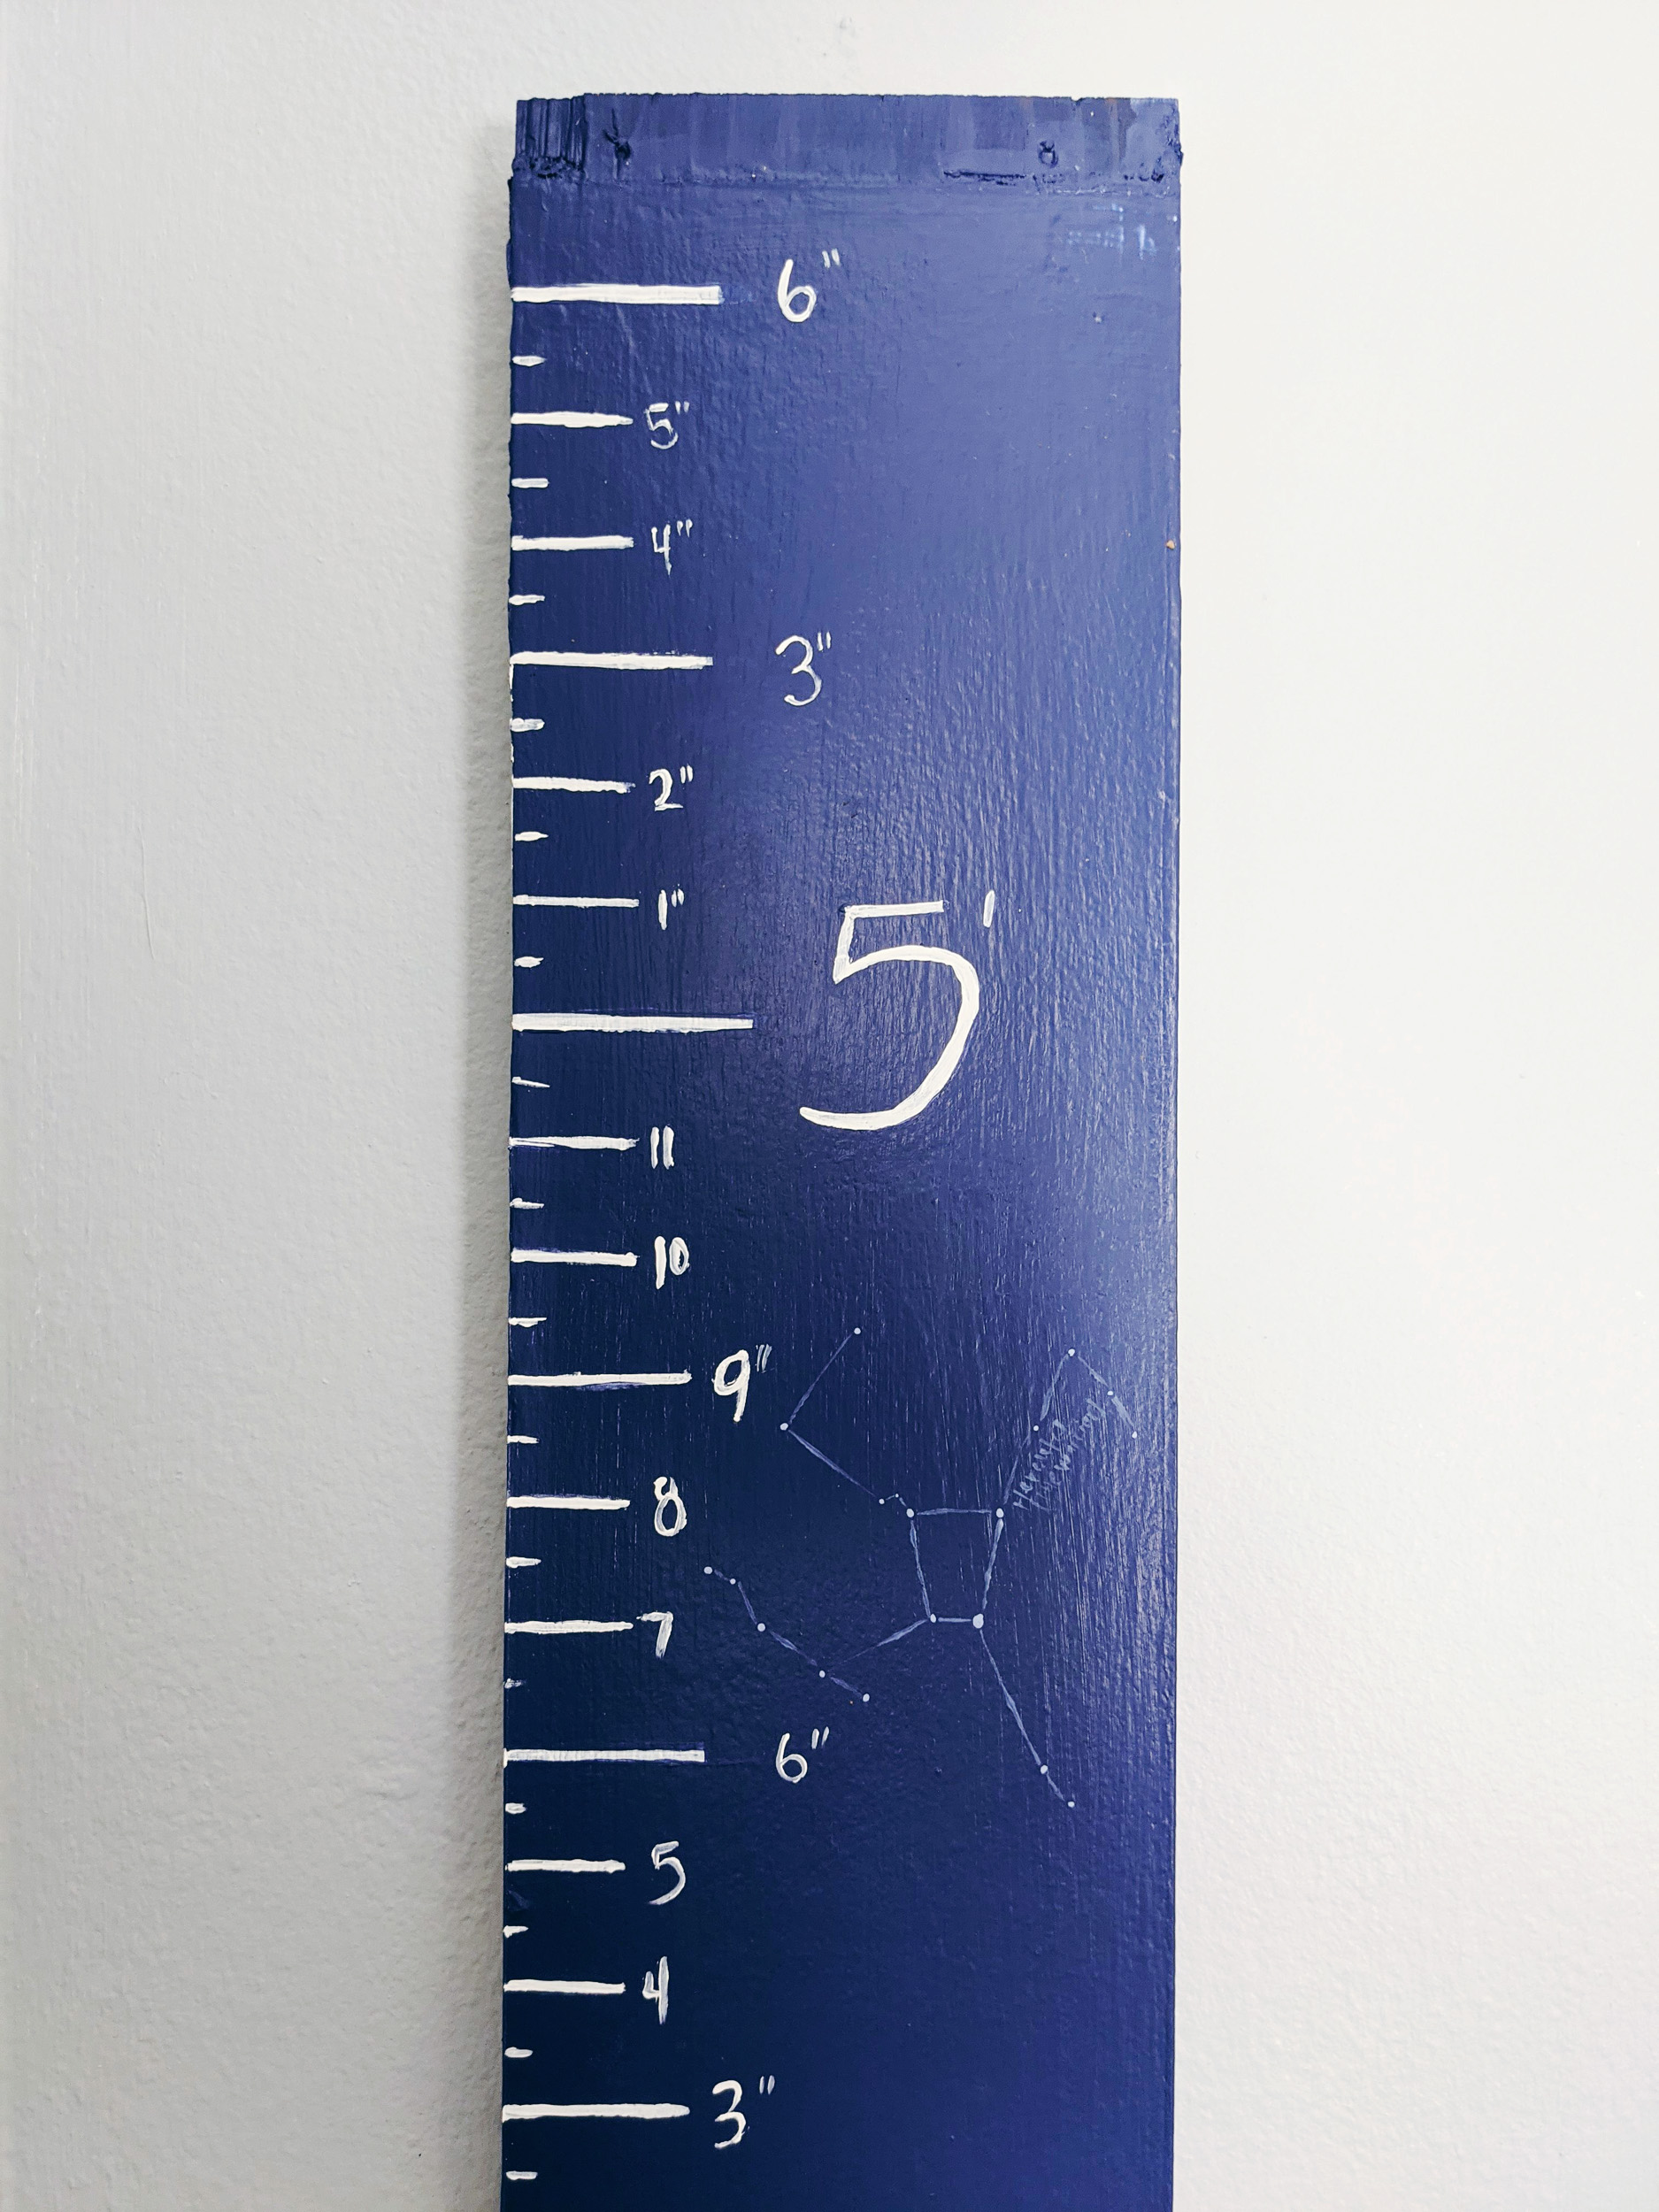
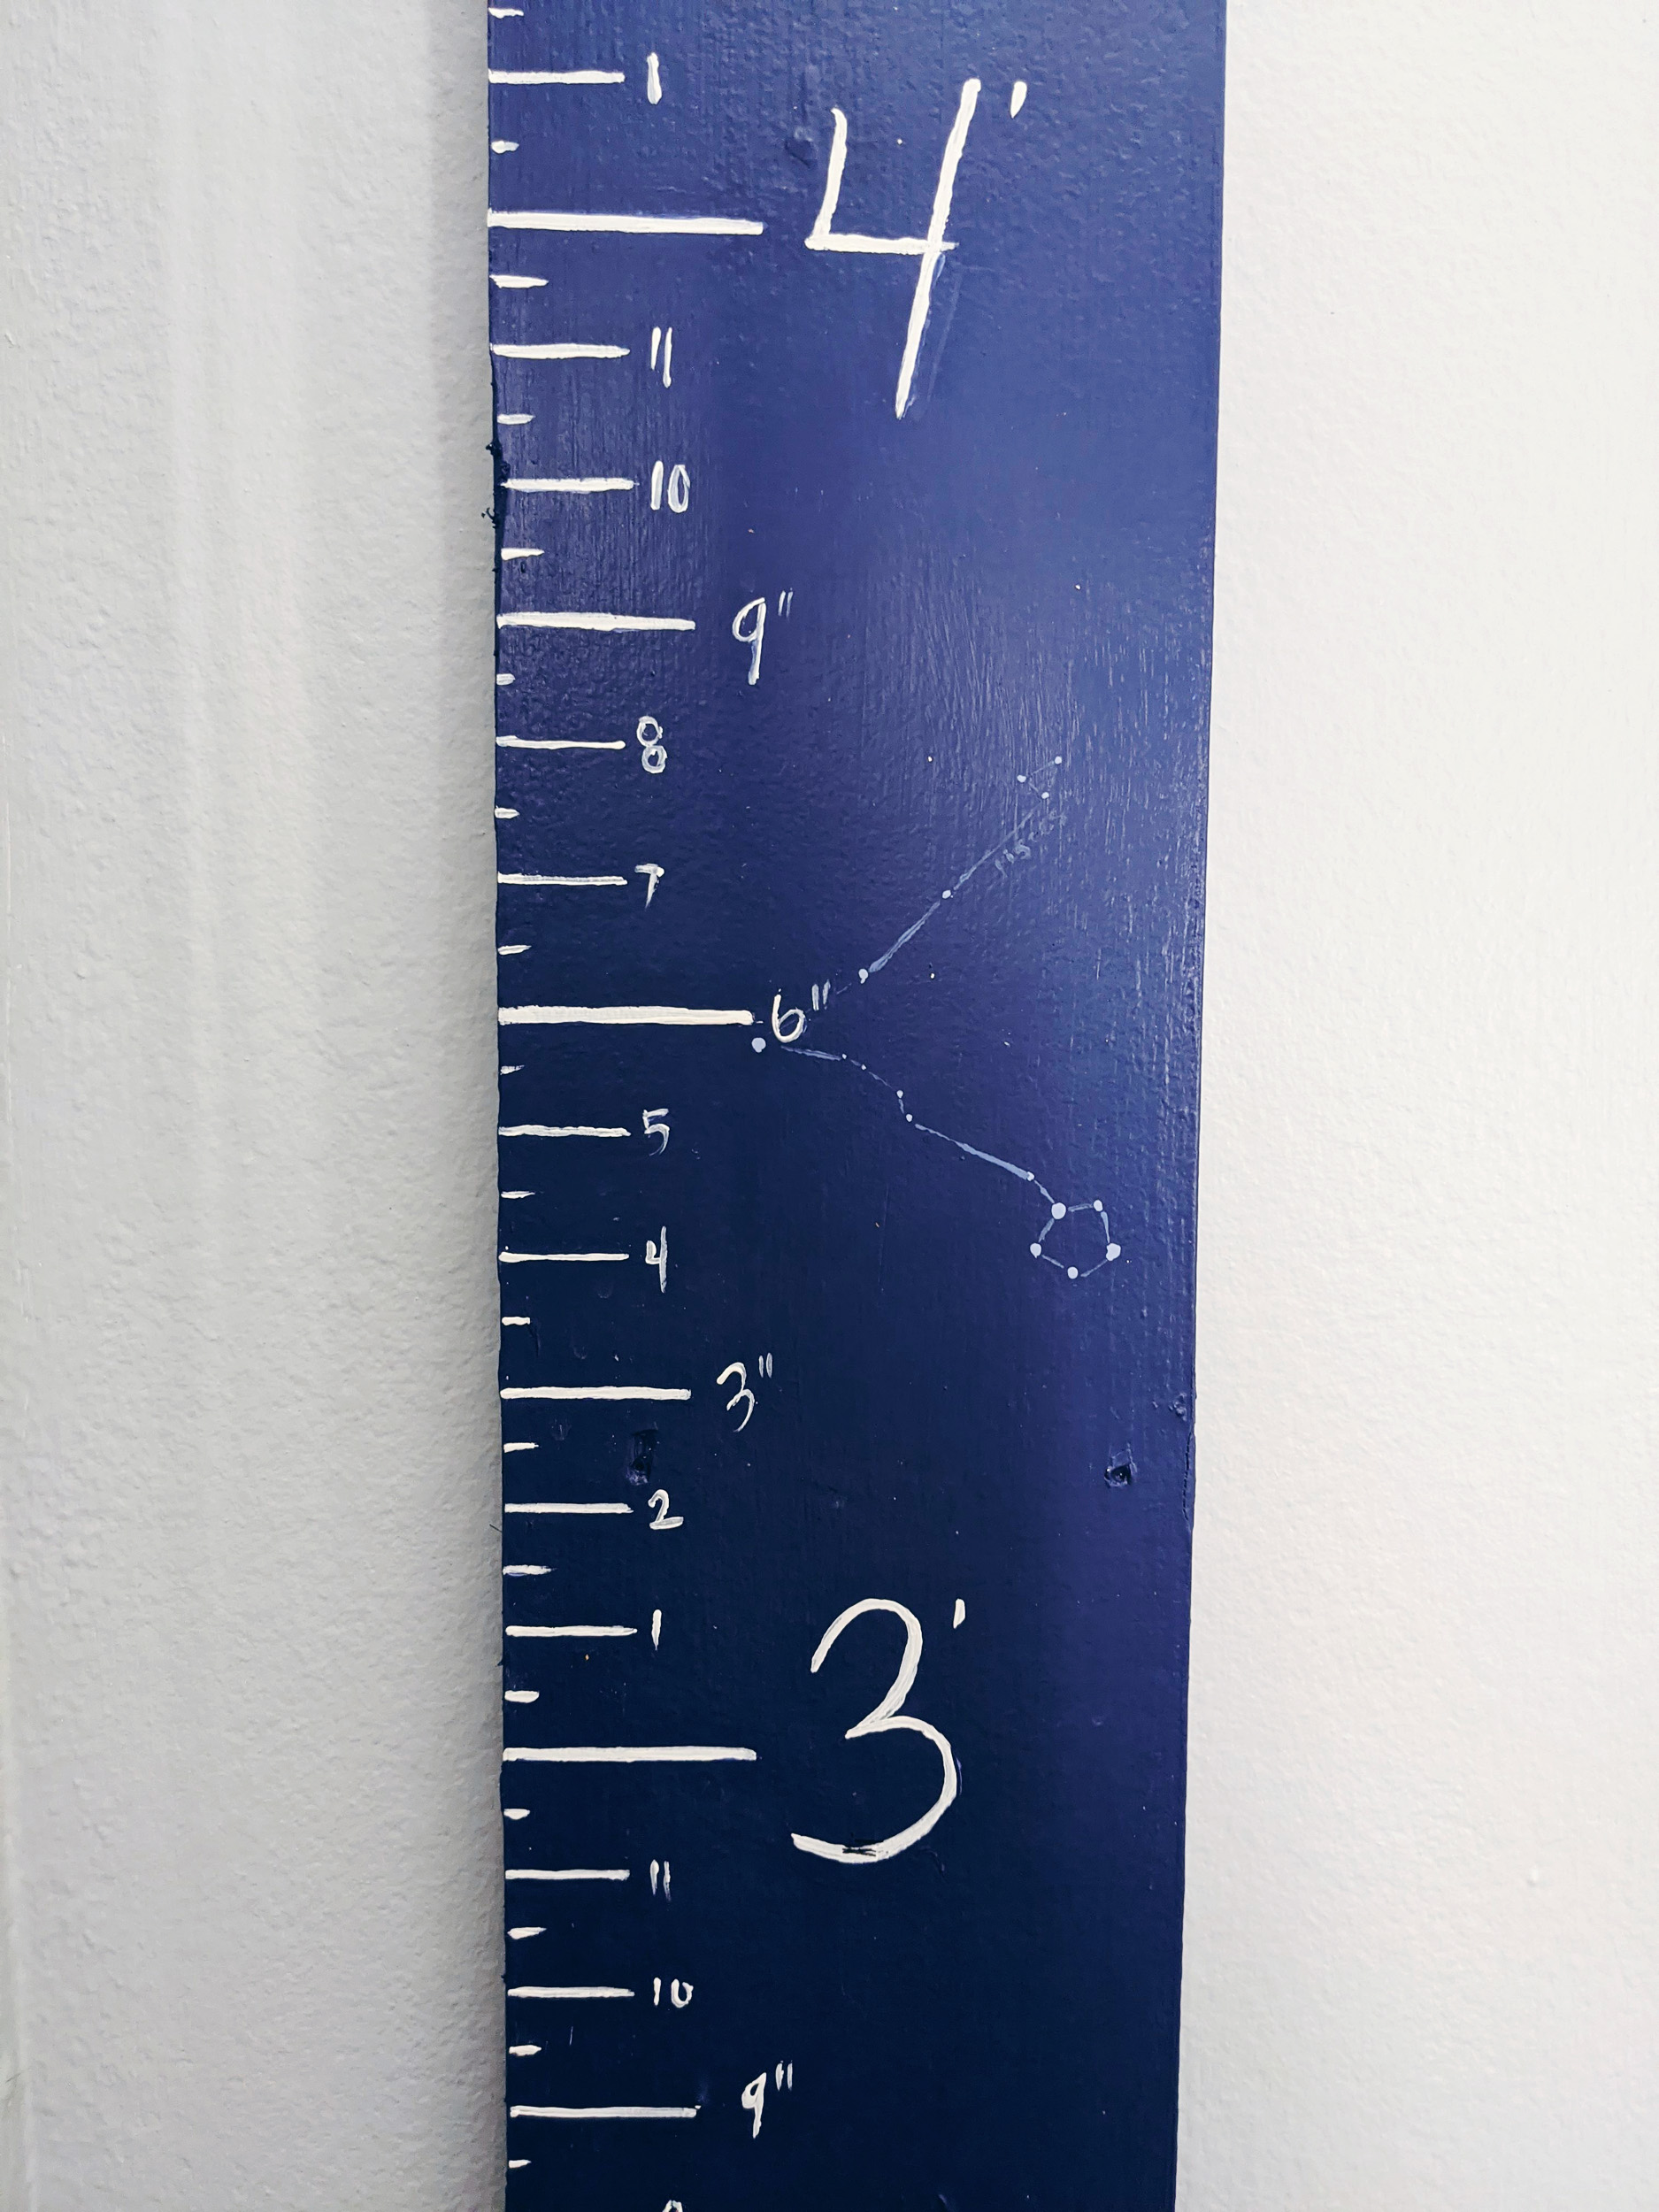
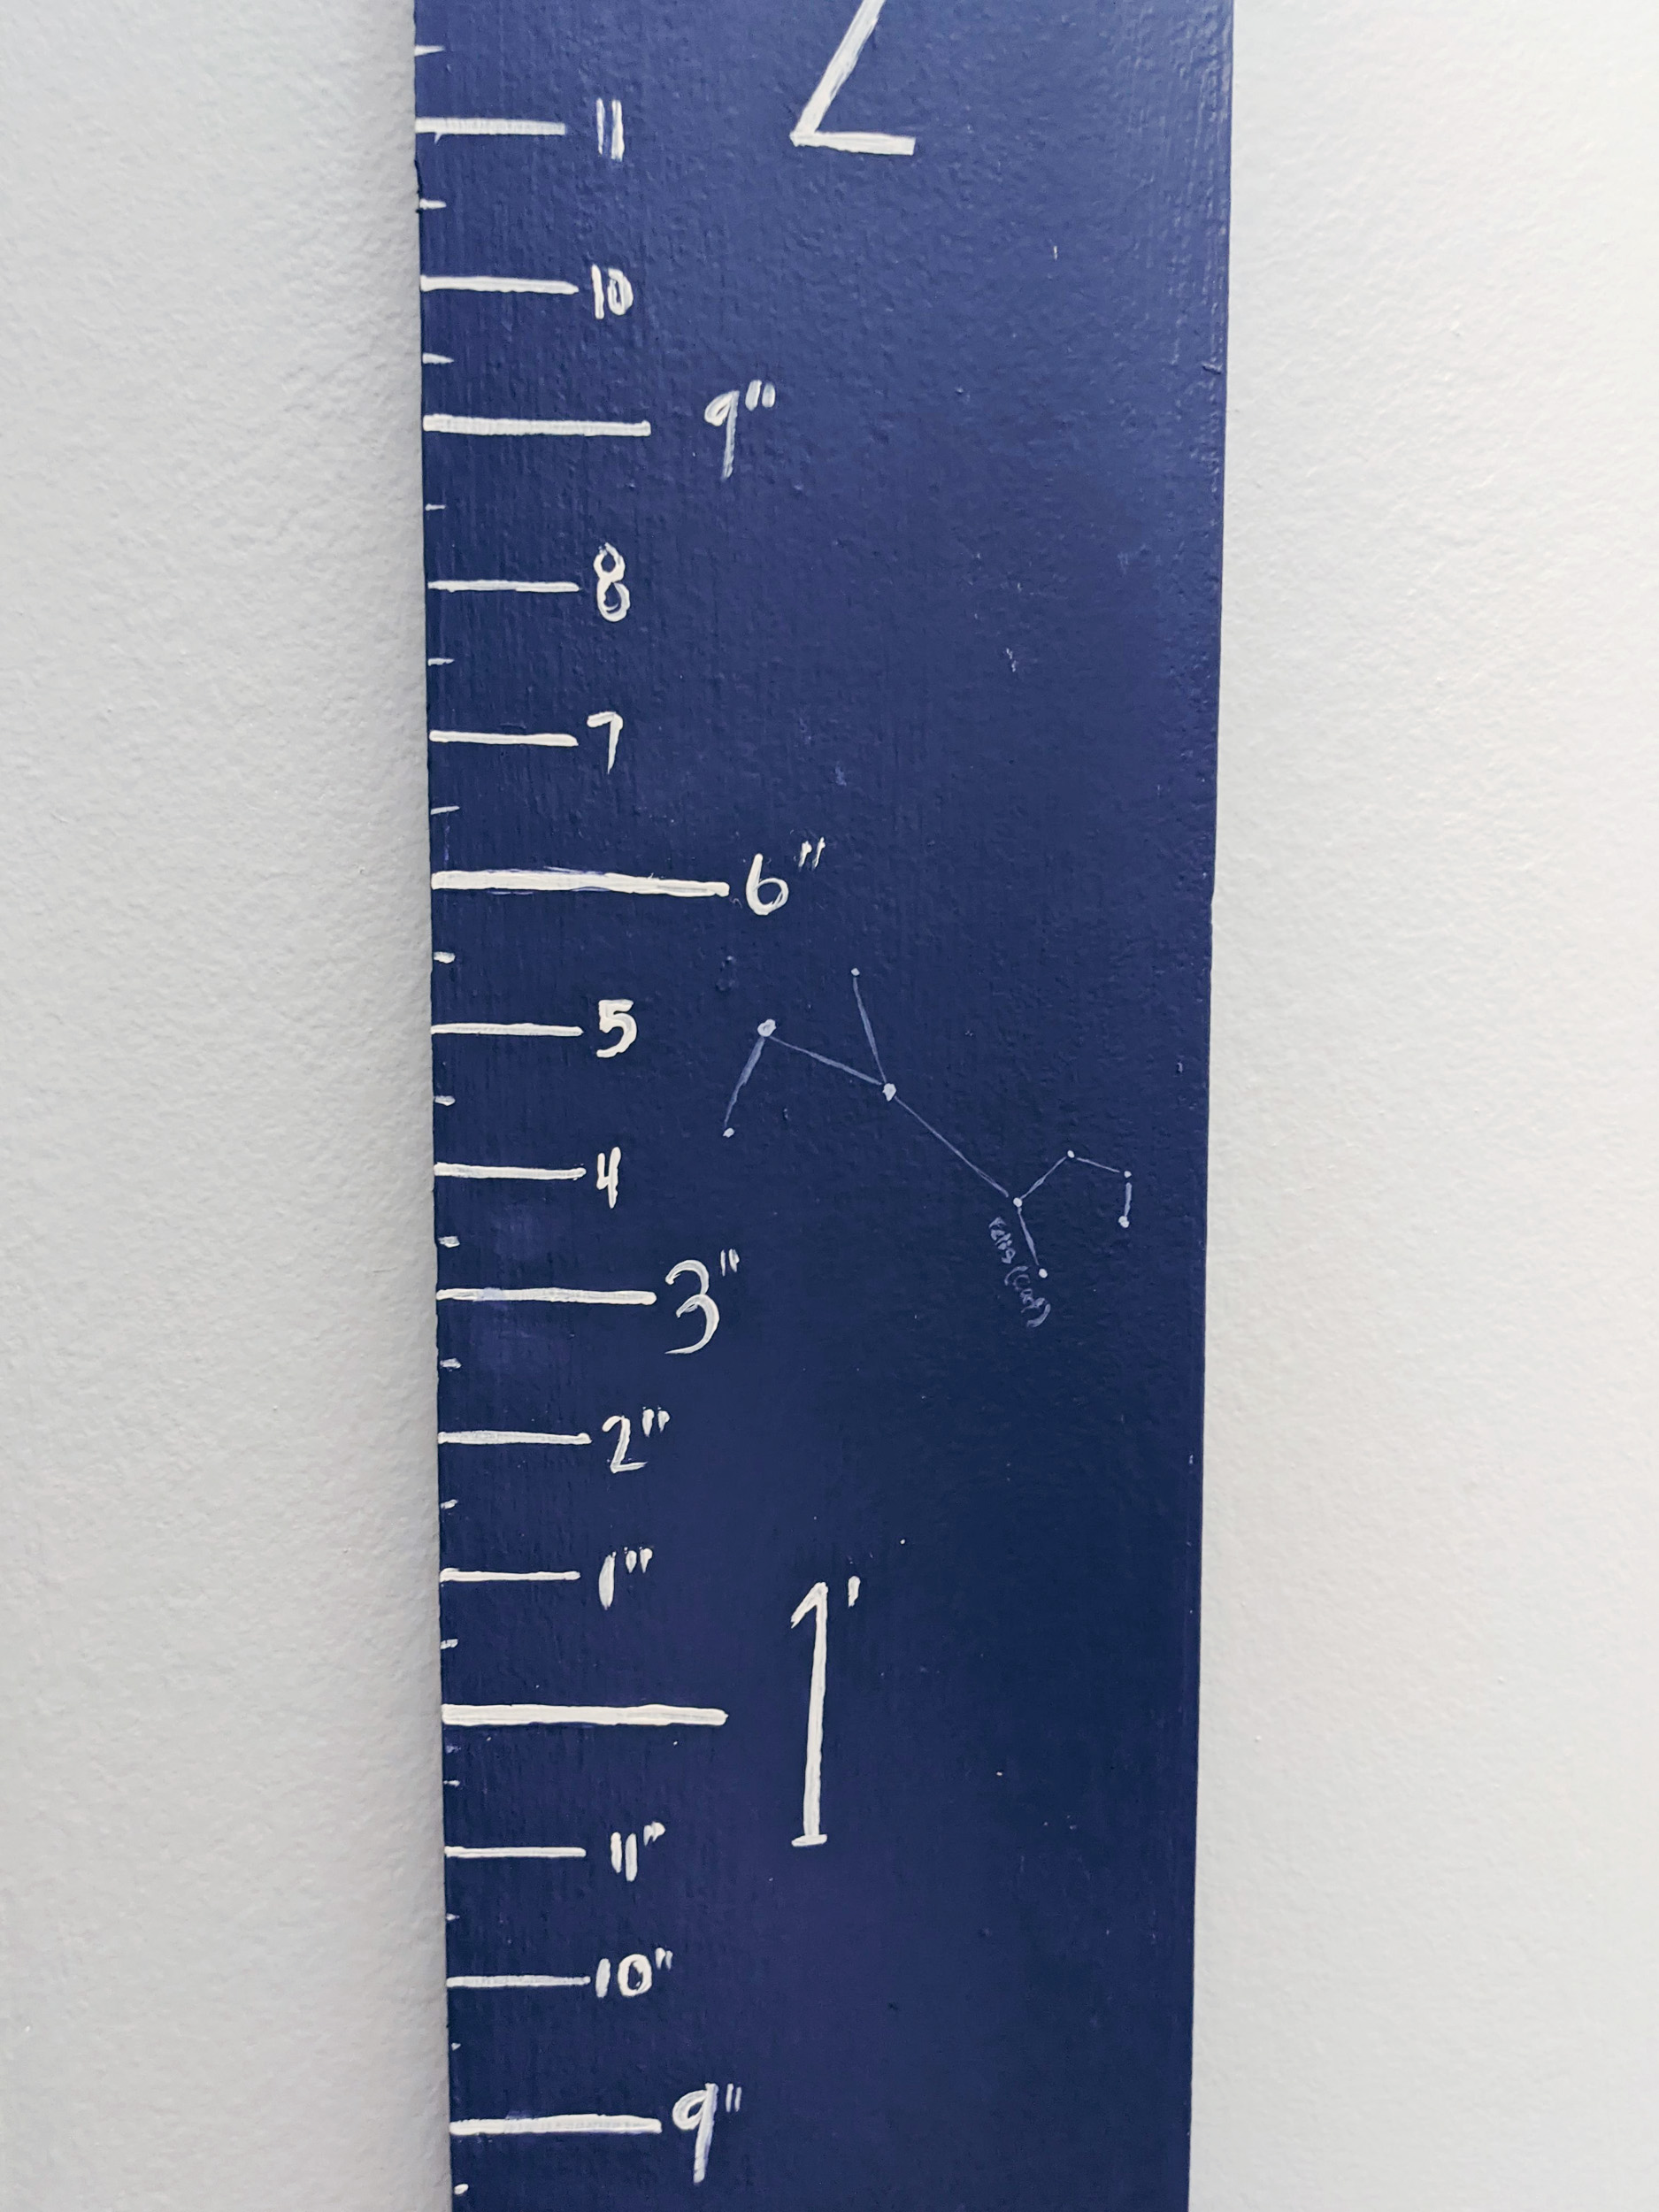
I freehanded the numbers going up the board. I thought about making vinyl decals of the numbers to keep it nice and clean, but I really wanted to go for a rustic, hand-drawn look. As a last minute touch, I added a few constellations going up the board to match his pre-existing stars theme.
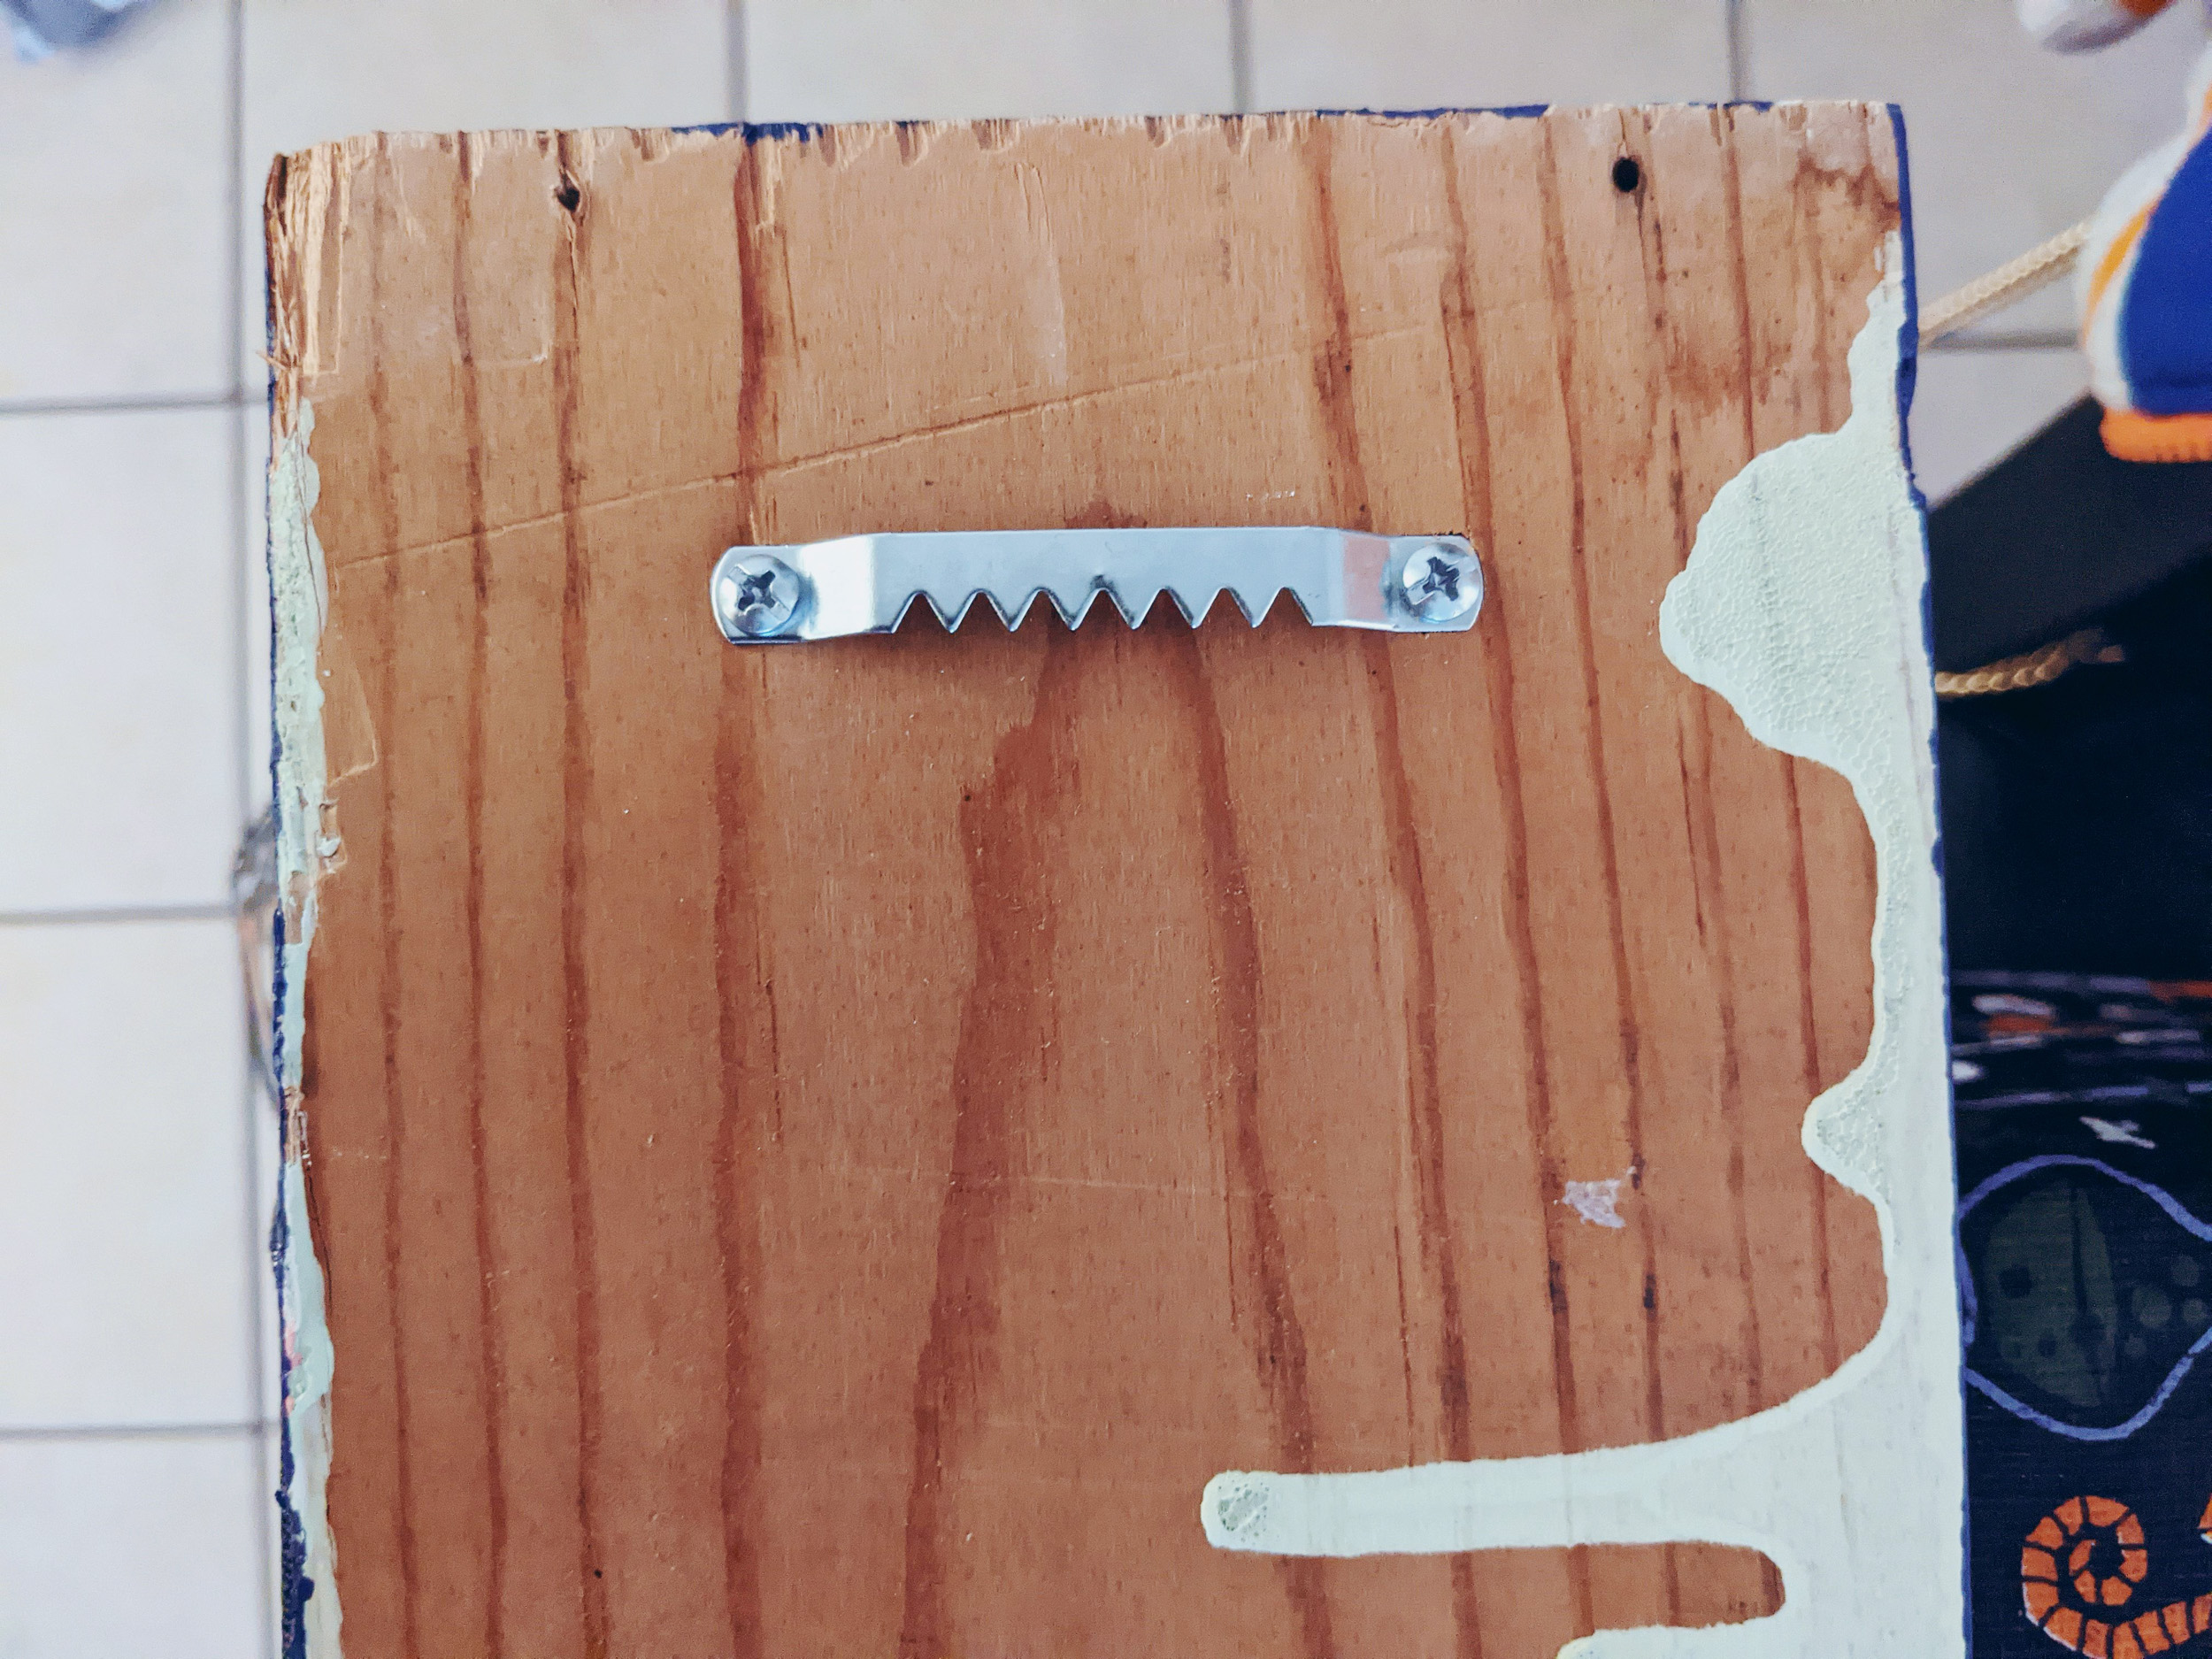
Next, I used an extra long and heavy-duty frame sawtooth hook to screw onto the back of the board. Before you do this, I highly recommend doing some measuring first! Since my sign starts at 0' 6", I made sure that the screws on the wall would sit at exactly 5'. that meant that I needed to attach my hook at 4' 6" on the back of the board. I did these measurements because we have a 3-in crown molding on our floor that we had to work around. When you make the measurements easy to work with like this, it makes everything else go a lot smoother in the end.
When you're trying to ensure that your screws line up with your key holes, I recommend taking a piece of masking tape or painters tape and laying it across from one key hole to the other. Take a marker and mark where the holes are . Take that piece of tape and place it where you plan on placing your screws period use leveler to make sure that the screw holes are evenly set. Draw your screws into the areas where the tape holes are. Remove the tape and set your board in place.

I feel so much better having this wonderful little board here! I plan to go back through all of his medical paperwork and make little markings on the board to track his ever-growing process.
What design would you do for a wooden growth chart? If you recreate this DIY upcycle, be sure to tag me on Instagram (@withlovejoey)!

