
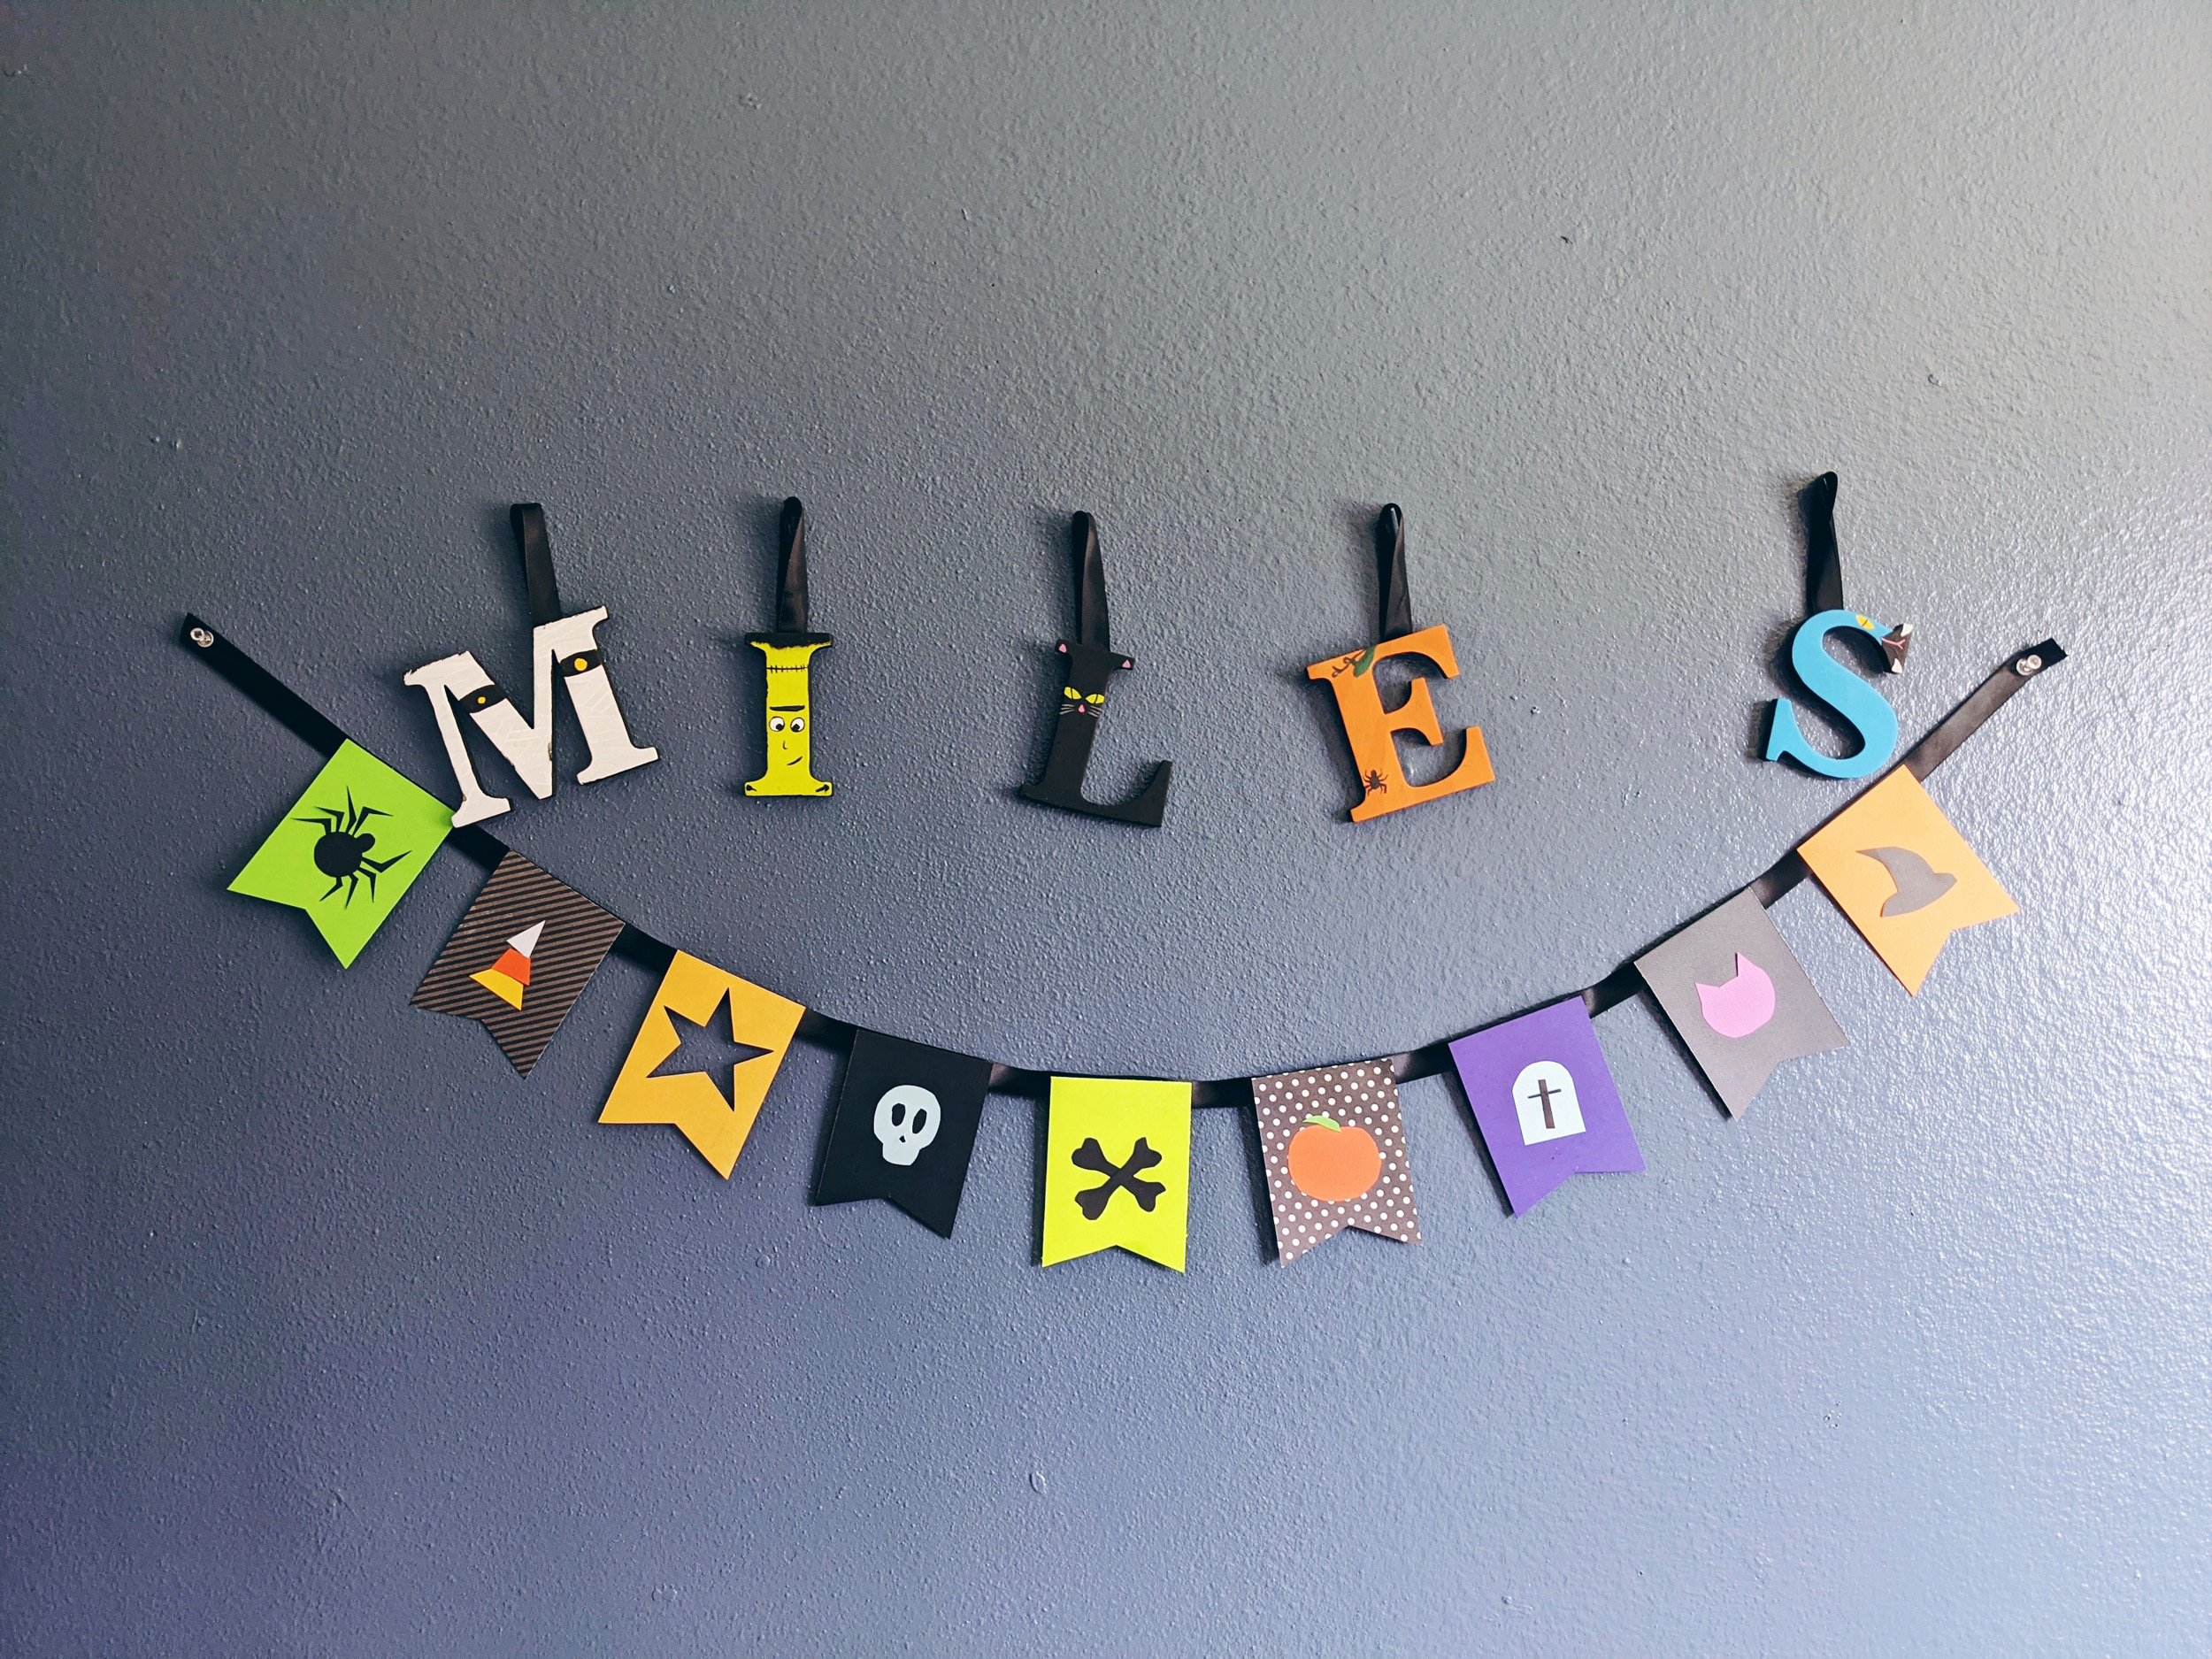
Halloween Nursery Letters
I had so much fun creating Miles' Puppy Dog Pals nursery letters that I knew I had to make some for the Halloween season, as well. Working on a very limited budget, I've decided to go a little bit smaller for the letters, utilize ribbon I had on hand to hang the letters and fill in the space with an adorable bunting!
Hot tip: These lap trays make for awesome portable workstations! I made this whole project on mine while watching my favorite YouTube channels.
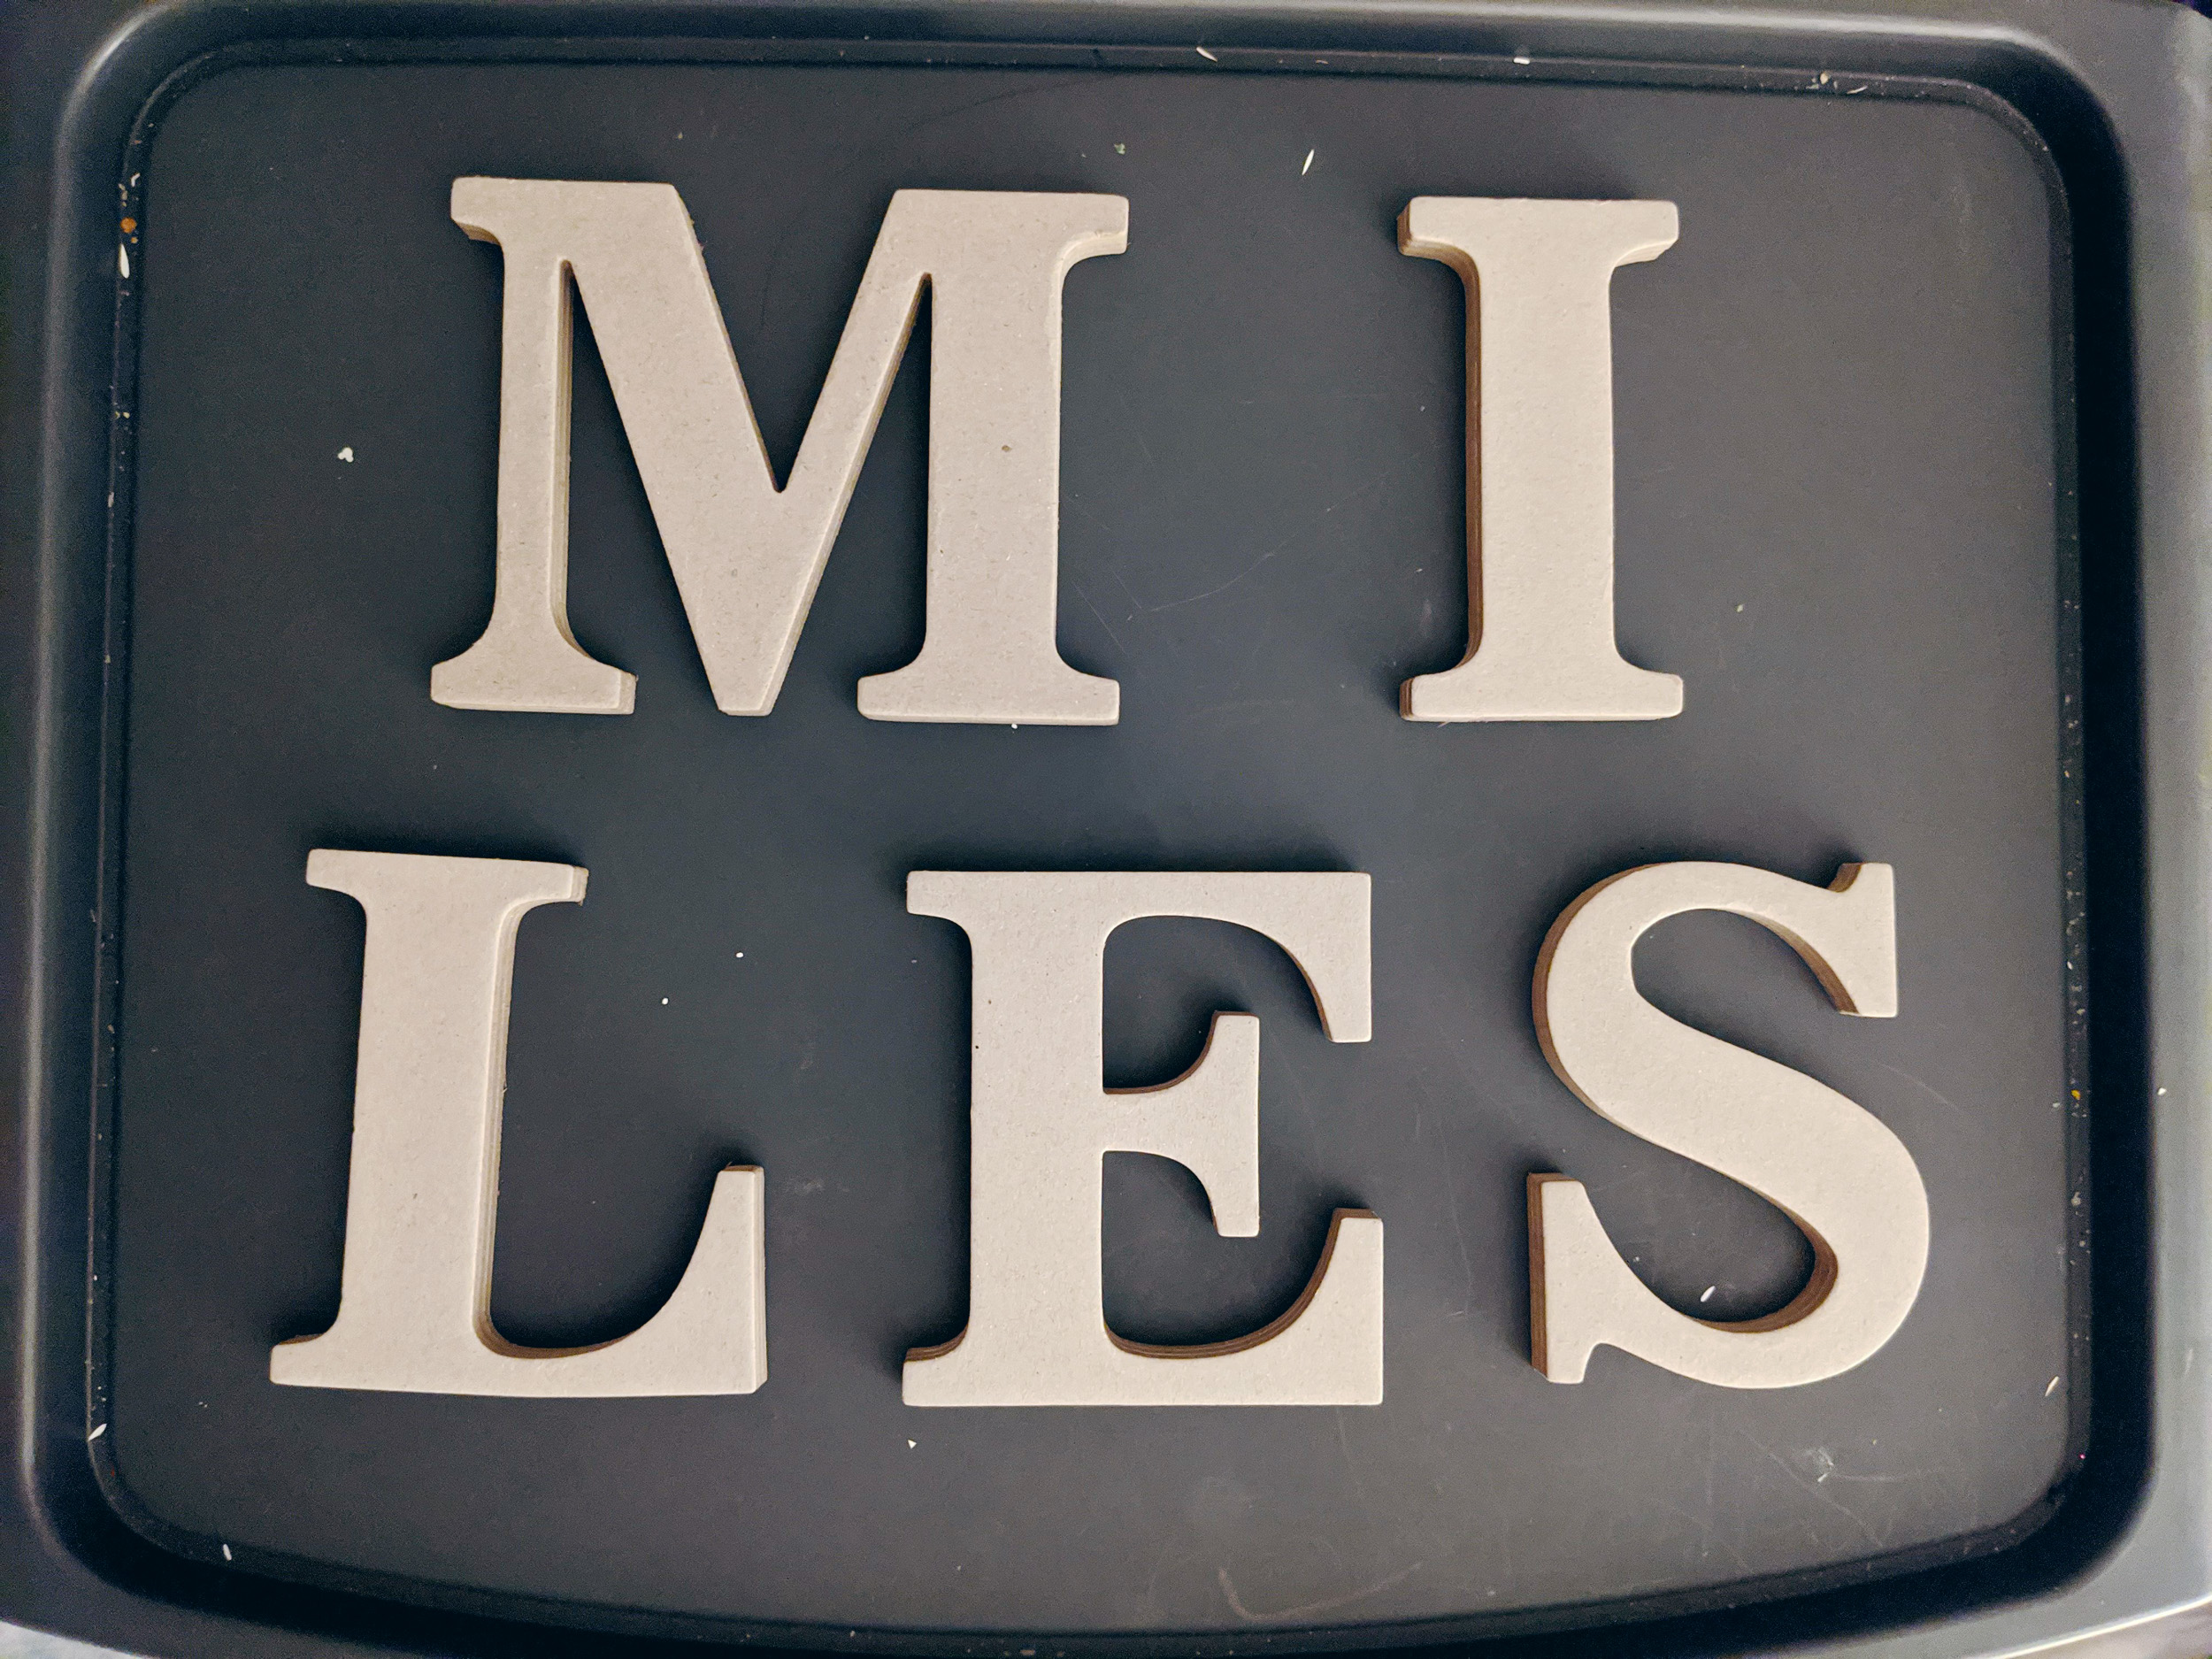
I grabbed these small 4" chipboard letters at my local craft store (Michael's has some similar ones as does Joann's), but you can recreate this project using the full large sized chipboard letters, or even the paper mache once. I spent about $6 in total on the letters.
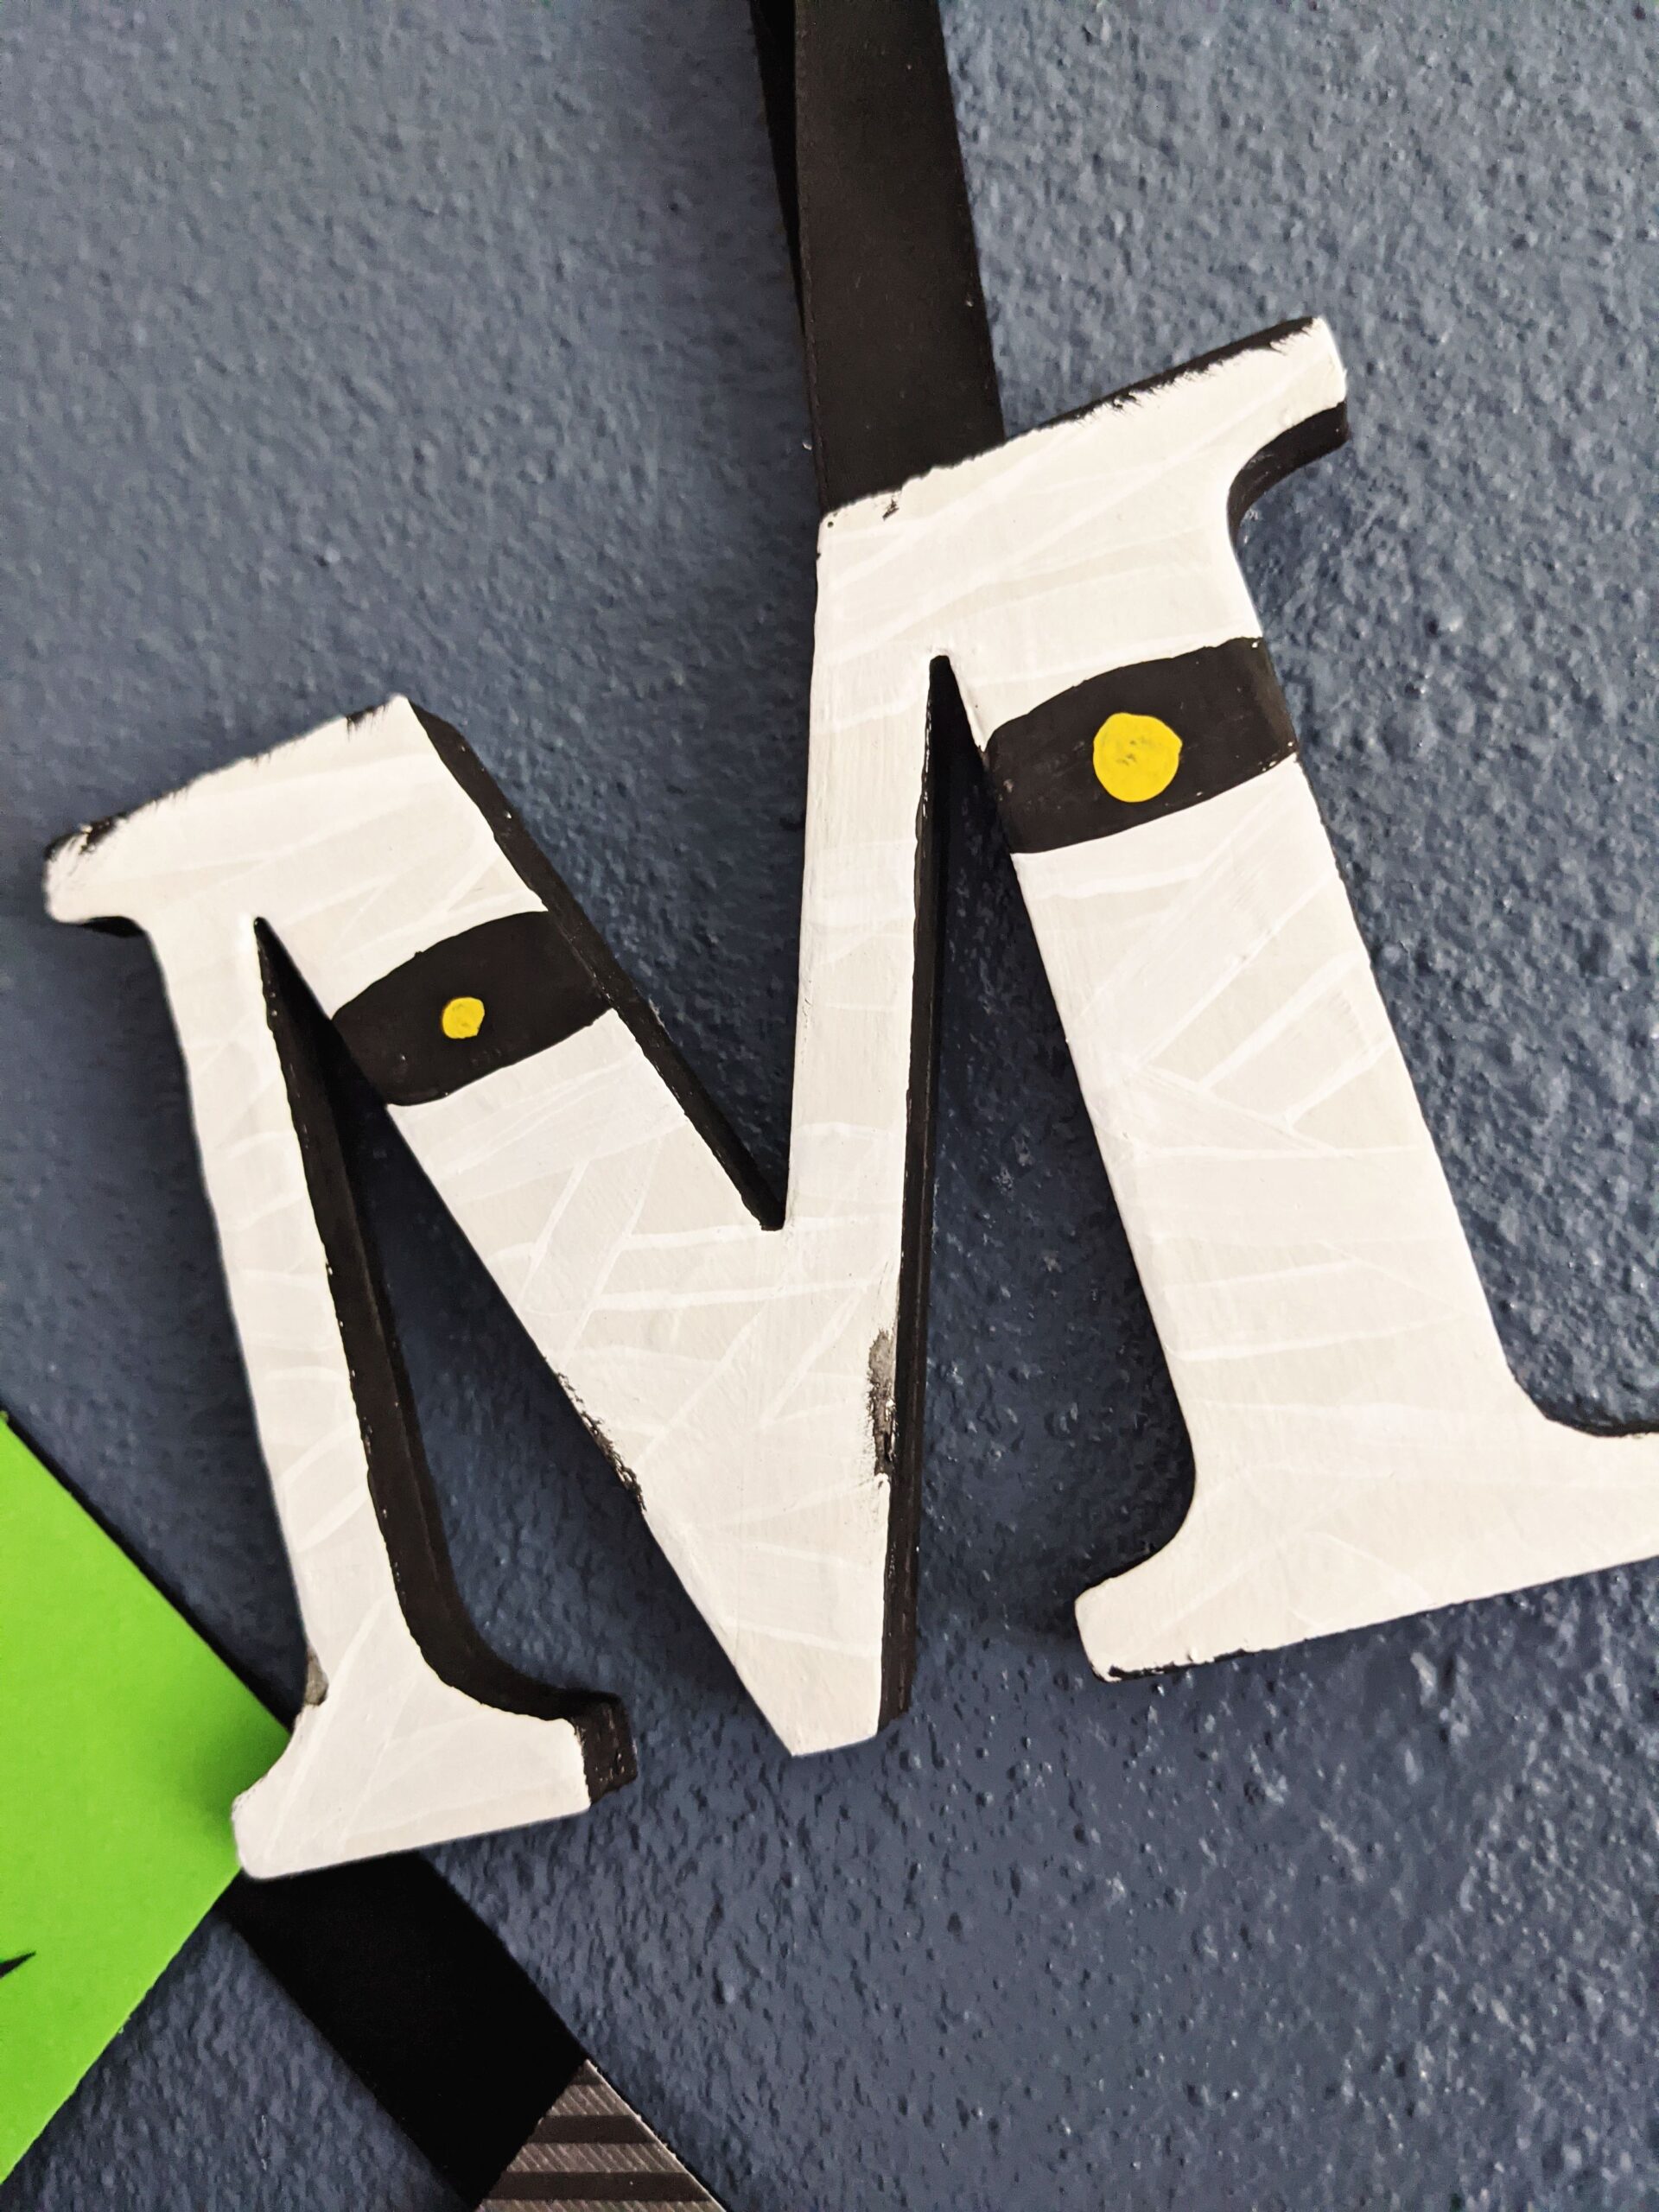
The best way to get a very vibrant color on the paper mache or chipboard letters is to use a white base to help really make the color stand out. I used a white acrylic paint that I had on hand, and used more on the M since that was going to be a mummy design.
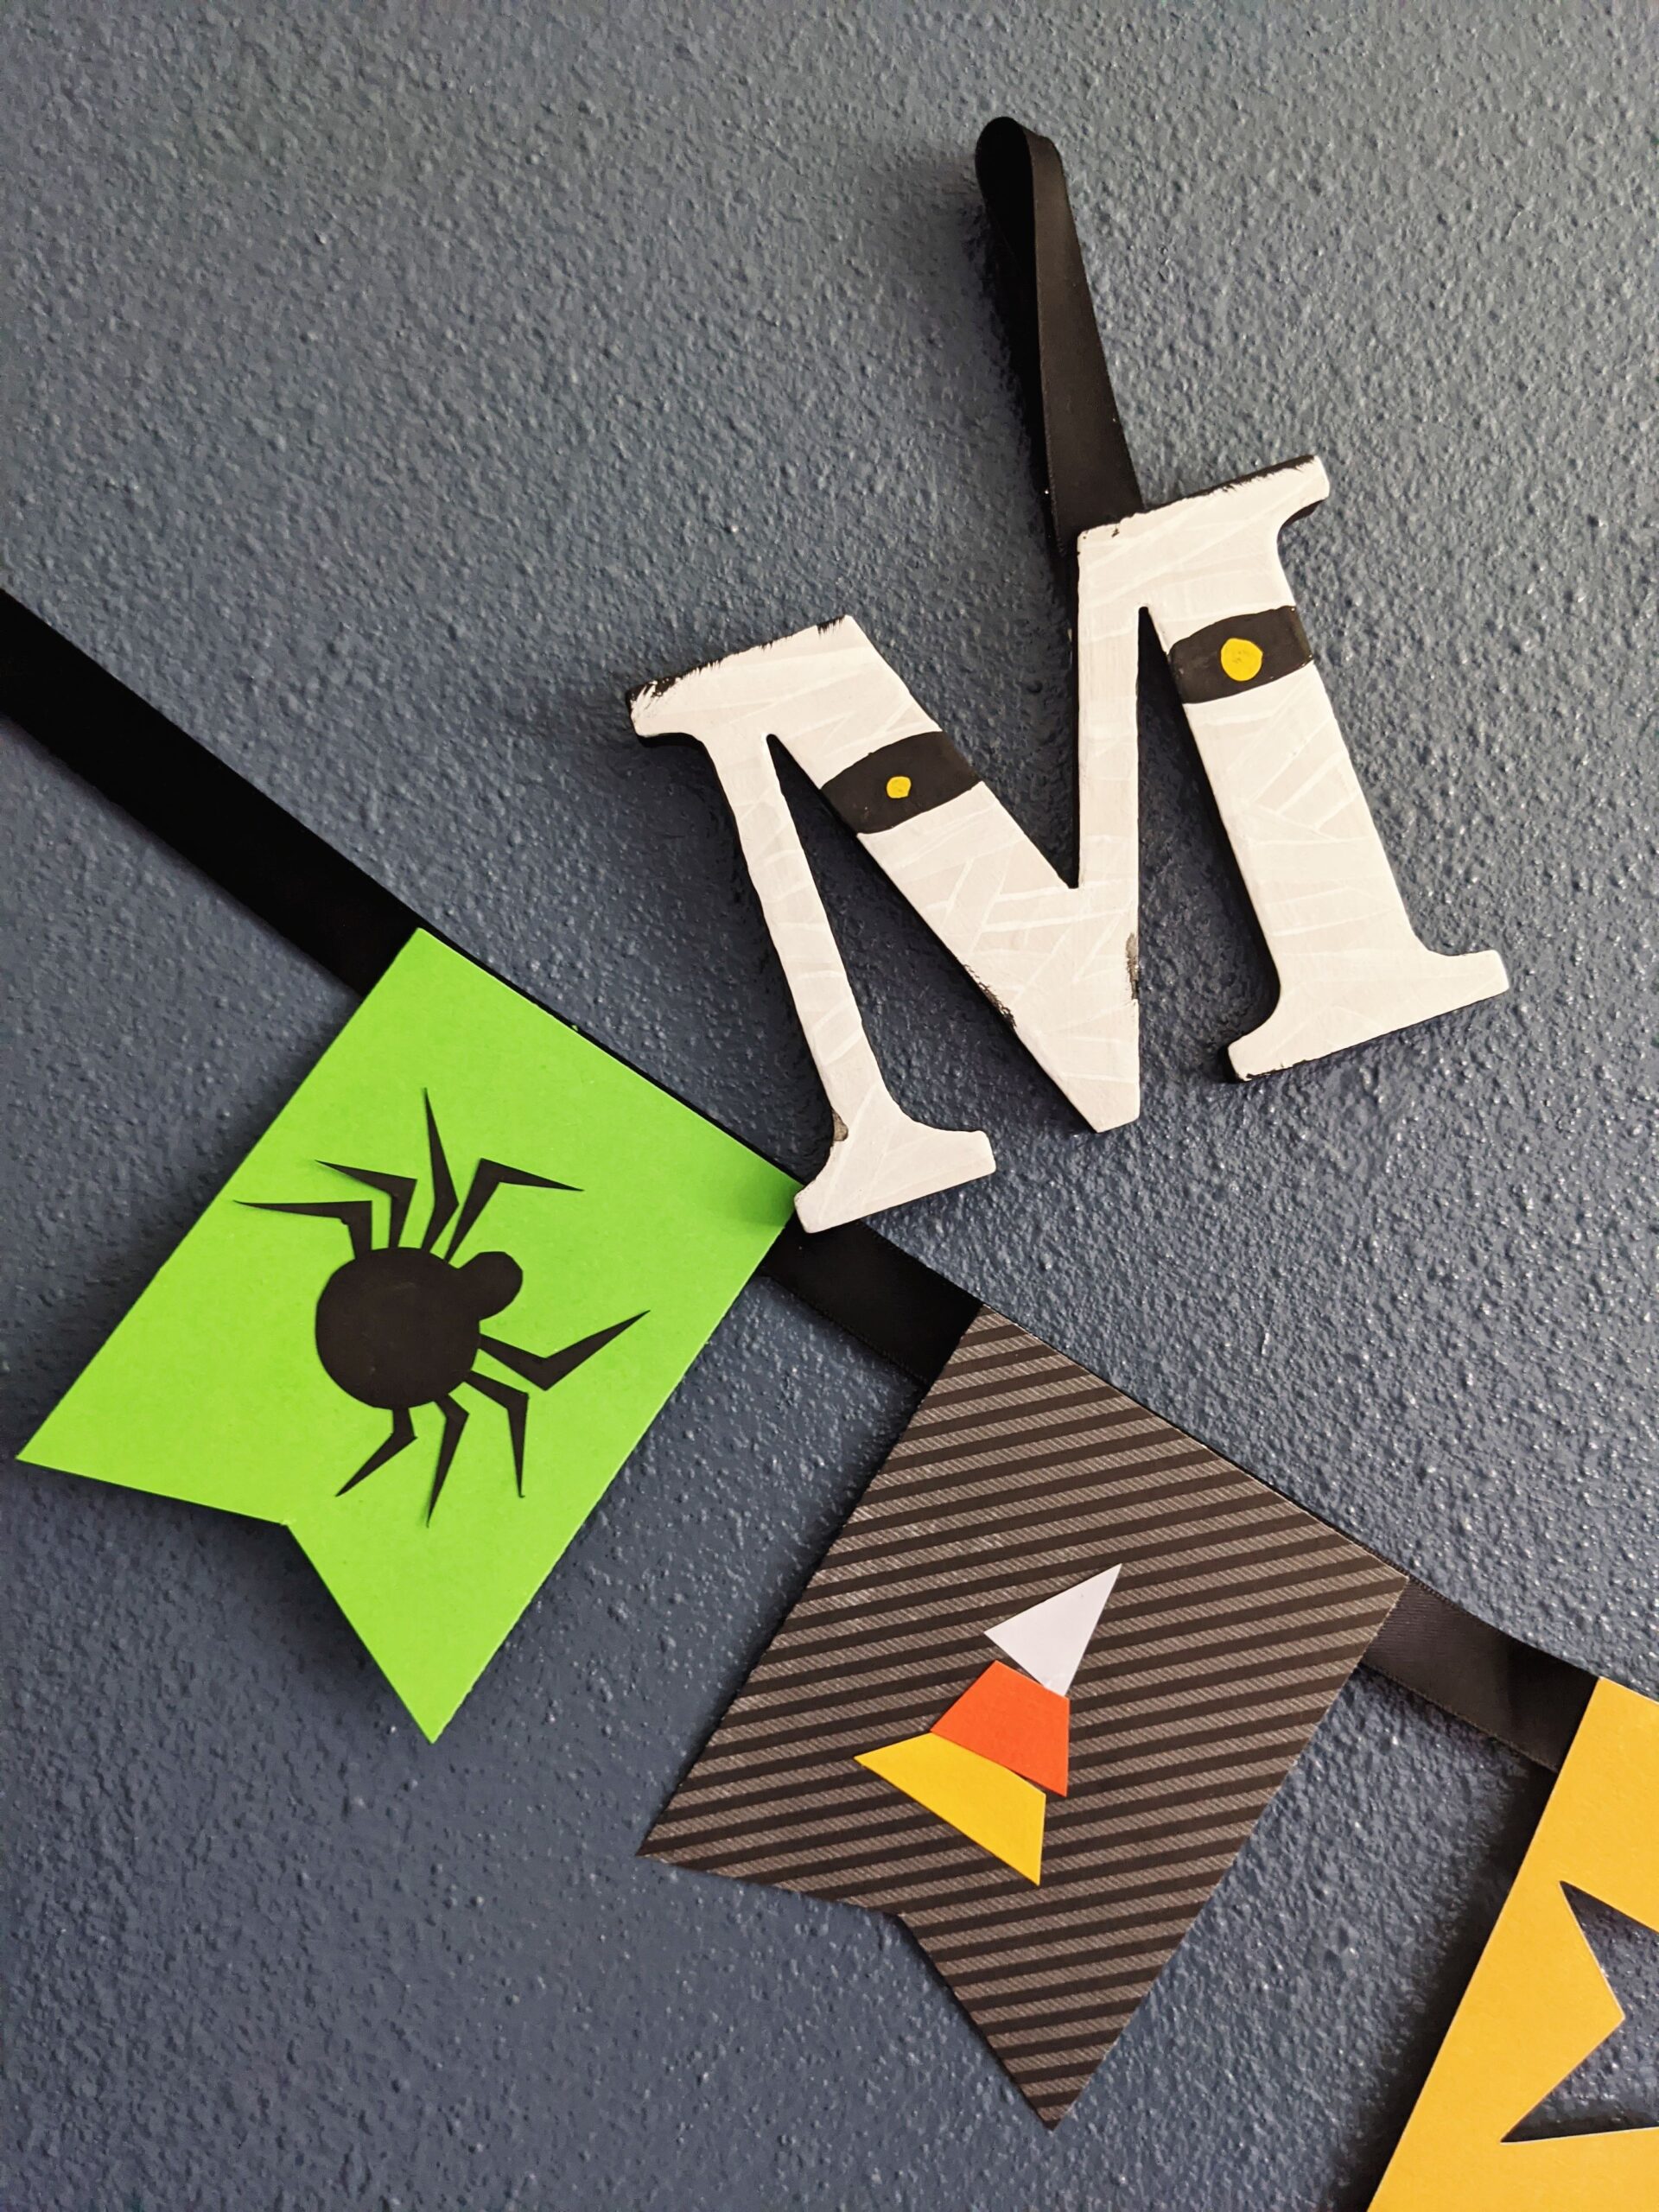
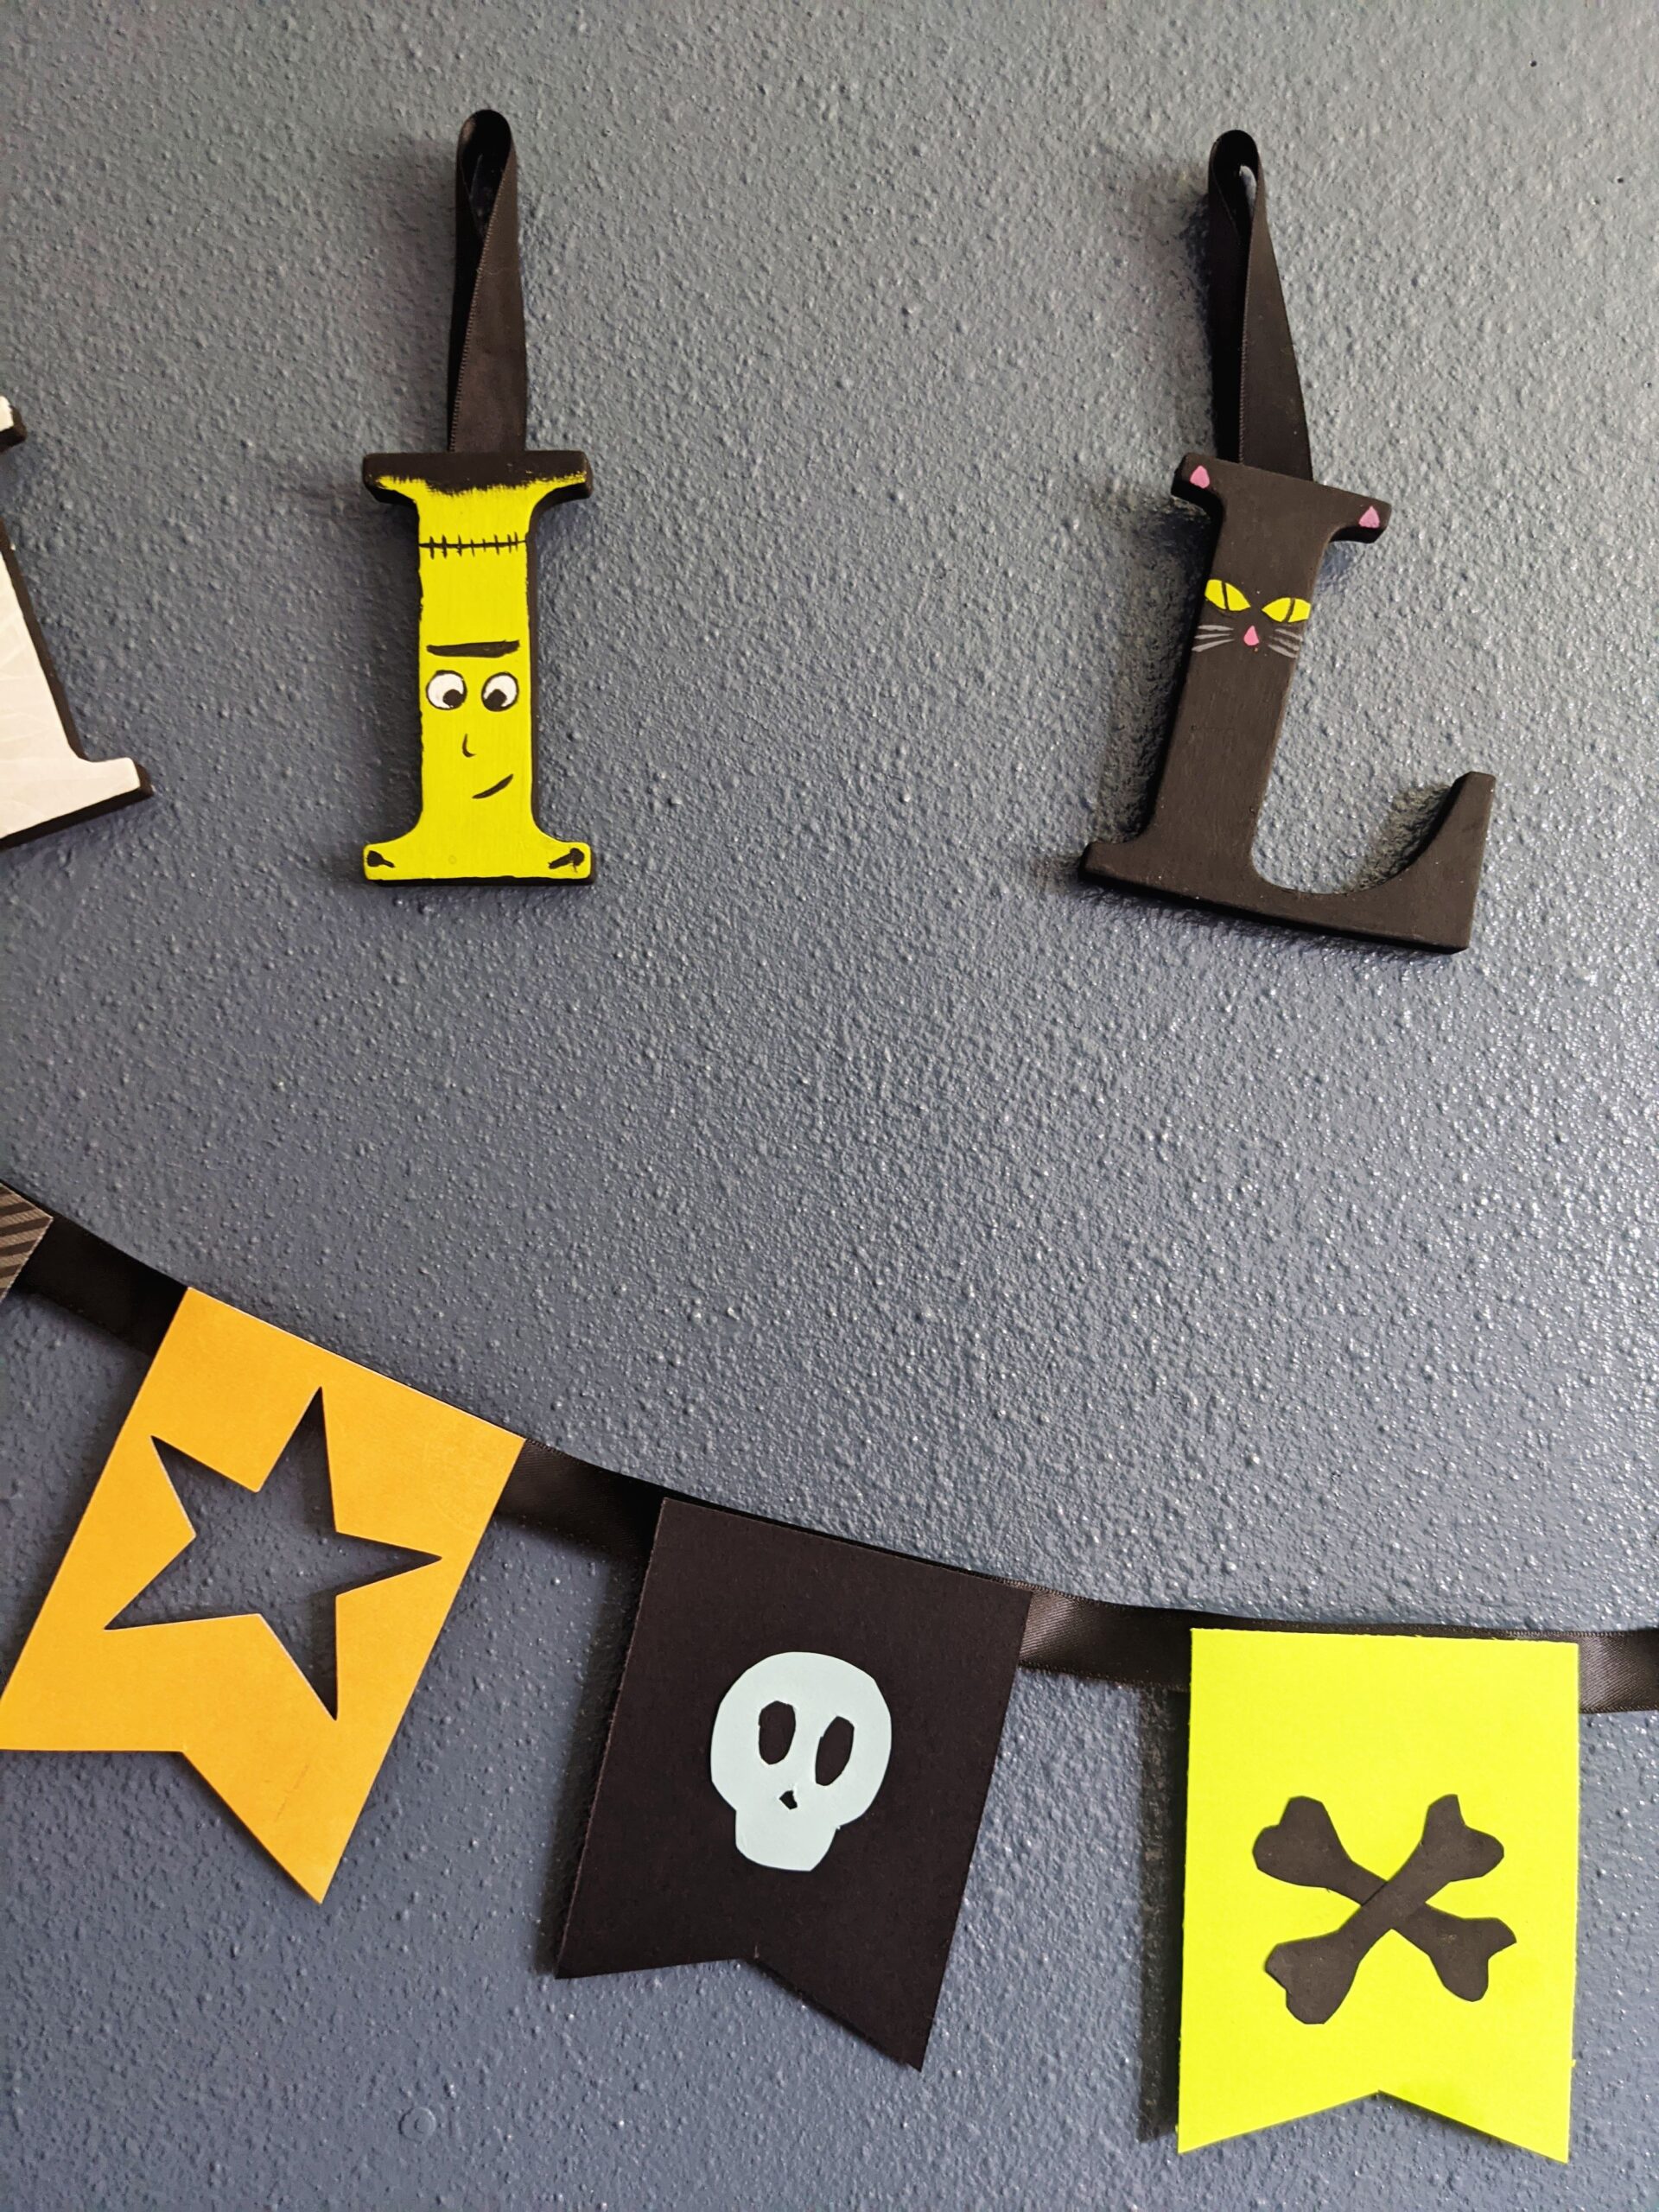
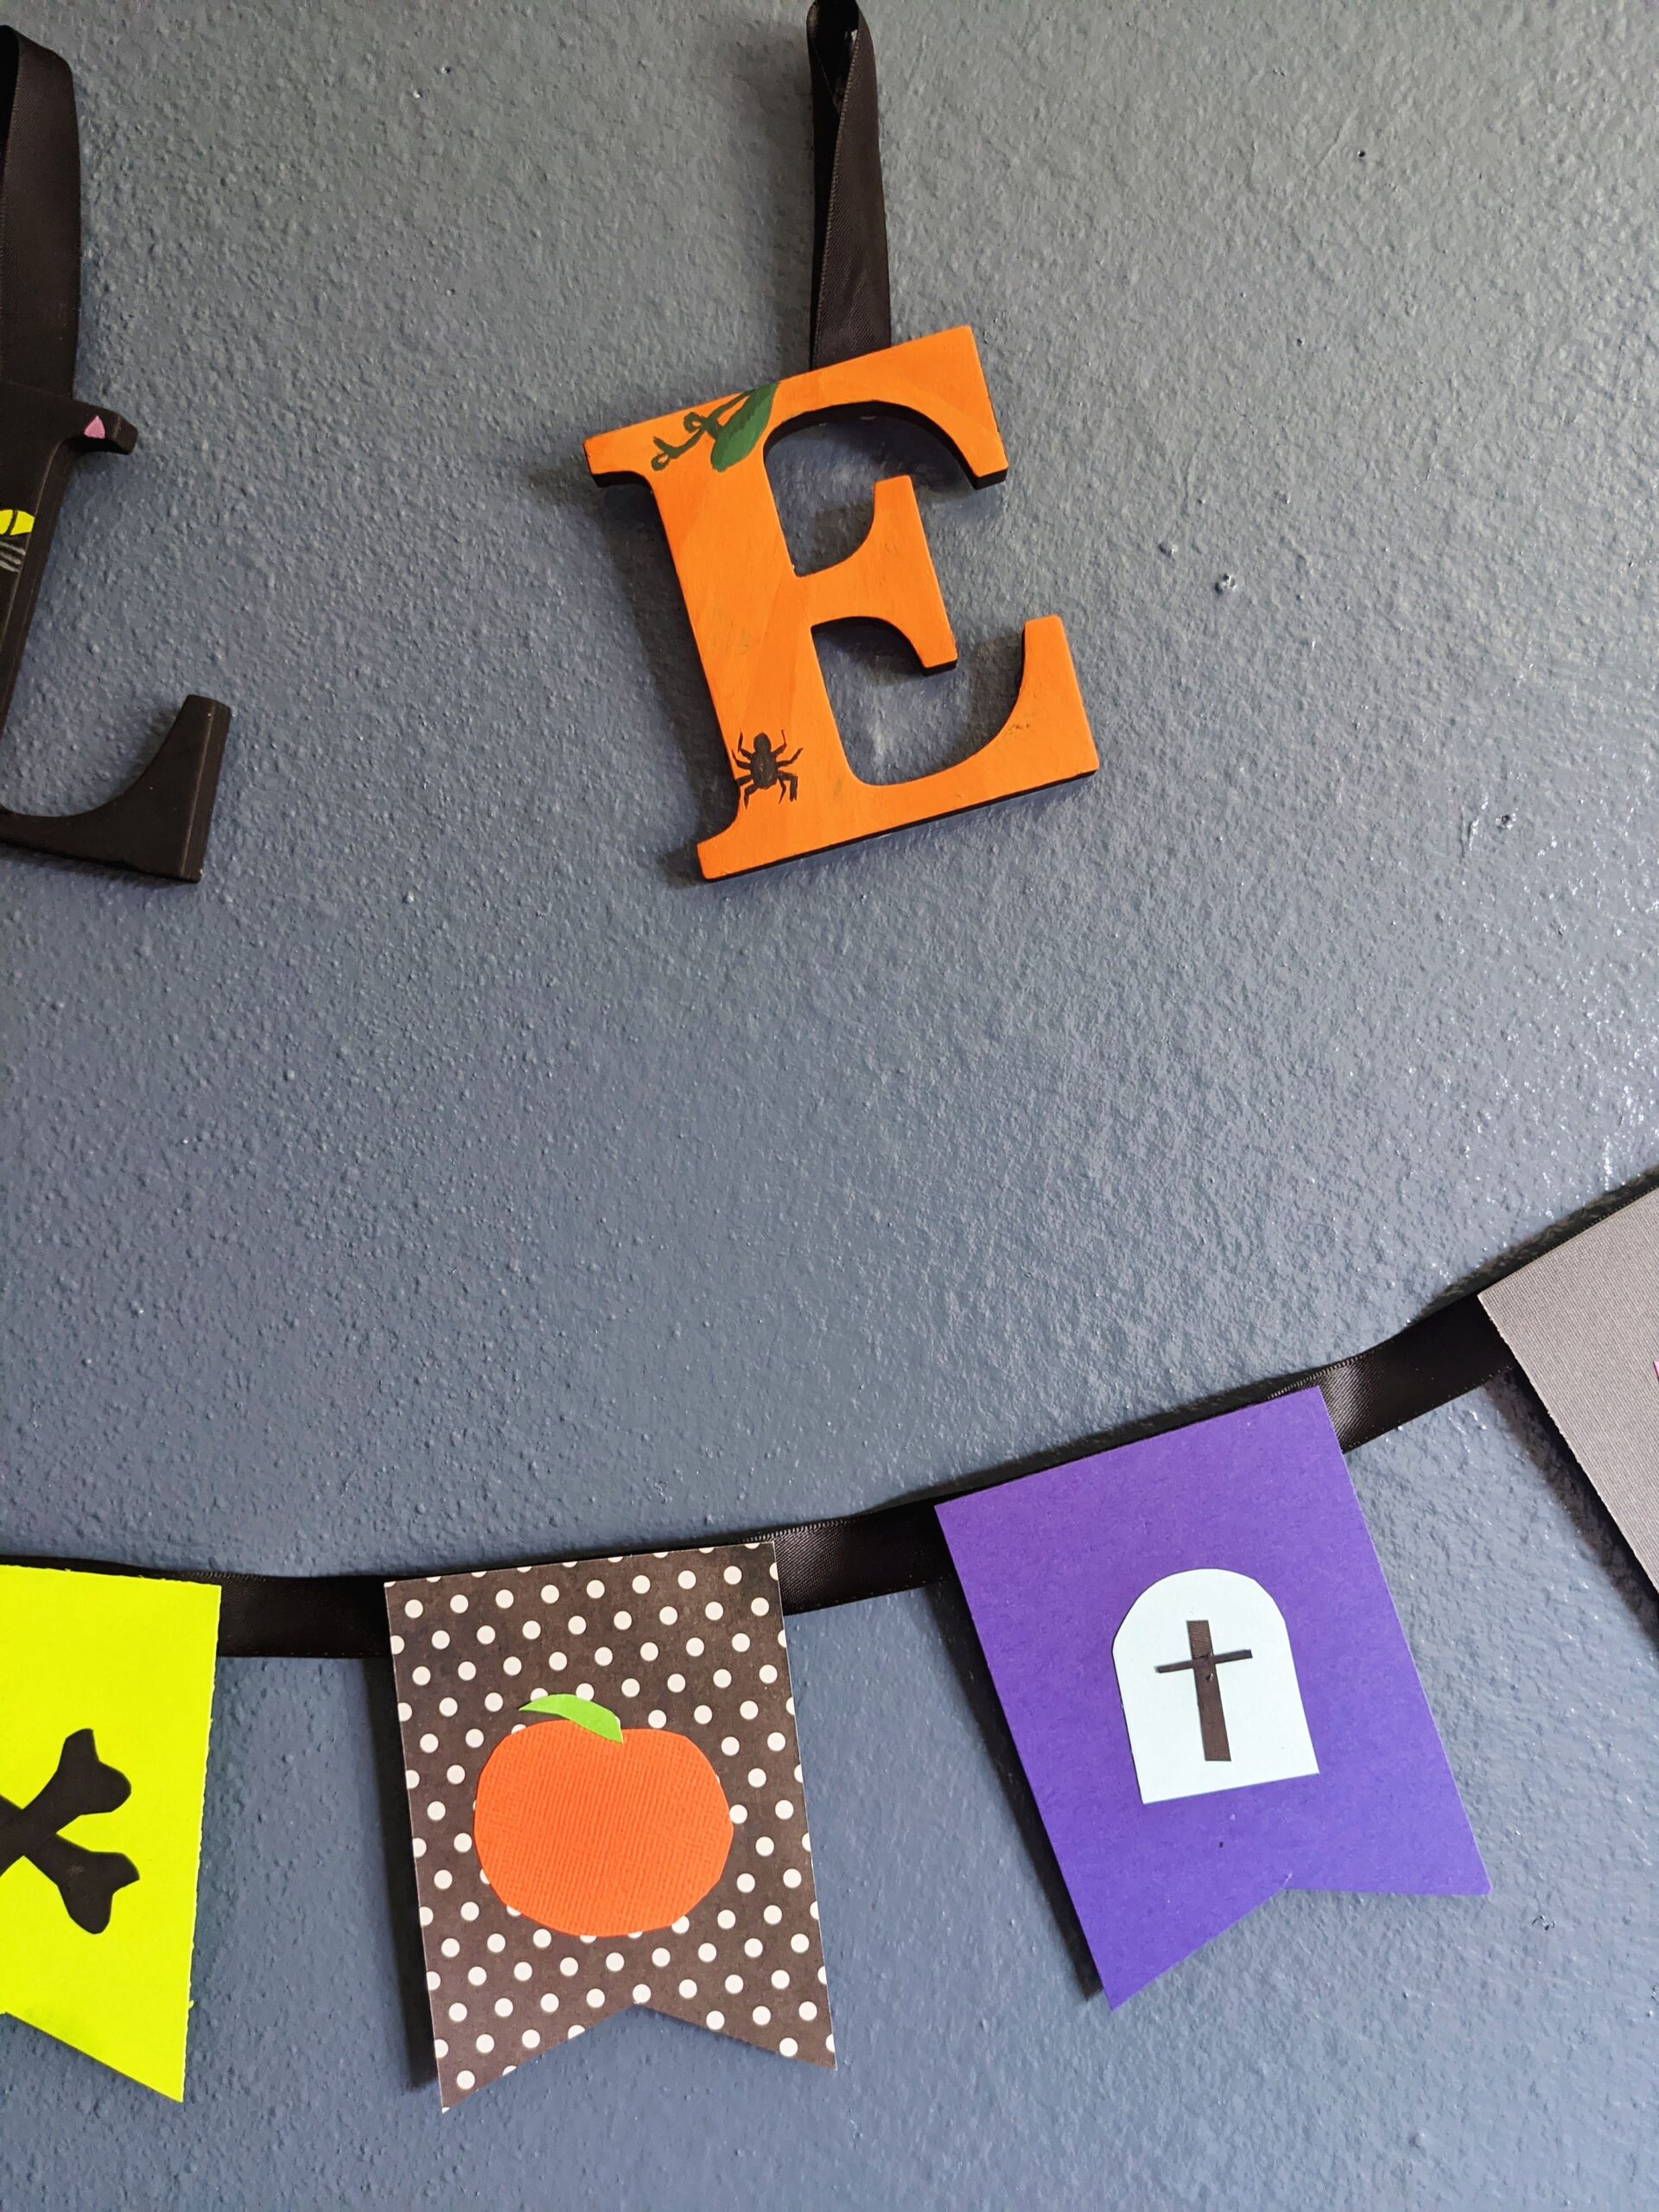
For the designs, I chose a creepy snake, a mummy, a black cat, Frankenstein's monster, and a pumpkin. It was really hard to find inspiration online as it doesn't seem like anyone's really done this, but there are tons of options out there for different Halloween themes that you could do for your letters, such as ghosts, witches, vampires, warlocks, zombies, skeletons, creepy eyeballs, bats and more!
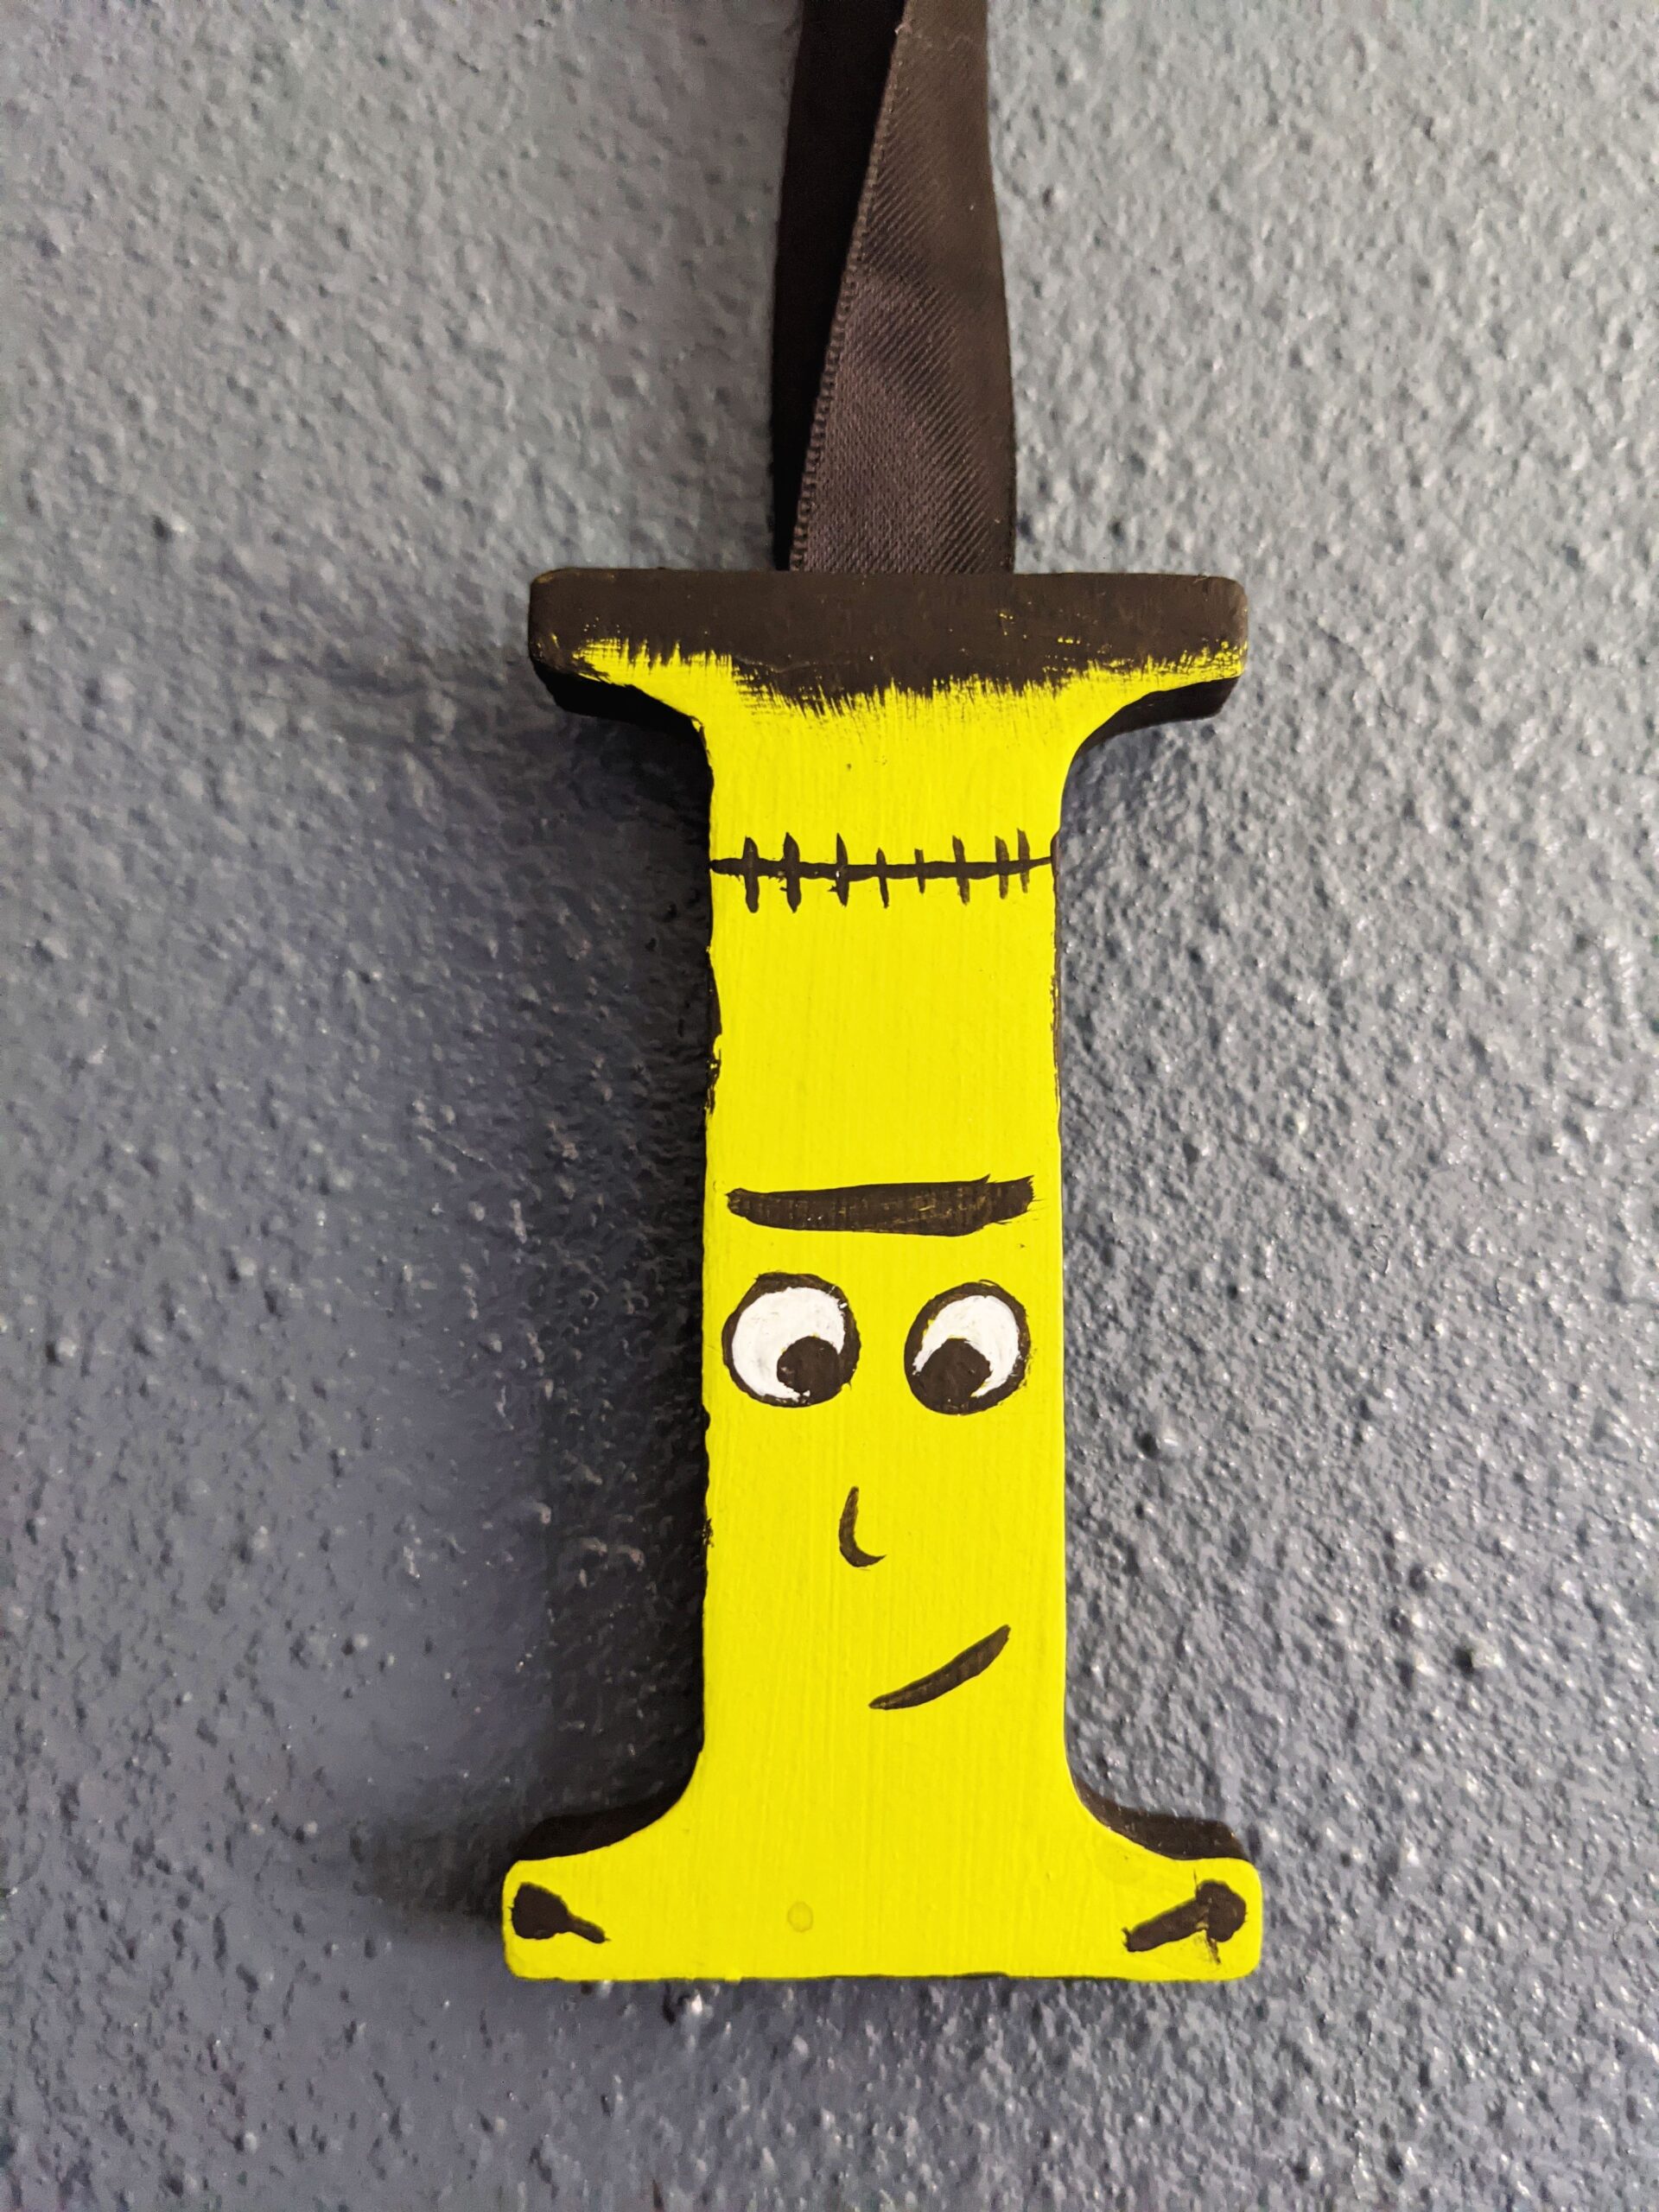
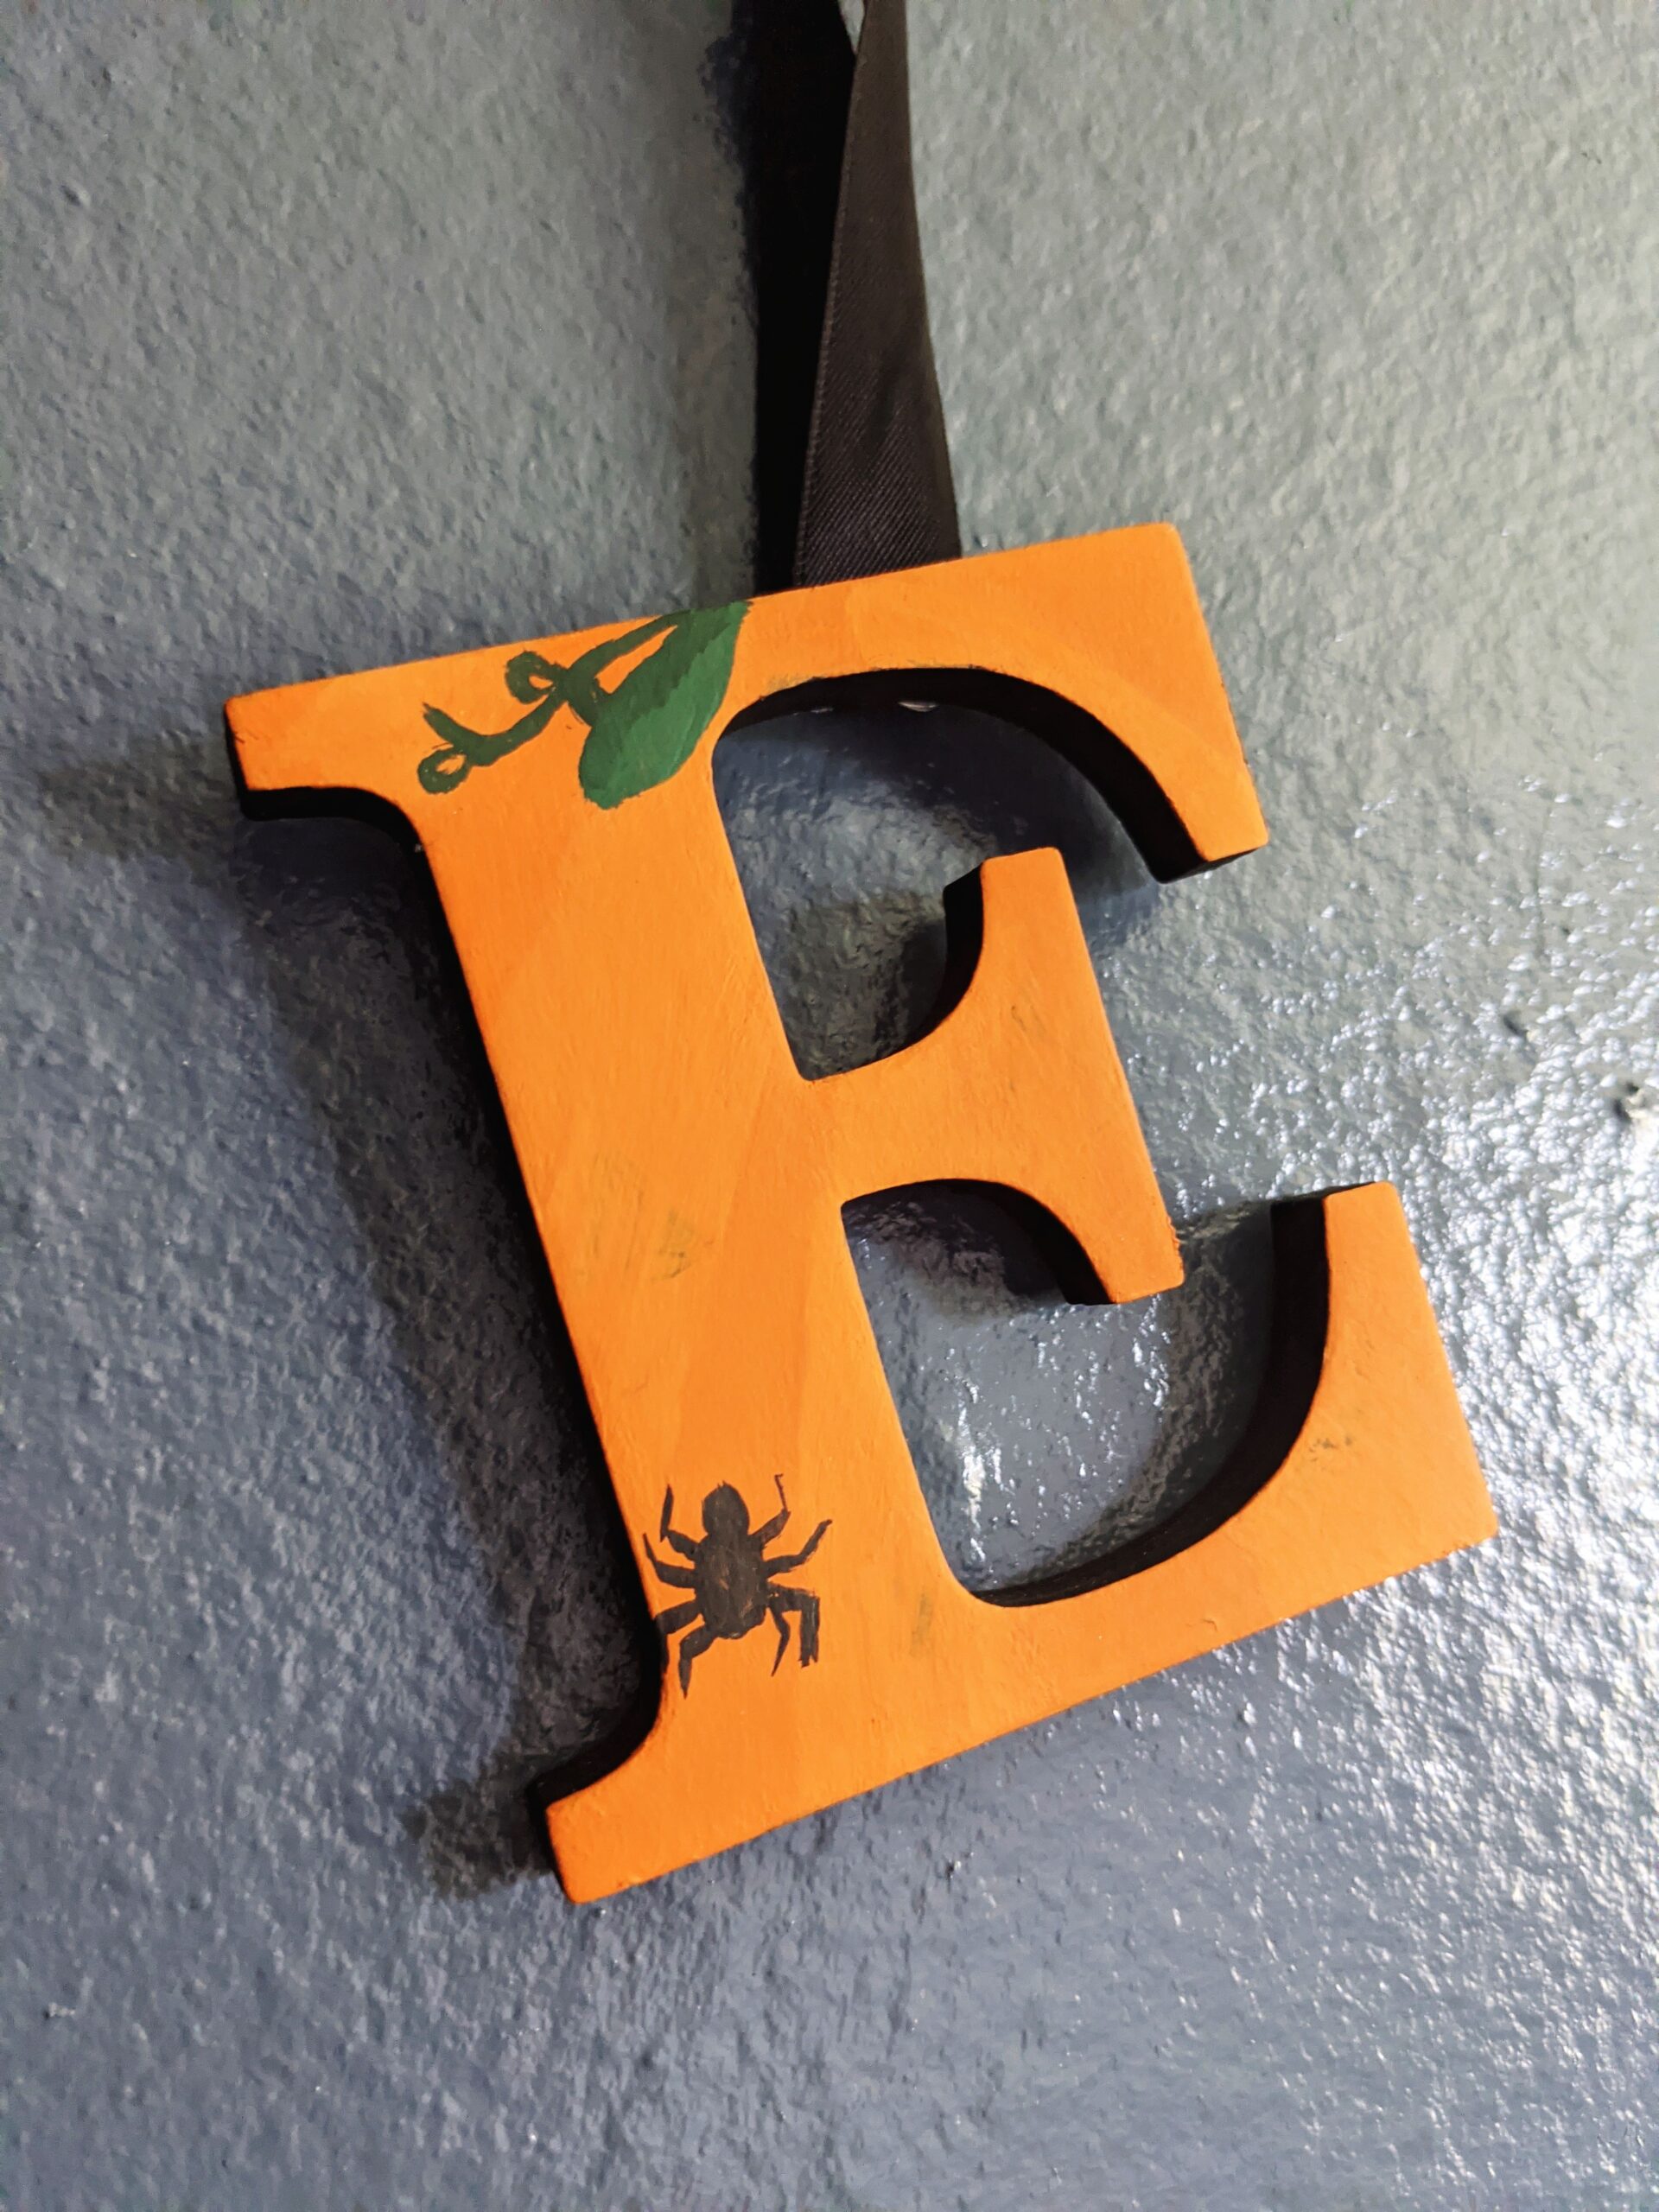
To finish off the designs, I edged the sides of the letters with black acrylic paint. This gave it a nice finish, and also added a little bit of texturing for the few times my brush slipped and happened to get a little bit on the sides. If you're a perfectionist like I can be sometimes, I recommend trying to use acrylic paints that don't require you to mix colors this way if you do happen to have a brush slip you can easily cover up the black with a few dabs of the original color to clean up any mistakes.
I took black ribbon that I purchased at the Dollar Tree a while back to make little hooks for the back of the letters. I cut each of them to about five inches to give a nice amount of hang using the original nails used for his everyday nursery letters. I added a fun little paper and twine bunting under them using some spare scrapbook paper that I had on hand. You can easily make this using fabric or scrapbook paper found at any craft store in Halloween themes and colors. I just freehanded all the shapes, which gave it a fun touch!
I just reused the existing nails in the wall for hanging, which I now see is painfully obvious as to how uneven they are, but it's fine! Hahaha! Sometimes life's a little uneven!
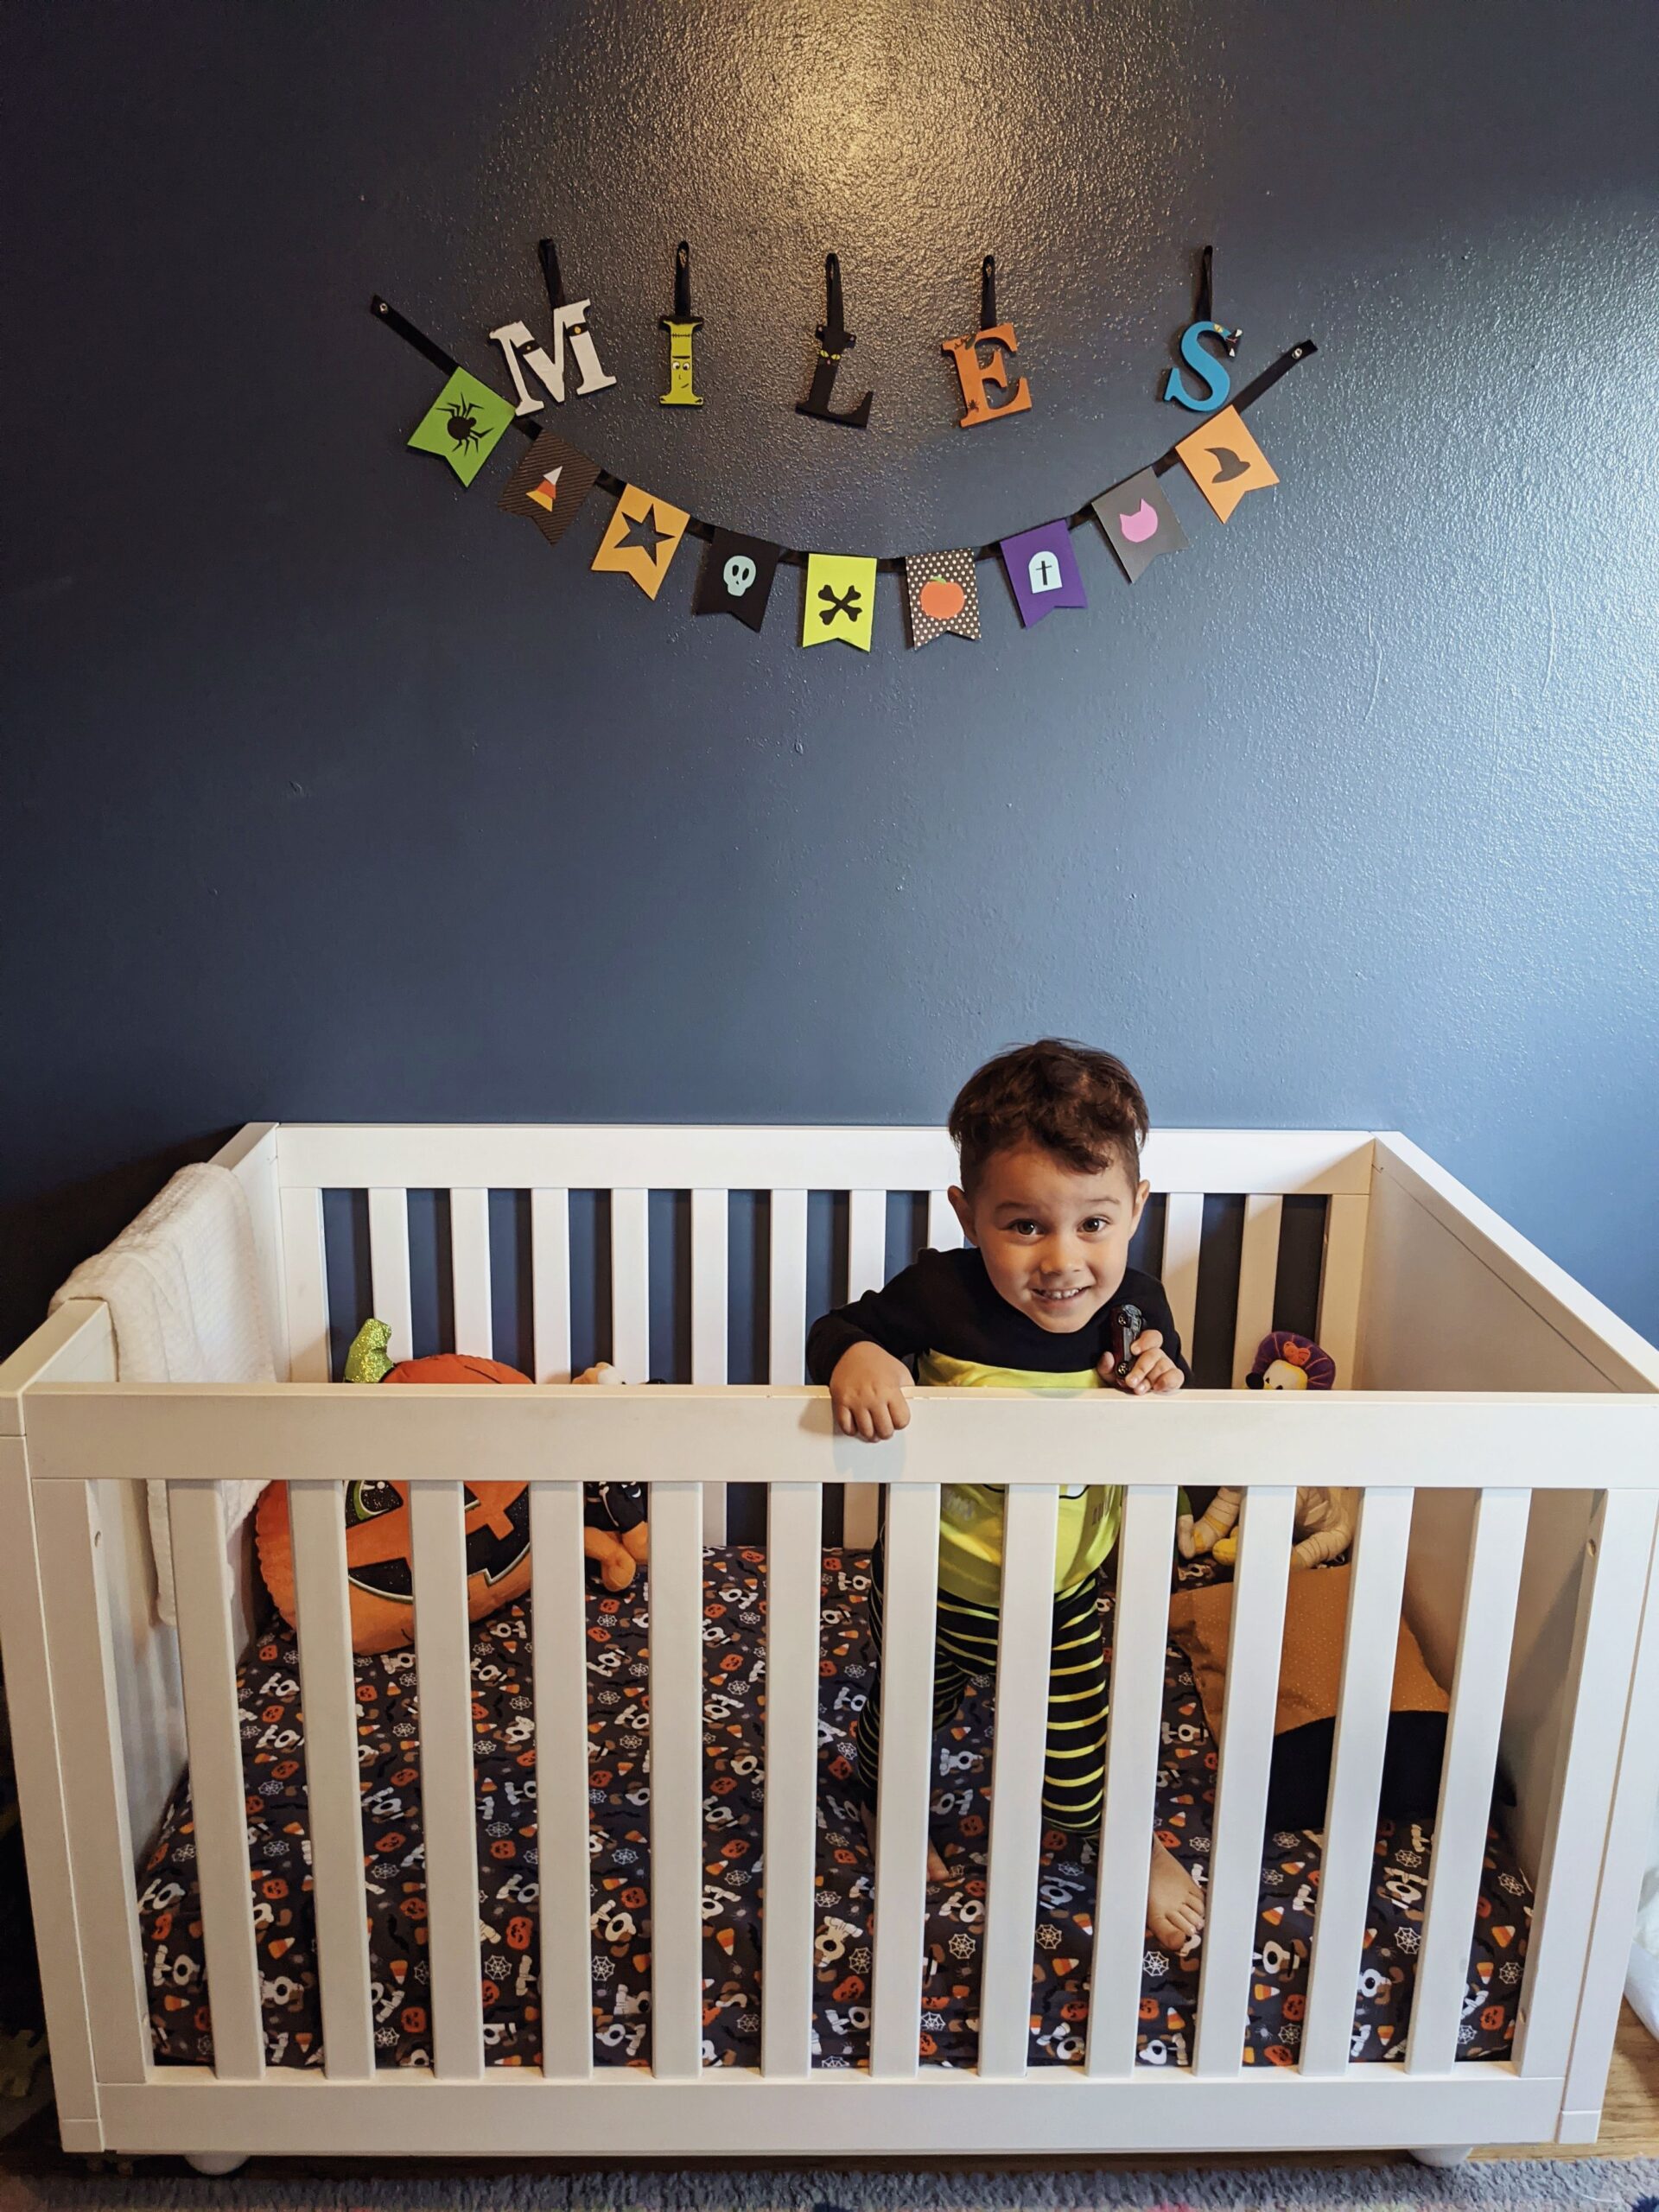
I used the letters and bunting to help tie in the color of the walls, the color on the rug, and the colors on the fitted sheet that I made him to help create a cohesive design that didn't require me to do too much of an overhaul on his room decor.

Don't be afraid to freehand your design and take some risks. I had this vision in mind for the snake and the mummy when I first worked on these letters and one of them was CLEARY way off base! (Shoutout to Mike who suggested I try using 2 different whites to make the mummy dimensional rather than shadowed.) The great thing about acrylic paint is that you can start over and no one will ever know. I wanted to share this mess up with you incase you decided to try a mummy design, as well. Hot tip: When applying the white on top of the beige, let the lines go on uneven and build up paint along the edges. It helps make those defined edges for you. For an even more noticeable layering, try 3 or 4 different shades, starting with applying the darkest white first, and ending with the brightest white on top.
I can't wait to do this project again in a few months for all the Christmas decor that I have planned for him! Let me know in the comments below what characters you ended up using for your nursery letters! Be sure to tag me on Instagram (@withlovejoey) of any creations you post.

