
Making a Halloween Crib Fitted Sheet
It's kind of a bummer that holiday-themed fitted sheets aren't really made for toddlers. I've done searches online and most of my search results would be really jarring black and white prints that aren't technically Halloween, or beautifully made Halloween and gothic prints from Etsy sellers that are unfortunately far out of my price range. And that's when I remembered that I have a sewing machine that works.

For the past few weeks, there has been a major uptick in sewing projects in my house, and this is the project that started it all!
This is the first fitted sheet I've ever made, and if you're in the same boat then this post is for you.
I started by buying 2 yards of a stretch knit fabric. I was lucky enough to find this print in the clearance section at my local Joann's store. This was $7.99 for 50% off. I bought 5/8" wide elastic from another craft store in town for this project, as well as bright orange thread for a little bit of extra detailing (though it's not visible). I believe my total project cost was under $20, so this can definitely be a budget-friendly project!
What You Do
After reading several blogs online, the best advice and guidance I got was to prewash the material, and then cut using the mattress and preexisting fitted sheets as guides. I lost about 6" of material after doing a cold wash and gentle tumble dry, but this is part of the reason why I purchased stretch knit material: to be as easy and fool-proof as possible.

Measure the length and width of your mattress, then measure the depth. The average dimensions of a standard crib mattress is 58" L x 28" W x 6" D. If your matress is differently sized, you'll need to do some math to make this tutorial work for you. Your fabric pieces should have an additional 6" to allot for the fabric to hang underneath the mattress as well as hold the elastic for the corners. Your piece should be 70" x 40", so cut off any unneeded fabric.
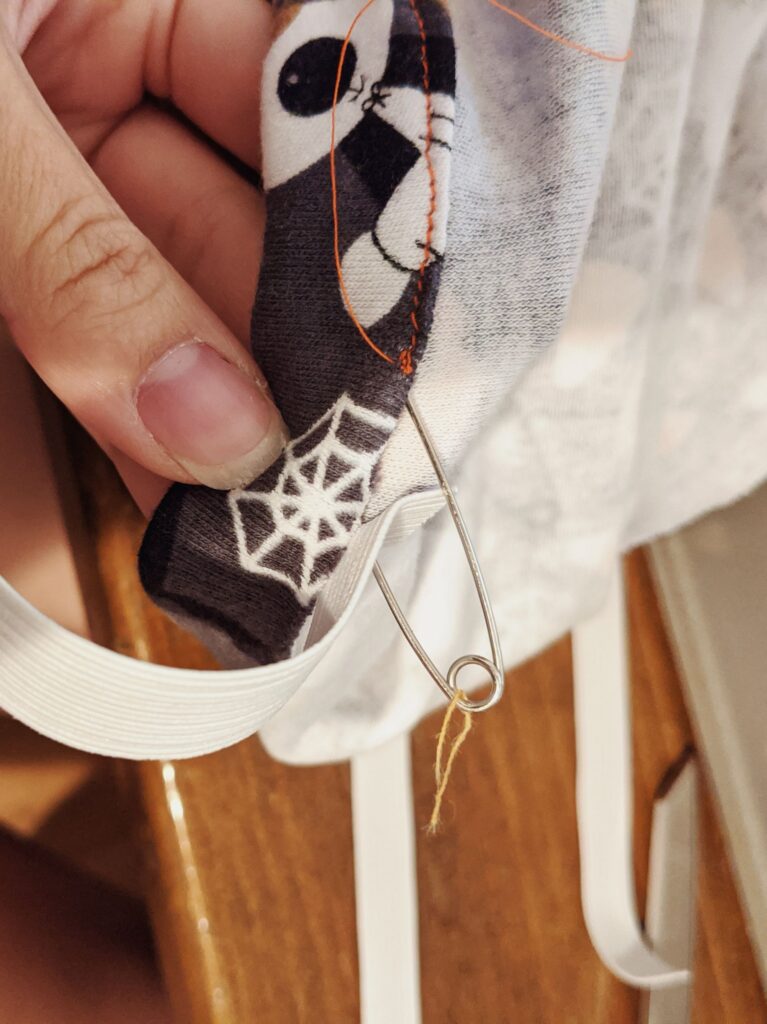
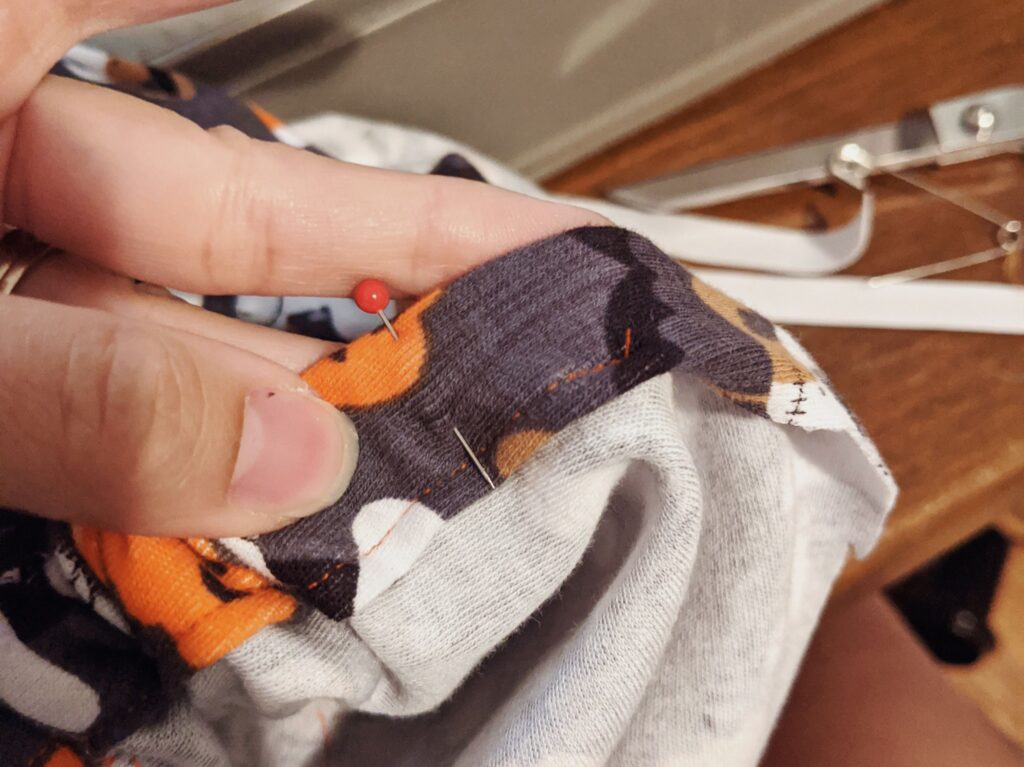
Lay your piece of fabric down and center the mattress on top. Use that to determine how to cut your square corner pieces off, or just measure a 12" square in each corner to cut off. Sew up the corners and make yourself a large enough hem around the edges for the elastic to fit. Since I'm using 5/8" elastic, my hem was 1 1/4" fabric folded in half and sewn.

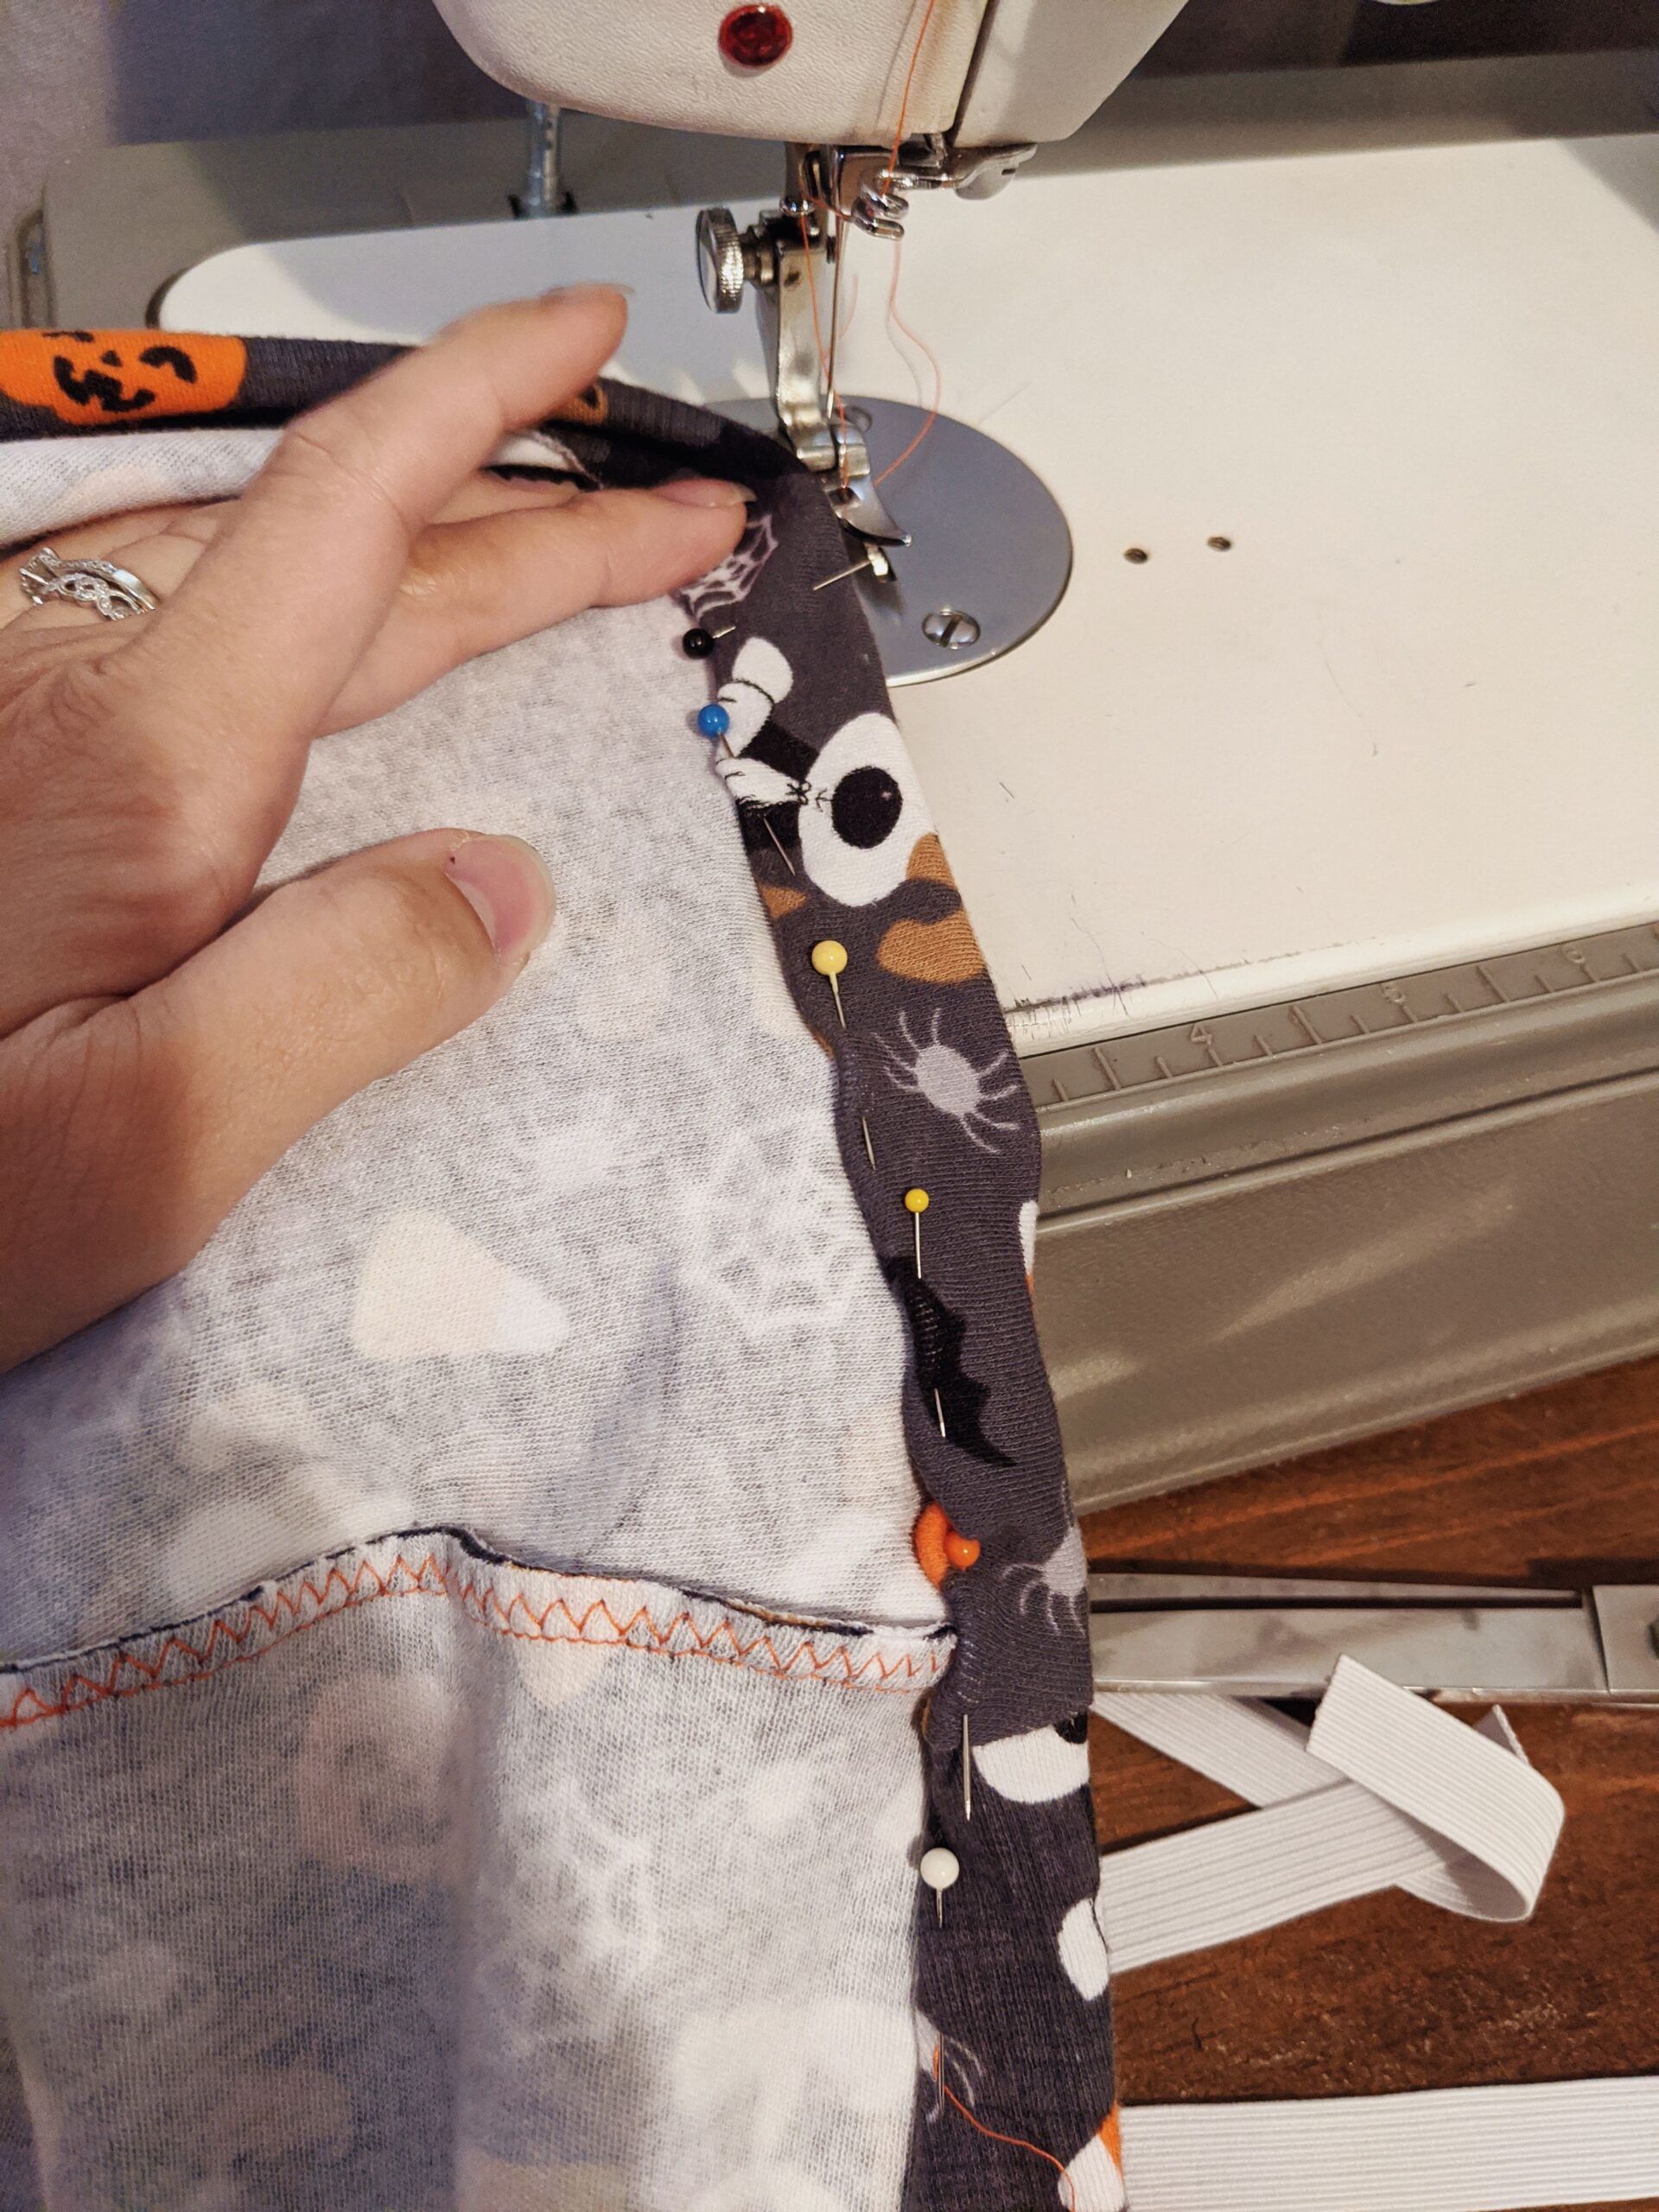
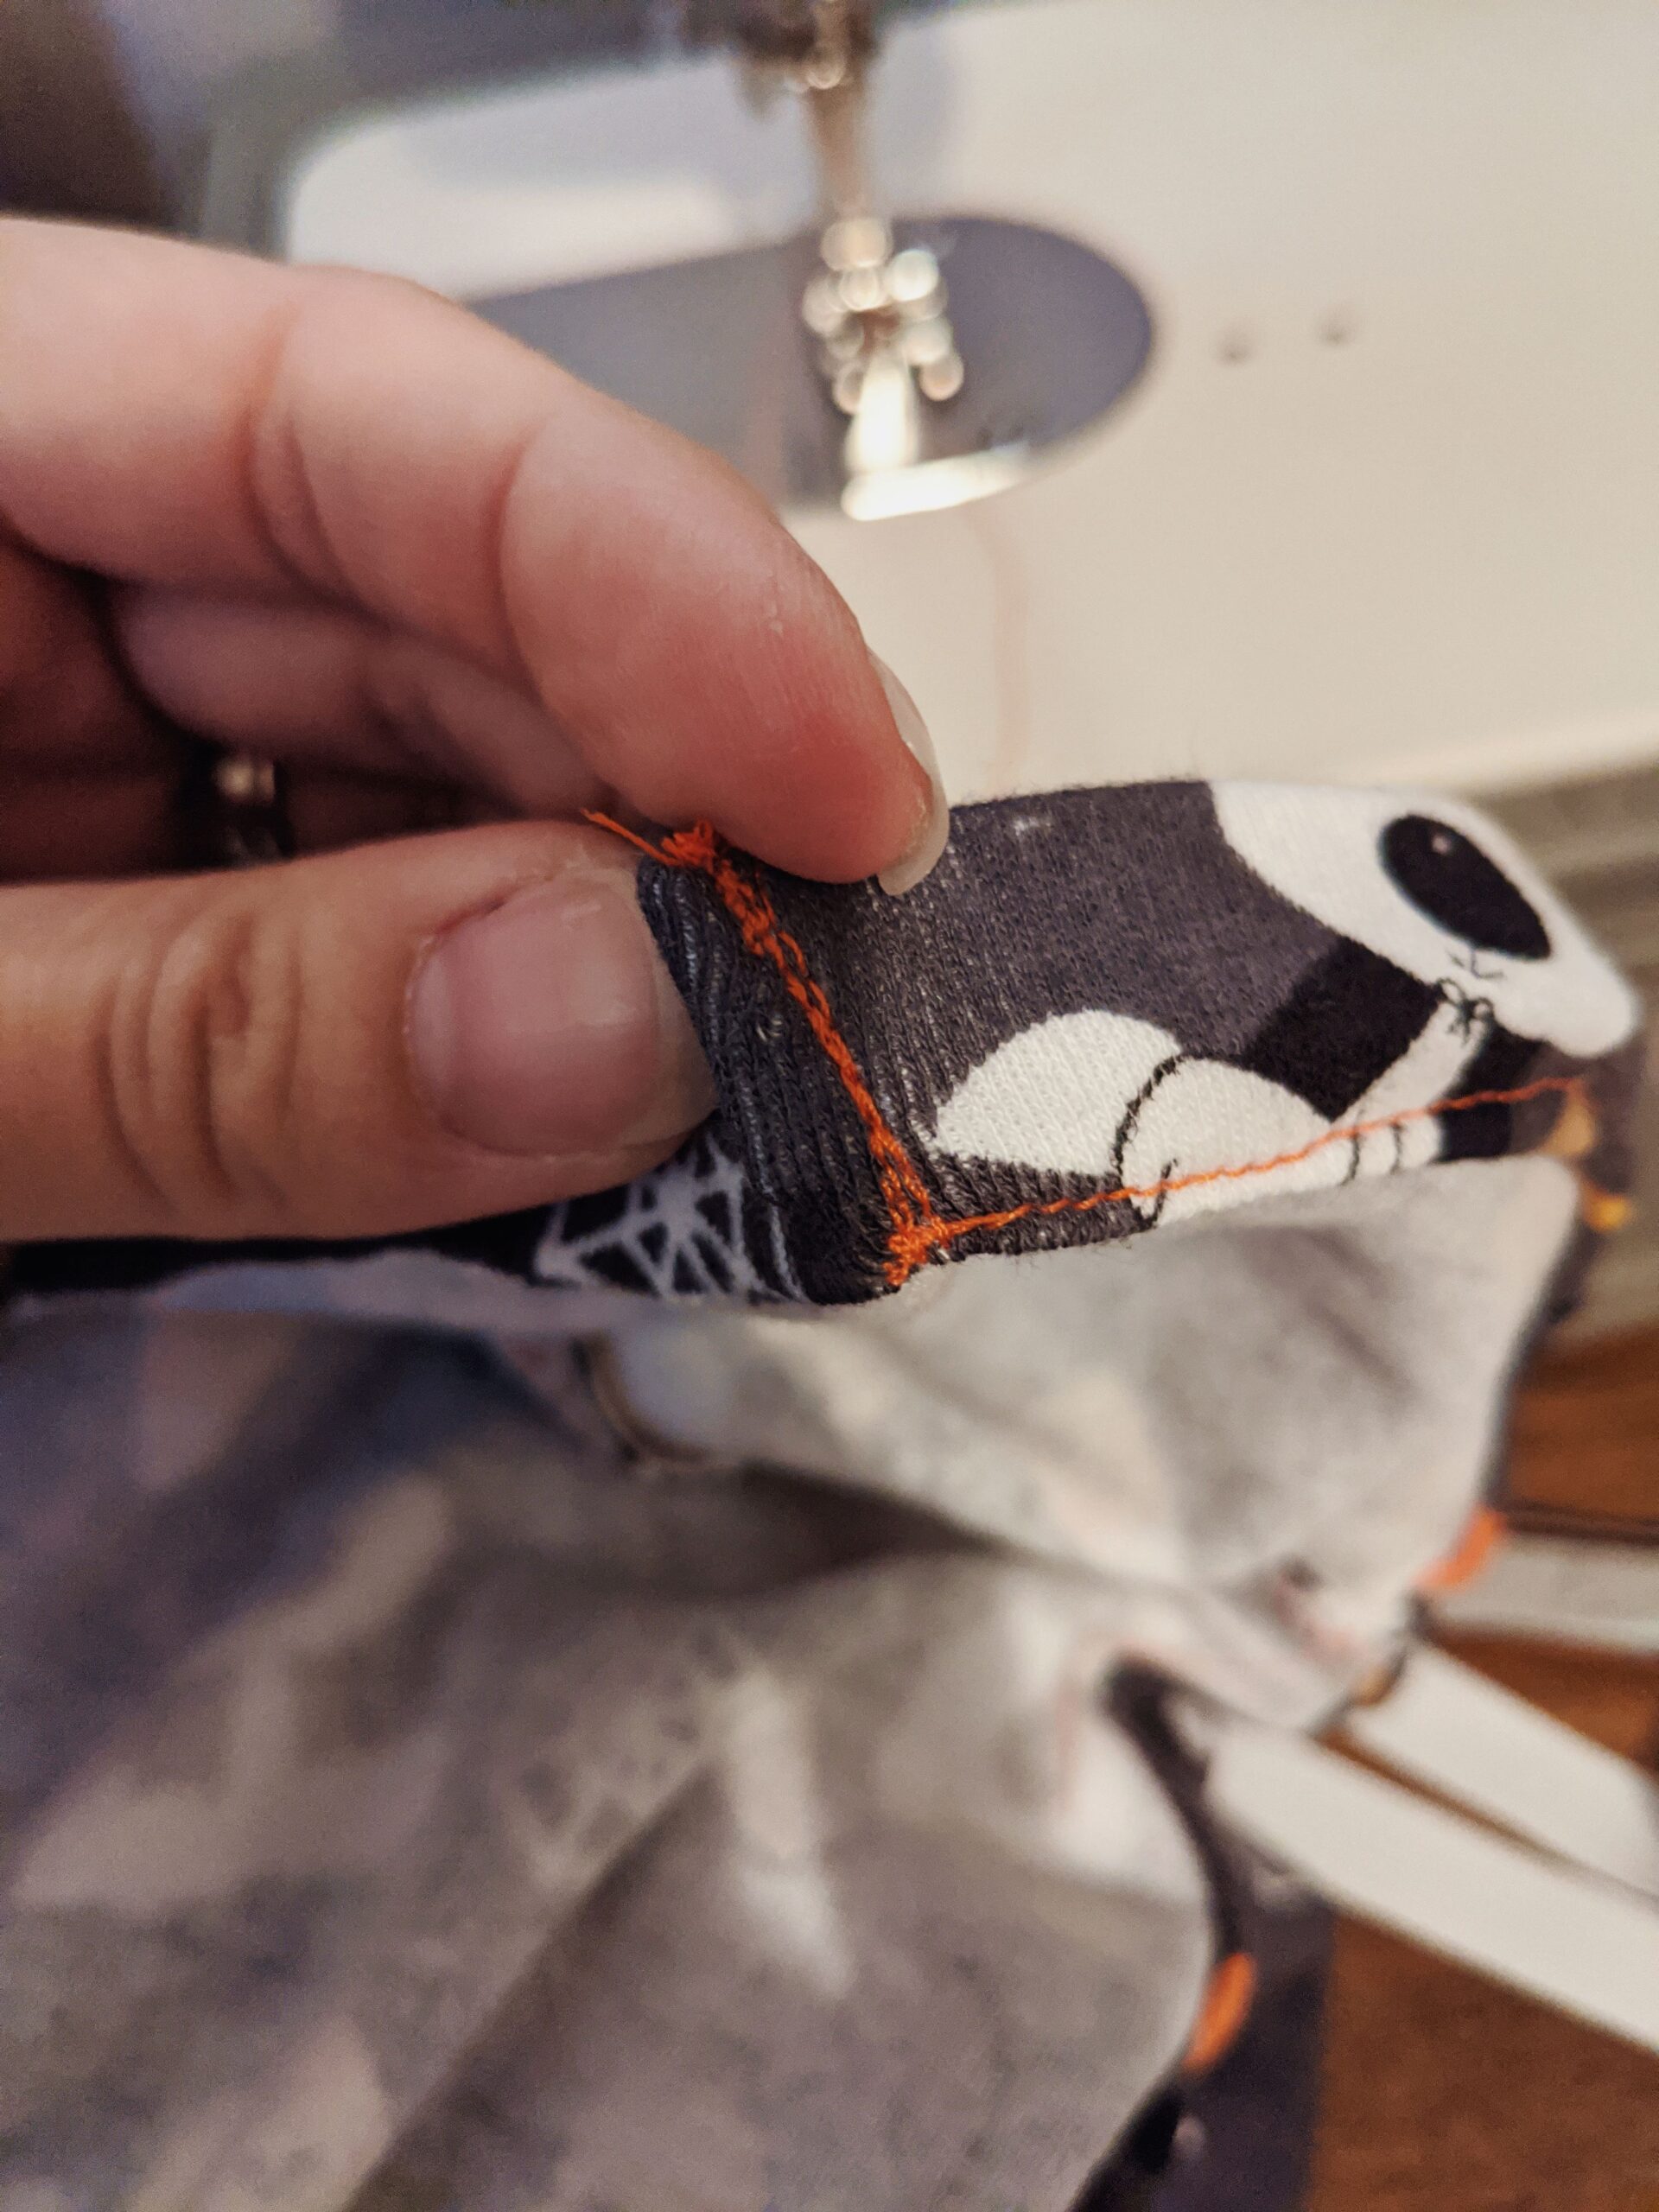
I tried to give some areas a little bit of added stability by using a zig zag stitch to sort of finish the ends. If you have access to a serger, I always recommend using it to clean up your ends.

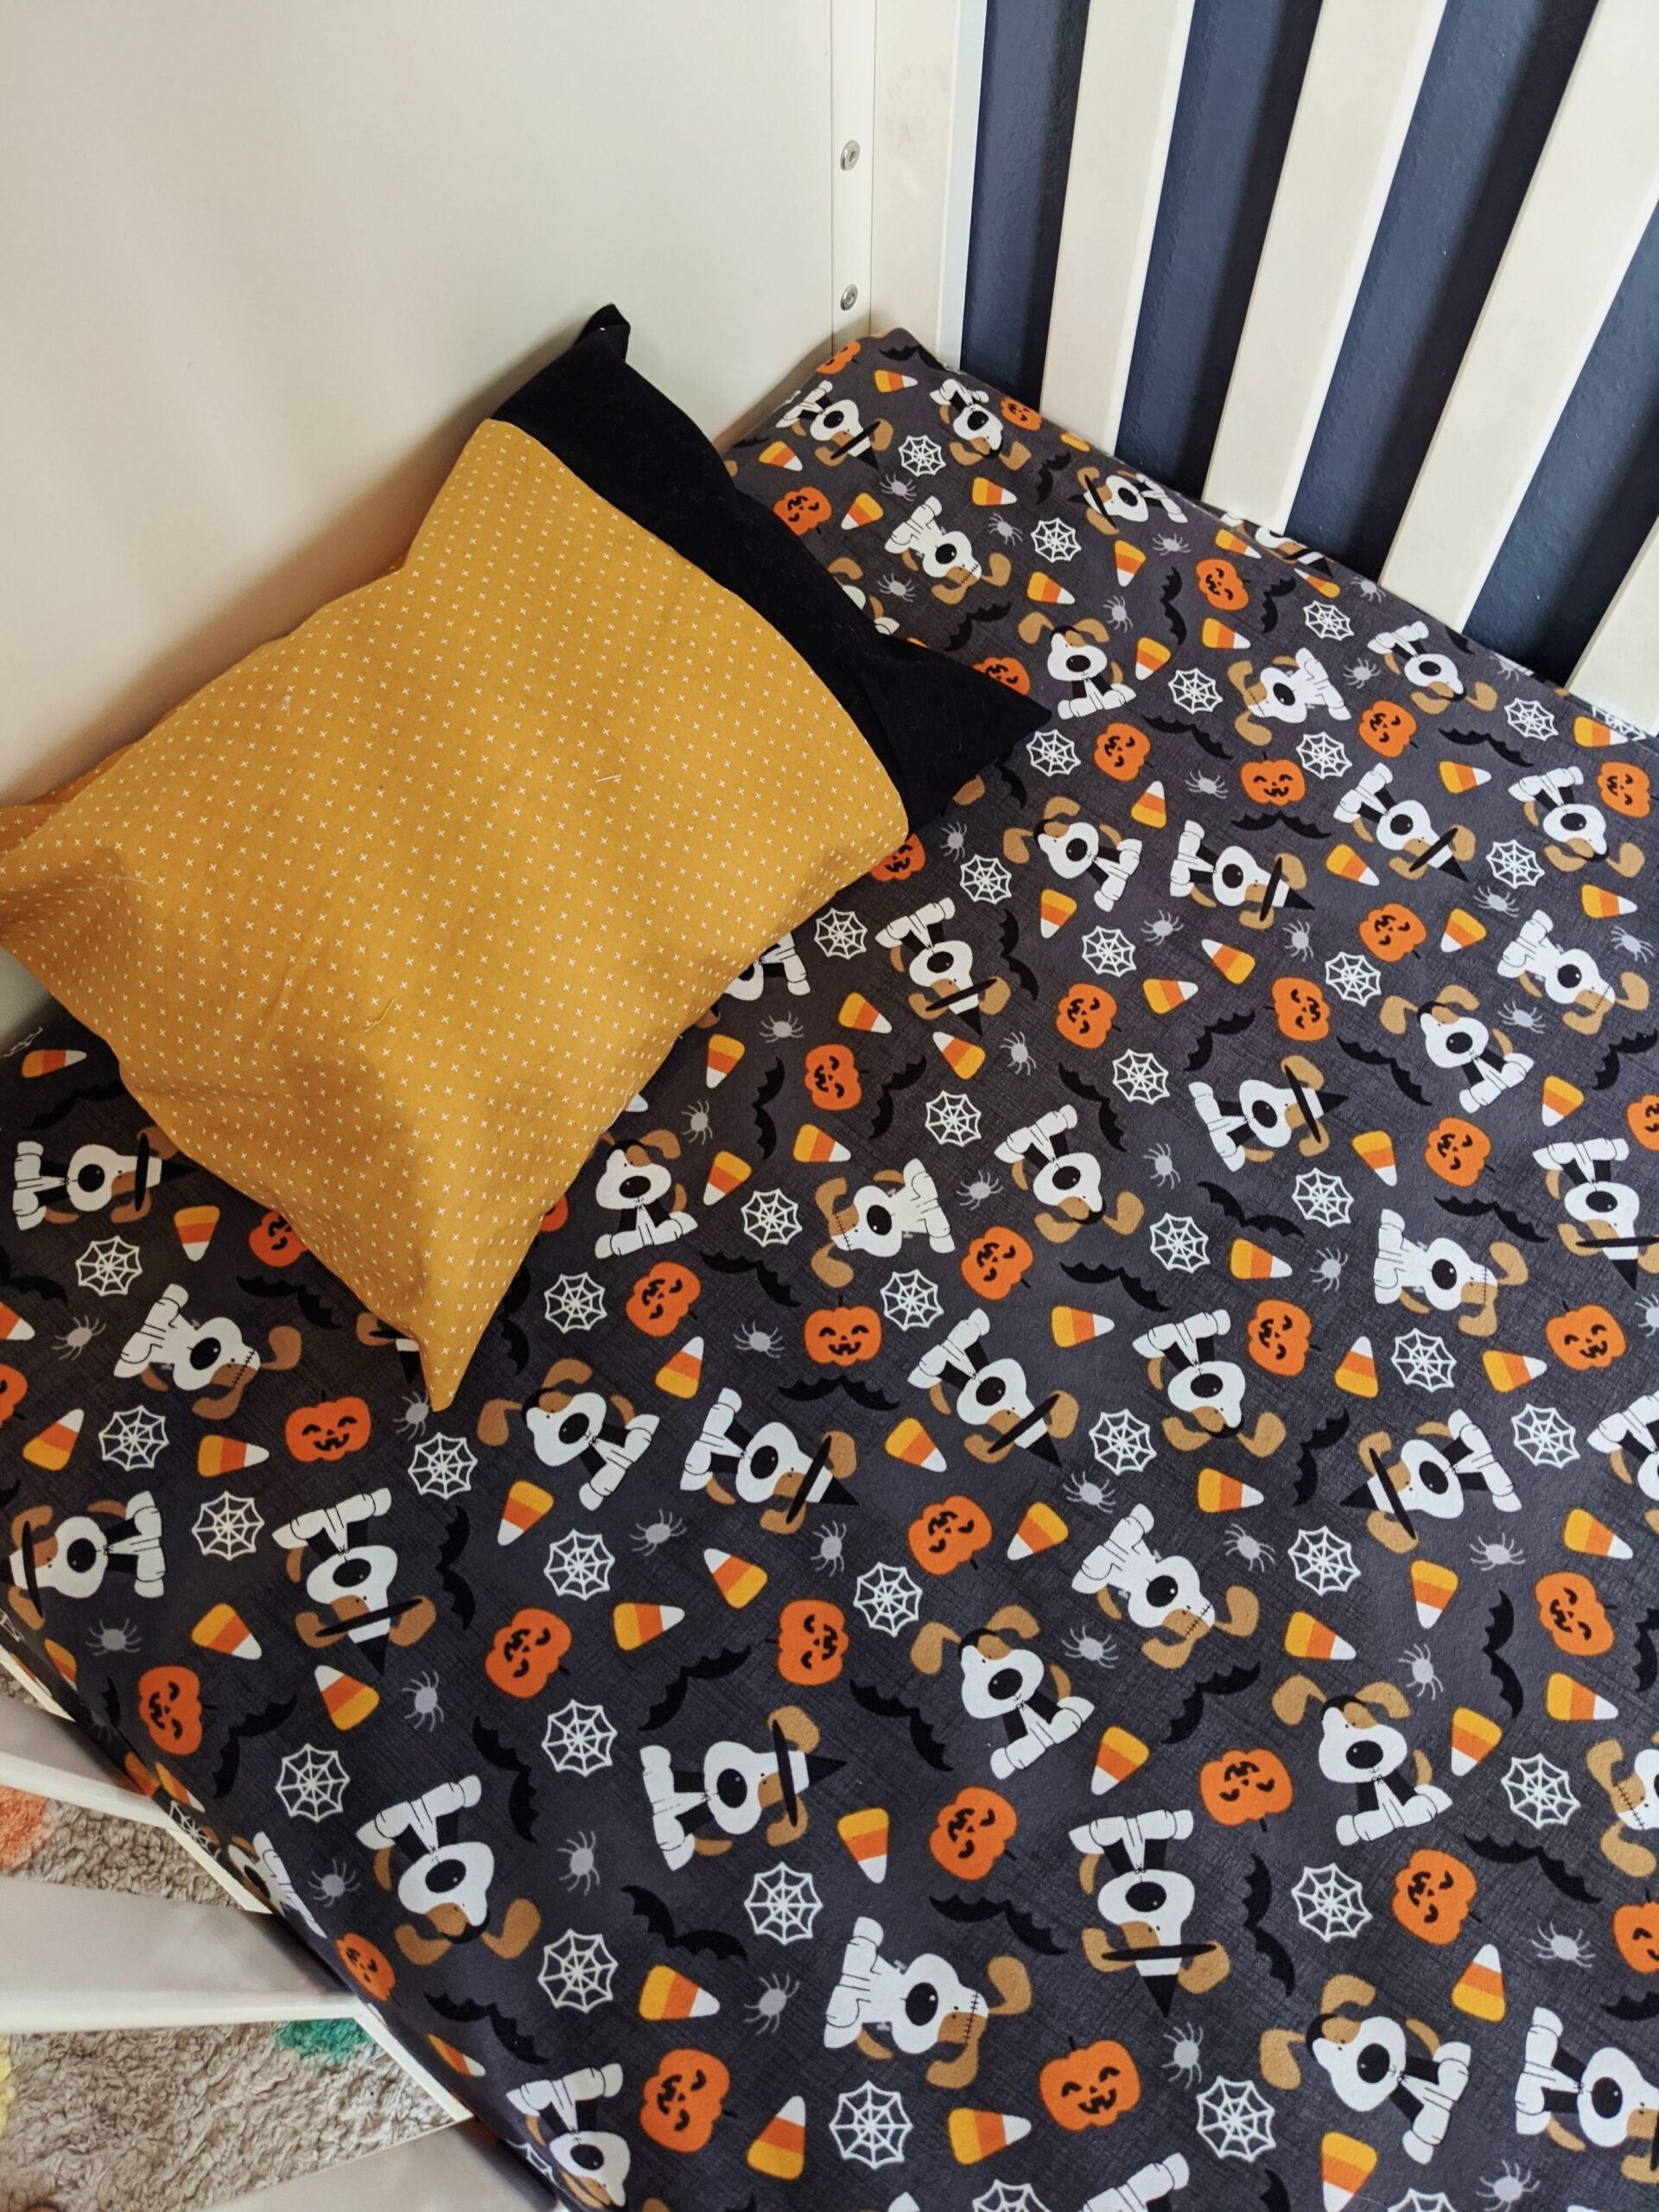
Overall, I'm so incredibly happy with how it came out! The project took me under an hour to cut, size and sew, and I would definitely recommend this for anyone who's comfortable working a sewing machine and some scissors. Since most of the seam lines are under the mattress, it's very forgiving.
If you are using a non-stretch material, I can't stress enough how important it will be even more so for you to test the sizing along the way. Buy extra fabric! Prewash your material! And be sure to have enough elastic to use around the entire parameter.

I can't wait to make a set for Christmas! What type print would you use for your next project? Let me know in the comments below, and be sure to tag me on Instagram (@withlovejoey) if you make this!

