Envelope Pillowcase Tutorial
One of the easiest types of sewing projects anybody can make is the envelope pillowcase. From throw pillows to standard bed pillows to even toddler pillows, anyone can easily and quickly make an envelope pillowcase out of beautiful fabric and simply sewing techniques. I prefer this style most days as it allows me to pump out a pillowcase quickly while managing a toddler at the same time.
Today, I'm going to teach you how to make a very simple envelope pillowcase for a throw pillow. I'll be doing a tutorial soon how I use this same technique to make covers for my son's toddler-sized pillows.
For this project, you'll need to know the size of your throw pillow. Most pillows are around 16" x 16", 18" x 18", or 20" x 20". It's pretty rare that throw pillows will be an odd size, but it does happen. If you like the super full and fluffy throw pillows that are most commonly seen on home interior decorating shows and blog posts, you want to make sure that the pillowcase you make is 2" smaller than the pillow you have on. For example, if you have a 20" x 20" size throw pillow, you want to make sure that the pillowcase you make is 18" x 18". I'm going to be making an 18" x 18" pillowcase for some new throw pillows I ordered.
Use this little chart as a guide for how much fabric you'll need. I always like to leave 1" on all sides available for shrinkage in the wash, sewing and general oopsie forgiveness (mistakes can happen)!
Fabric Cuts for 1 Pillowcase (assuming small for max fluff, and 44" wide fabric):
- 16" Pillows: 1/2 yard
- 18" Pillows: 1/2 yard
- 20" Pillows: 5/8 yard
- 22" Pillows: 5/8 yard
How to Make an Envelope Pillow
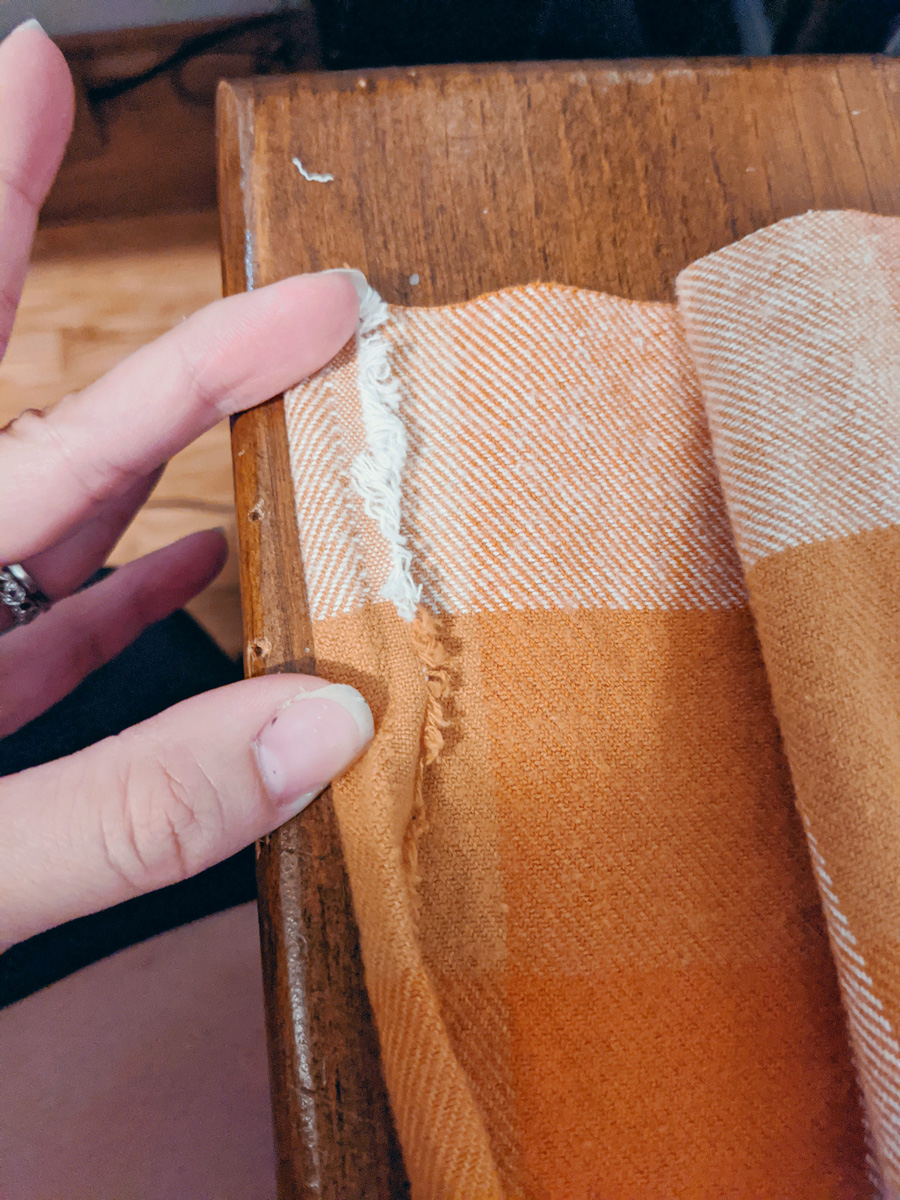
First, measure and cut your fabric. I recommend prewashing first, but you technically can skip this if you wanted to. Remember that your end result should be 2" smaller than your pillow (for max fluff). I'm making 18" x 18" pillowcases. I always leave an 1" of space for sewing so my cuts were 20" length. I've kept the natural width of the fabric.
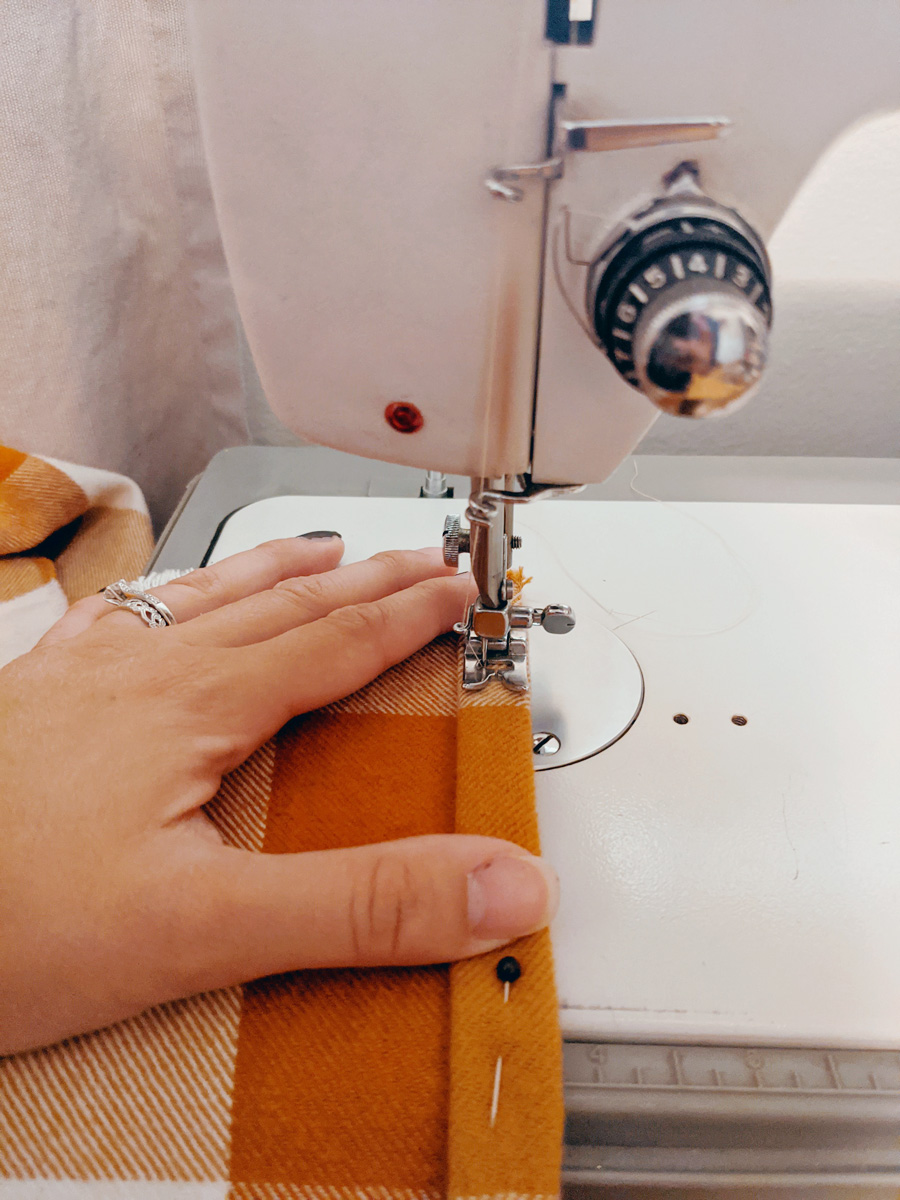
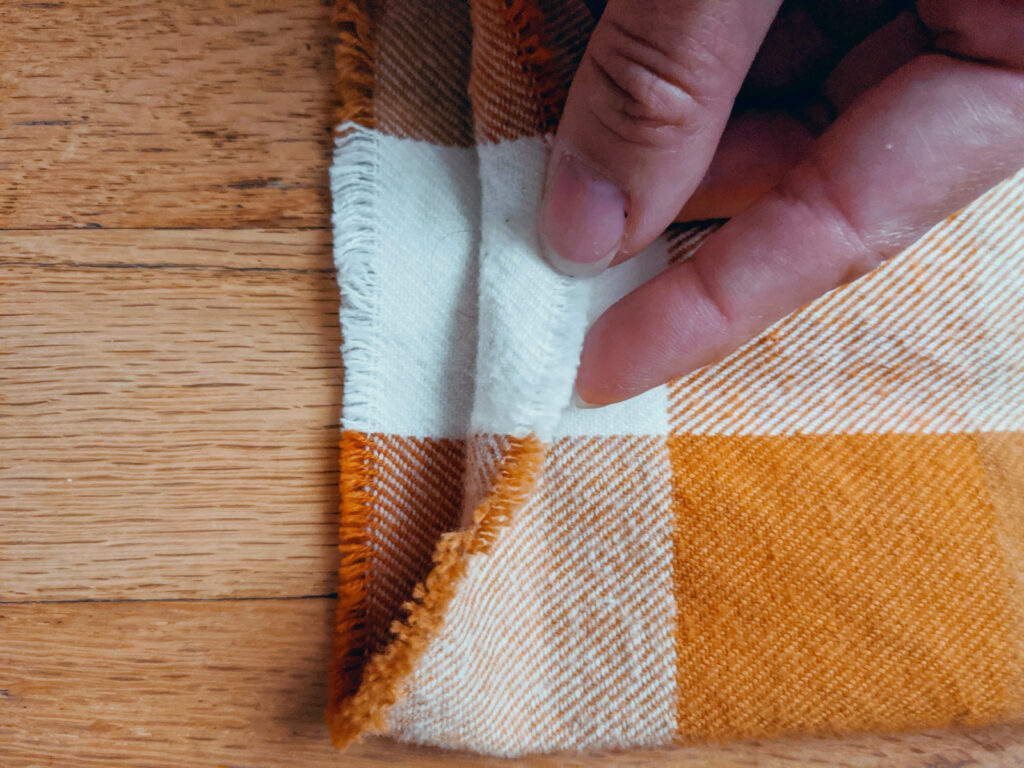
Next, sew your long ends of fabric. I folded my ends twice at about 1/4" and sewed along to make a nice hem. You'll only see one of the these in the envelope portion on the back of the pillow.
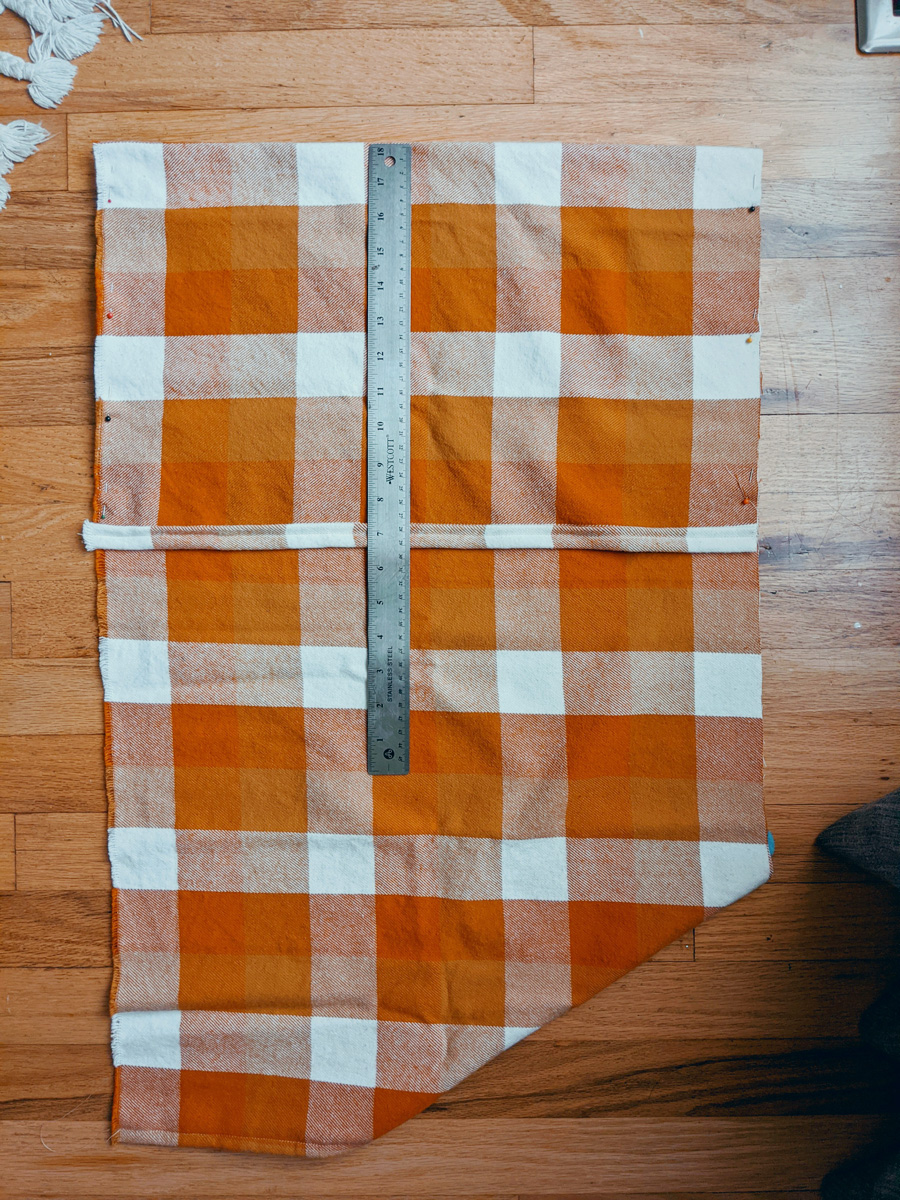
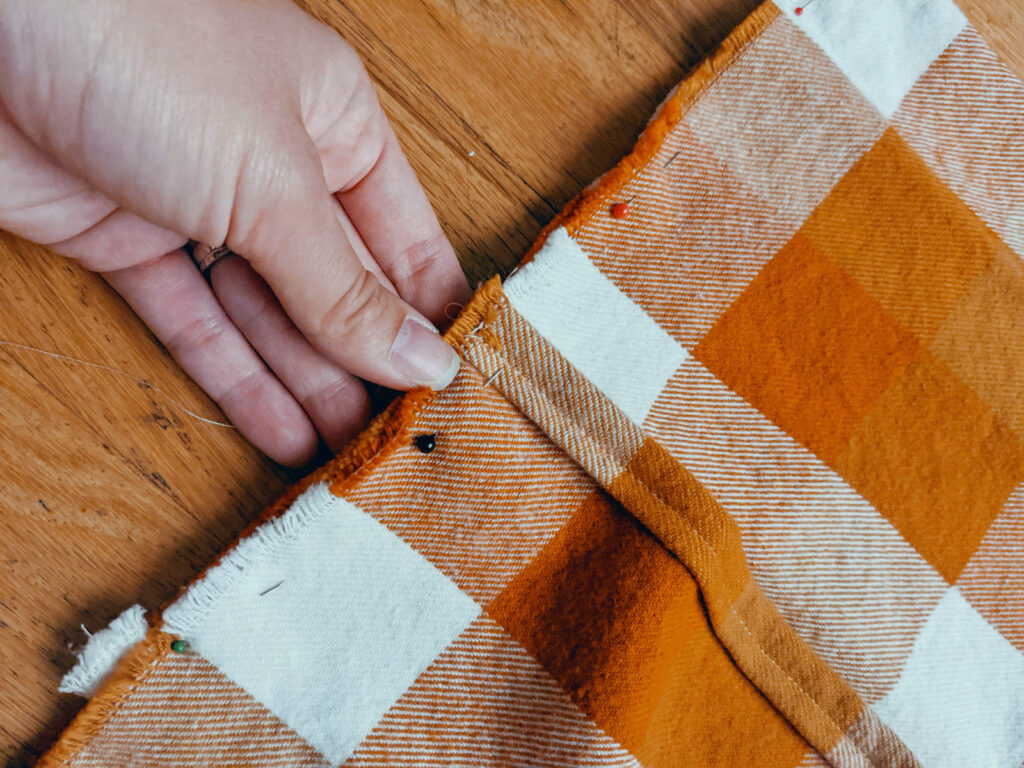
Lay your fabric hem-side down (this means the part that folded inwards should be facing toward the ceiling, and the non-folded side should be on the ground/work surface). Place your pillow on top and determine where the fabric will overlap. When it's roughly in the middle, mark you fold with a pin and remove the pillow. Lay one side down, the other side on top. Make sure they overlap! This will be how you make sure the pillowcase stays on the pillow. Pin down both sides to make it easy for sewing. This will make sure your sides stay in place.
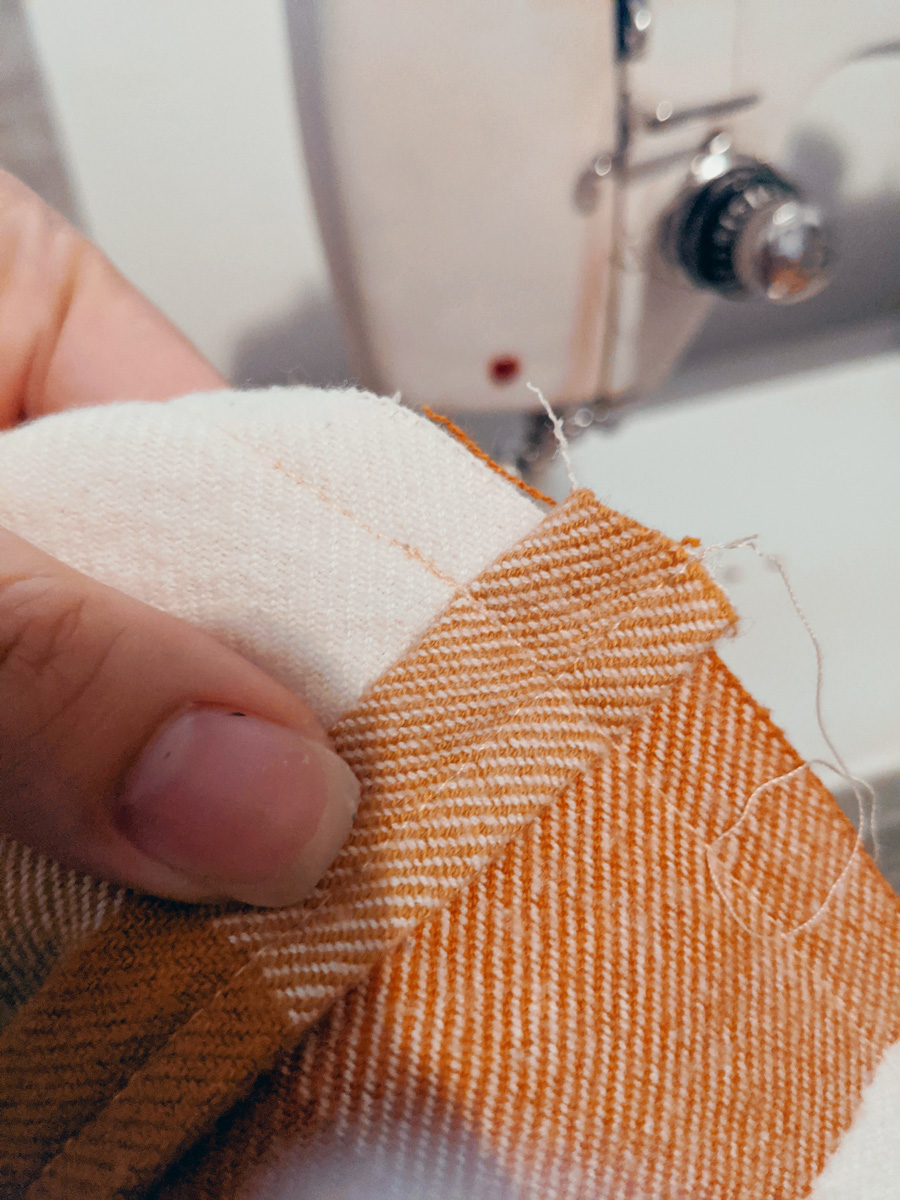
Sew your sides securely. For your start and end points, run your stitch forward and in reverse to double layer your stitches. This will help make sure that if your thread comes undone at all, it will prevent the sides from opening up.

Turn your pillowcase inside out and stuff with your throw pillow/pillow insert!

With cutting, measuring, pinning, sewing, and dealing with my 2-year old, this overall project took me about 30-45 minutes to complete (did I mention I was making his mac 'n cheese at the same time?). It's an easy level, casual project that you can quickly make and enjoy instantly! If you make this project at home, be sure to tag me on Instagram (@withlovejoey).

