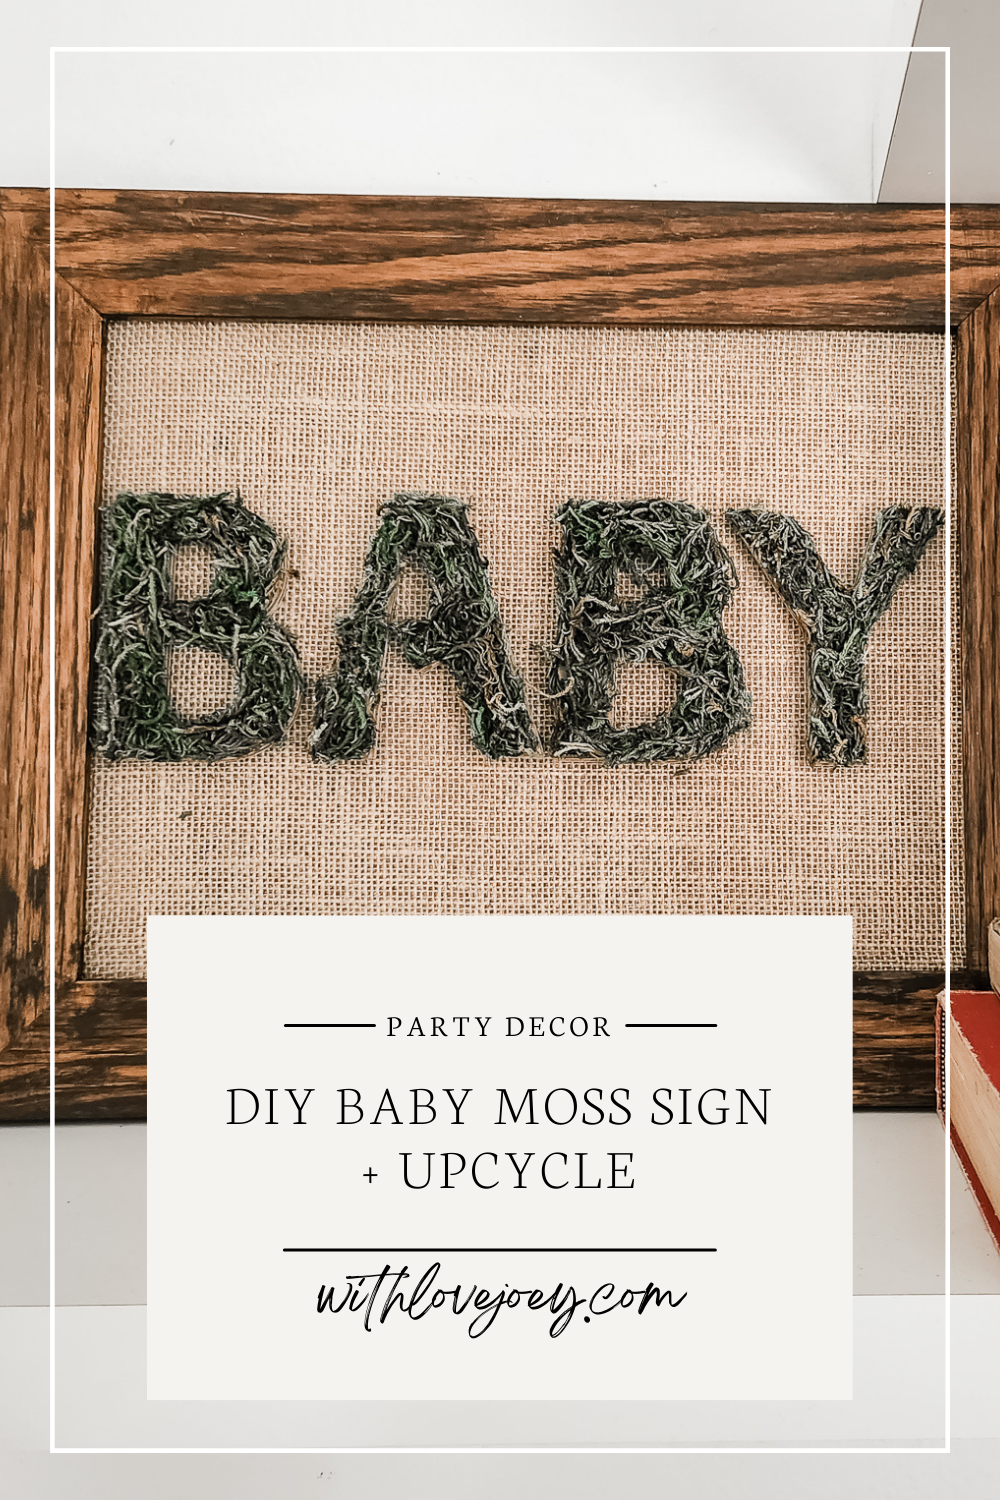
Moss and Burlap Baby Sign
I have been having so much fun finding unique ways to use pre-existing craft supplies for my Ewok-themed baby shower! I knew that I wanted to create a fun moss covered BABY sign for one of the tables, but wasn't sure how I would build it. Looking online, I saw many people take paper mache letters from the craft store and glue sheet moss on top. Looking at my supplies, I realized I could use chipboard and foam adhesive squares with moss that I already had on hand to create a really simple sign that also wouldn't take up too much space on the table!
What You'll Need
- A wooden framed sign
- Moss
- Burlap
- Chipboard
- Adhesive foam squares
- Hot glue gun and glue sticks
- Optional:
- Paint or stain + brushes
- Sandpaper
Here's What I Did
Before I go into the instructions, I cannot stress enough that the best craft tool you can invest in are silicone finger covers. I was lucky enough to score mine at the Dollar Tree, but if your local store doesn't have them in stock, here's ones that I found on Amazon. Save your finger tips the trauma and pain!
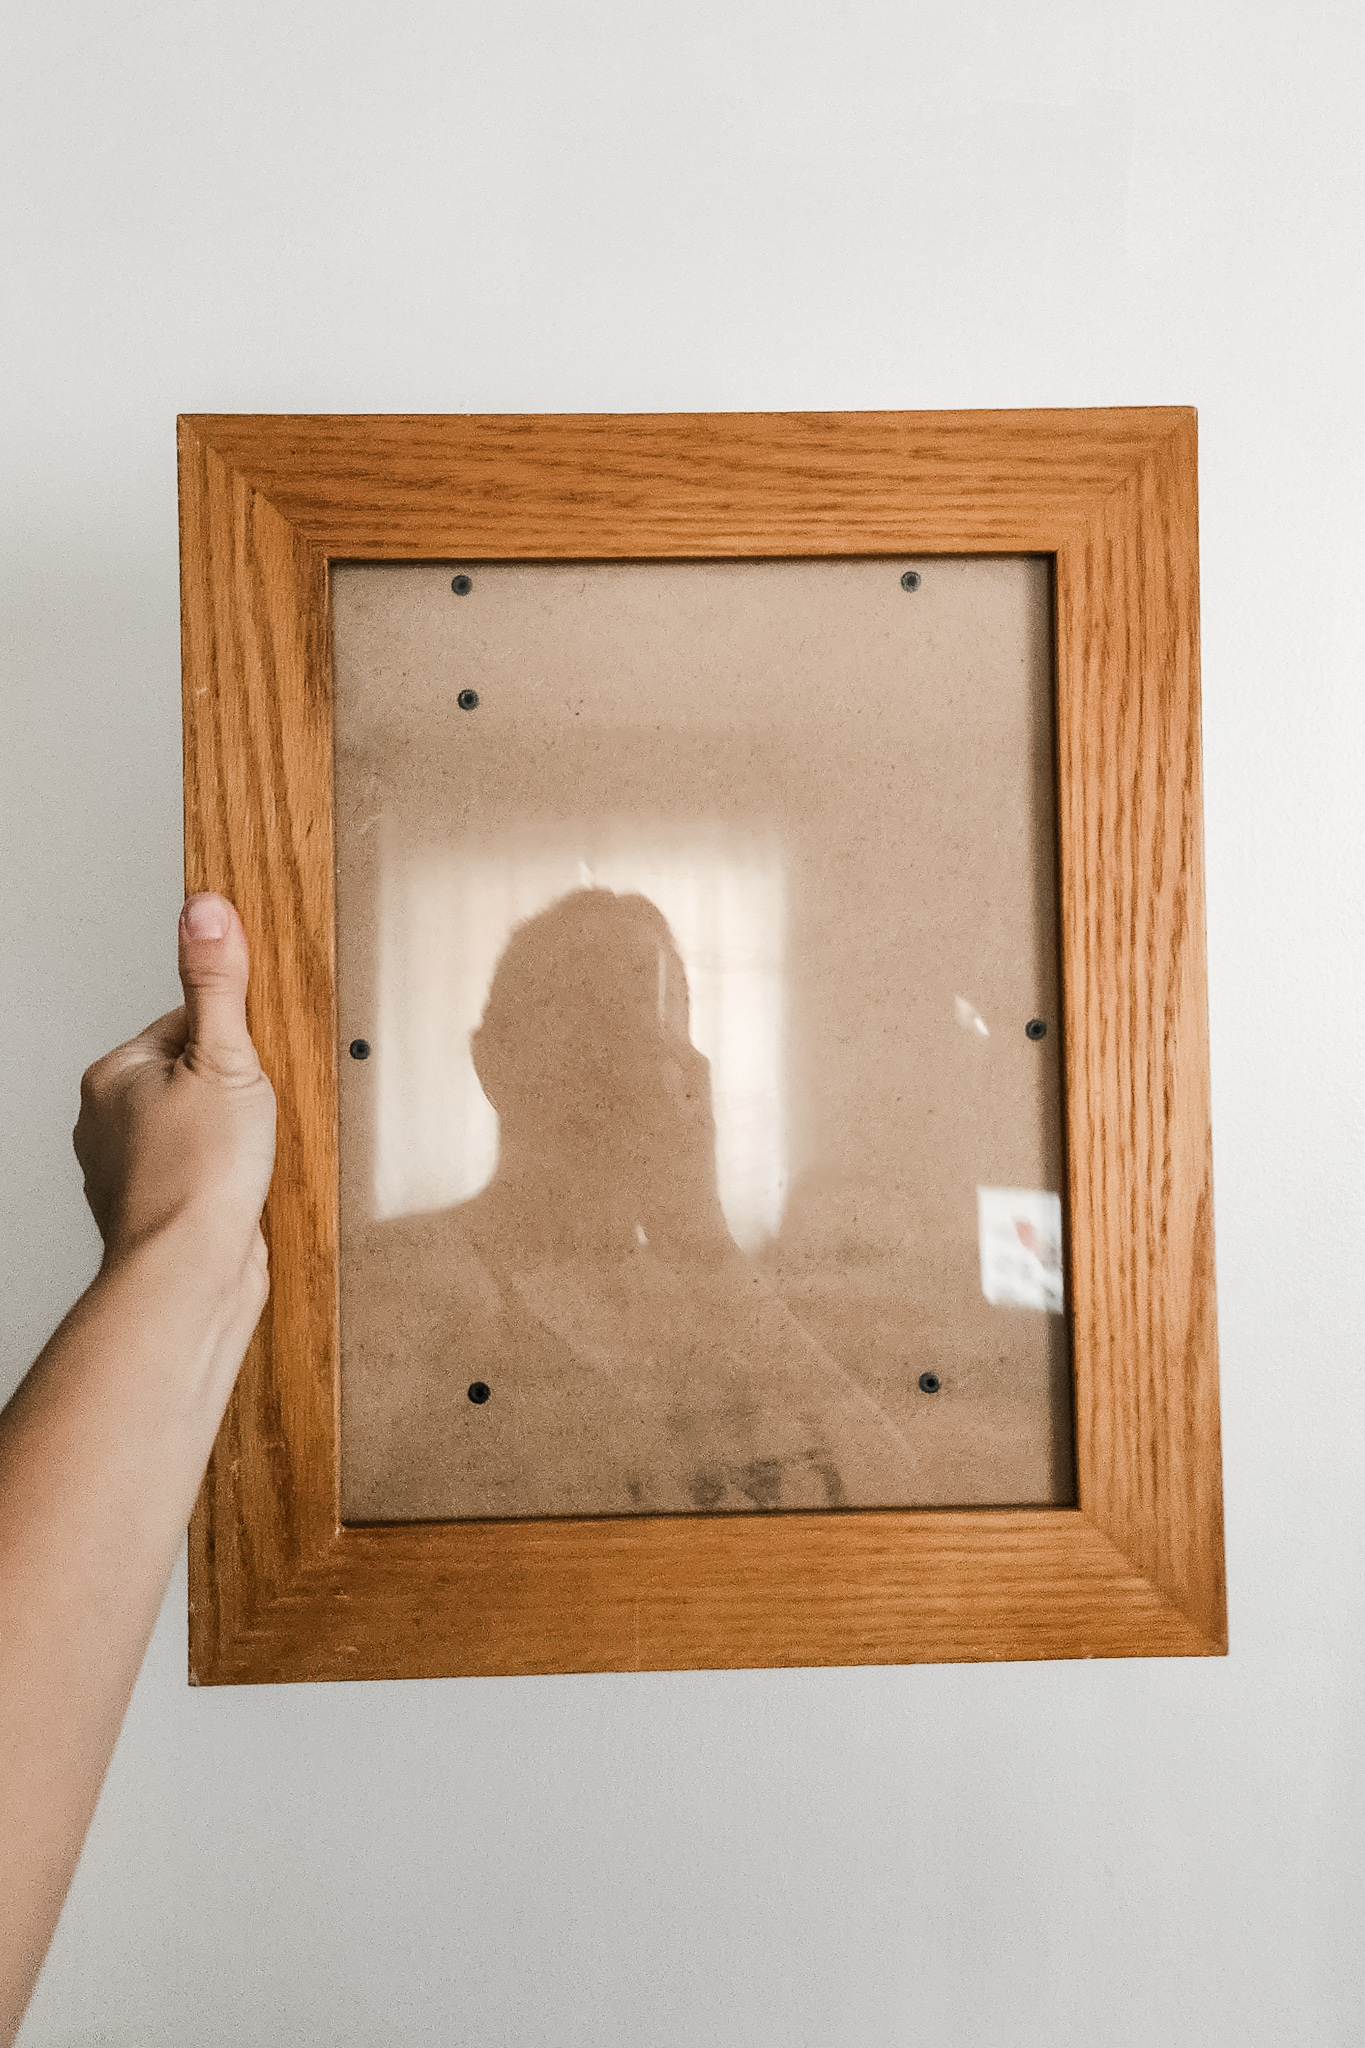
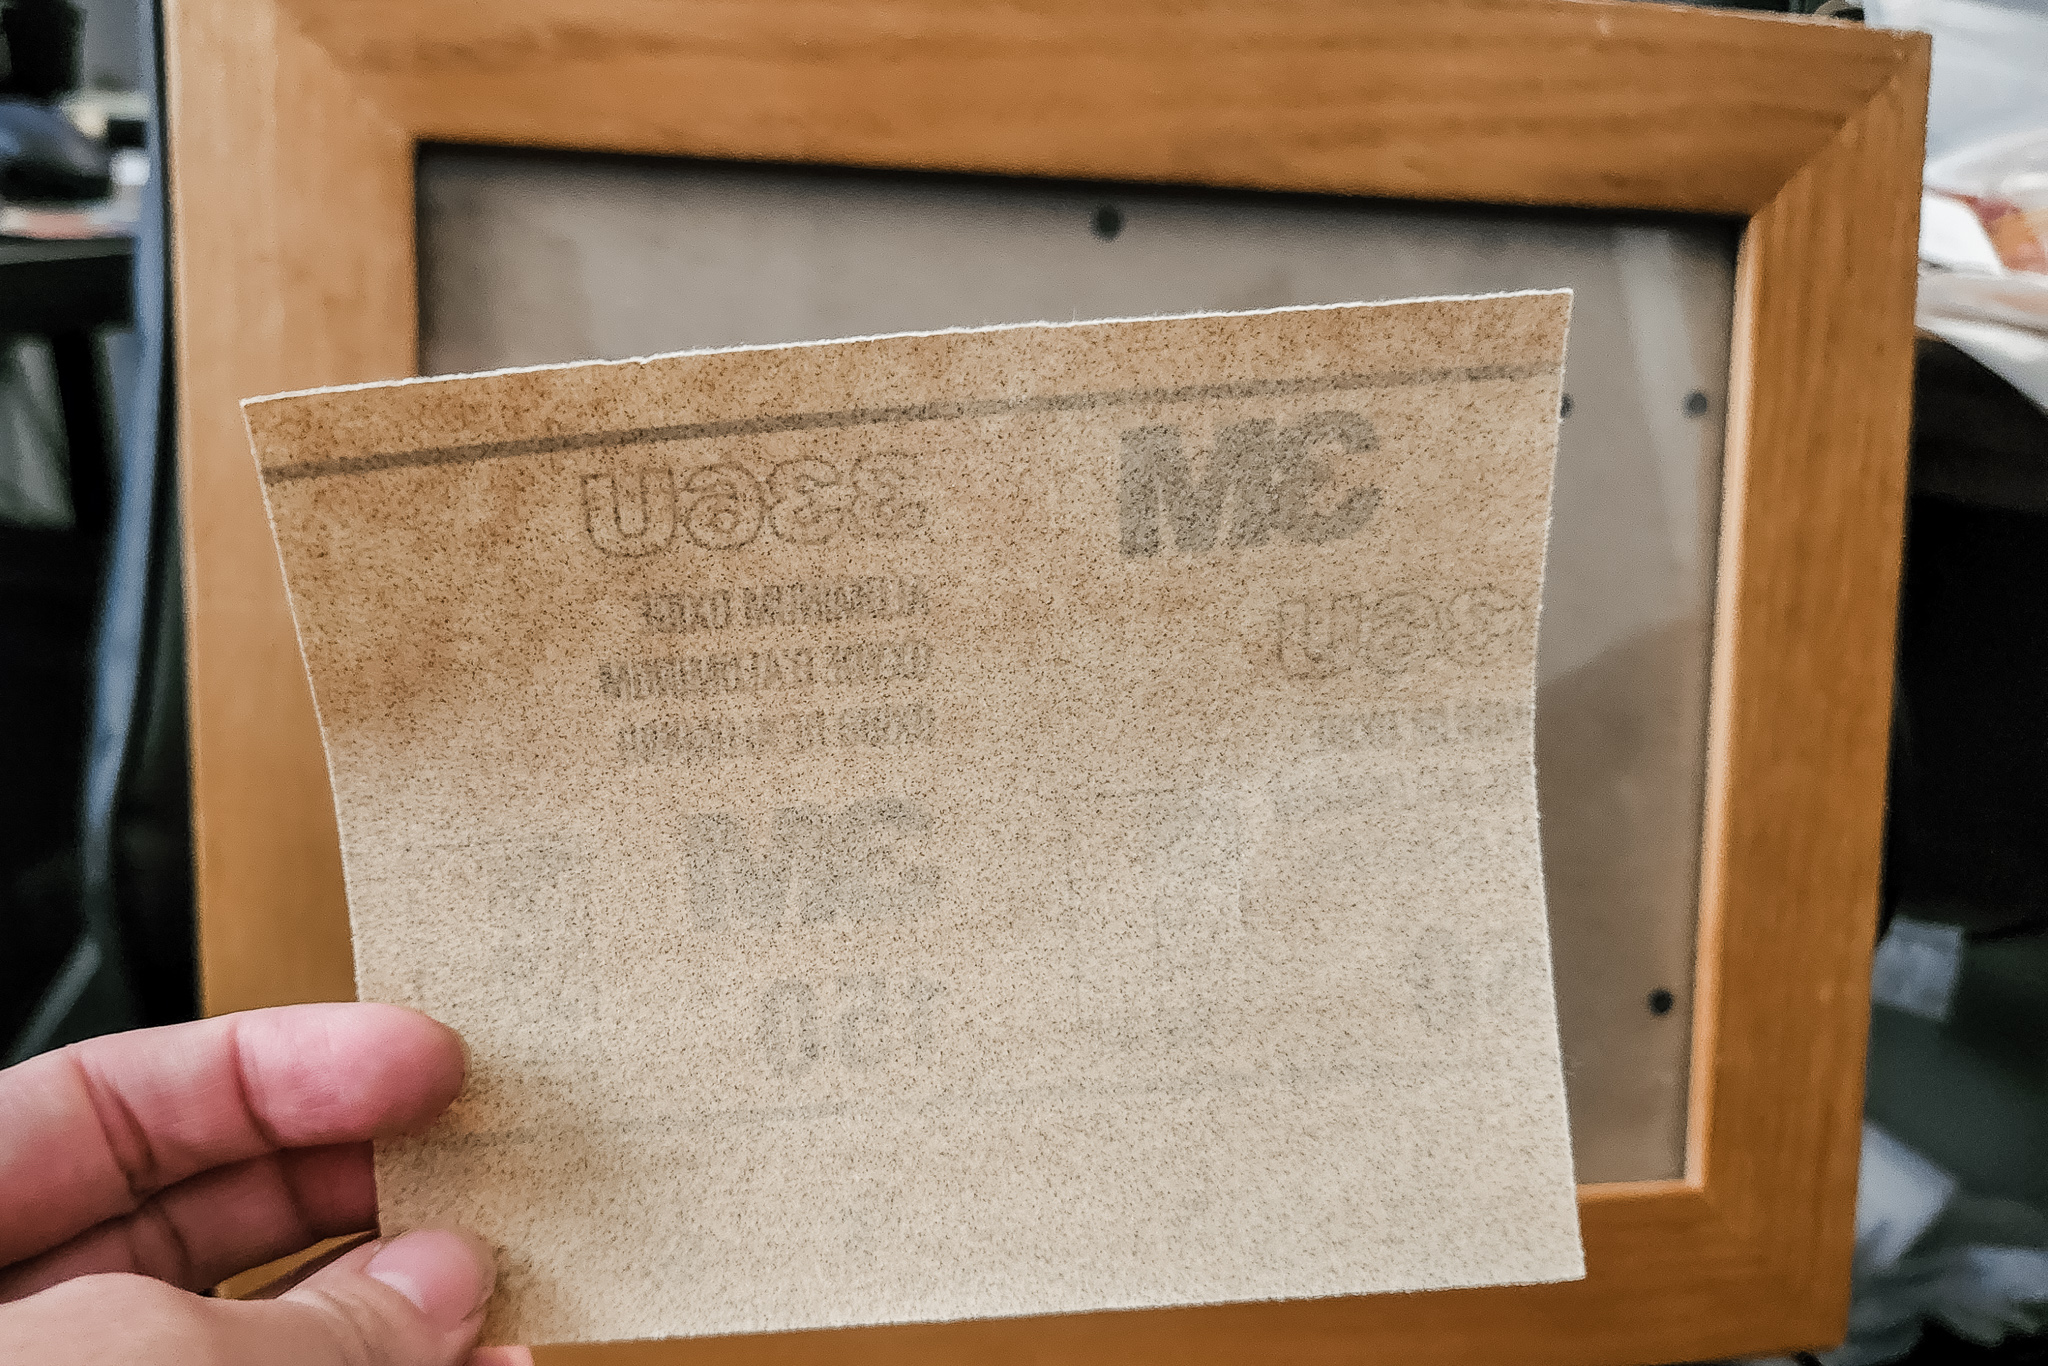
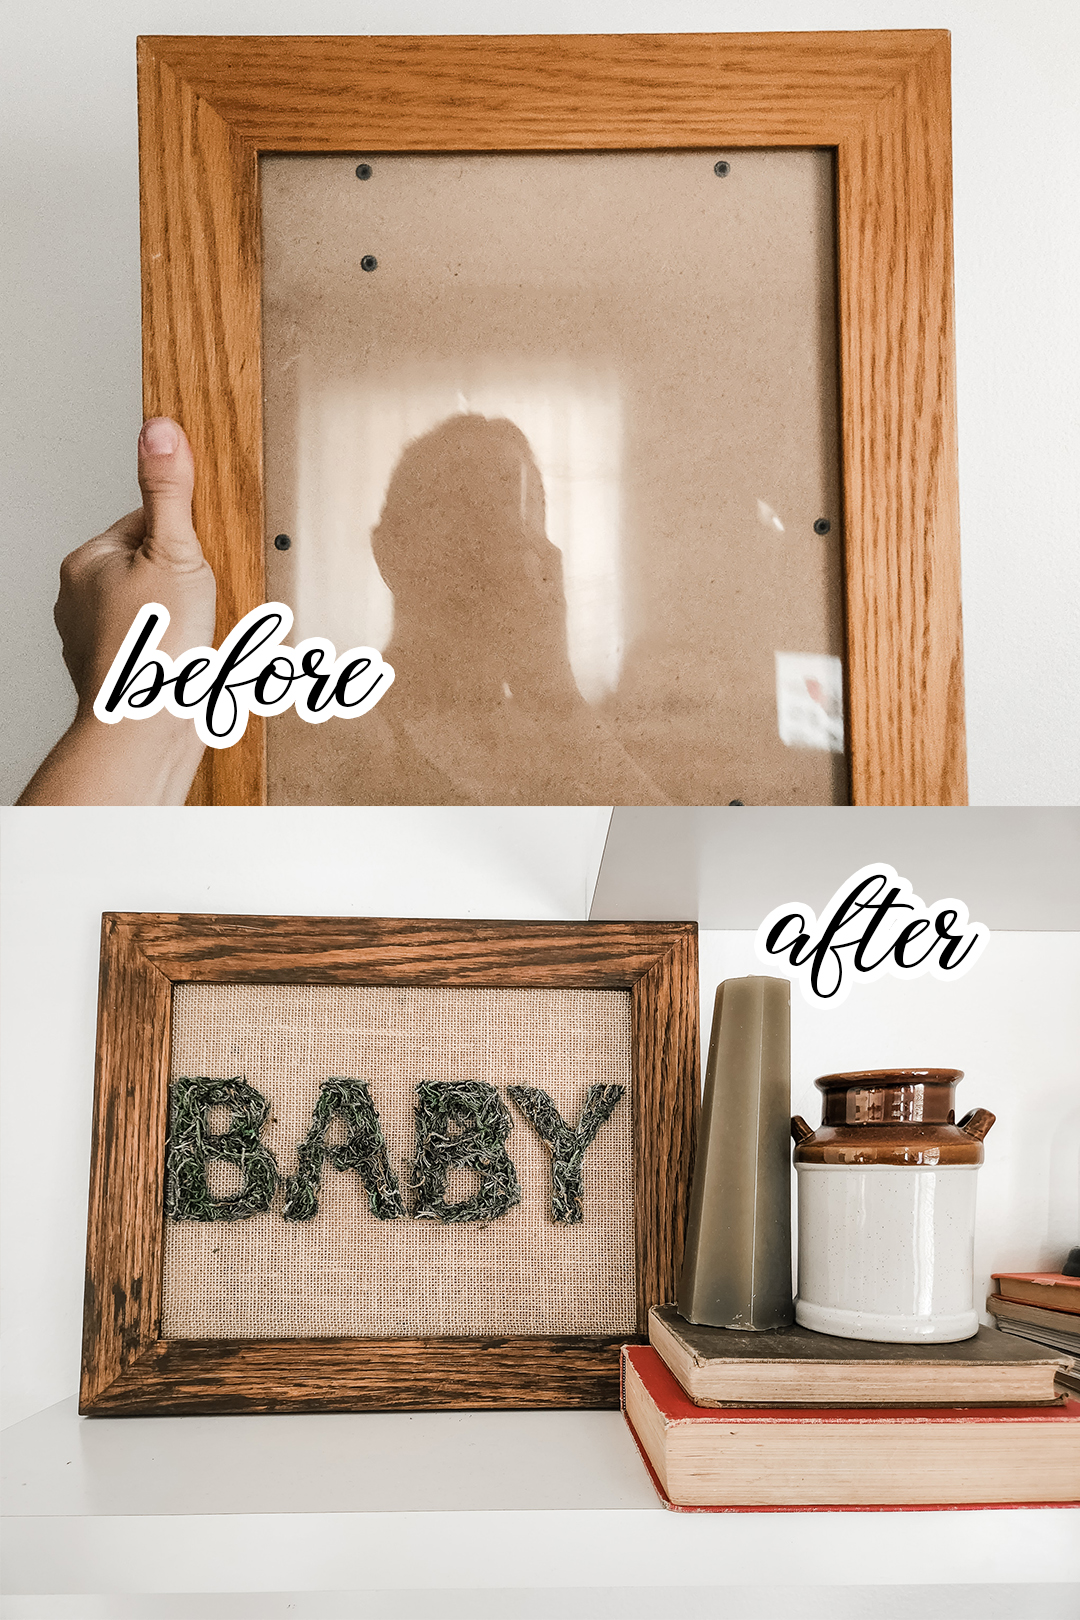
To start, I took a frame that I got from my local Buy Nothing group a few months ago and sanded down the wooden frame. It was more orange-toned than I was using for my event and planned to stain the wood a different color. After a lot of trial and error (including me leaving the stain on too long), I finally got the shade of brown I wanted by mixing Early American and Espresso that I already had on hand. After I removed the glass, I cut a piece of burlap that I bought to size and used hot glue to keep it in place. I wish I had waited one more day because a member of my Buy Nothing group was able to gift me a large piece that I could have used, but I'll be saving it for the center pieces instead!
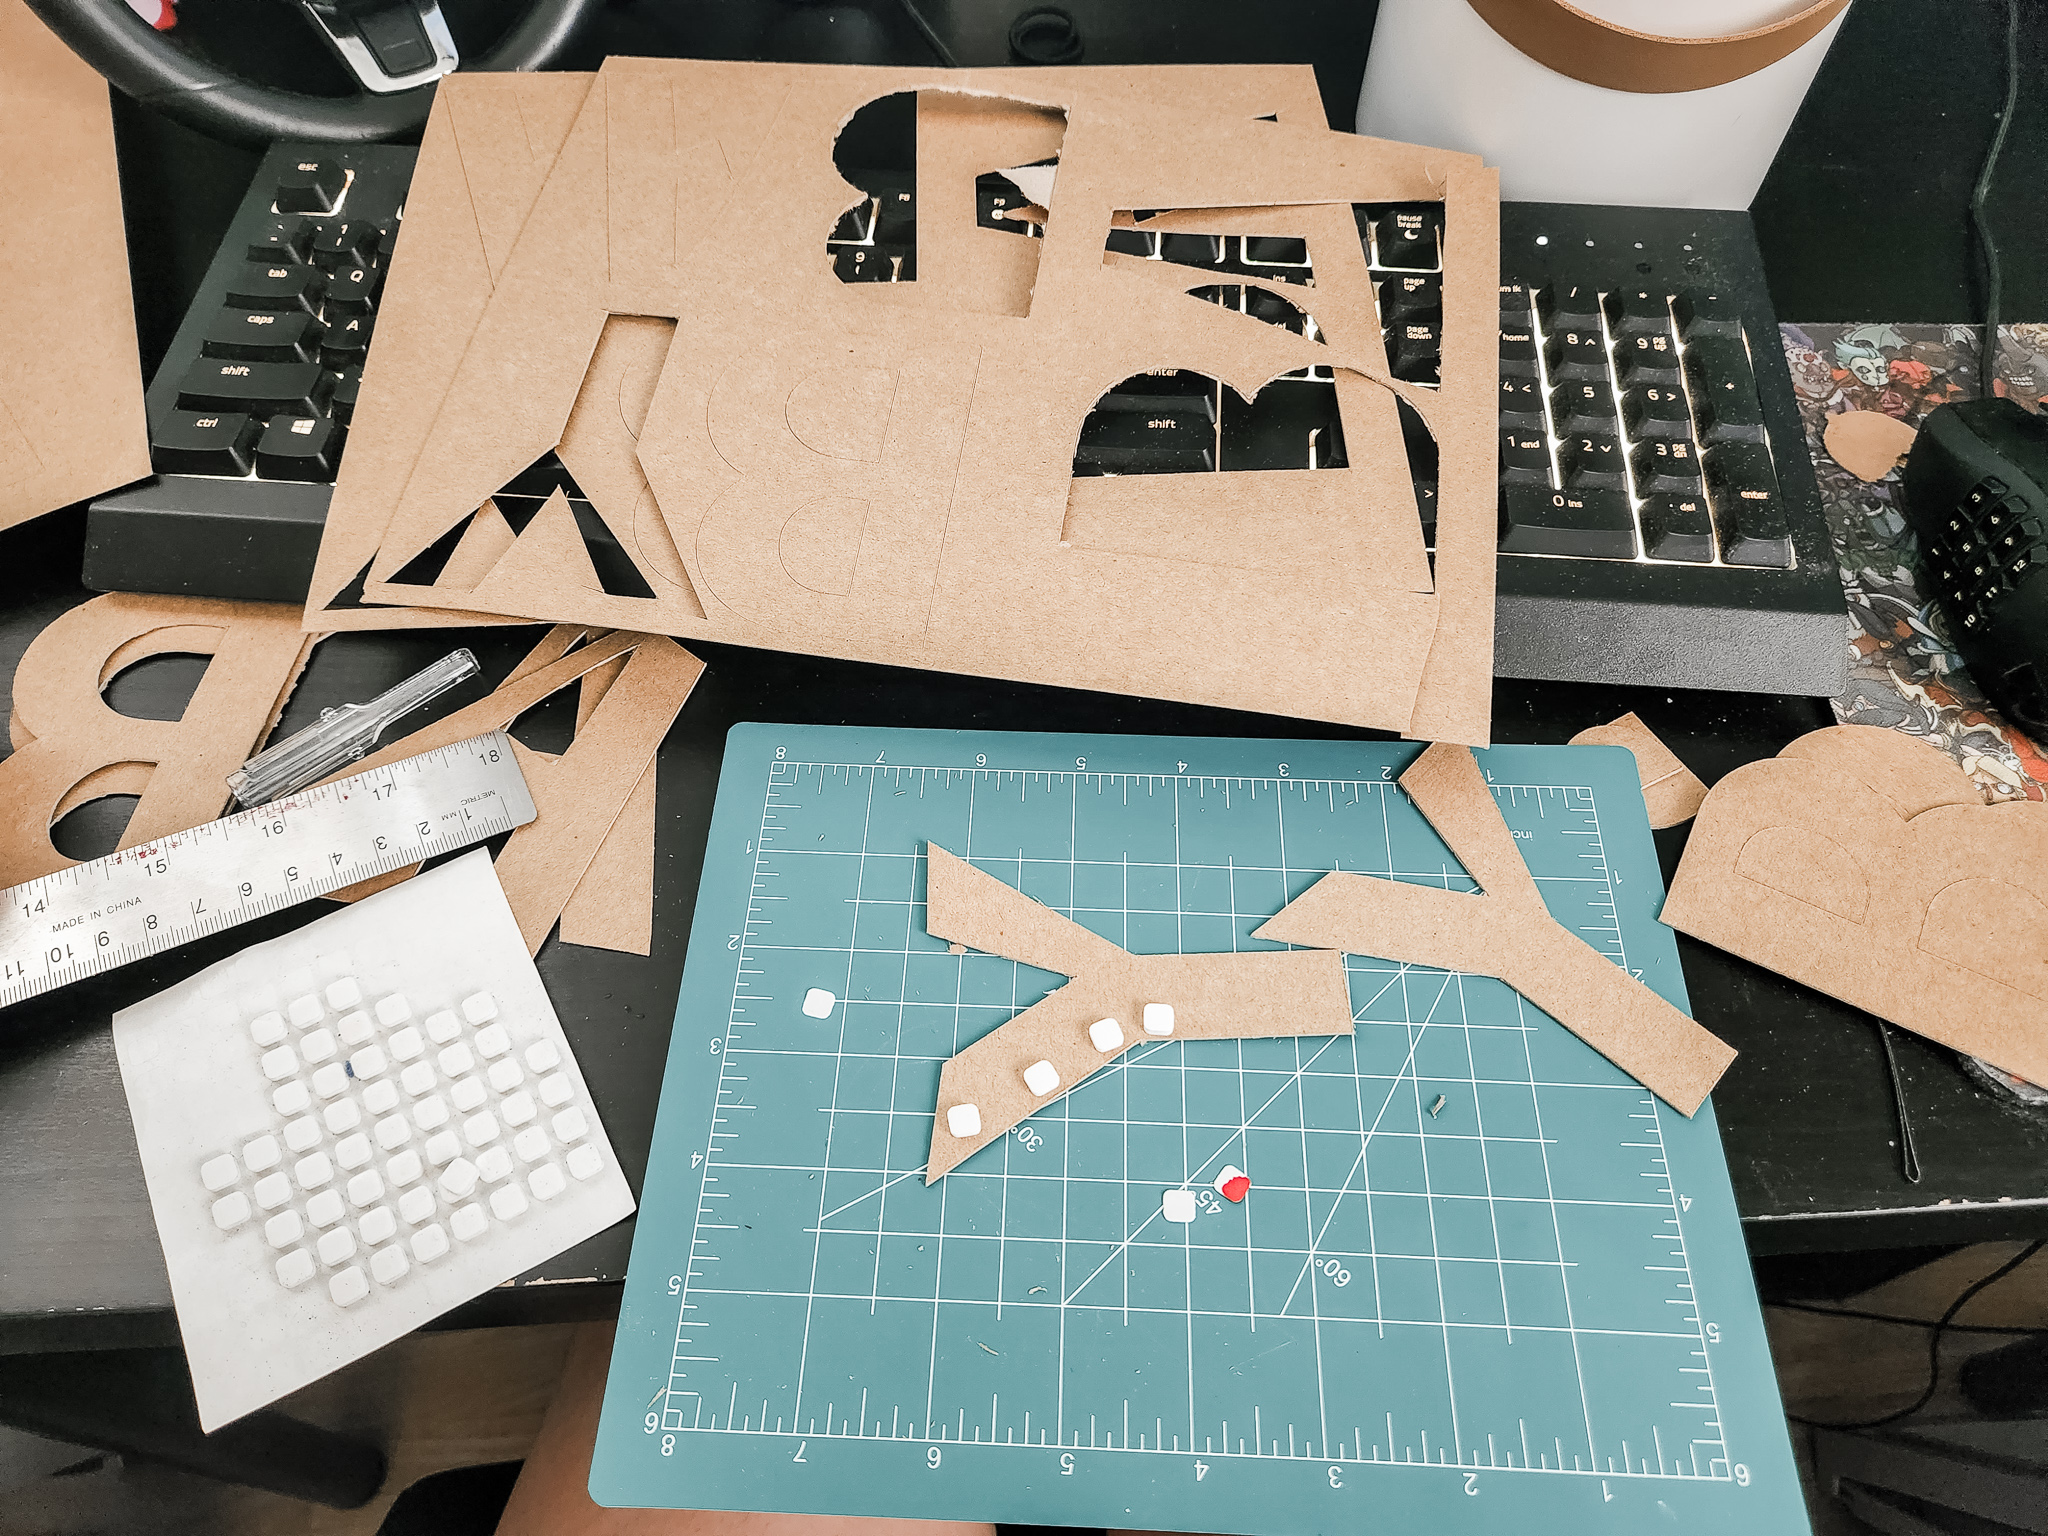
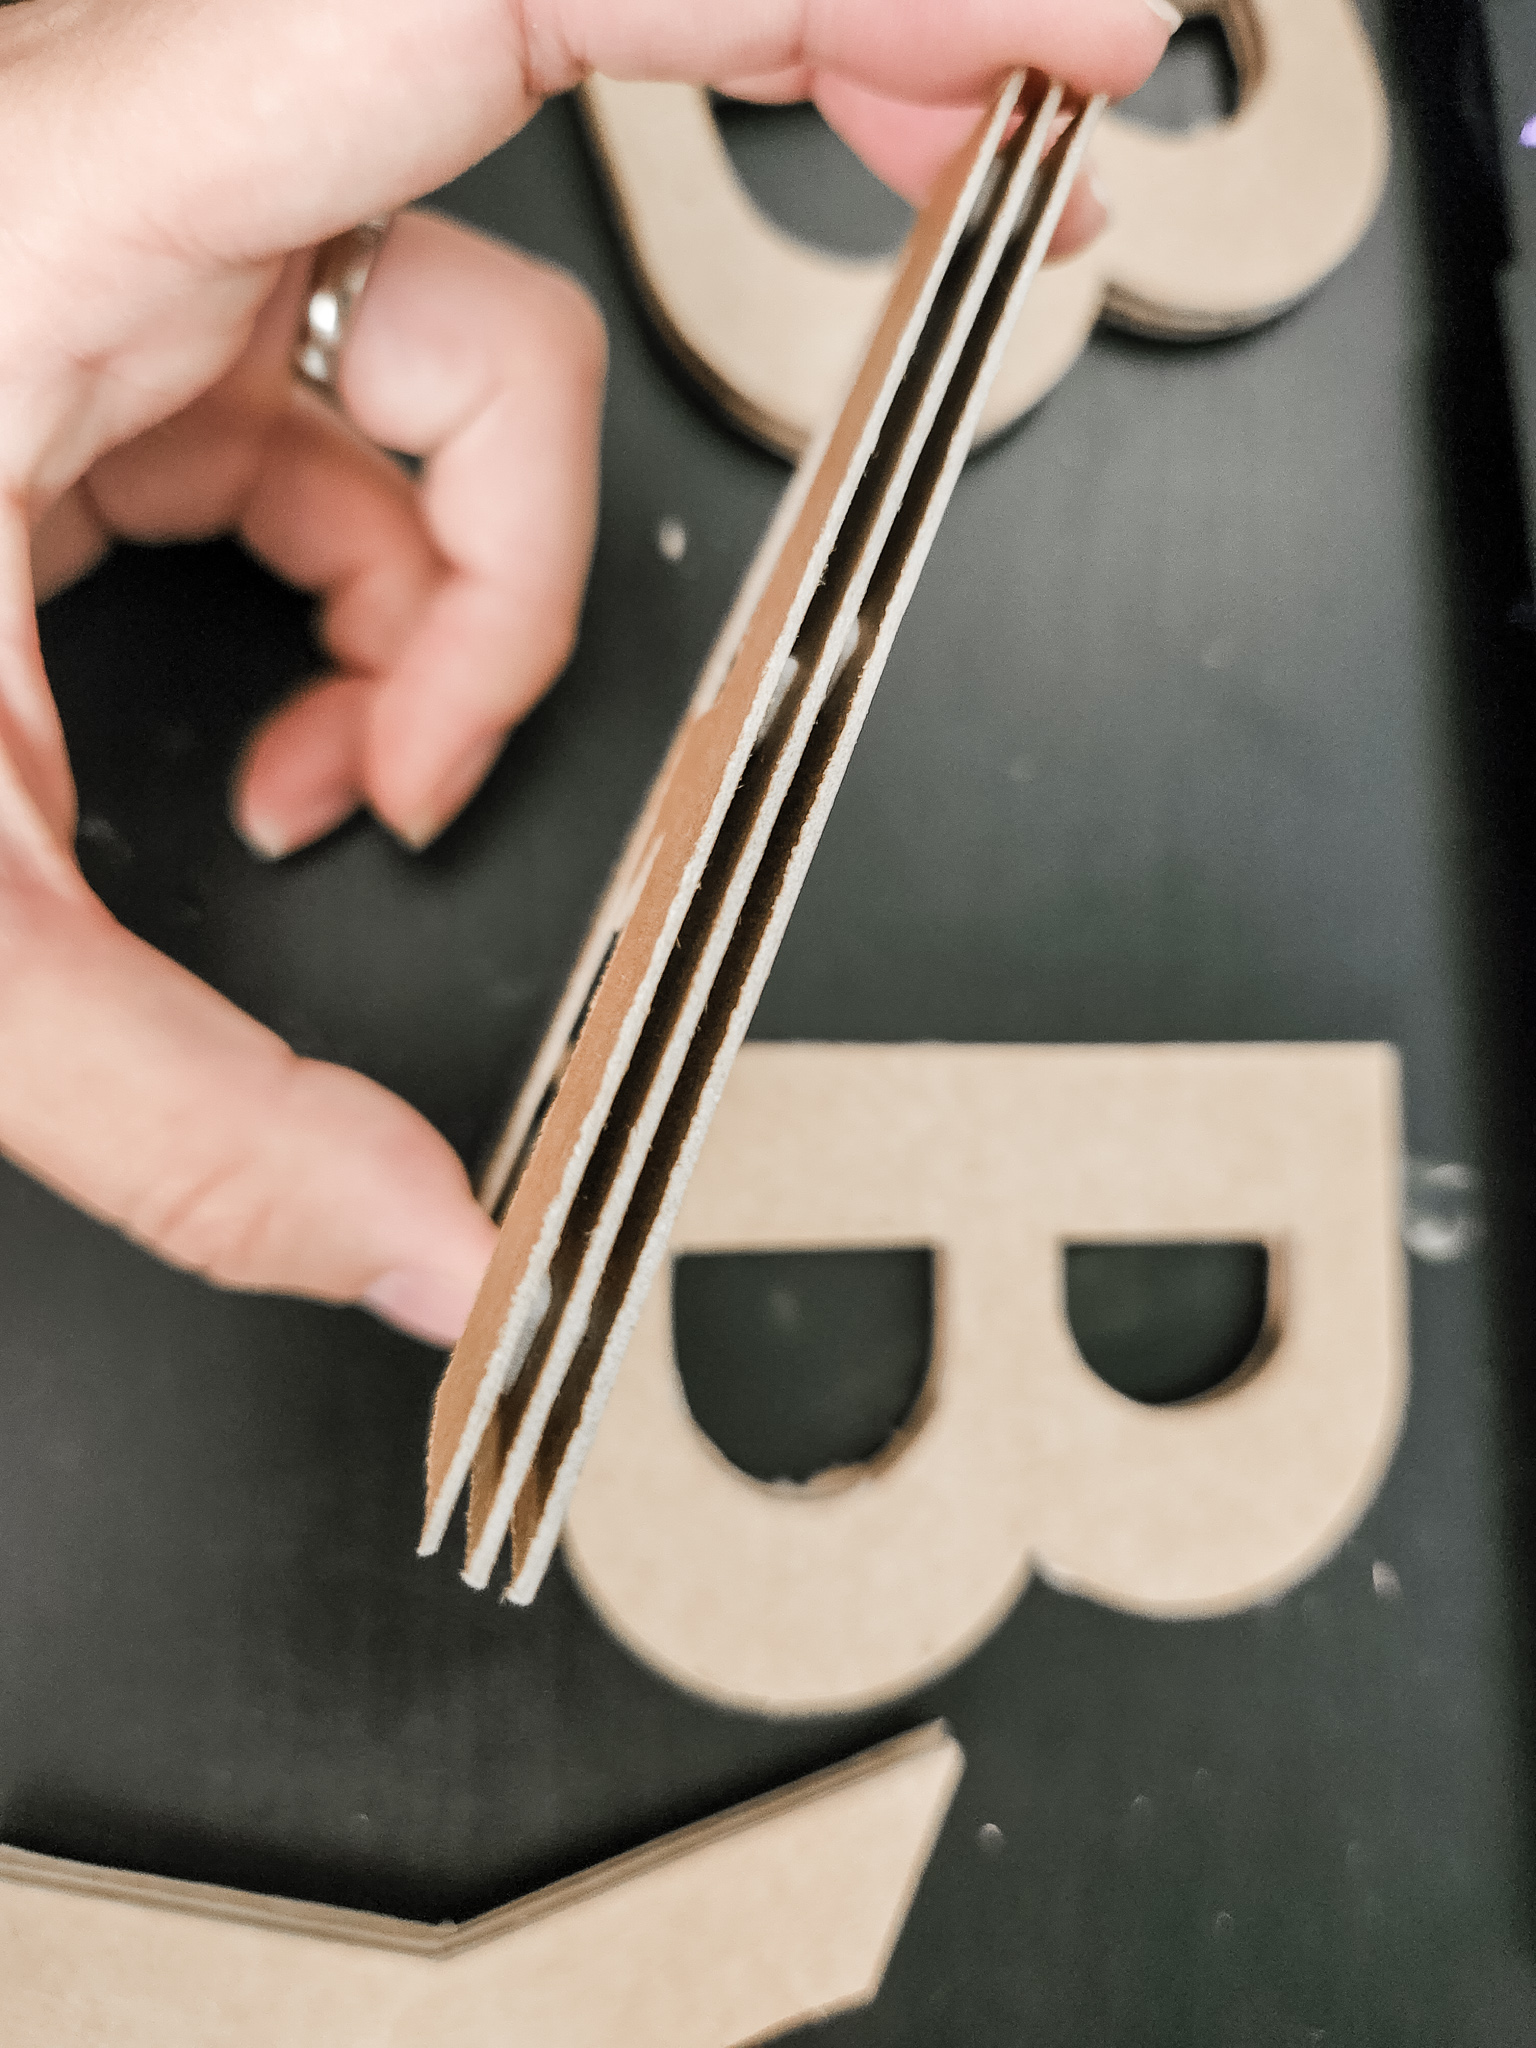
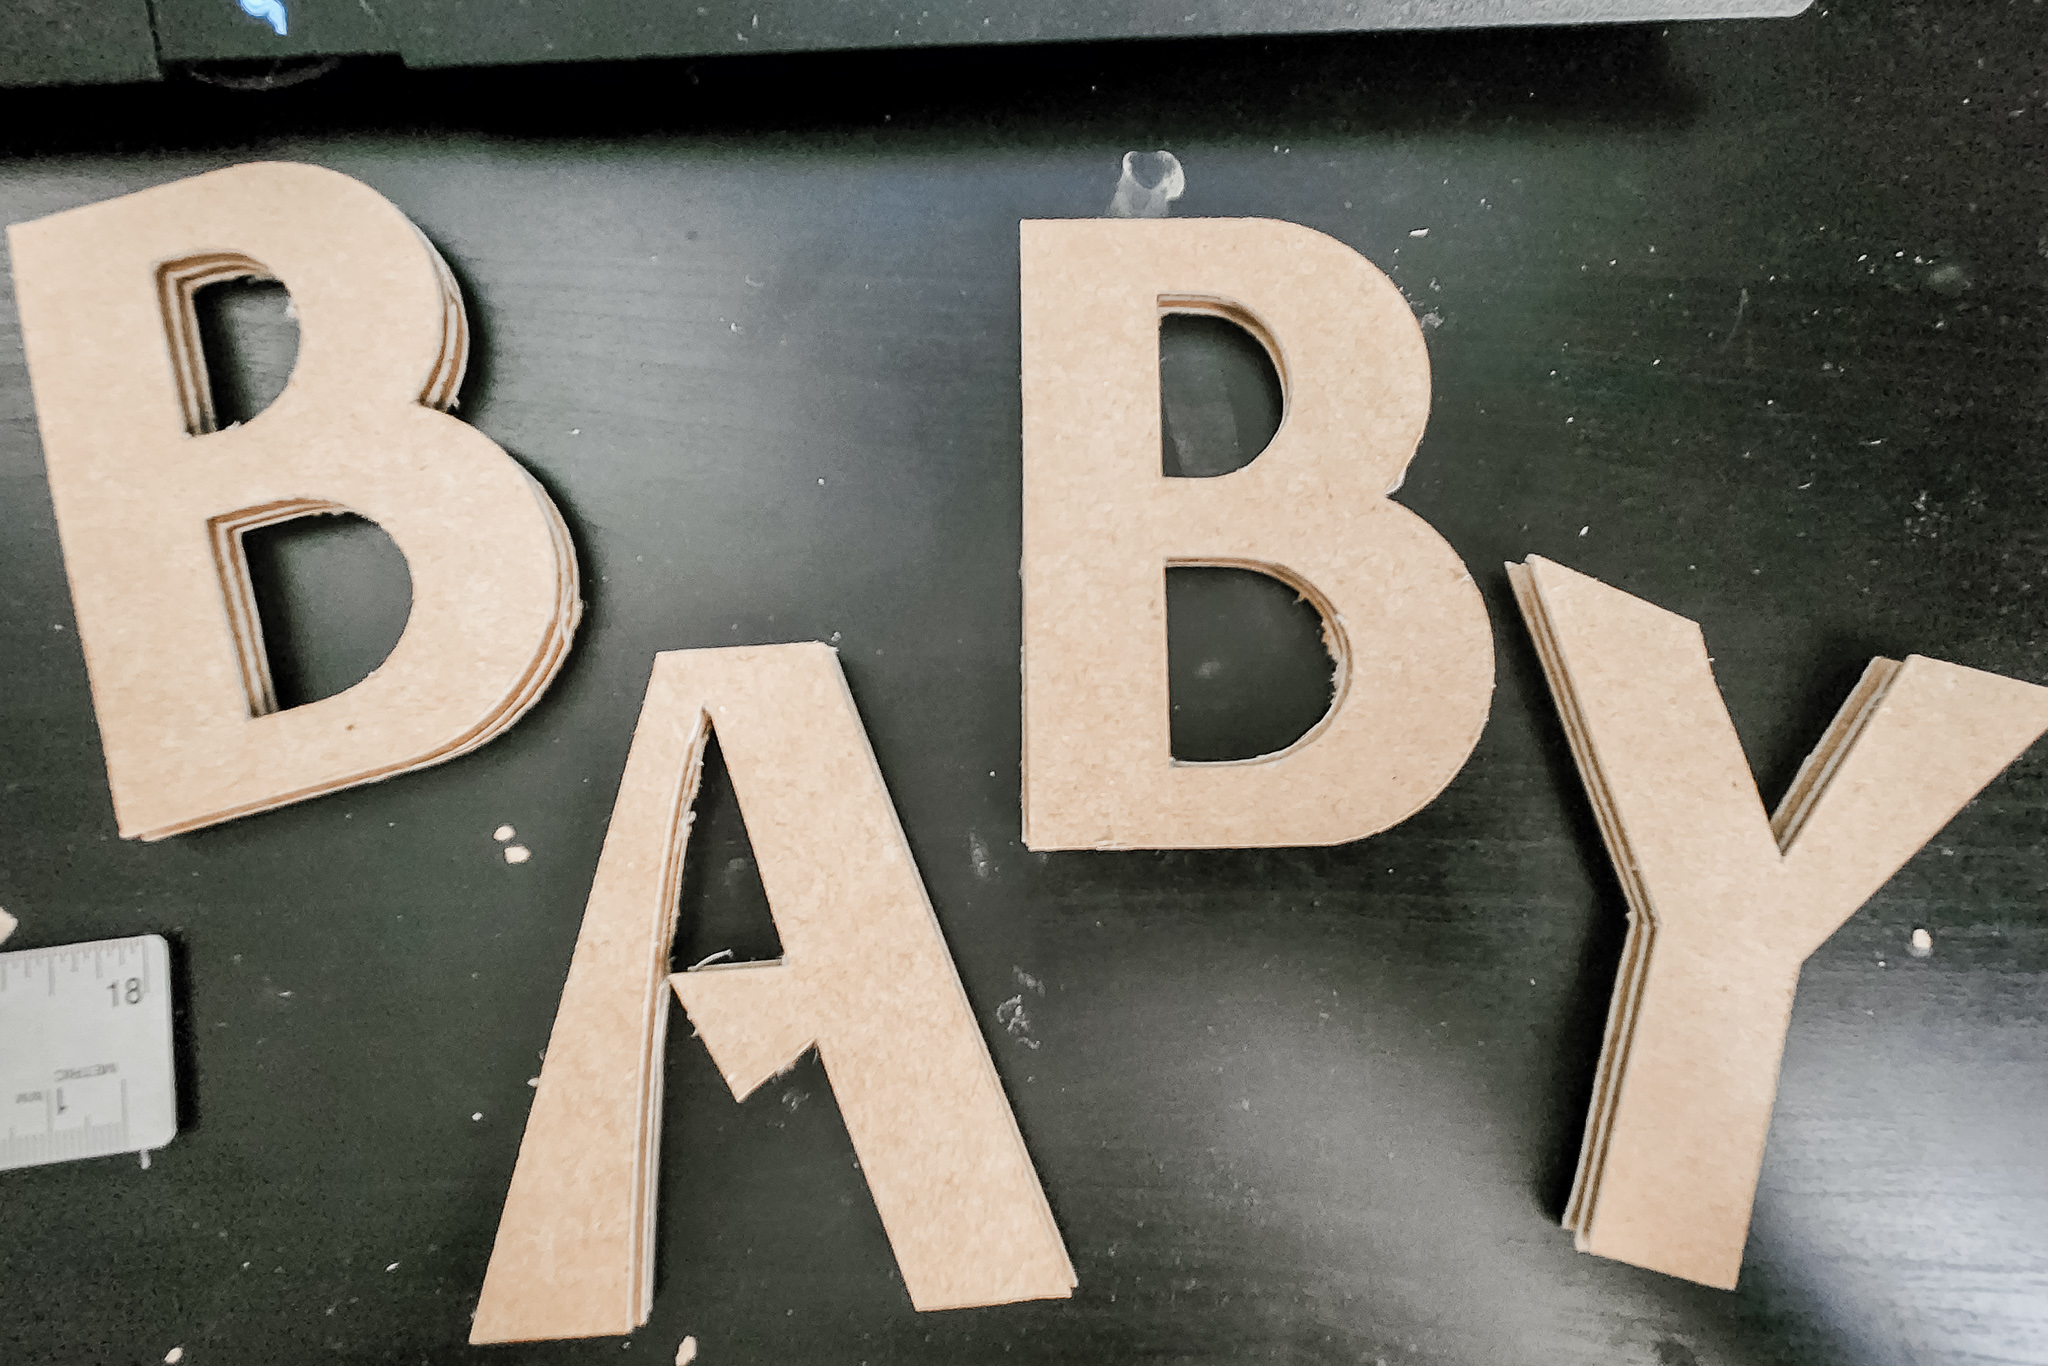
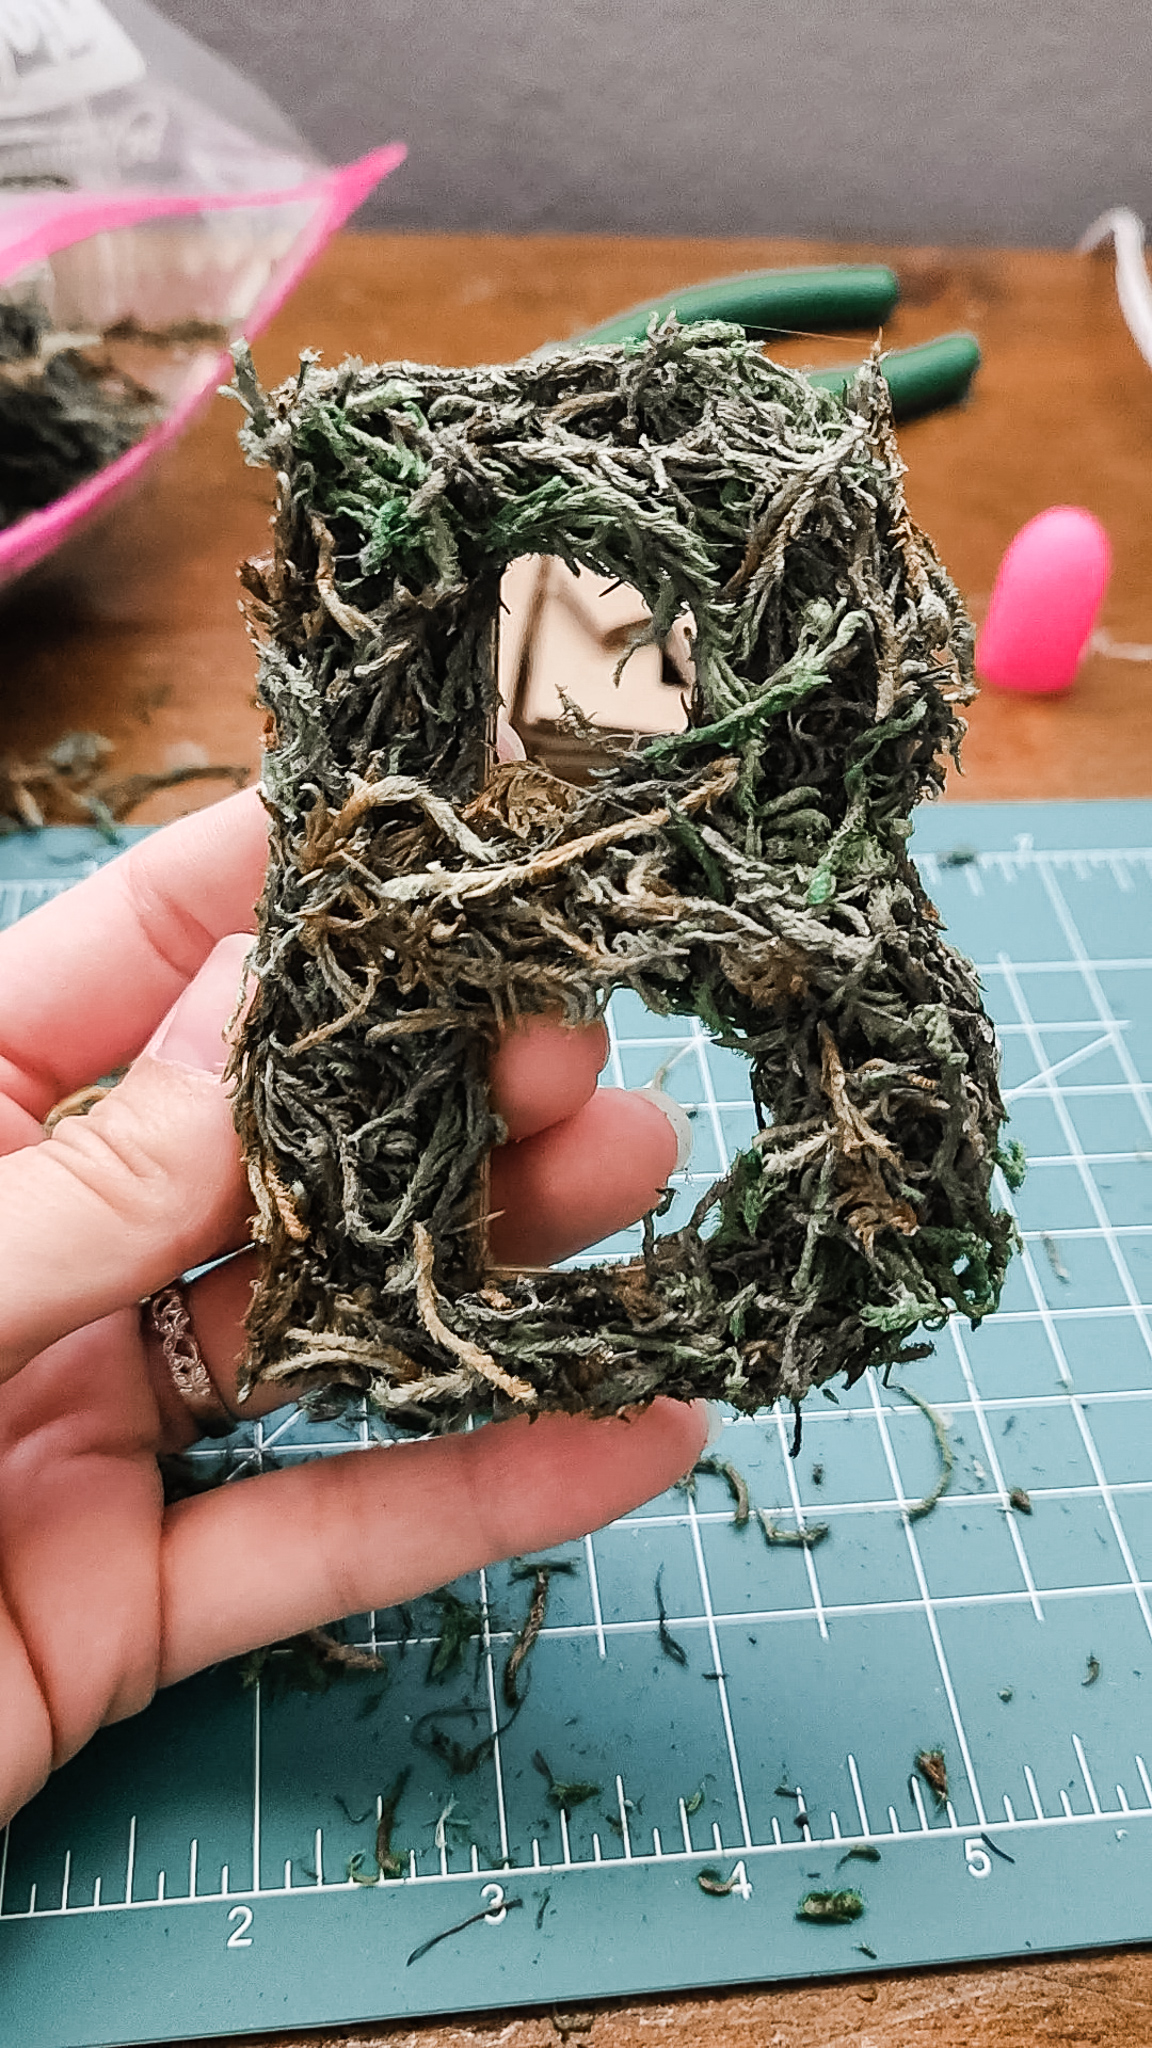
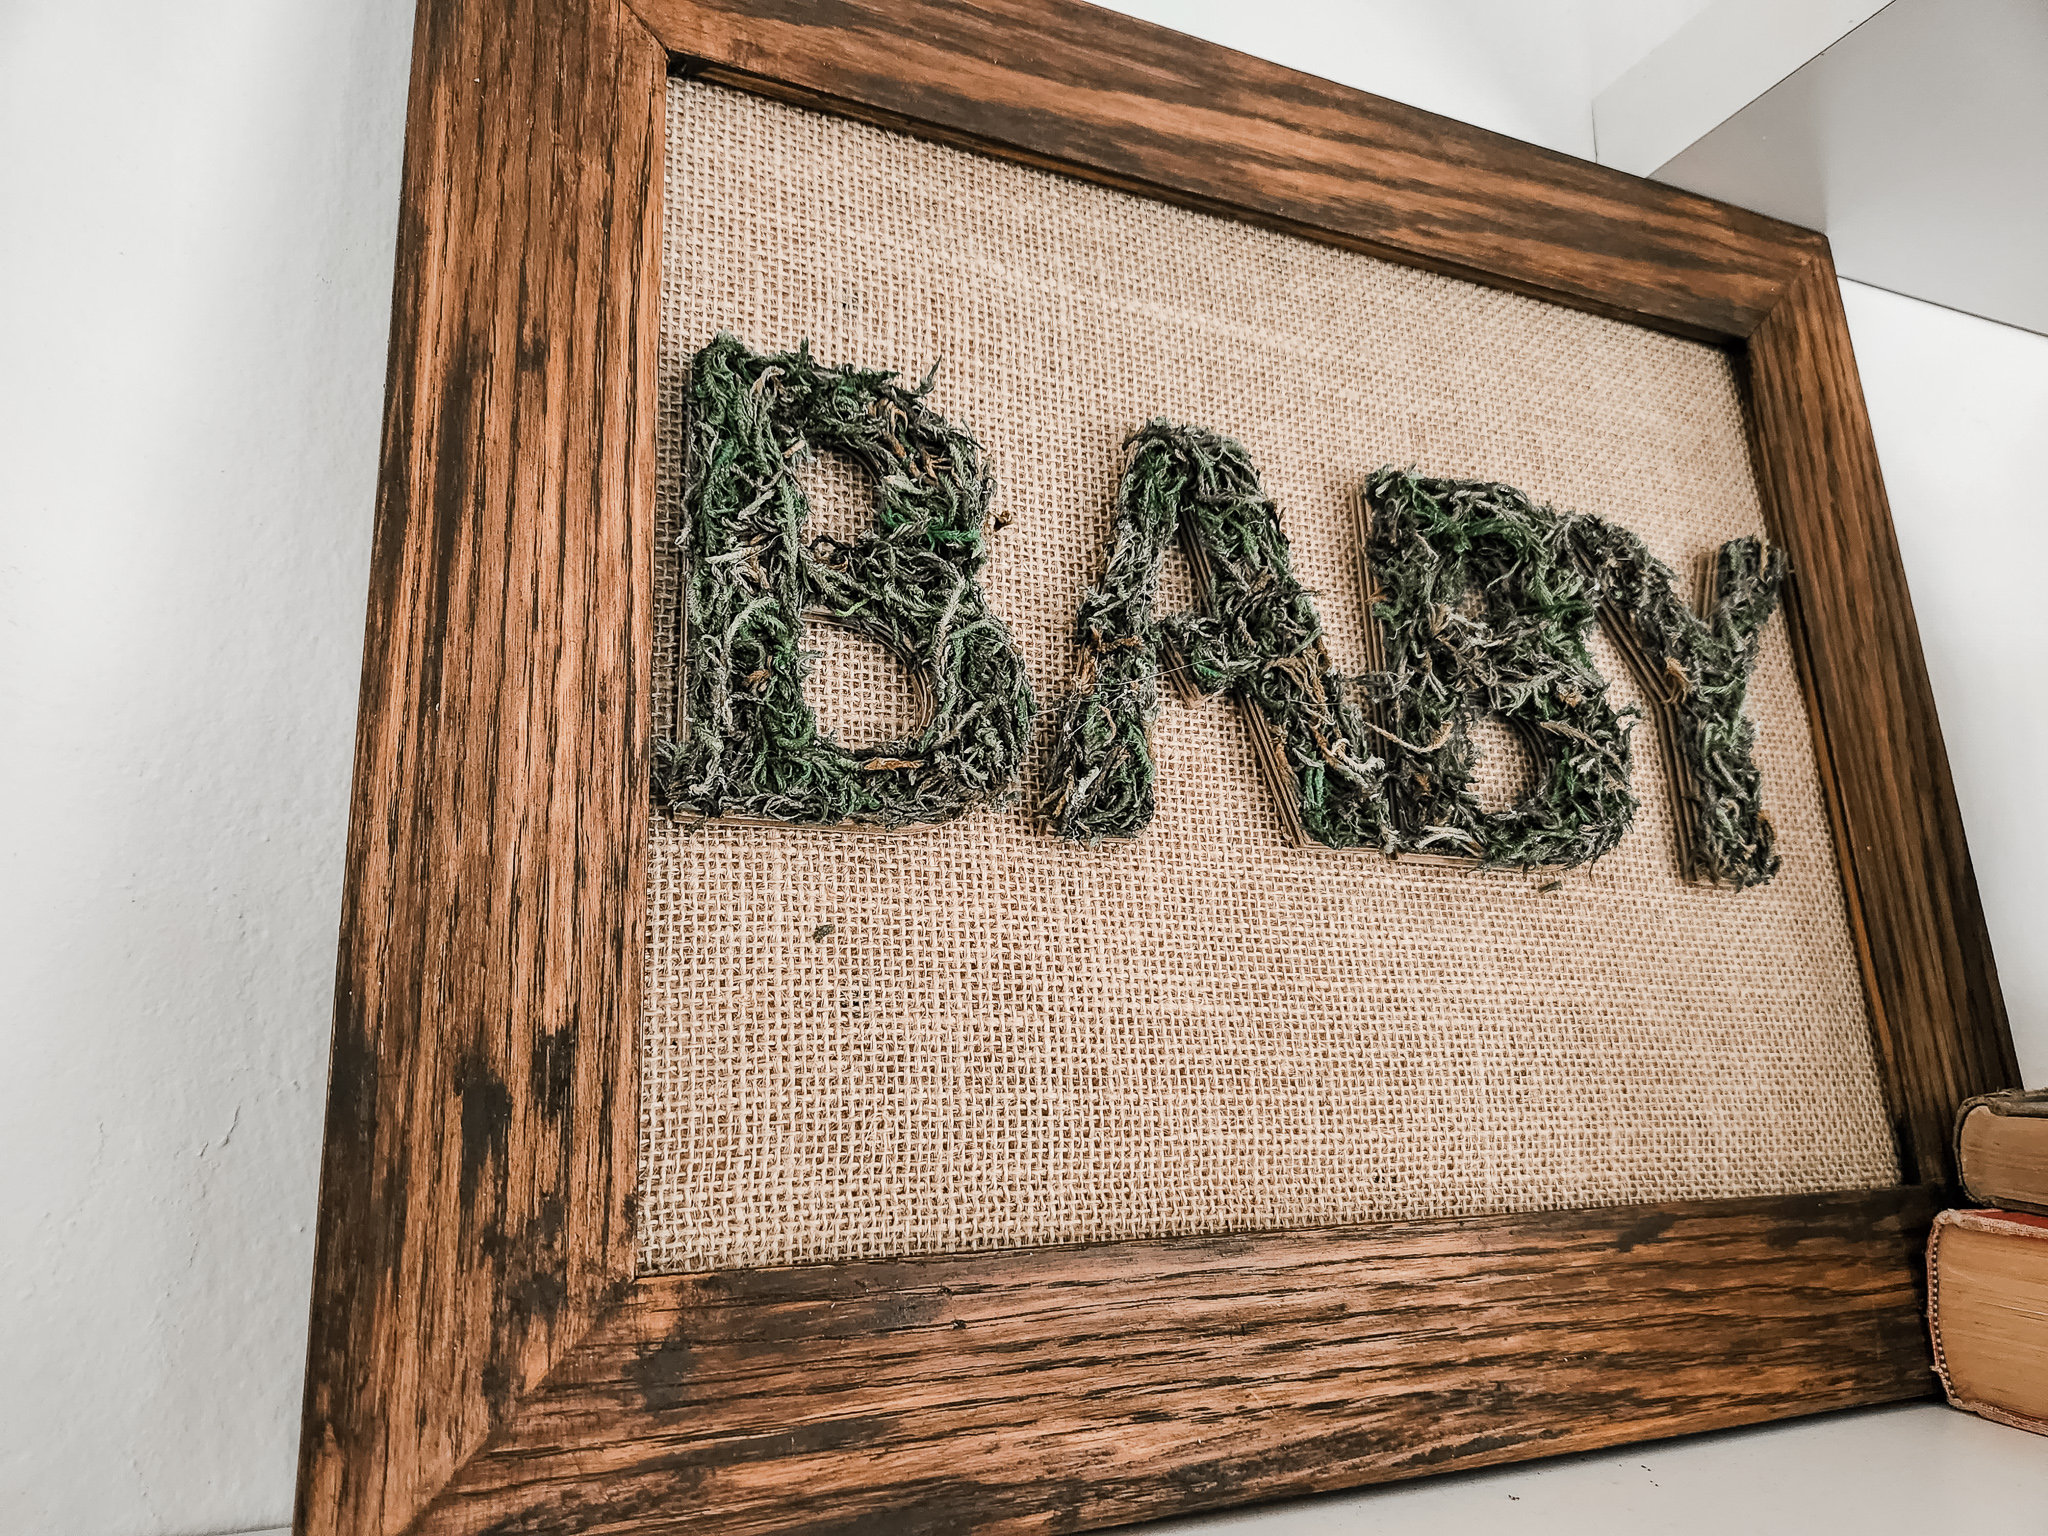
Next, I used my Silhouette Portrait 3 to cut out my letters from my chipboard 3 times. You can absolutely do this by hand with a craft knife or scissors. I used the adhesive foam to layer 3 pieces on top of each other to make the letters appear more 3D on the frame. I highly recommend this as the moss can really create an almost black hole effect if they are flush with the frame.
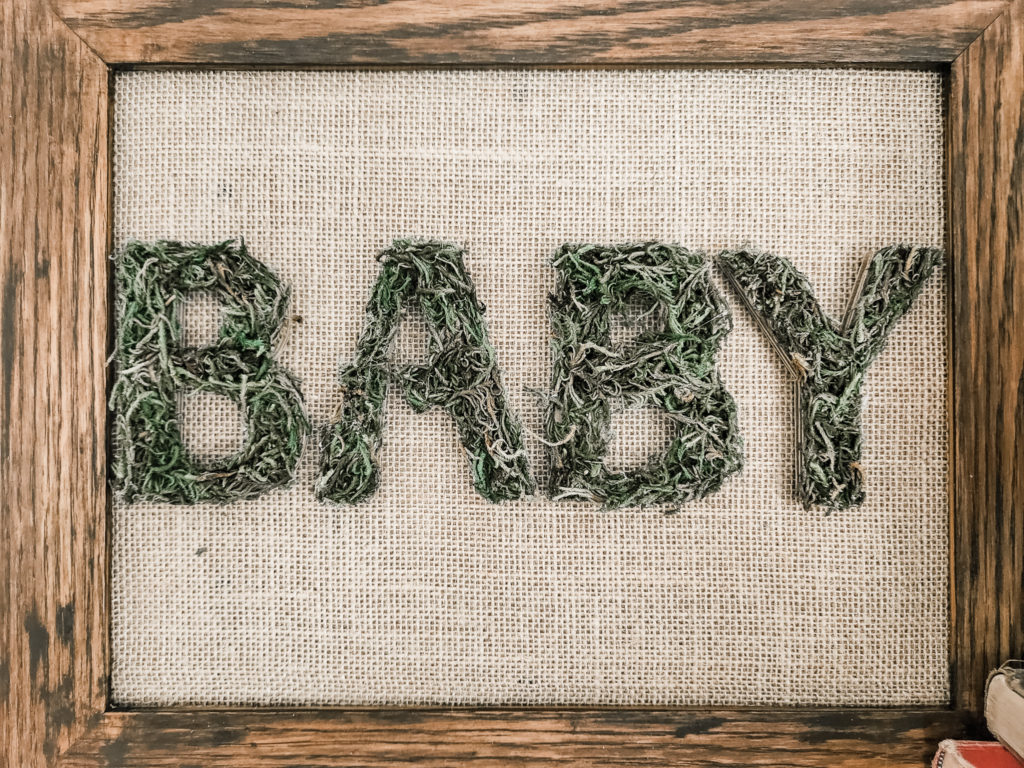
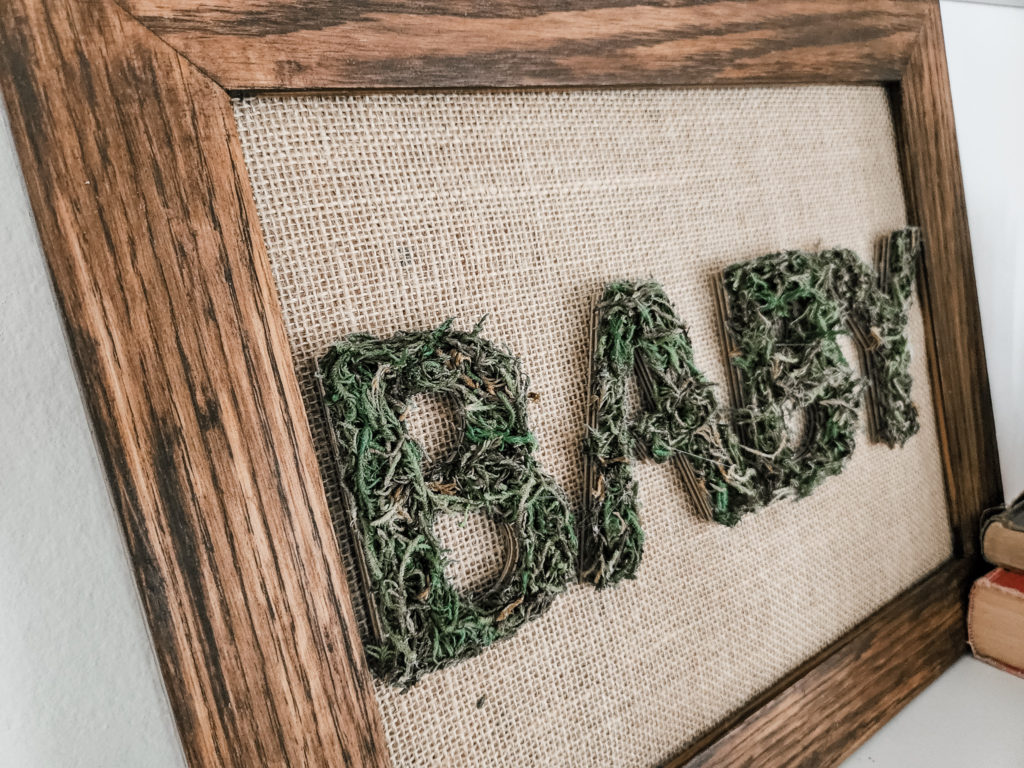
Using my hot glue gun and some glue sticks, I glued down all the loose moss I had to the letters. After I had a good amount on, I would shake the excess off and fill in the gaps that I missed. To help keep the shapes of the letters visible, I added thin lines of glue around all the edges and patted the moss as flat as I could. Once I felt the letters were done, I glued them directly to the burlap in the frame.
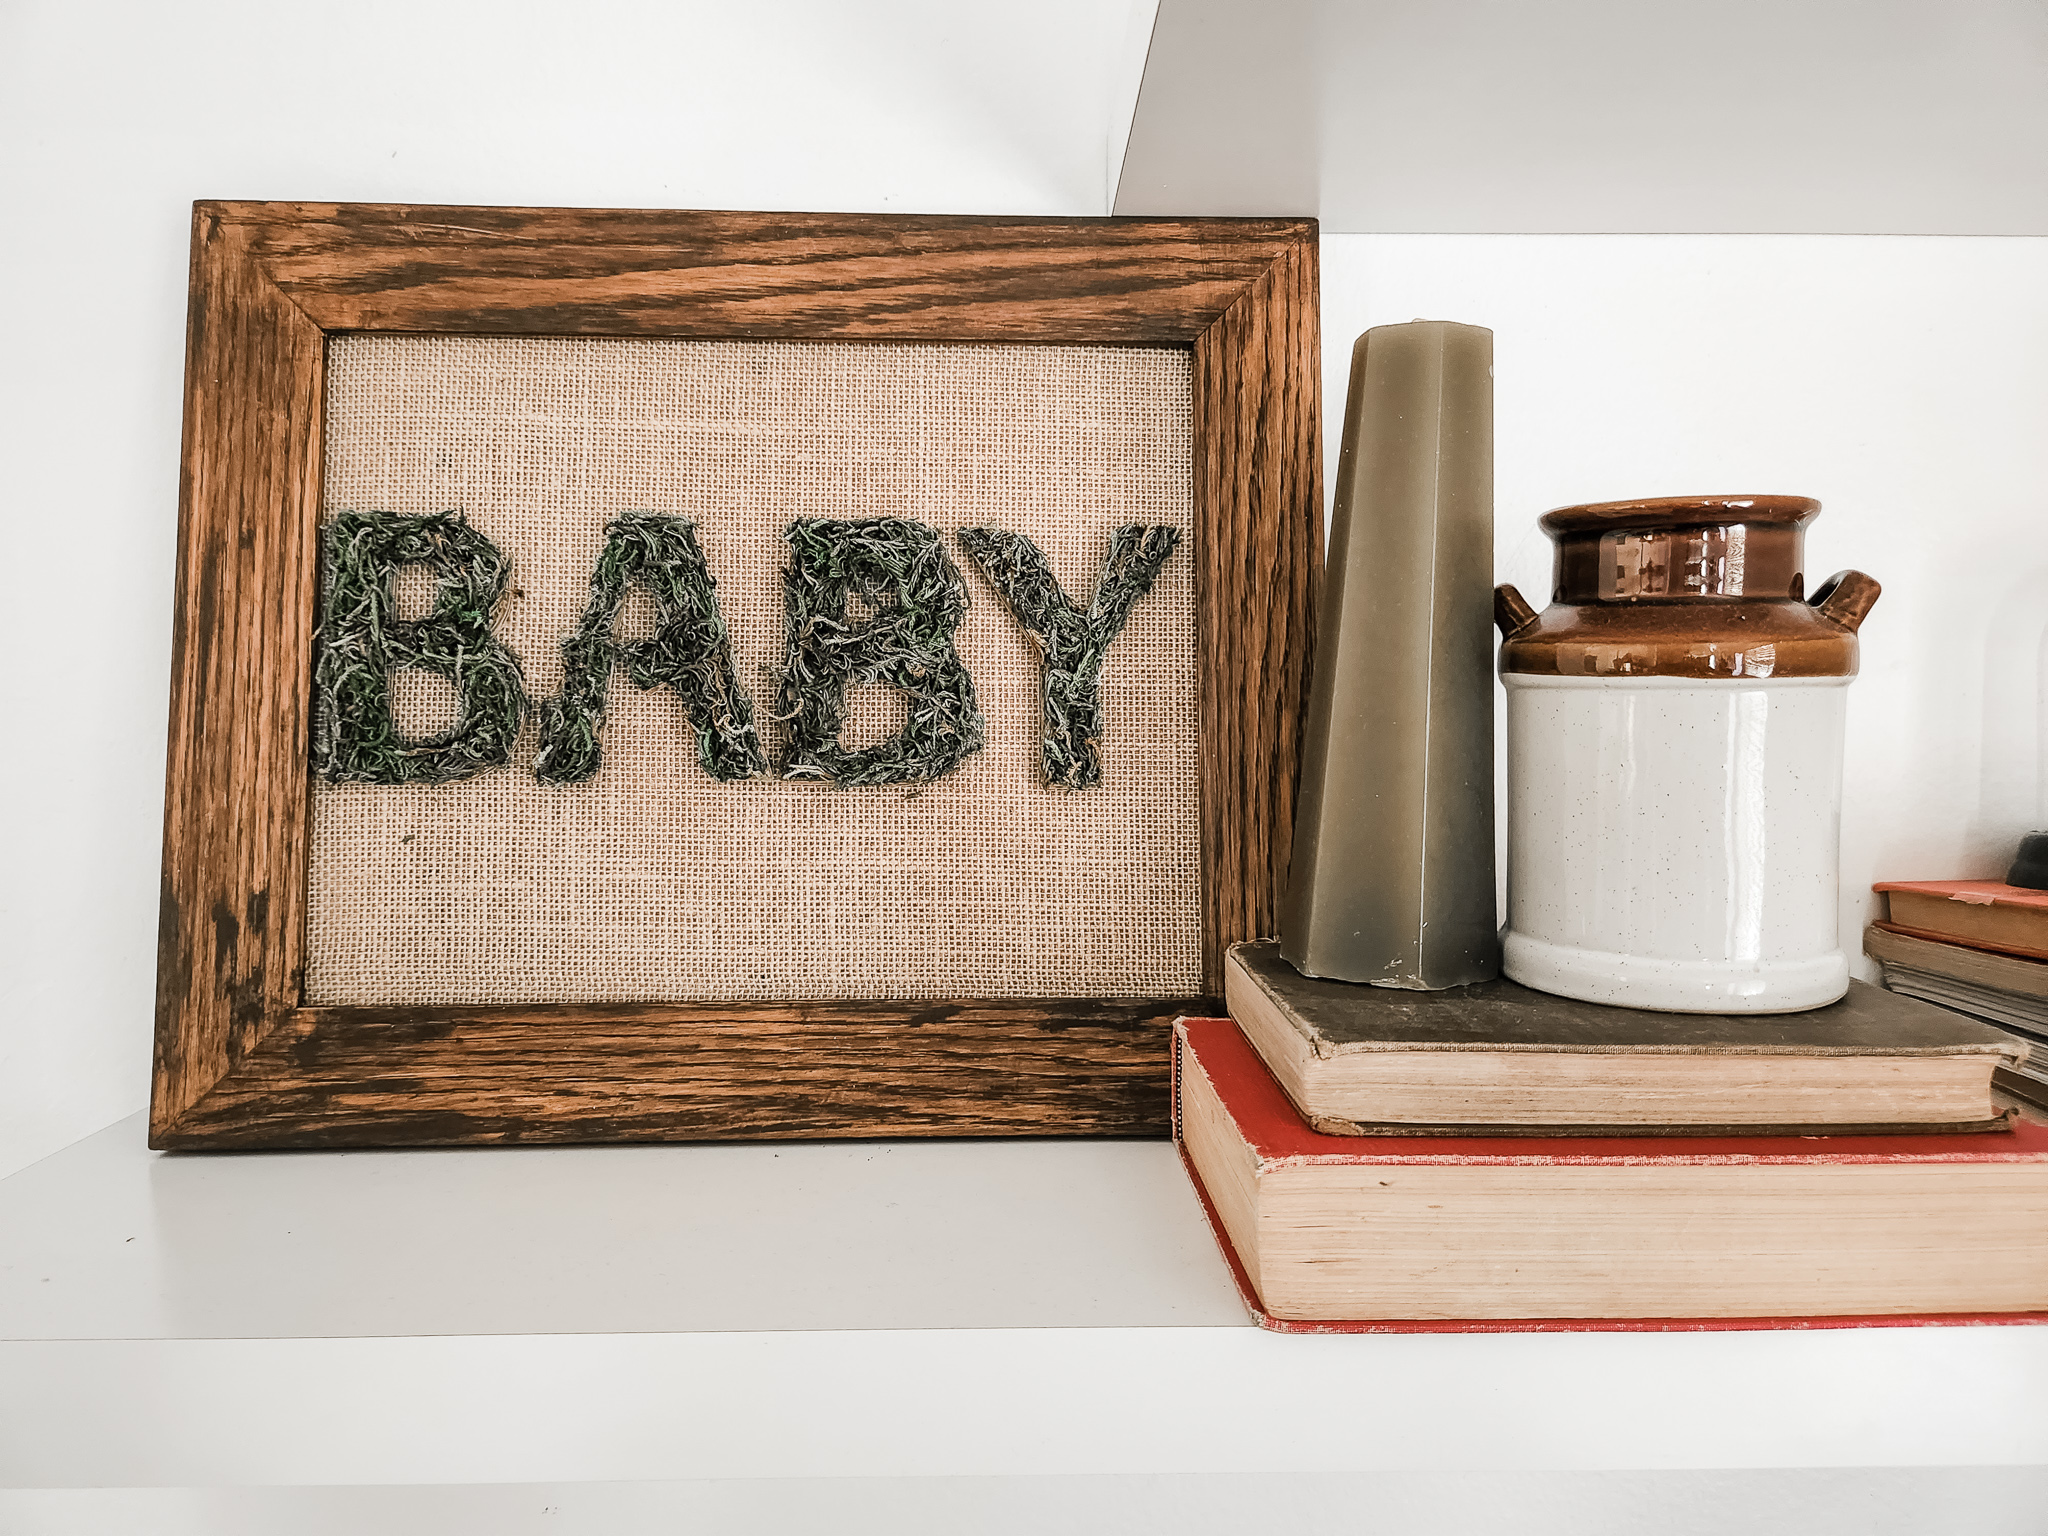
And voilà! In total, this craft project was able to be completed over the course of 3 hours and a single overnight drying session (which can be cut out if you don't have to stain the wood frame). I do my projects that I feel are a little more on the unsafe side when my toddler takes his afternoon naps, so this took me 3 days to complete. This project could easily be completed for less than $10 and in less than half a day if you had to grab everything from scratch. I highly recommend this project for anyone doing a woodland themed baby shower and/or for anyone who has limited spacing for decor. It's such a fun, calm and easy DIY to take on that will make for a great conversation piece at your event!
Let me know in the comments below if you tackle this DIY, and tag me on Instagram (@withlovejoey) if you share it online! I love seeing your takes on these projects!