
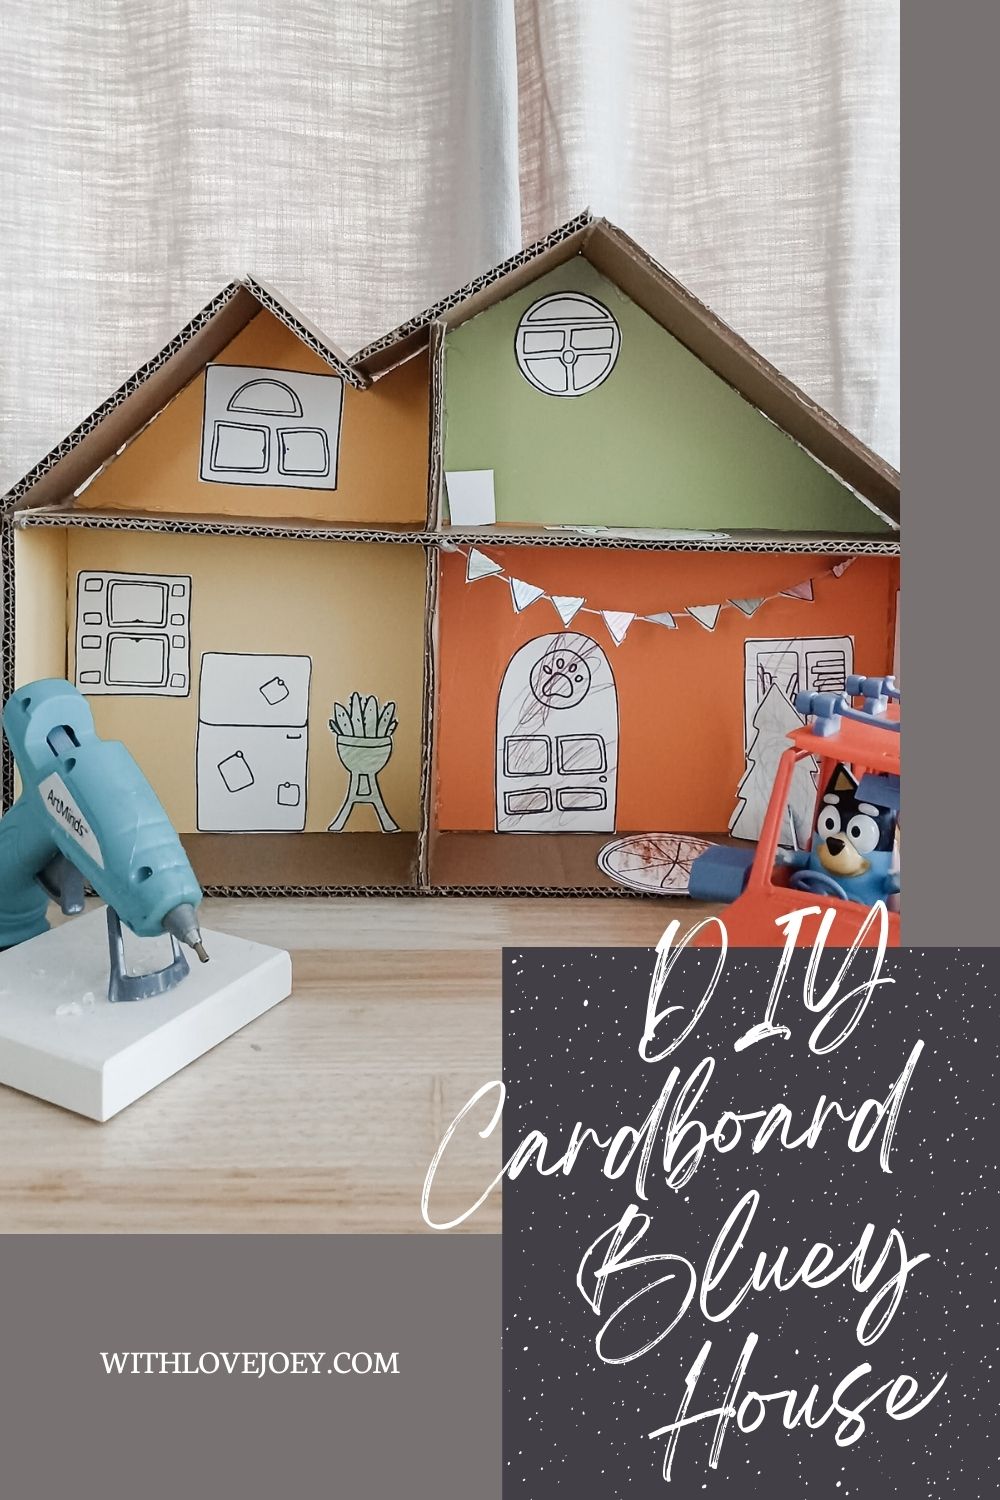
DIY Cardboard Bluey House
In my quest to find activities that Miles could do during the Christmas and New Year holidays in-between family dinners and dragging out opening presents, I came across the ultimate toddler craft project: the plans for a DIY Bluey cardboard House. The level of excitement that filled my soul solidified my plans and determination to create this with my 3-year old son. So, I printed out the cutouts and told my husband I would throw him out if he threw out any of the cardboard from our Christmas presents. 😀
If you're not familiar with Bluey, it's a preschool TV show based out of Australia that airs on Disney Junior that, in my humble opinion, is the best preschool TV show in the world. They perfectly mix humor and play ideas for the kids, with relatable content that parents can get on board with. It's definitely not your usual preschool kids show. The series follows Bluey, a 6-year old blue heeler, her 4-year old sister, Bingo, and their parents, Bandit and Chili. The show's website is full of activity ideas, craft projects and coloring pages.
The cardboard playhouse is an easy craft project, but does require the parents to do the majority of the work. If you plan on taking on this project with a child under the age of 5, I recommend prepping as much as you can BEFORE you bring your child into the project. Cutting the cardboard takes time and most kids don't have the attention span to focus on coloring everything before you're done assembling the cardboard. Additionally, there are no measurements on the website for how to cut and assemble the house because Bluey as a brand highly encourages independent play and creation to make your world your own. I'll be sharing what I did for our DIY cardboard Bluey house, but you really should feel encouraged to take creative liberties on this project.
What You'll Need
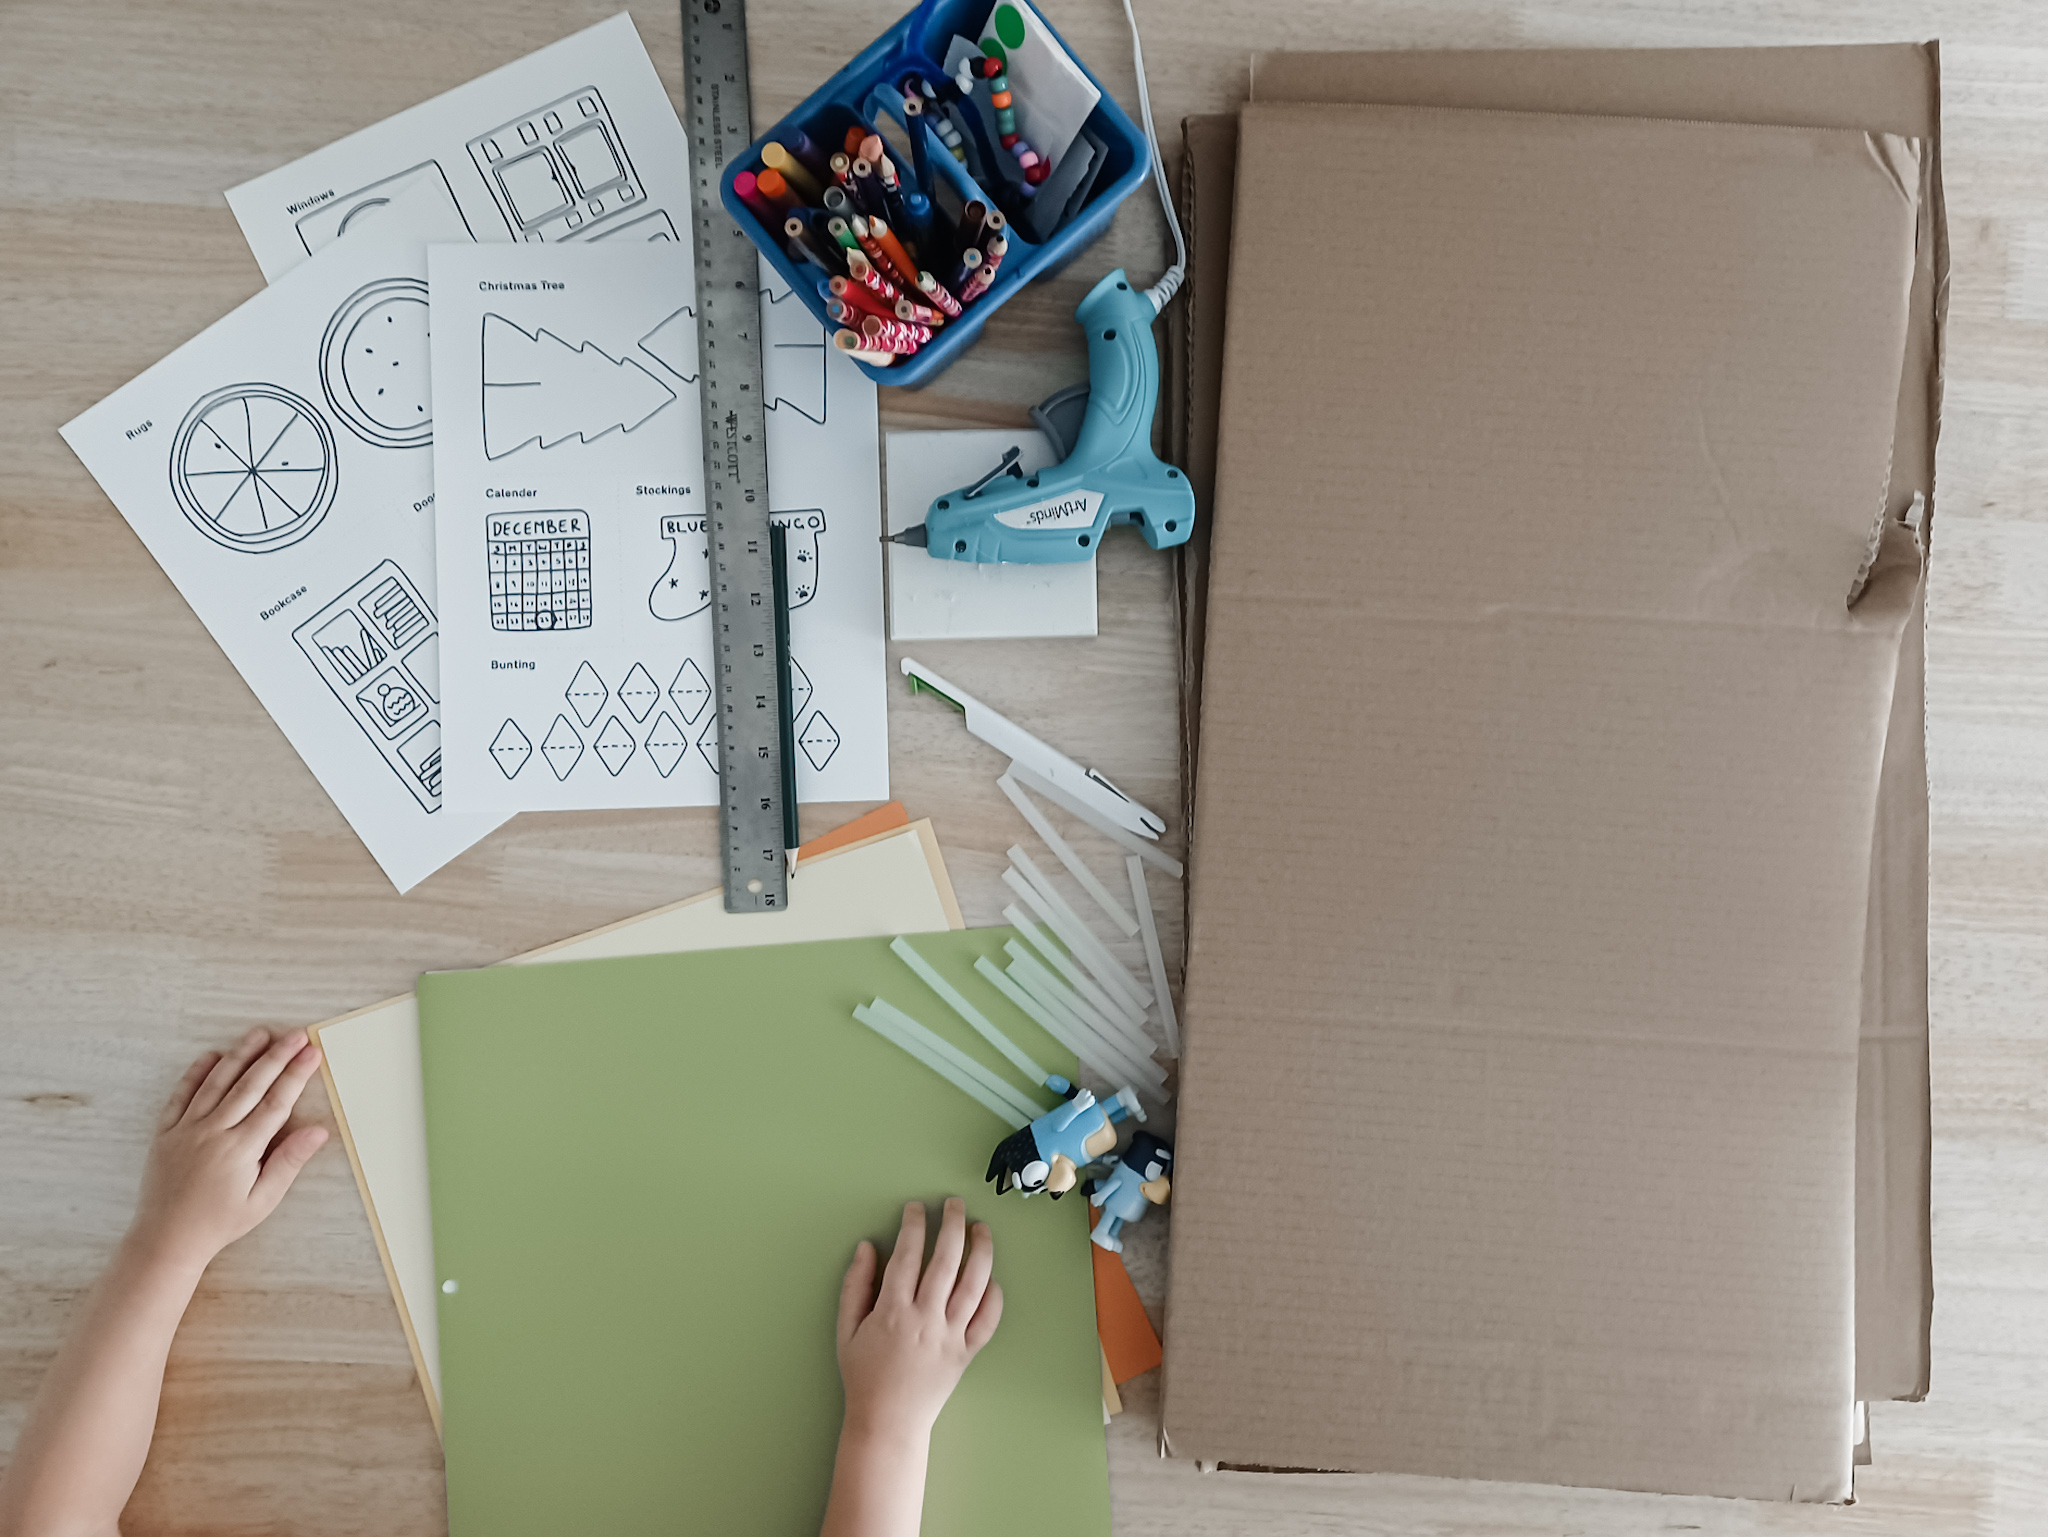
For this project, you're going to need
- House interior printable from the Bluey website
- Thick cardboard
- Glue AND hot glue
- Scissors and a craft knife
- Ruler
- Crayons, markers and/or color pencils
- Optional
- String
- Household items/recyclables: corks, bottle caps, mini Tupperware, old K-cups, faux floral, additional cardboard for furniture
Here's What You Do
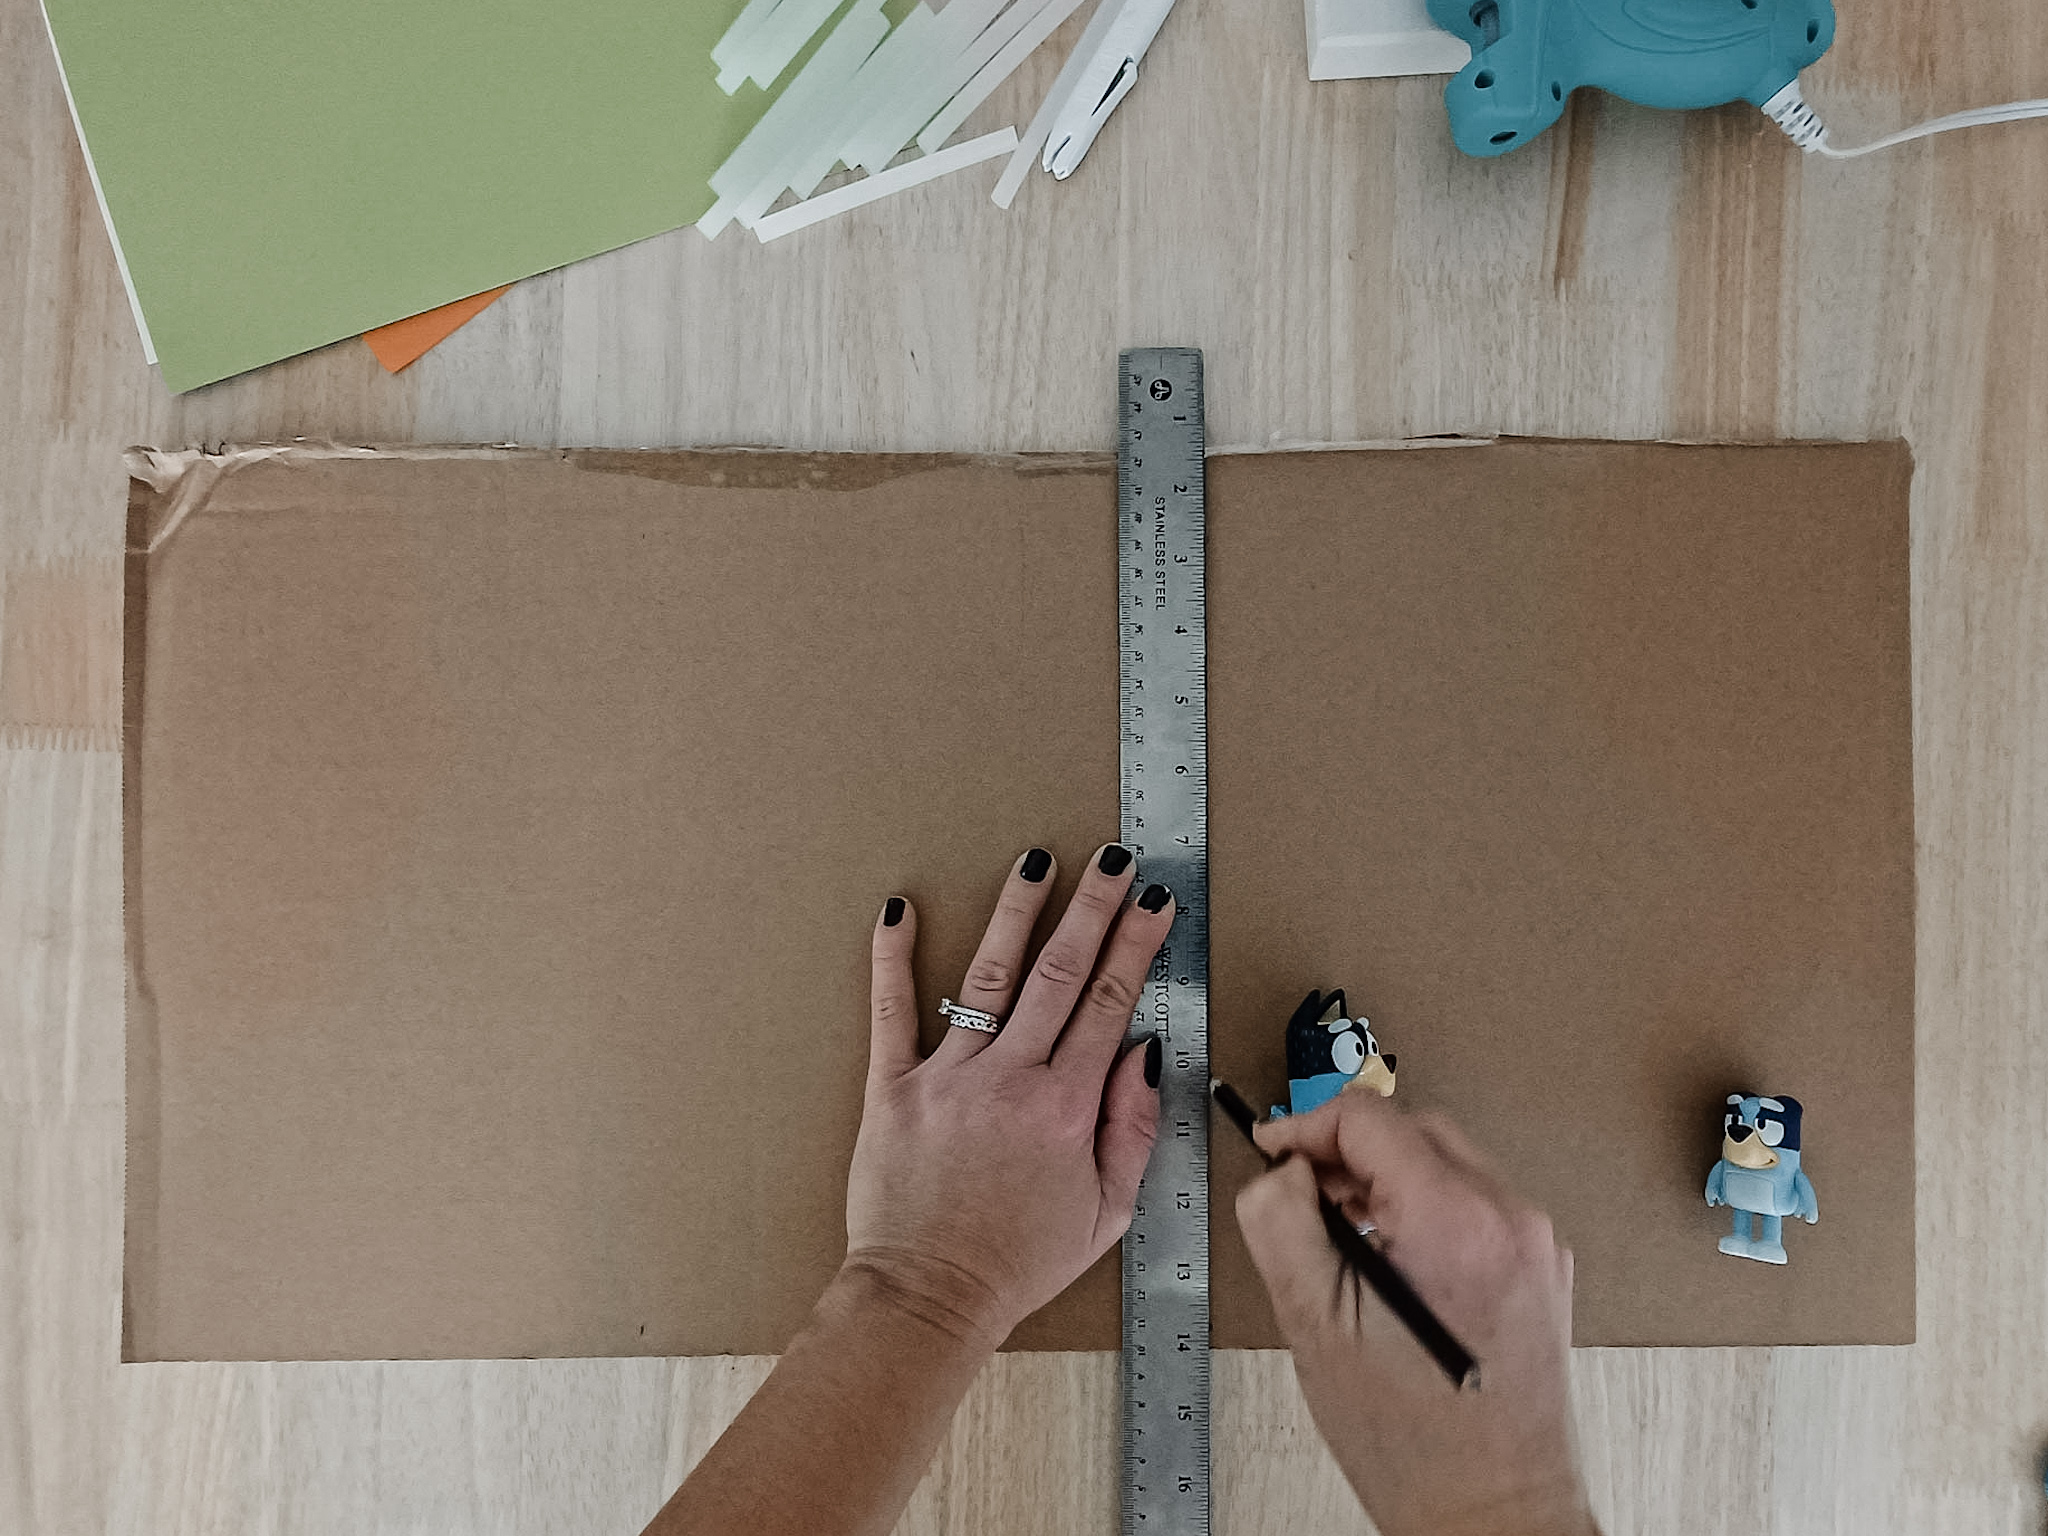
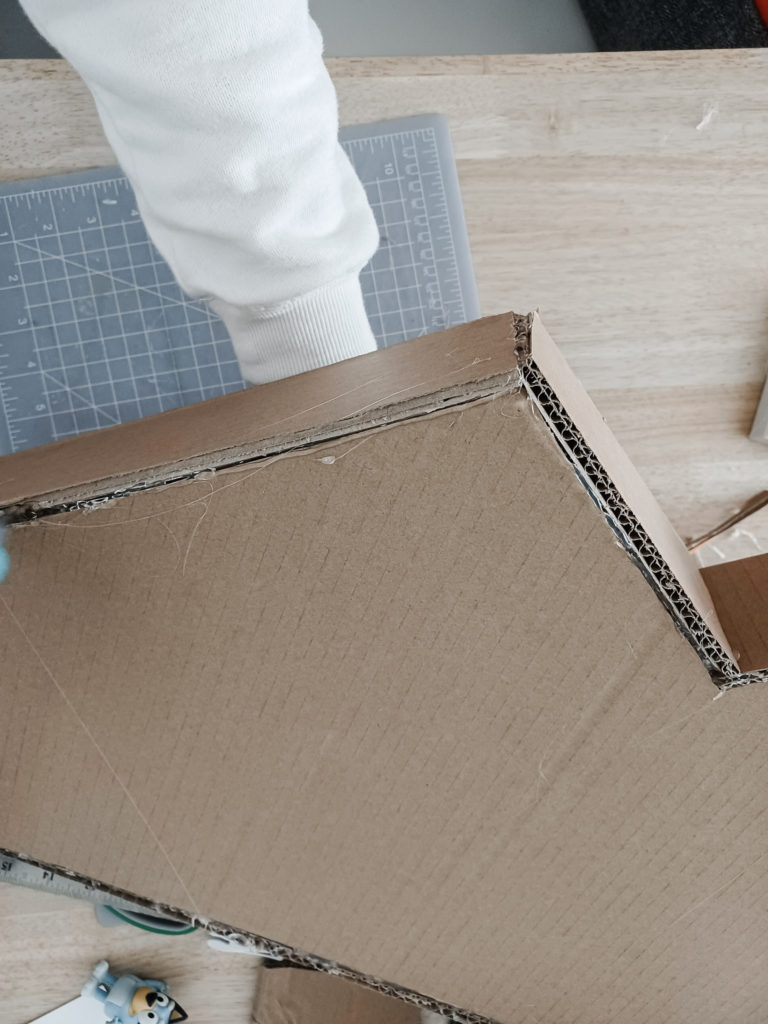
Start out by planning your measurements and cutting the cardboard. The cardboard I used had very odd dimensions, but it was the thickest quality material I had access to, so I made it work. The max dimensions of the main piece of cardboard I used was 12" height x 18" width. The floors, walls, and roof pieces were cut to 3" width. I kind of wish I had done 5" for the floor and done angled walls to give the kitchen more depth, but it ended up not being a big deal for Miles. I used our Bandit figurine to help judge the height of the door so I could eyeball the height of the first floor.
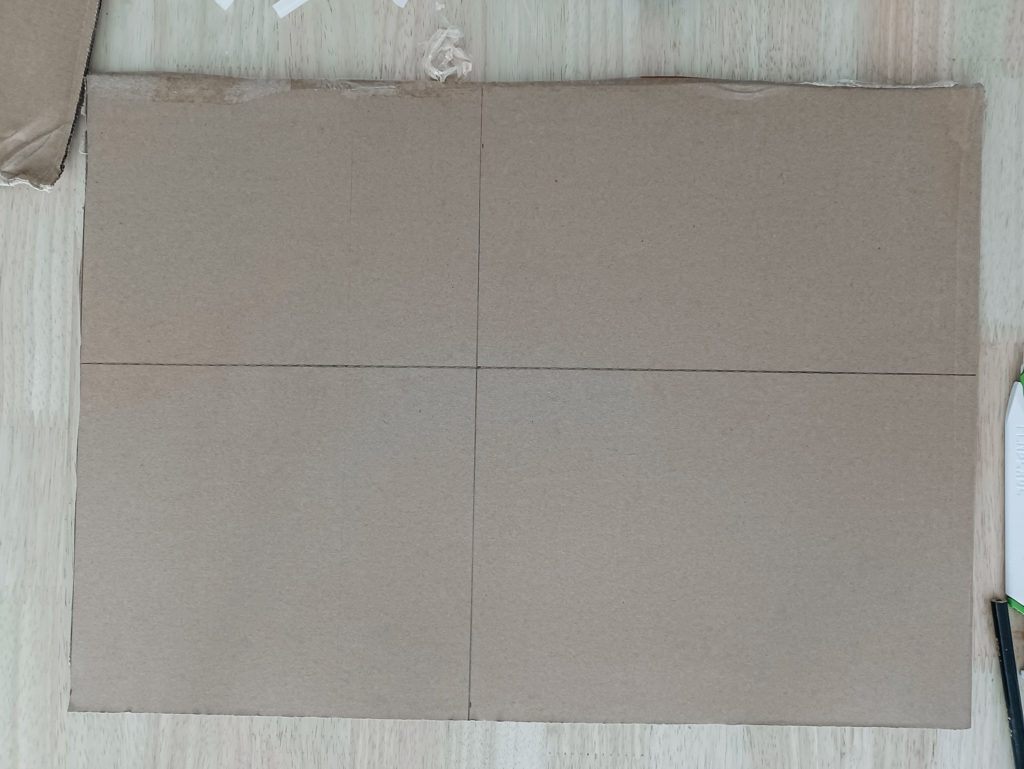
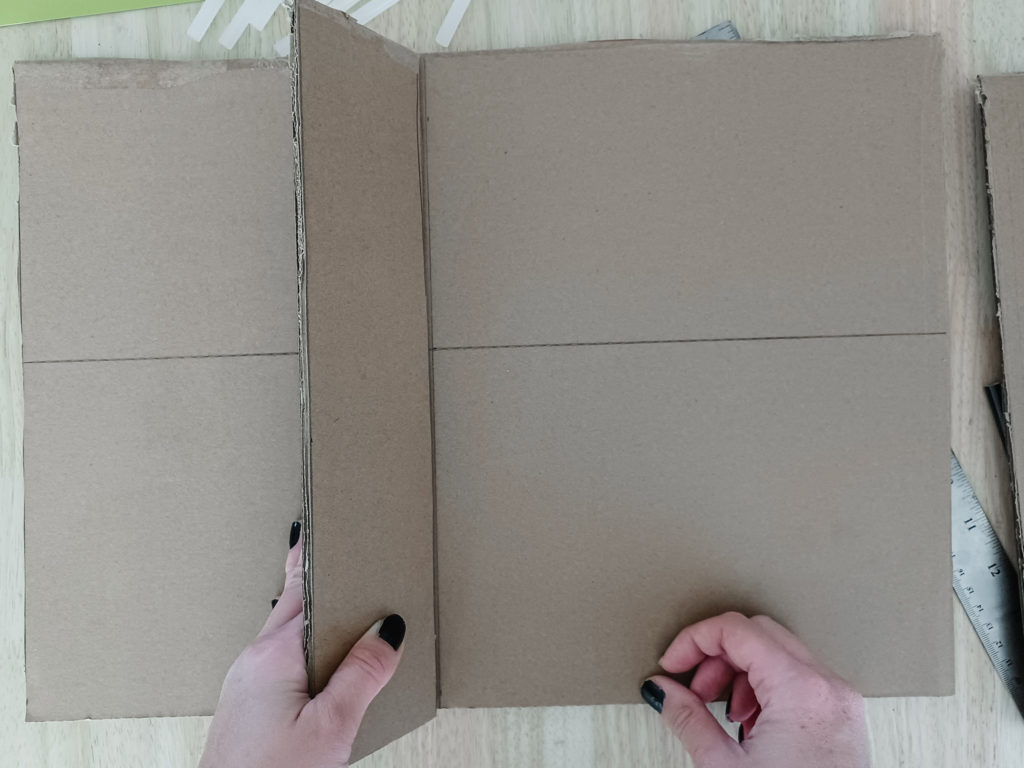
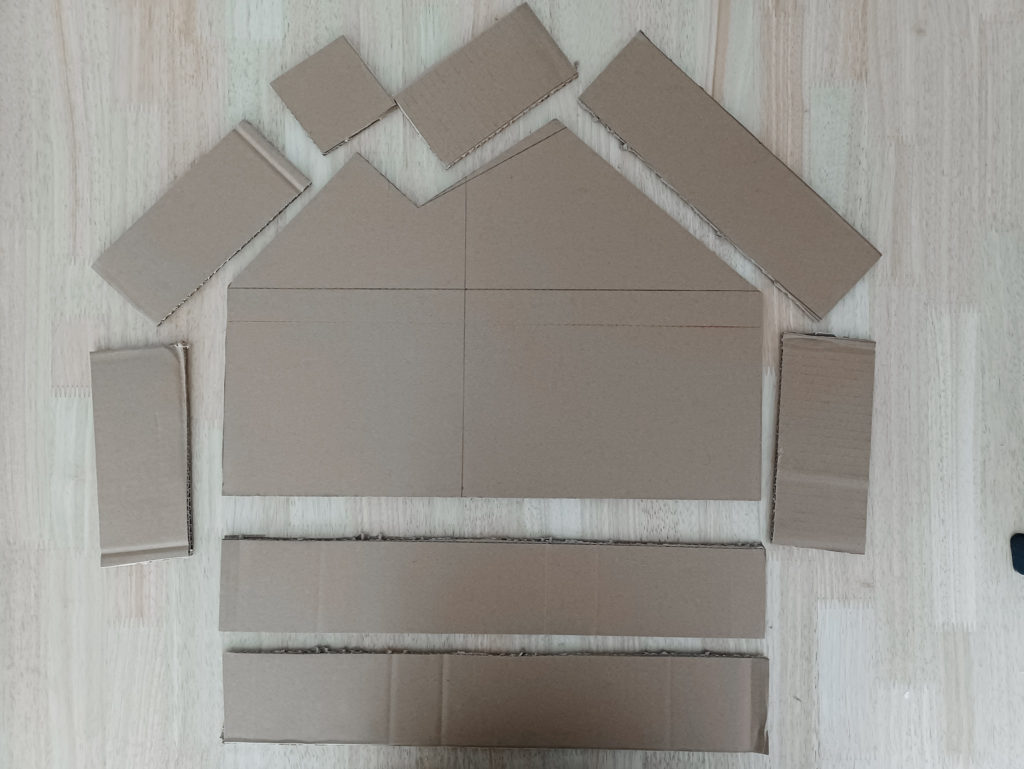
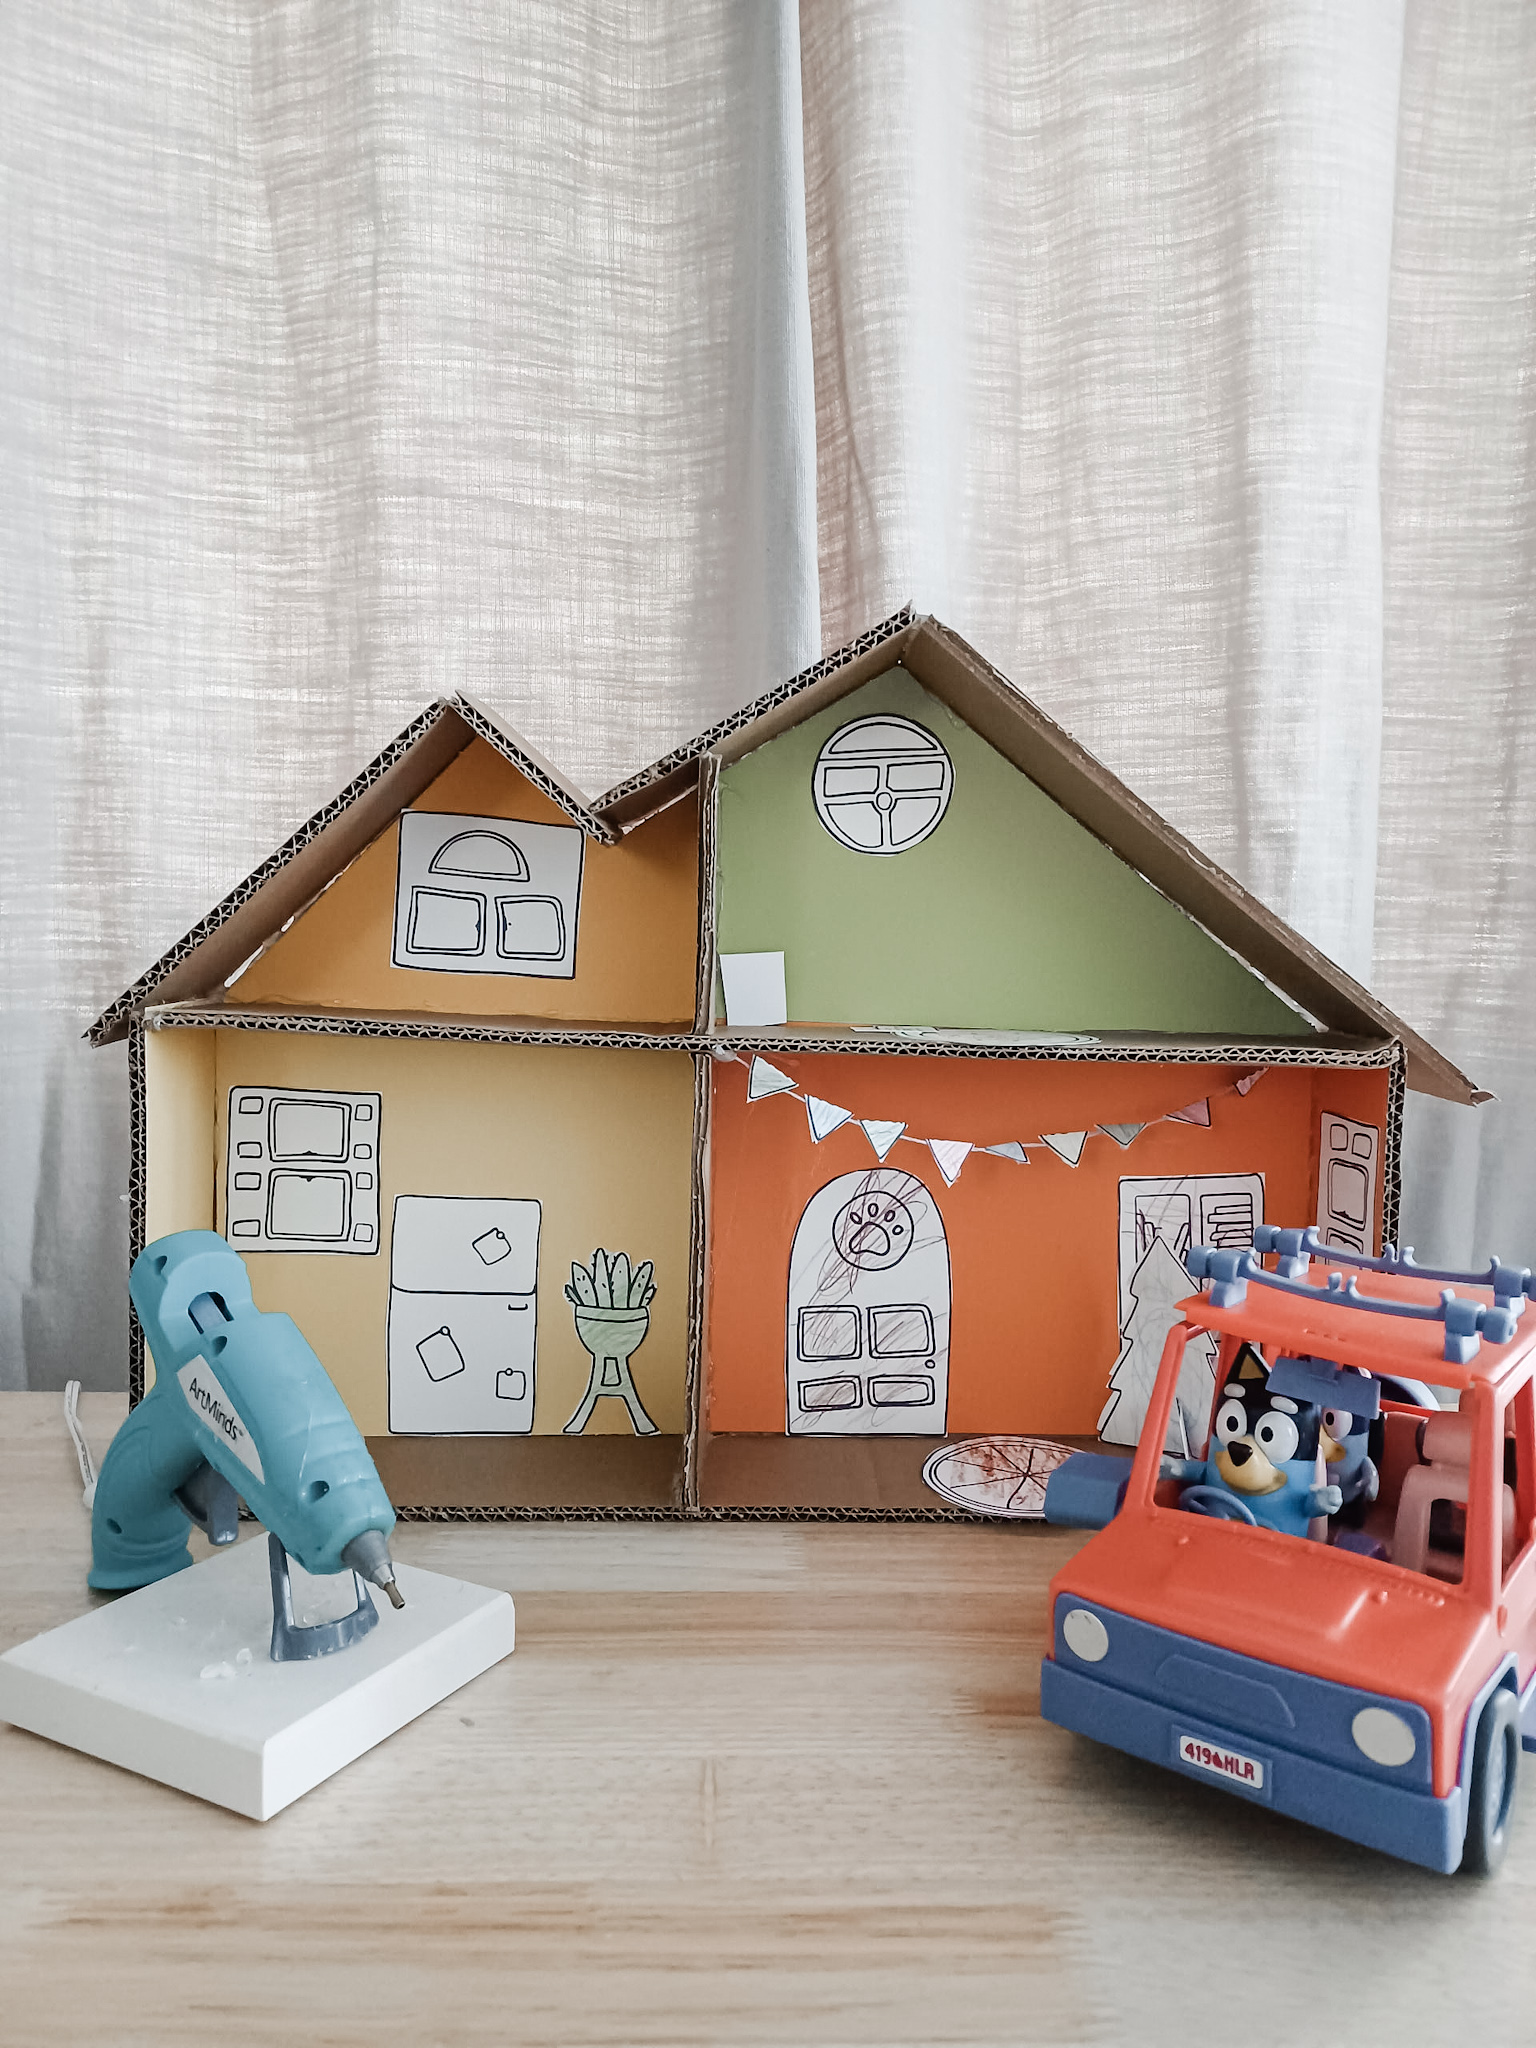
Since my house wasn't able to be that tall, I had to get creative with the roofline. I still managed to get the basic shape though. To connect the wall and second floor base, I cut a notch out of both pieces where they would connect so they could slide into each other. This meant less pieces having to be cut and glued together, as well as more stability for the overall structure. Before gluing everything together, I cut color cardstock paper that I had on hand to cover the back and side walls for each room. I didn't have any pinks or reds on hand, so the girls' room ended up with this nice coral color.
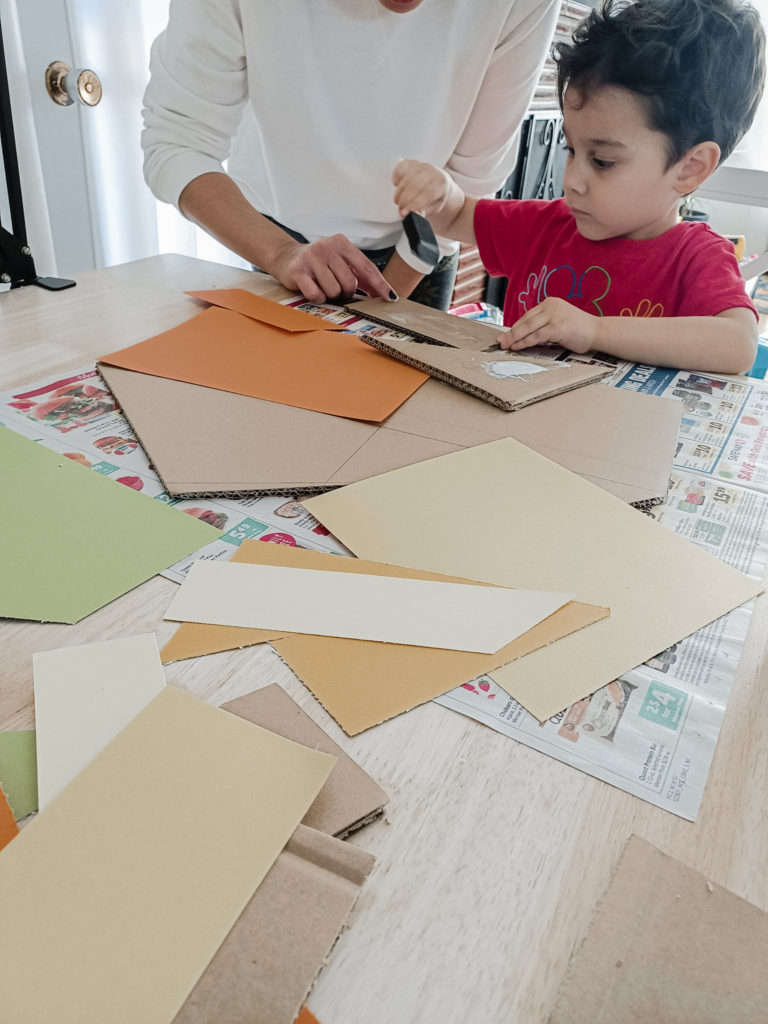
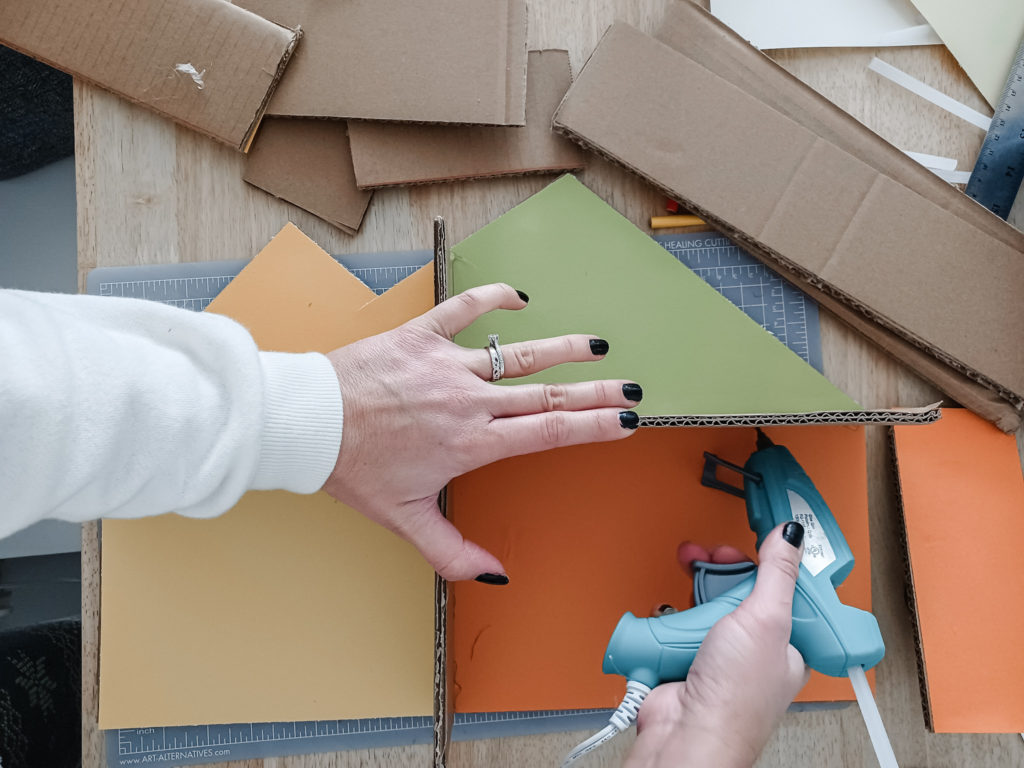
I used some white kid's glue and a sponge brush to glue the cardstock and house interiors down. Miles did most of the gluing, which helped when he started to get impatient with the project and coloring. As you can tell from the photos, most of the coloring didn't get finished, but I kinda dig it! Then, I put on Bluey on the TV to distract him while I used my hot glue gun to attach all the structural pieces. I placed the glue on the edge, and then went back on the inside corners and outside edges to make sure glue got into every crevice.
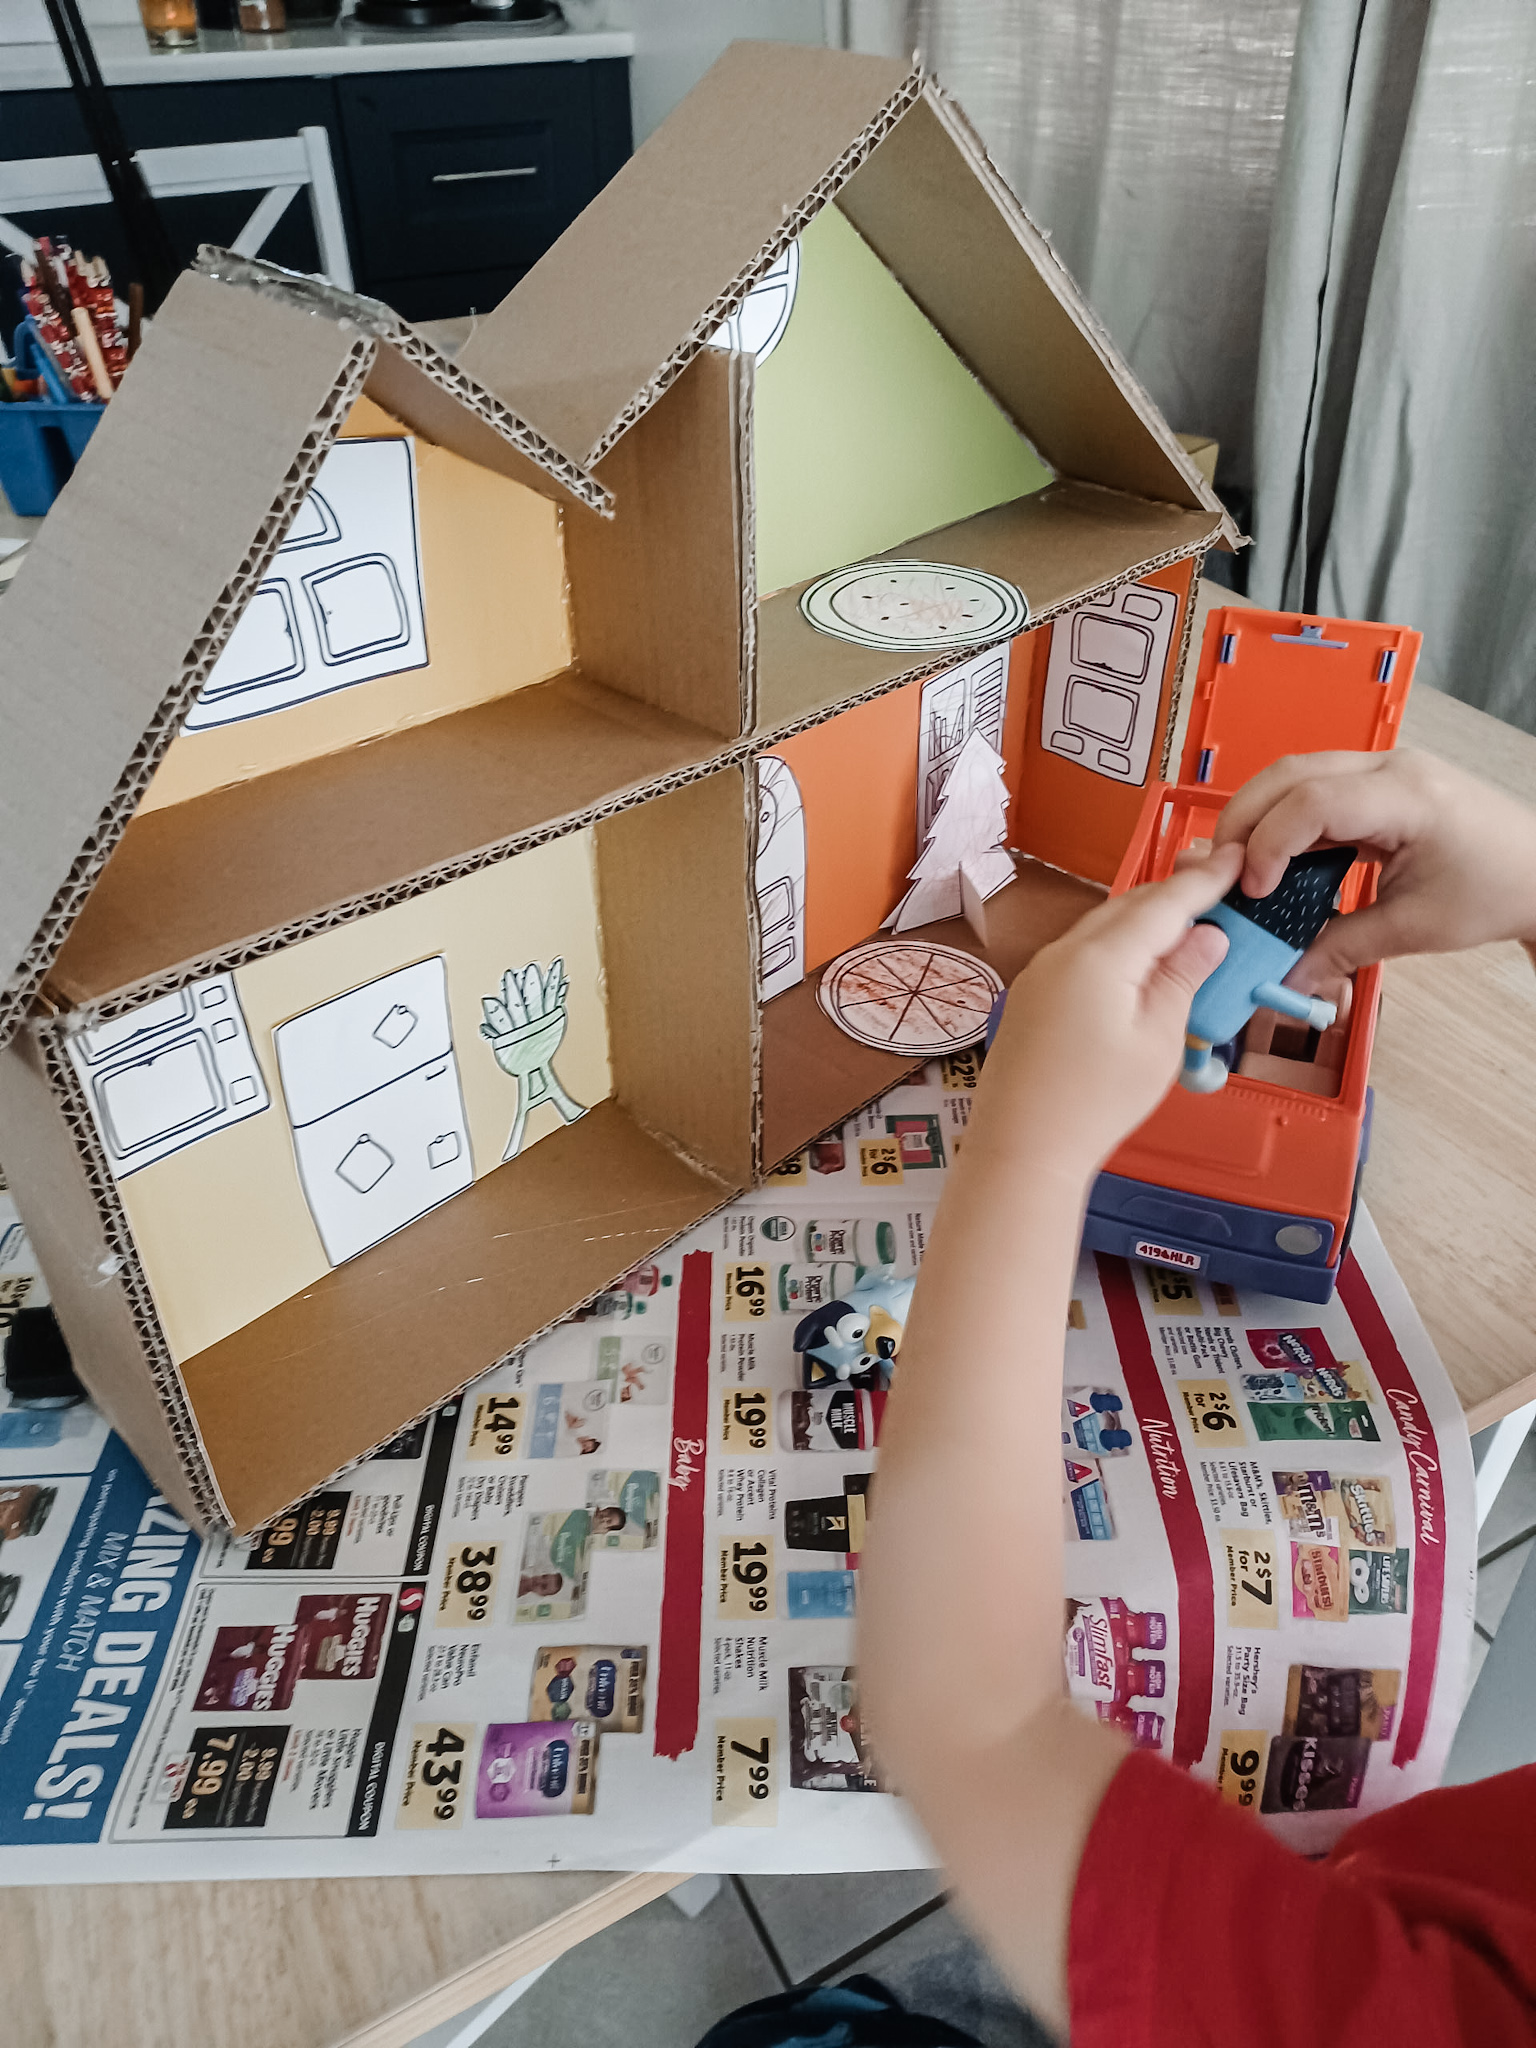
I cut all of the pieces of the interior and just started placing them where they would fit. Obviously, the windows are all not where they should be, but Miles didn't care about those parts at all. He couldn't wait for me to finish all the gluing before moving Dad, Blue and Bingo into the house (he sent Mum on a solo RV adventure). Since Christmas had already passed by the time we started working on the house, only the tree was set up and that meant some of the other Christmas decor didn't get placed. But we did make sure that the books and garland were cut and hang.
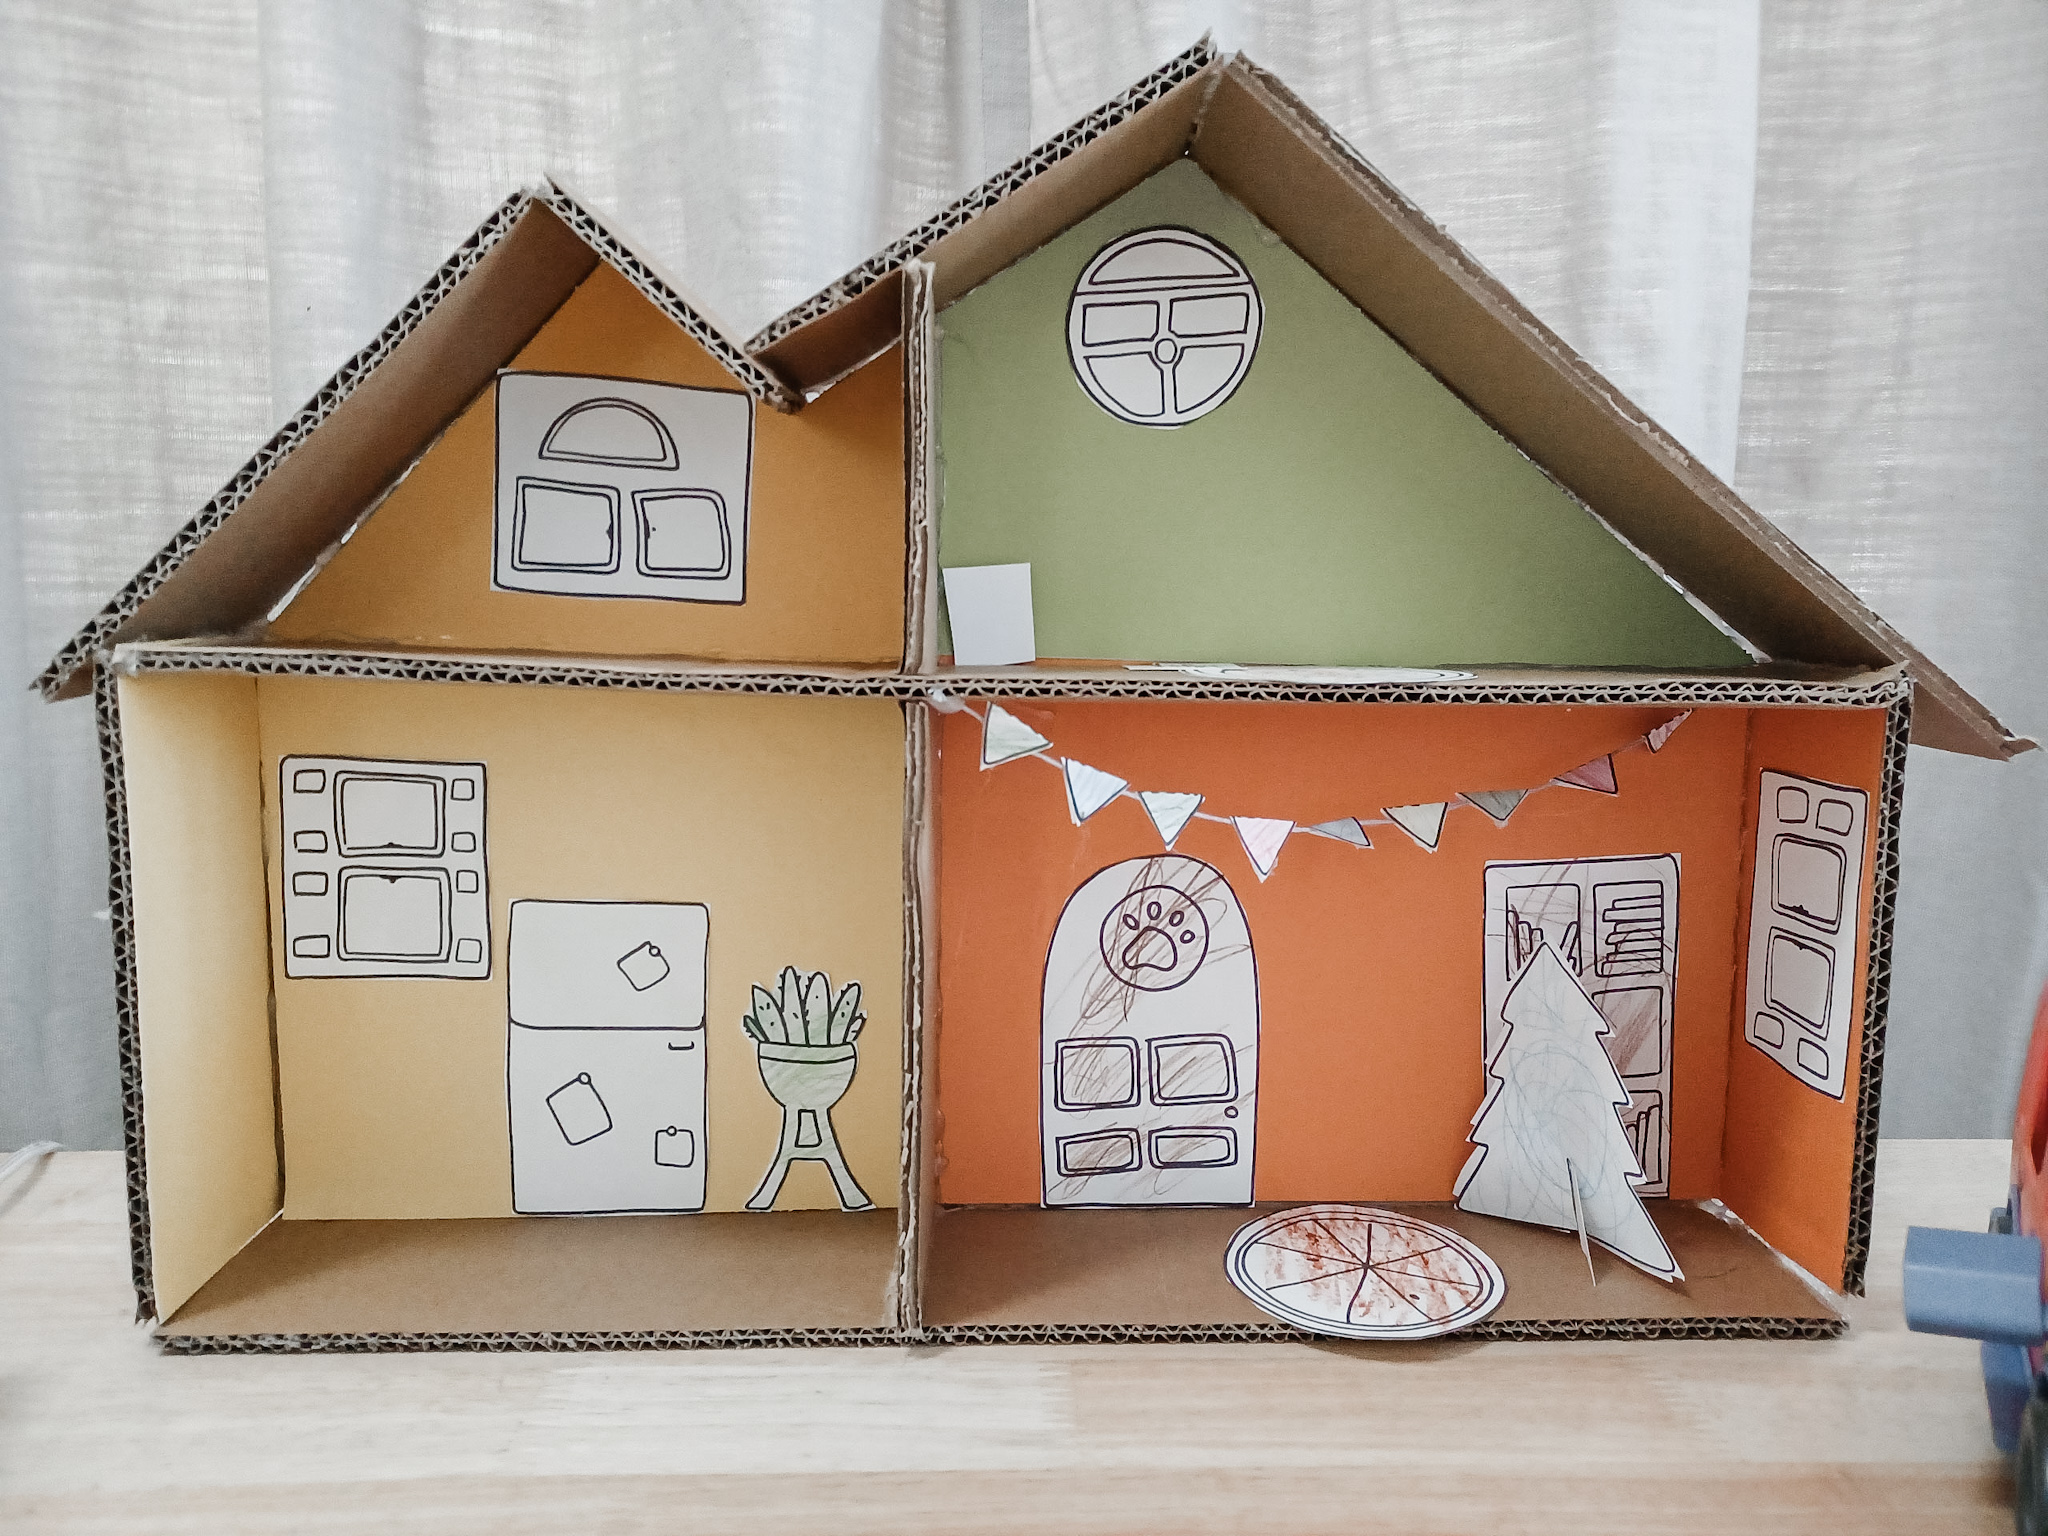
I'm really excited that this came out as good as it did! We made it over the course of an hour, and Mile's has been having so much fun with his figurines in and out of the house. I really want to go back into this project and build the furniture and accessories, so be sure to follow me on Instagram to see how those mini projects go! Luckily for us, this project cost us nothing but time, so it was even super budget-friendly.
How to Get Supplies If You Don't Have Any
- No Cardboard: visit your local retail and grocery stores or your local Buy Nothing Facebook group to see if they have any spare boxes the can give you for free. The thicker the better. If you can't get the thick stuff, double up the cardboard by gluing the layers together. This should help with stability.
- No Cardstock: cardstock sheets go for about 50-80 cents a piece, but you can also use tempera and acrylic paints to color the backgrounds. I really wanted to use up my old cardstock supply, which is why I used that and not paint.
- No Printer Paper and/or Printer: the PDF of the interior pieces makes for a really easy guide on how to do the interior design. Grab a black marker and just freehand the interior onto the house directly!
- No Glue: this is a tough one, because assembly kind of needs it, but follow me on this one. If you have packing tape, you can skip the glue. However, clear tape you use for presents won't cut it here. Dollar Tree now sells GLUE GUNS, as well as glue sticks. Run, don't walk. For $3, you can grab a glue gun, hot glue sticks, and regular glue, and that can be all you spend for this project. This would also set you up for future projects.
How Will You Decorate Your House?
The possibilities are endless with this project! You can get as accurate or personalized, as elaborate or simple with this DIY Bluey cardboard house as you and your little ones want to. If I had to do it all over again, I honestly don't think I would change a thing. Not everything has to be a perfect replica of the original. Teaching kids to stretch their creative arms to fly as wild as they want to is the BEST part of doing arts & crafts as a kid! I can't wait to see what new and fun things we add to the house over time!


This is absolutely adorable! We love Bluey.