

Upcycling with Baking Powder and Paint
The trend of adding things to paint to create a textured look has elevated over the past few months. I've seen everything from baking powder to sand to dirt and more! And to be honest I'm absolutely here for it because this means that there are less things hitting landfills and more things being given a fresh new life.
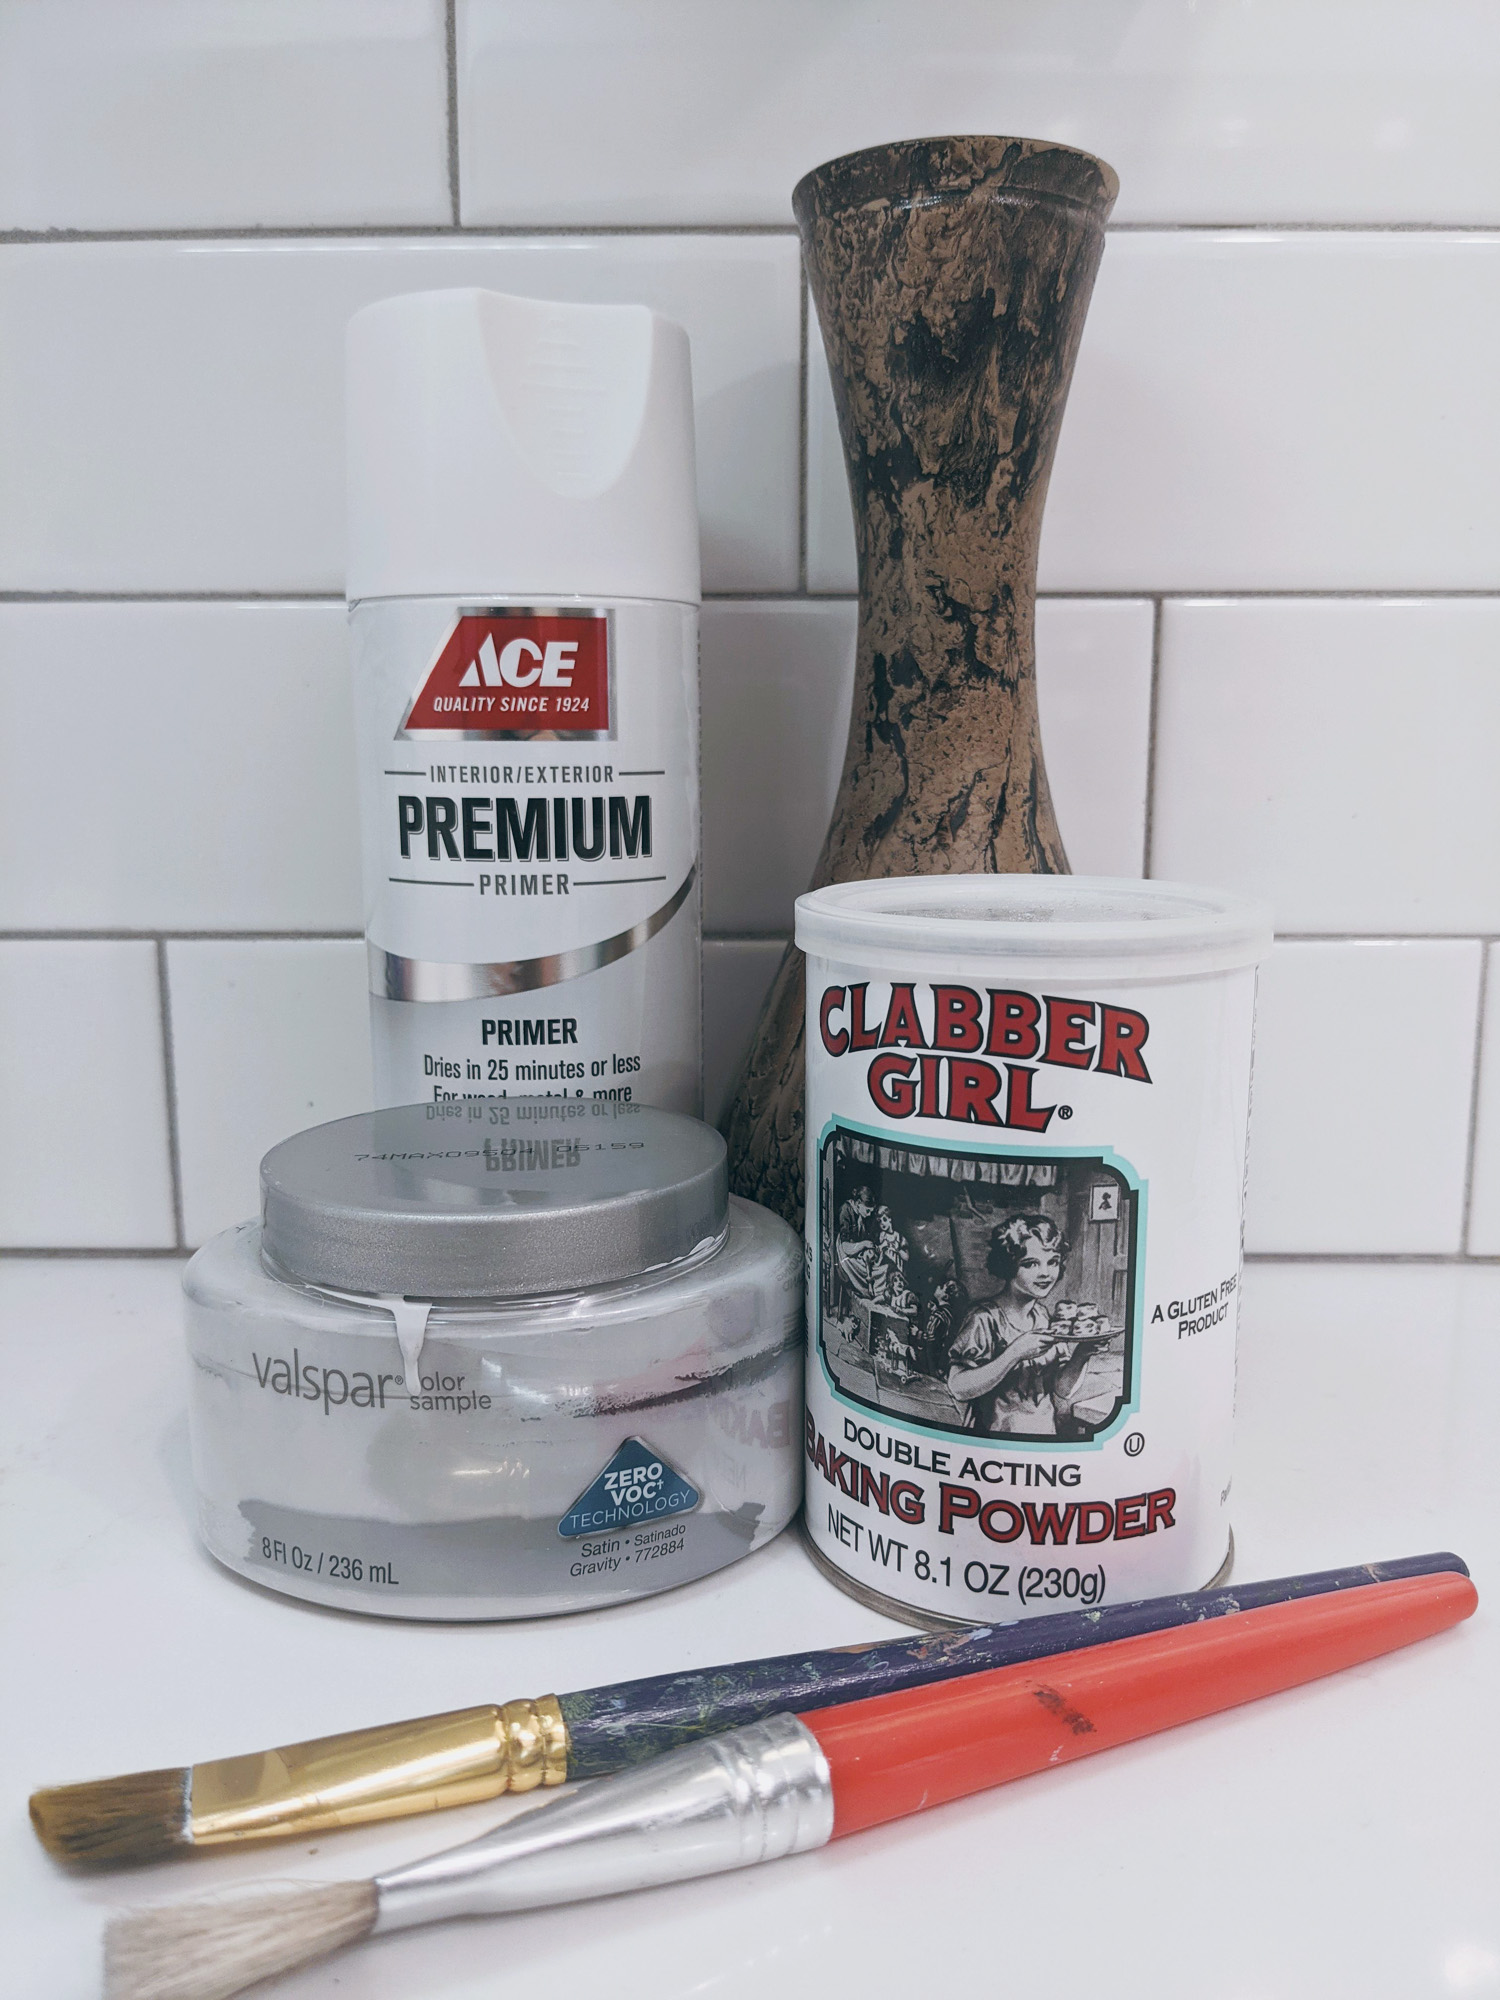
I recently was able to hit up my local thrift shop for the first time in over a year and found this vase for $5. It was exactly what I needed for my mantel. While the design of it is not up my alley, the shape of it and the size of it was something that I absolutely fell in love with. I was SO excited to finally try out this craft trend!
Because there was a bit of gloss to this vase, I started by adding a primer to help even out the surface and make sure that my paint mixture will stick.


Take some paint and your additive of choice -- I'll be using baking powder for my craft today. You want to make sure you add your baking powder slowly to your paint using only a little bit. Once you get it consistency that's kind of like a very thick pancake mix you want to stop adding baking powder. Your key here will be to try to remember the ratio in which you mixed because you can't mix all of the paint mixture you need for the full project. It will dry up a lot faster because of the baking powder so only mix what you need when you need it.
You'll want to use a bristle brush to add the paint mixture to your surface. Make sure you have enough to fully coat the entire space. If there is some of the primer paint peeking through, don't worry too much about it.
Once the first coat has dried all the way through, go ahead and mix together your second coat of paint mixture. Apply it on over the first layer. Make sure that the first coat is fully dry otherwise you'll end up dragging the bottom coat as you apply the second.
Once the second coat has for you dried accessorize and style on a shelf!


I really love how this piece came out! I was a little concerned at the beginning because it was textured in the opposite direction that I was planning on painting in and I worried that it was going to come through, but you can't see the original texturing at all. I highly recommend this process for anybody who's trying to get that textured ceramic look using things you already have!
Would you ever try adding something to paint for a textured look? What sort of upcycles would you like to see in the future? Let me know in the comments below. If you try out this technique, be sure to share your post below or tag me on Instagram (@withlovejoey)!


1 comment