
Upcycled 3-Tier Centerpiece
I love upcycling pieces using unexpected items. For example, the top of this three-tier tray was actually the lid to a new organic cotton tampon package that I bought recently from target. The top was such a decent quality that it sparked in the idea of building a three-tier tray with it.
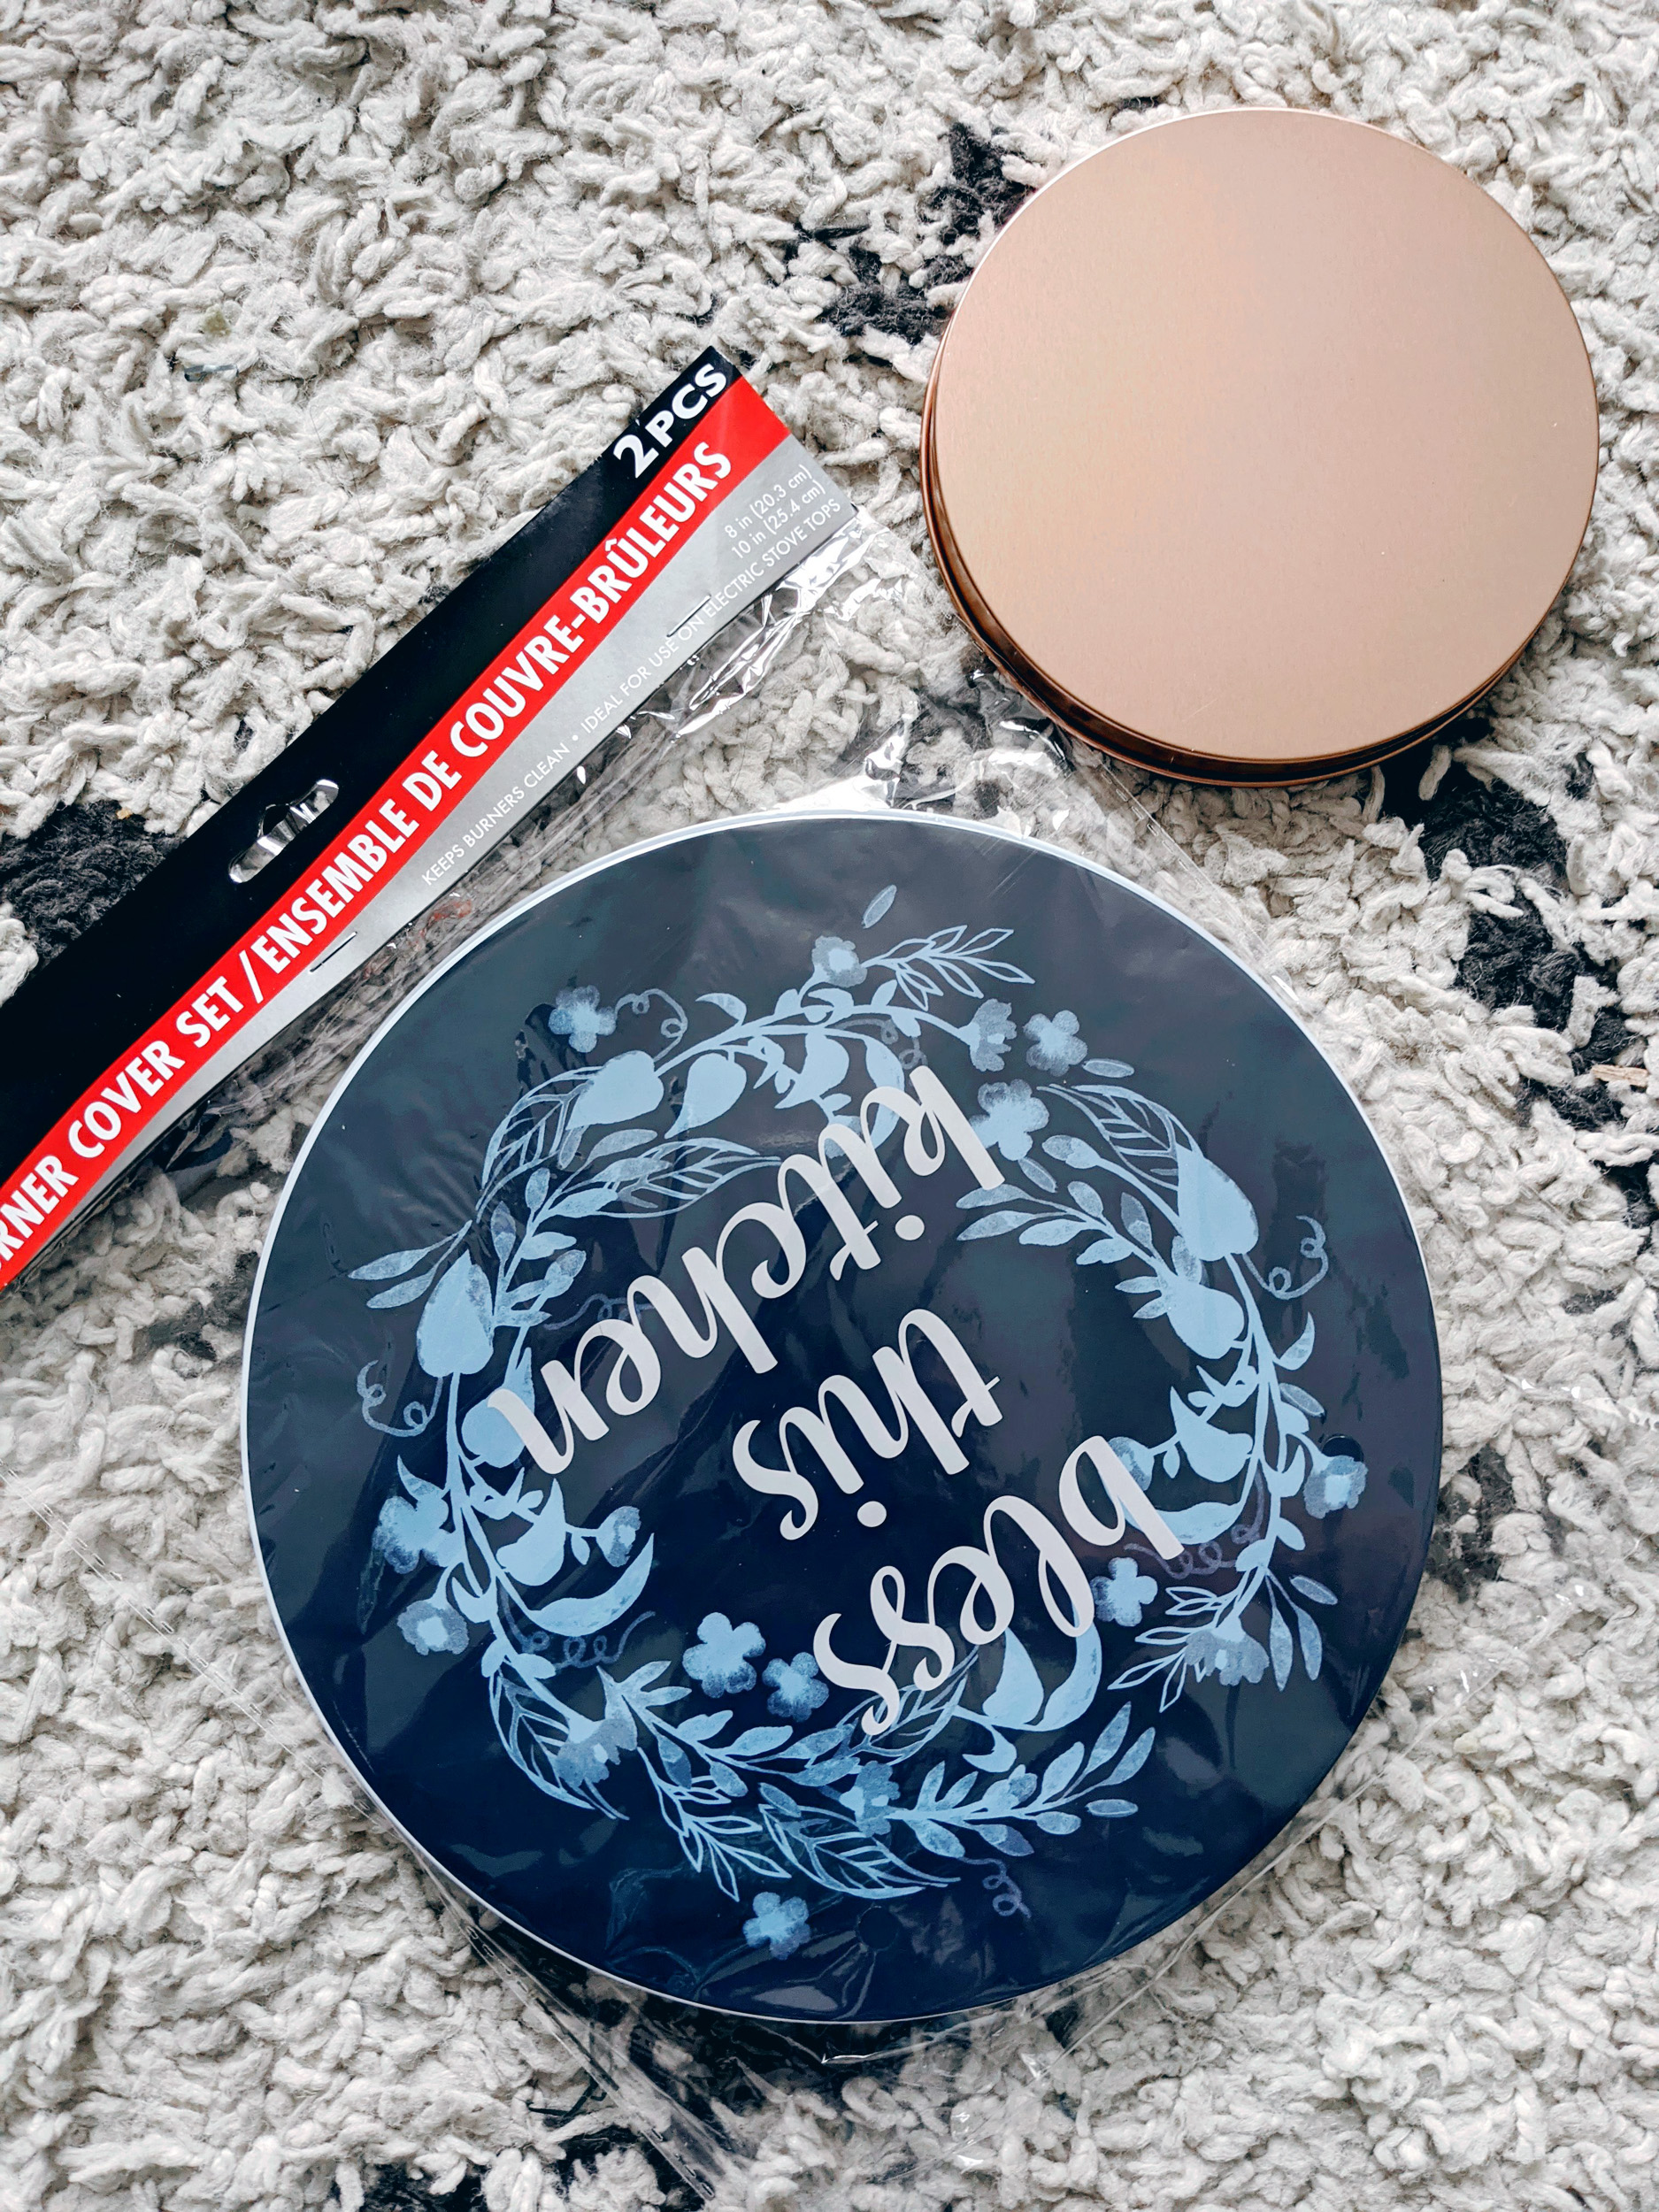
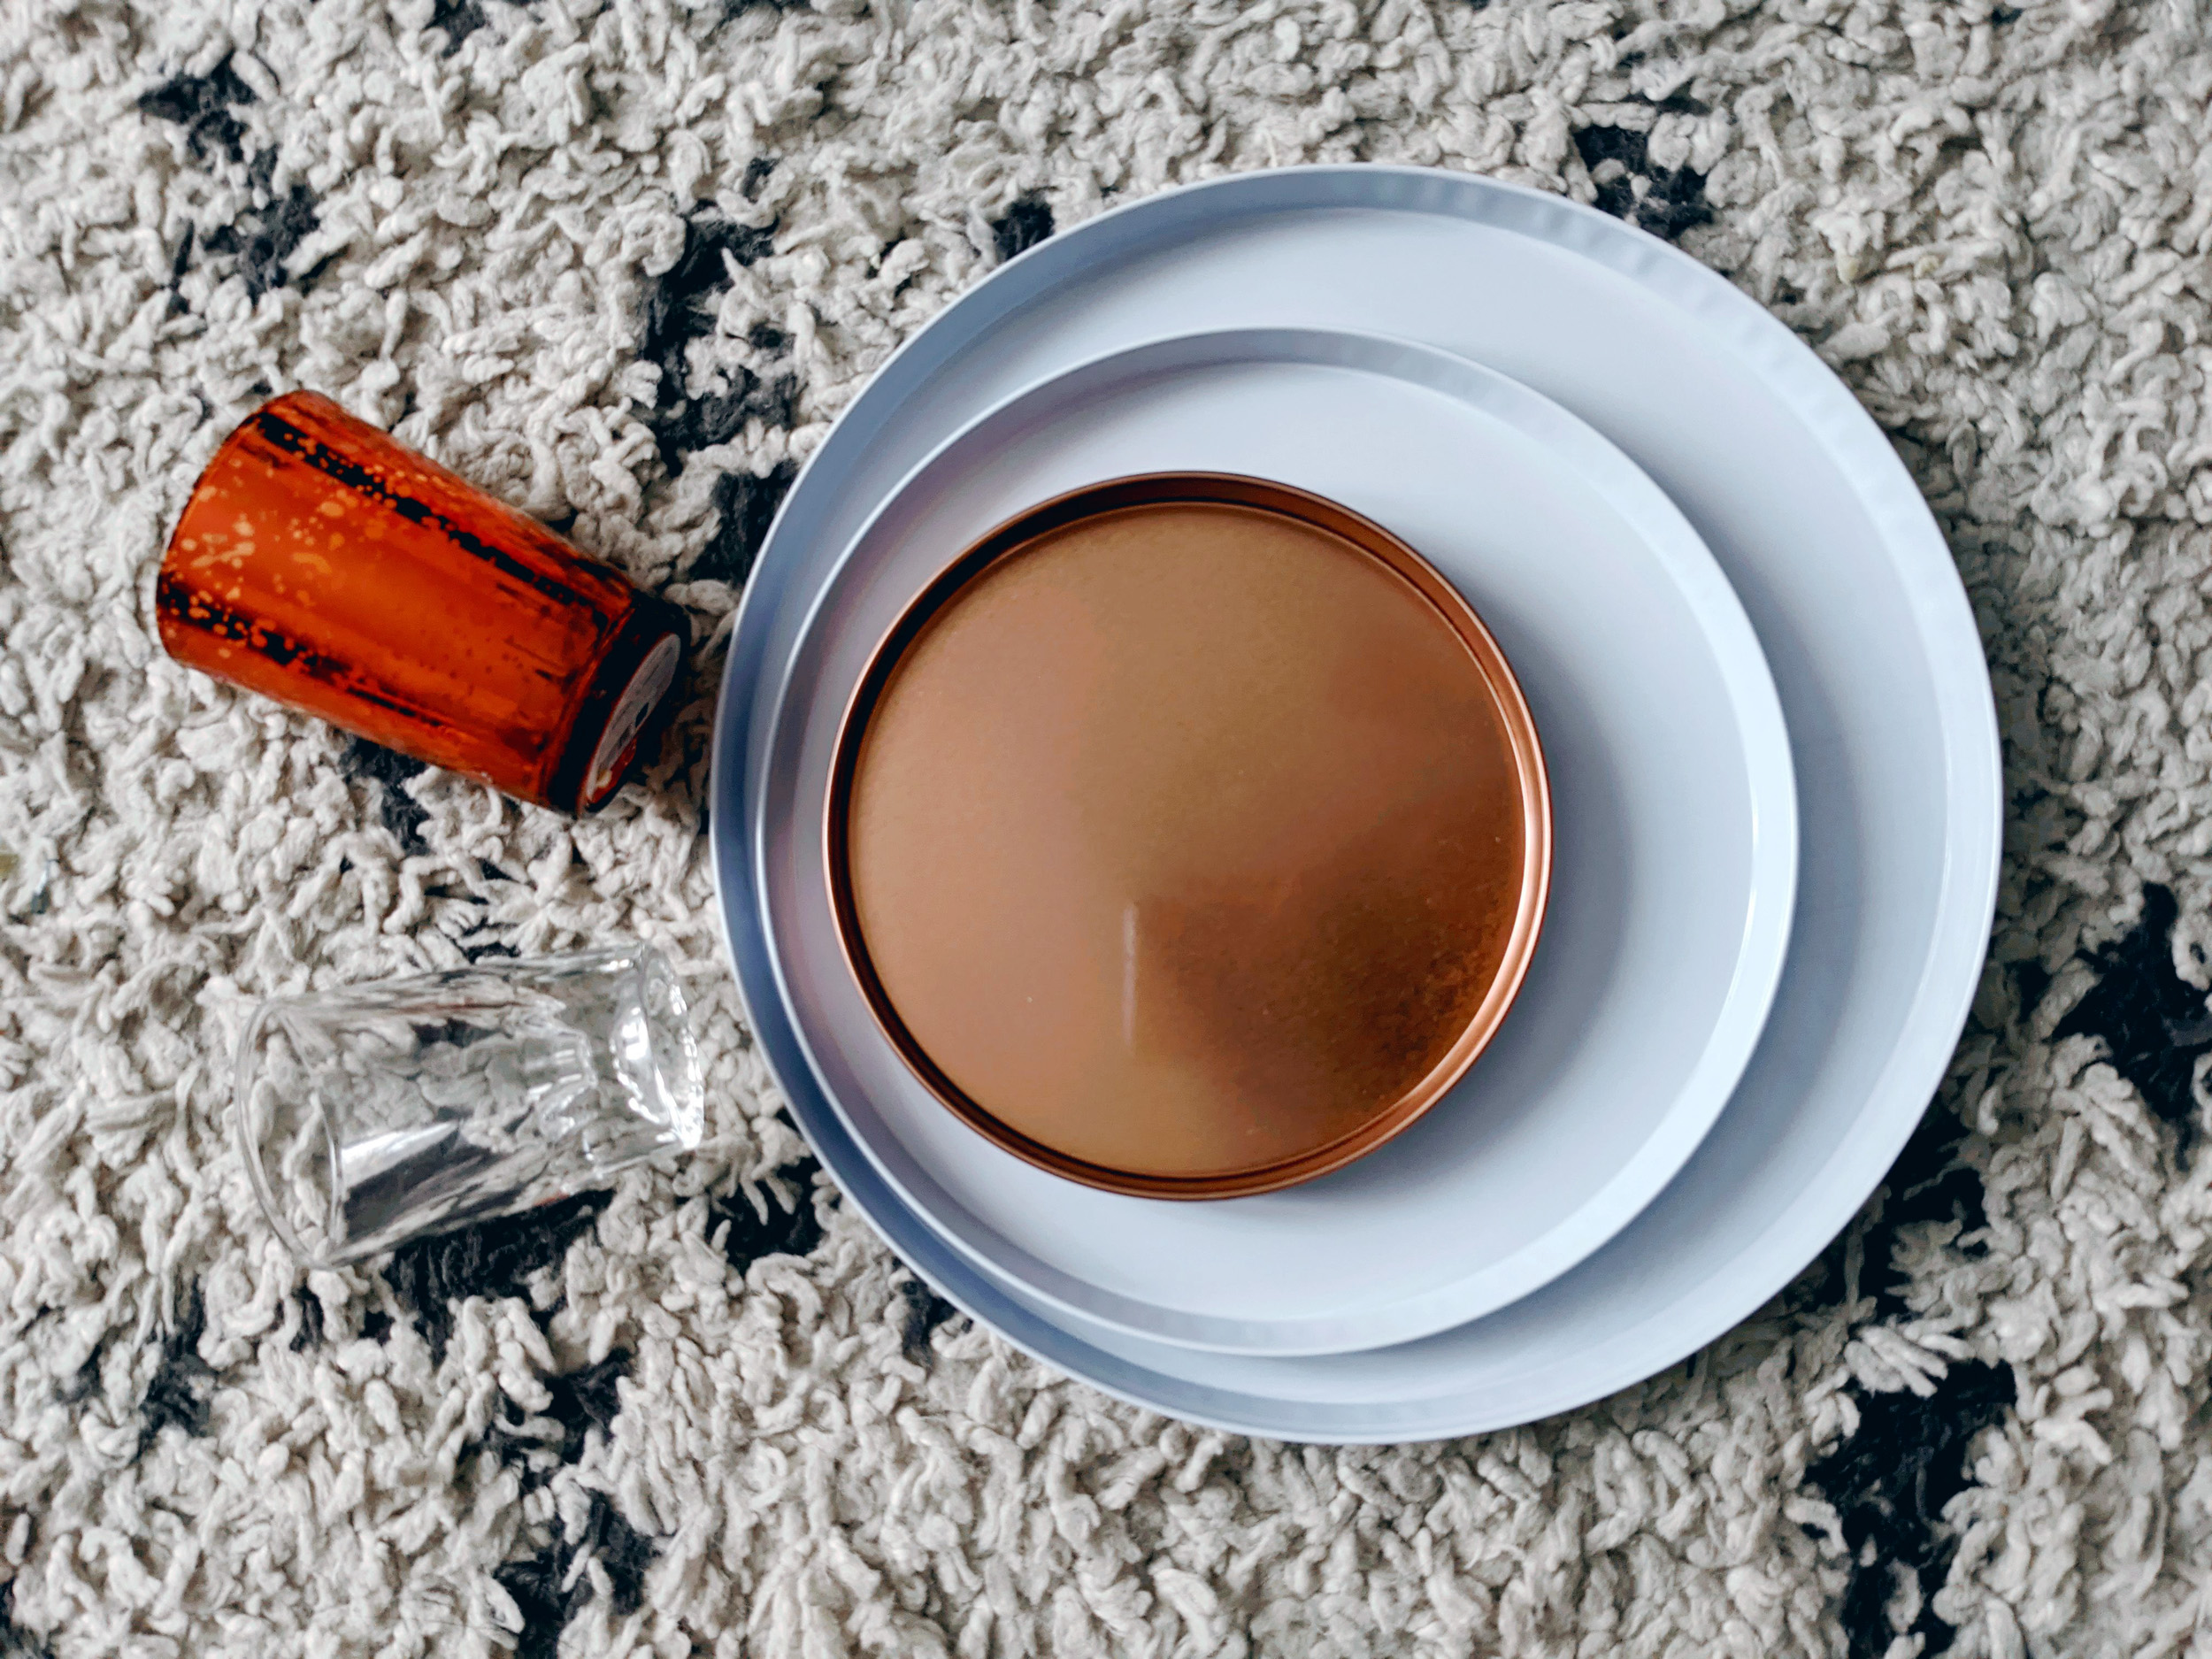
For this project, I grabbed a two pack of stove top covers from the Dollar Tree that came in two different sizes that happened to be larger than the top I was using, as well as an old candle and an unused shot glass. With a little bit of hot glue and a lot of bit of spray paint I was able to assemble this super easy craft in one day.
Now, not everybody finds themselves in the market for organic tampons, but that doesn't mean you still can't use this tutorial to create a two-tiered center piece!
Whether you're making a two-tiered or a three-tiered Trey centerpiece, the steps are still the same. Find the center most spot on each tray and trace the circle of the shot glass that you're using so you know where to apply the glue. I was a little off-centered with my top tier but unless you're really looking at it you can't tell the difference. The nice thing is that because they will always be decoationsr on this tray, you'll never have to worry about anyone being able to see the mistakes, so it's a very forgiving craft.
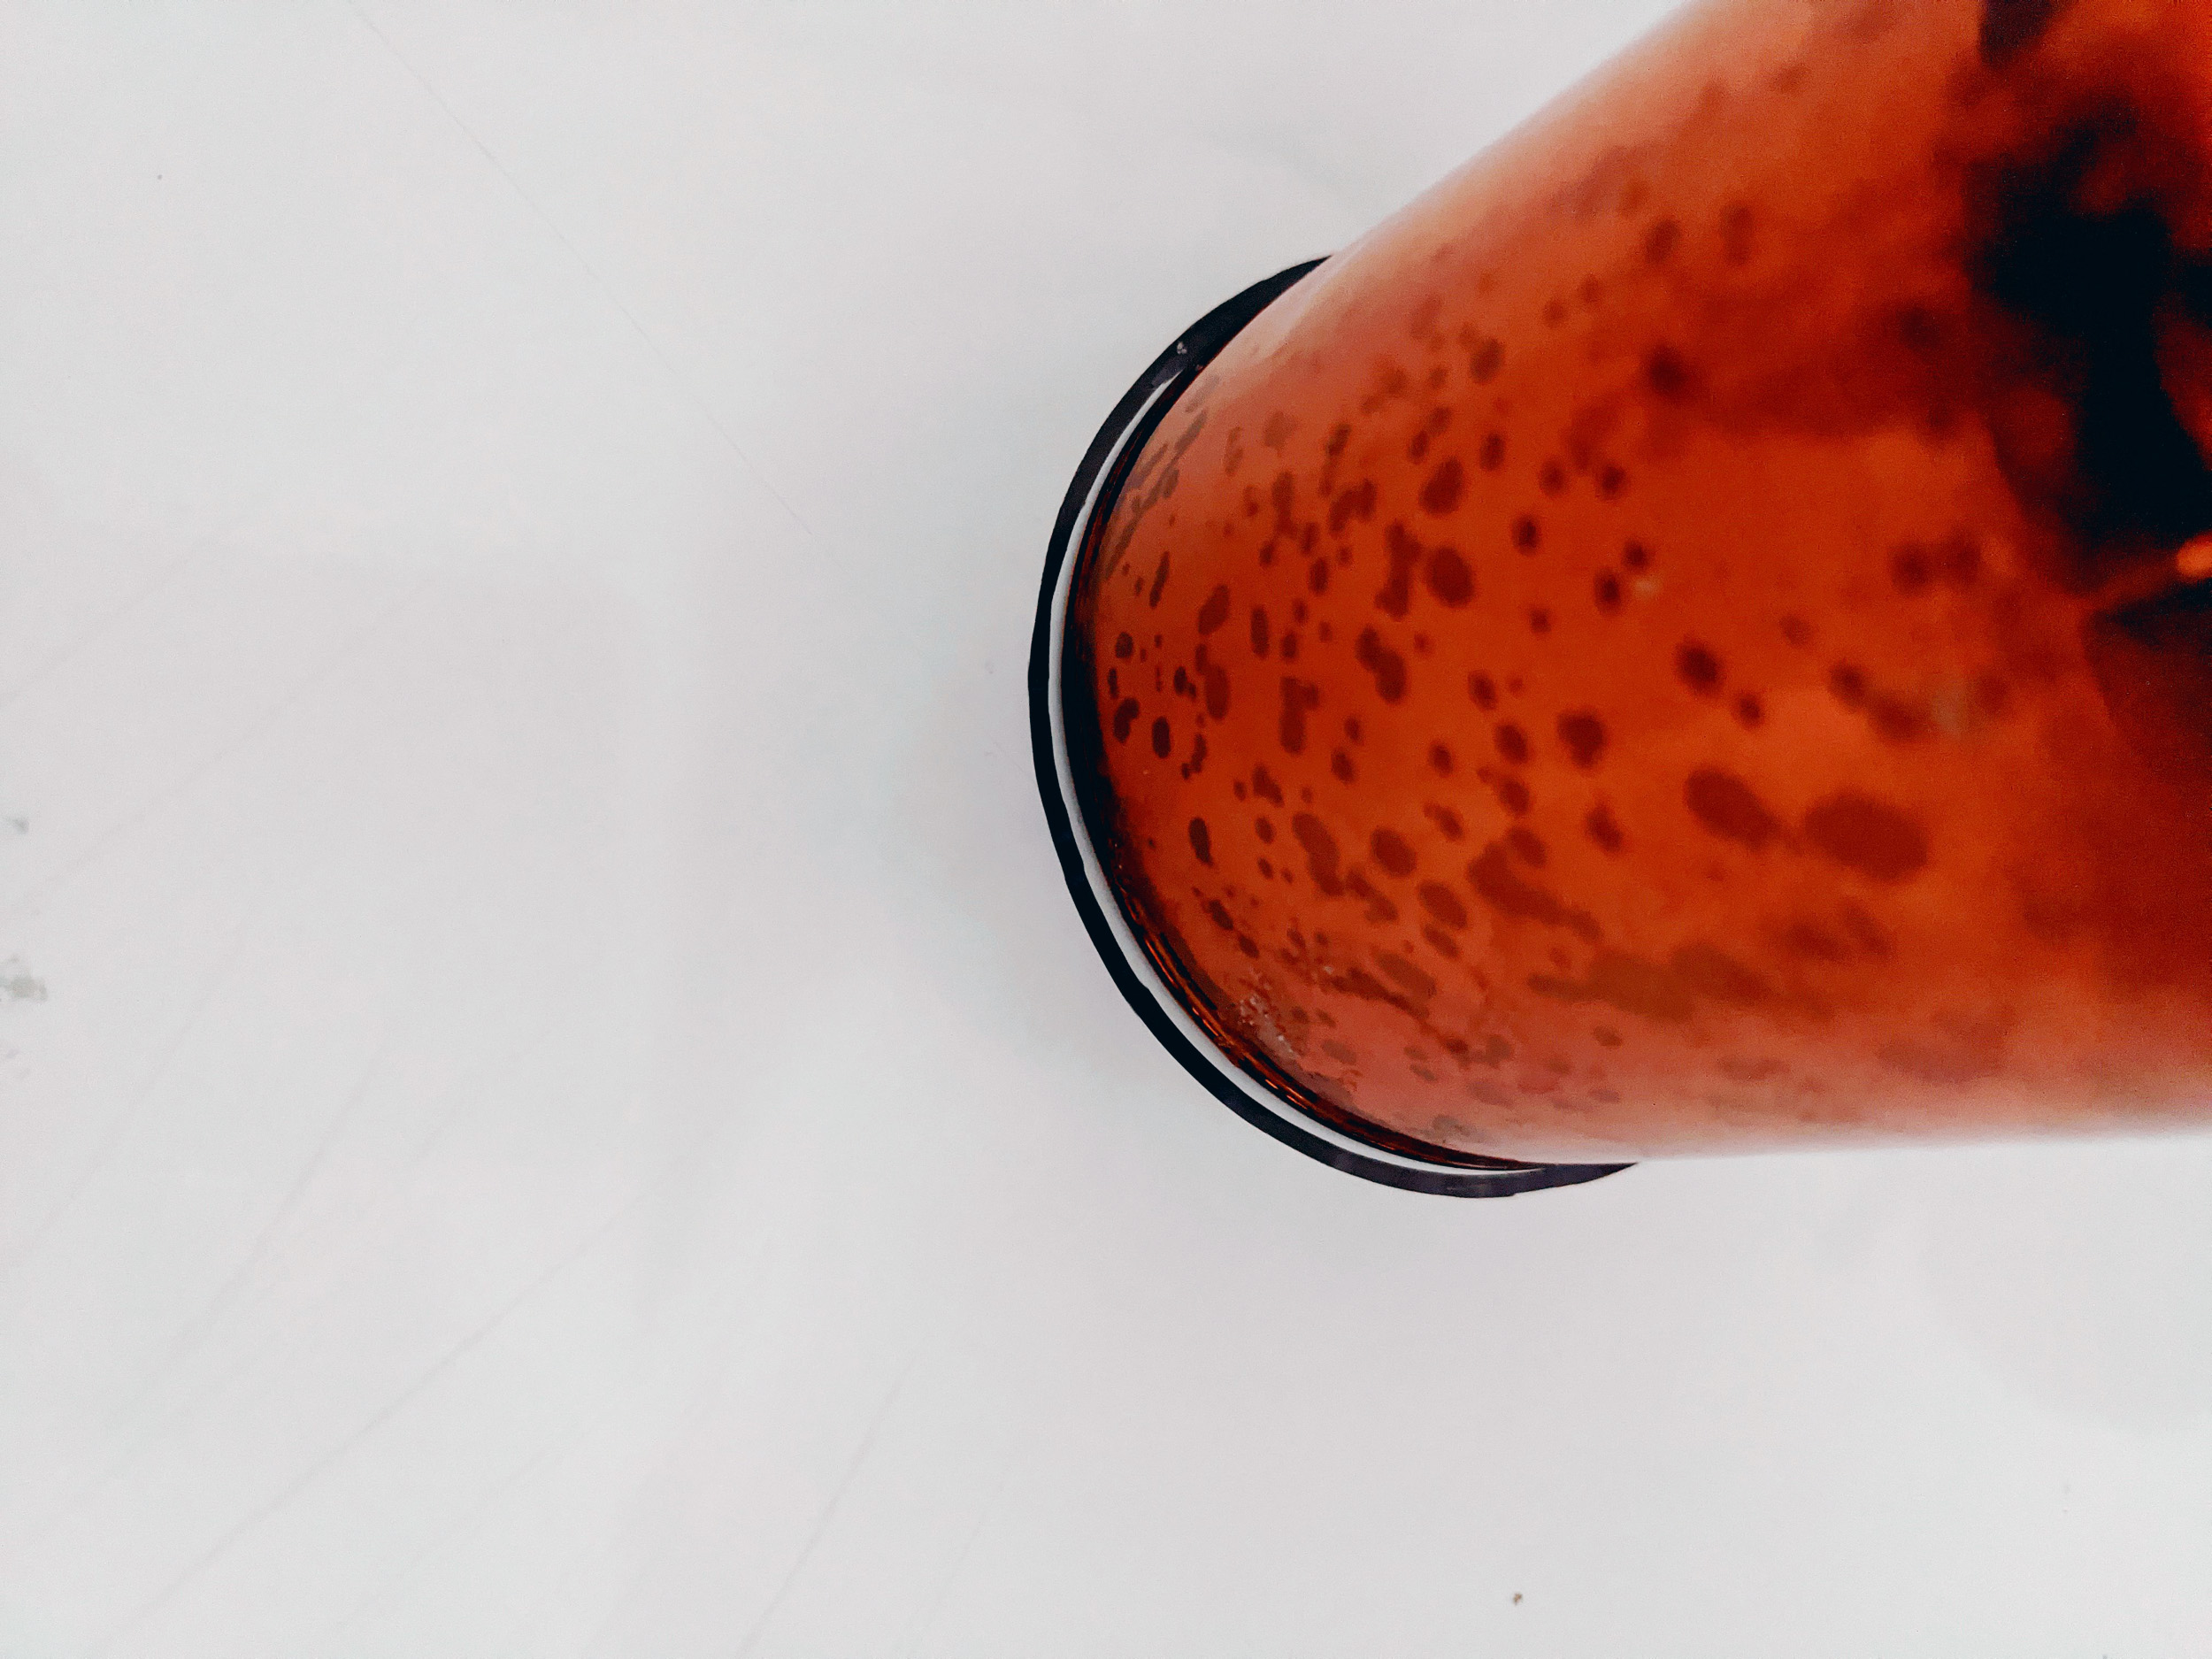
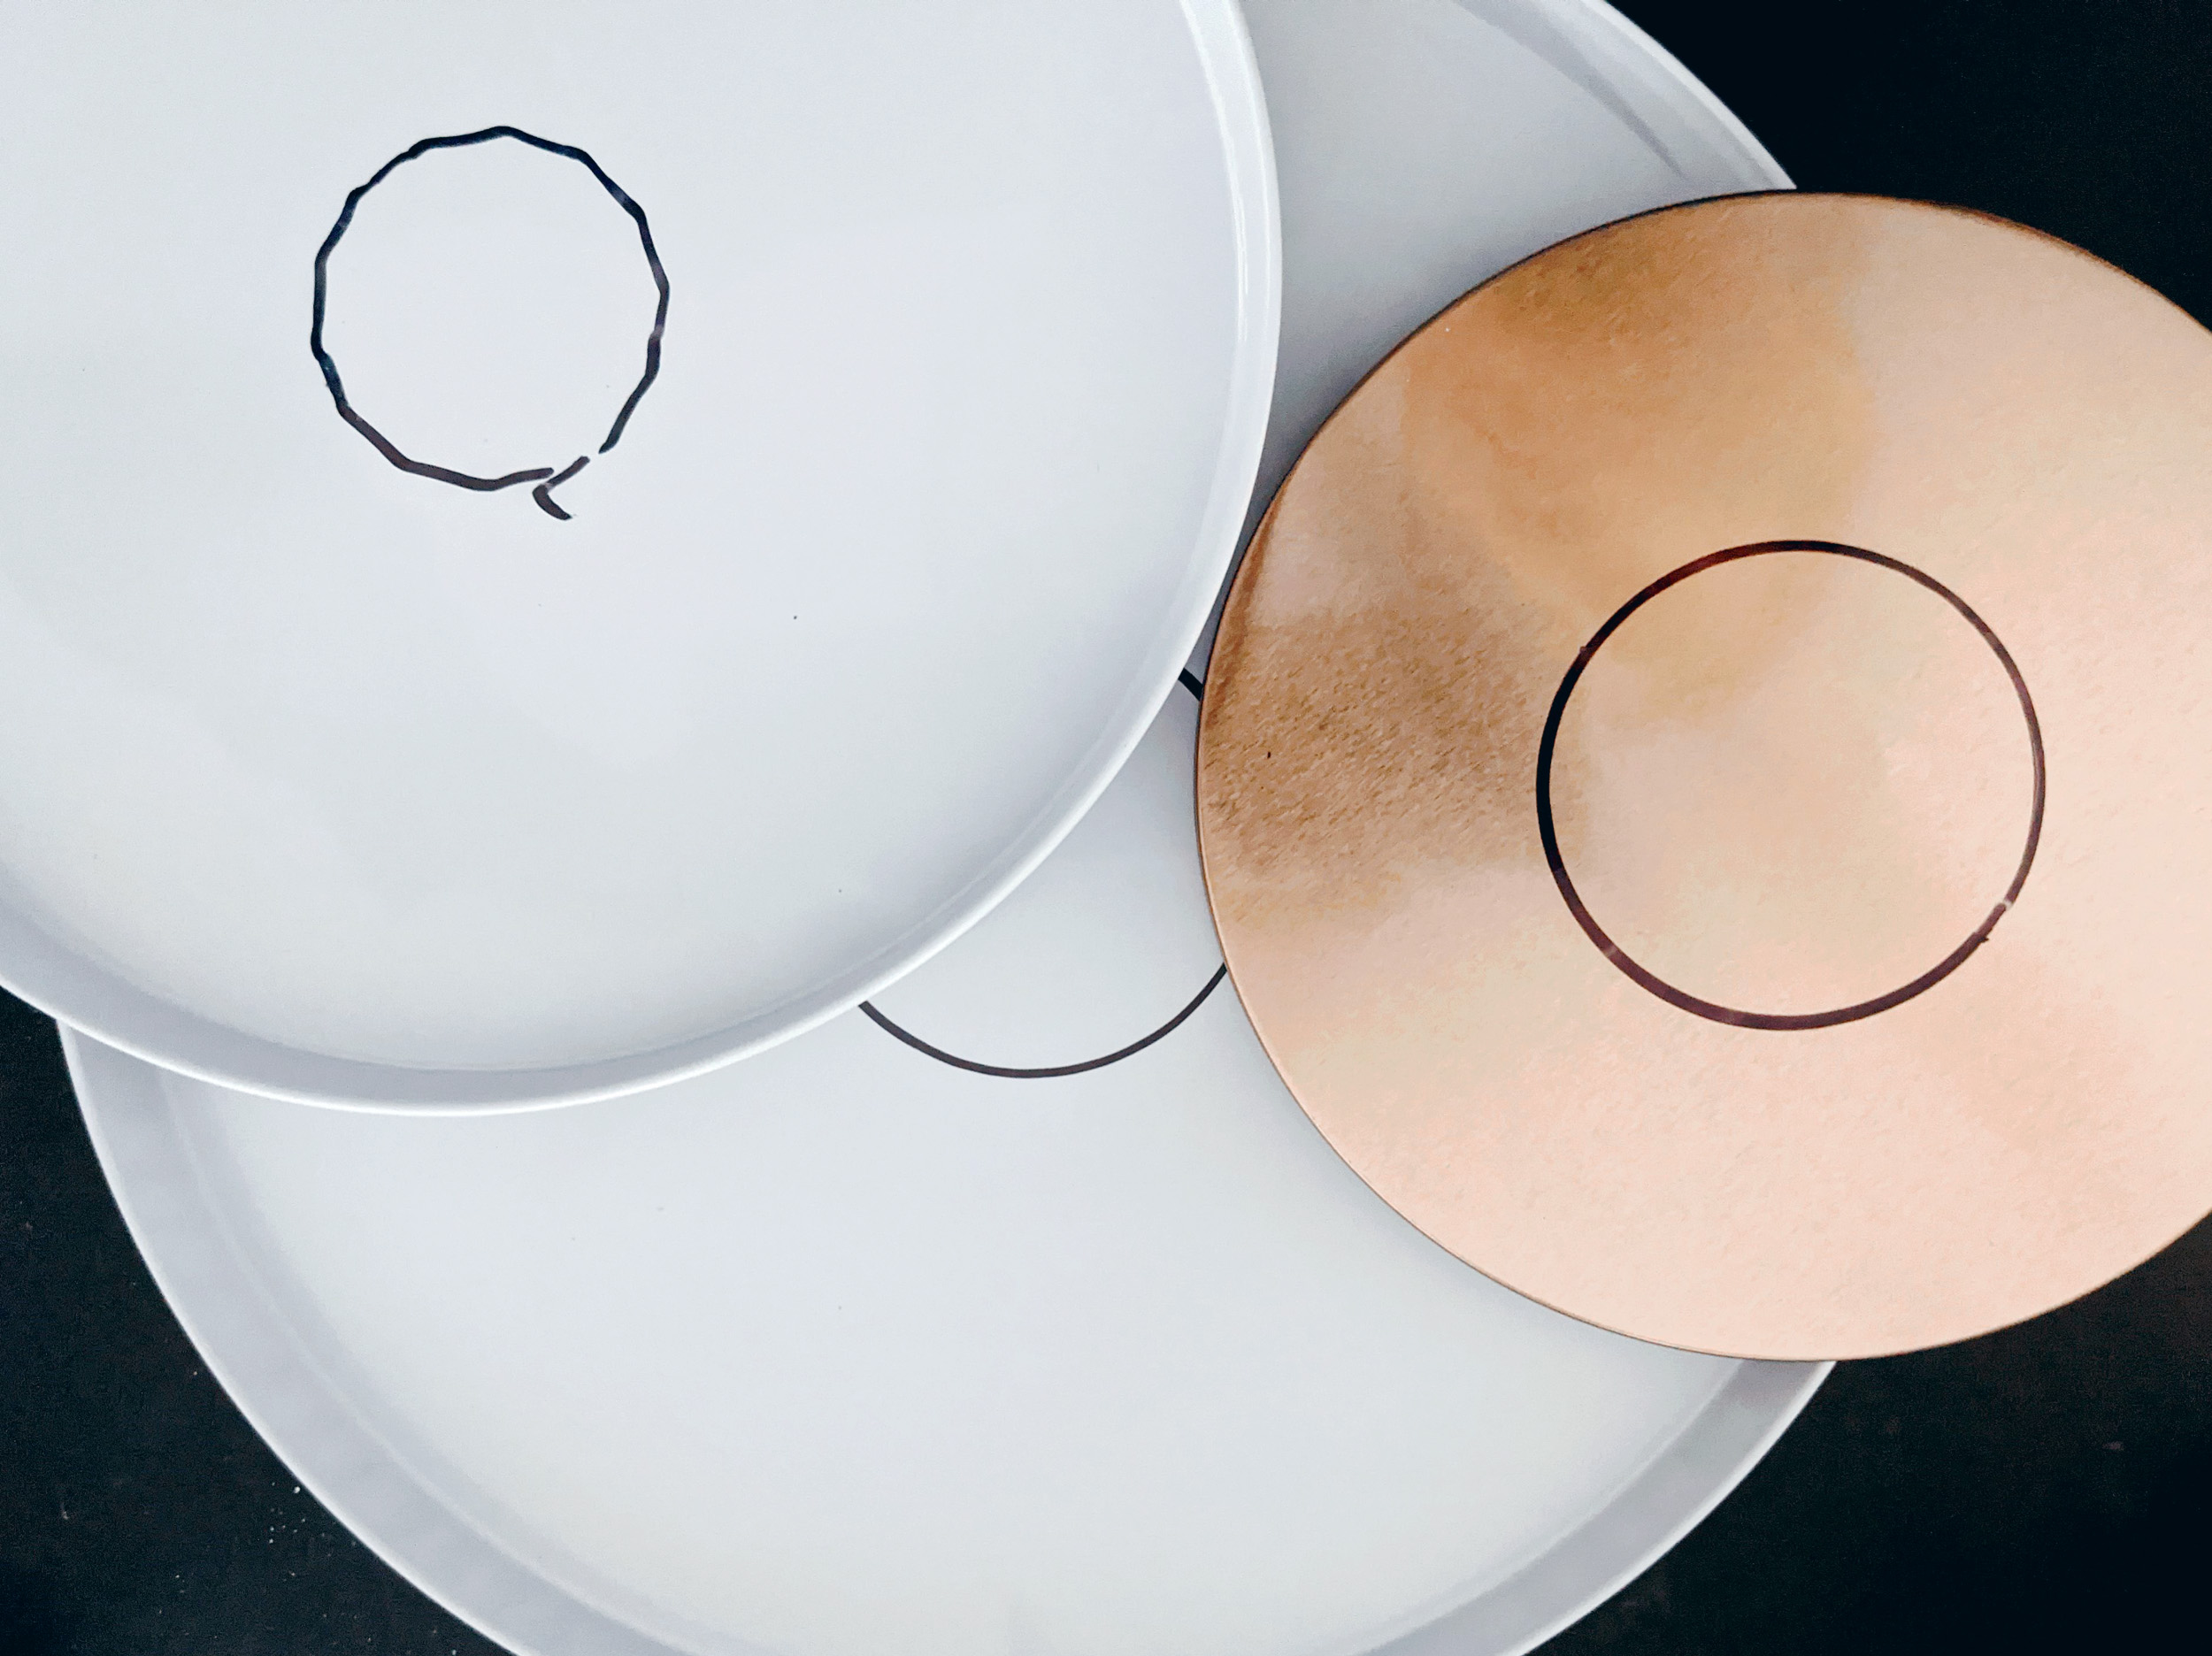

Line the circle with a bit of glue and place down your shot glass. For my three tier tray, the bottom side uses a candle rather than a shot glass. Since the top is wider than the bottom on both the shot glass and the candle I placed the widest part on the biggest tray and use the narrowest part for the middle section. I did the exact opposite for the middle and top tiers.
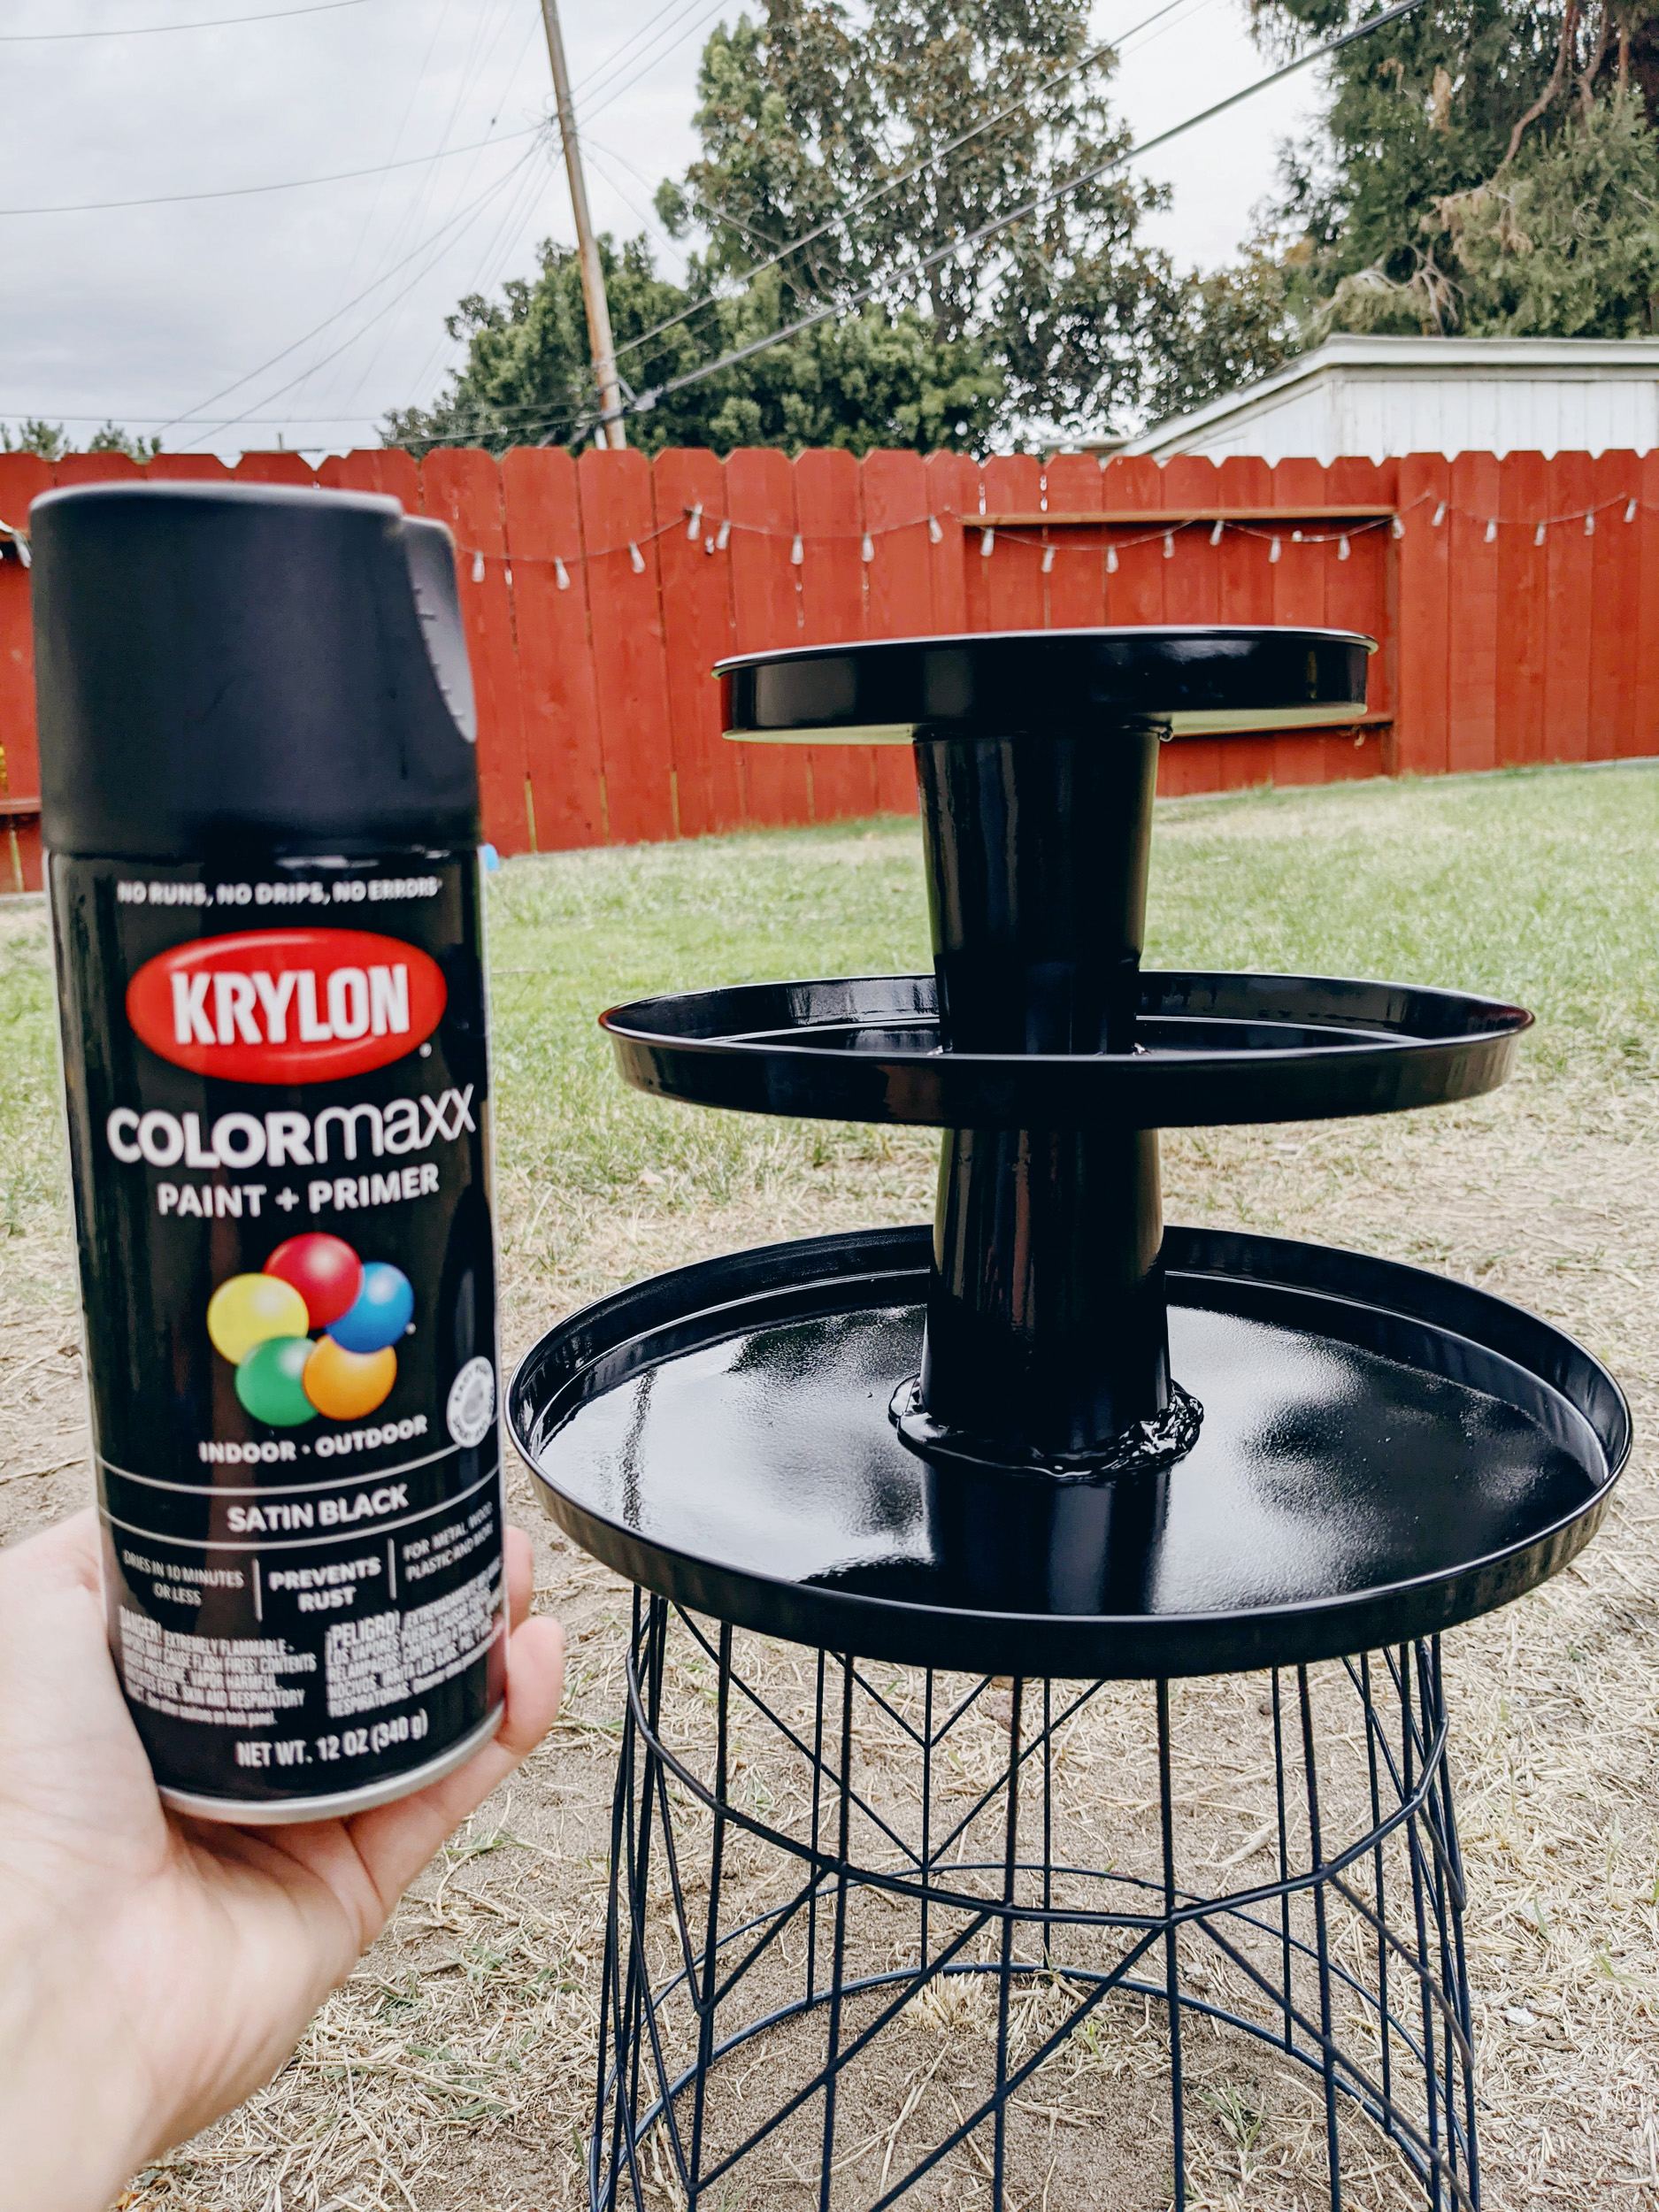
What's the glue has dried, spray paint and a well ventilated area. I love using Krylon paint and primer in semi-gloss black. On some items it can come up pretty matte, and others will give just the tiniest of shine. This piece took me two coats to completely cover.
Please keep in mind that once you cover with spray paint you won't be able to use it for food. I have heard that some people will coat in a top coat sealant, but that's not something I feel I can comfortably advise somebody else to do. This three-tier centerpiece as far better for decorative purposes only.
This project is definitelybeginner level, and took me only a few hours to complete, with only about maybe an hour's worth of actual project work. If you find yourself having an afternoon free to assemble and paint then this is the perfect project for you! If you want more height inbetween your layers, I suggest grabbing some candlestick holders and using them instead of shot glasses or votive holders. Another thing to keep in mind that you're not going to be able to place very heavy items on this tray because the metal is so thin. Great as a budget-friendly decor holder!
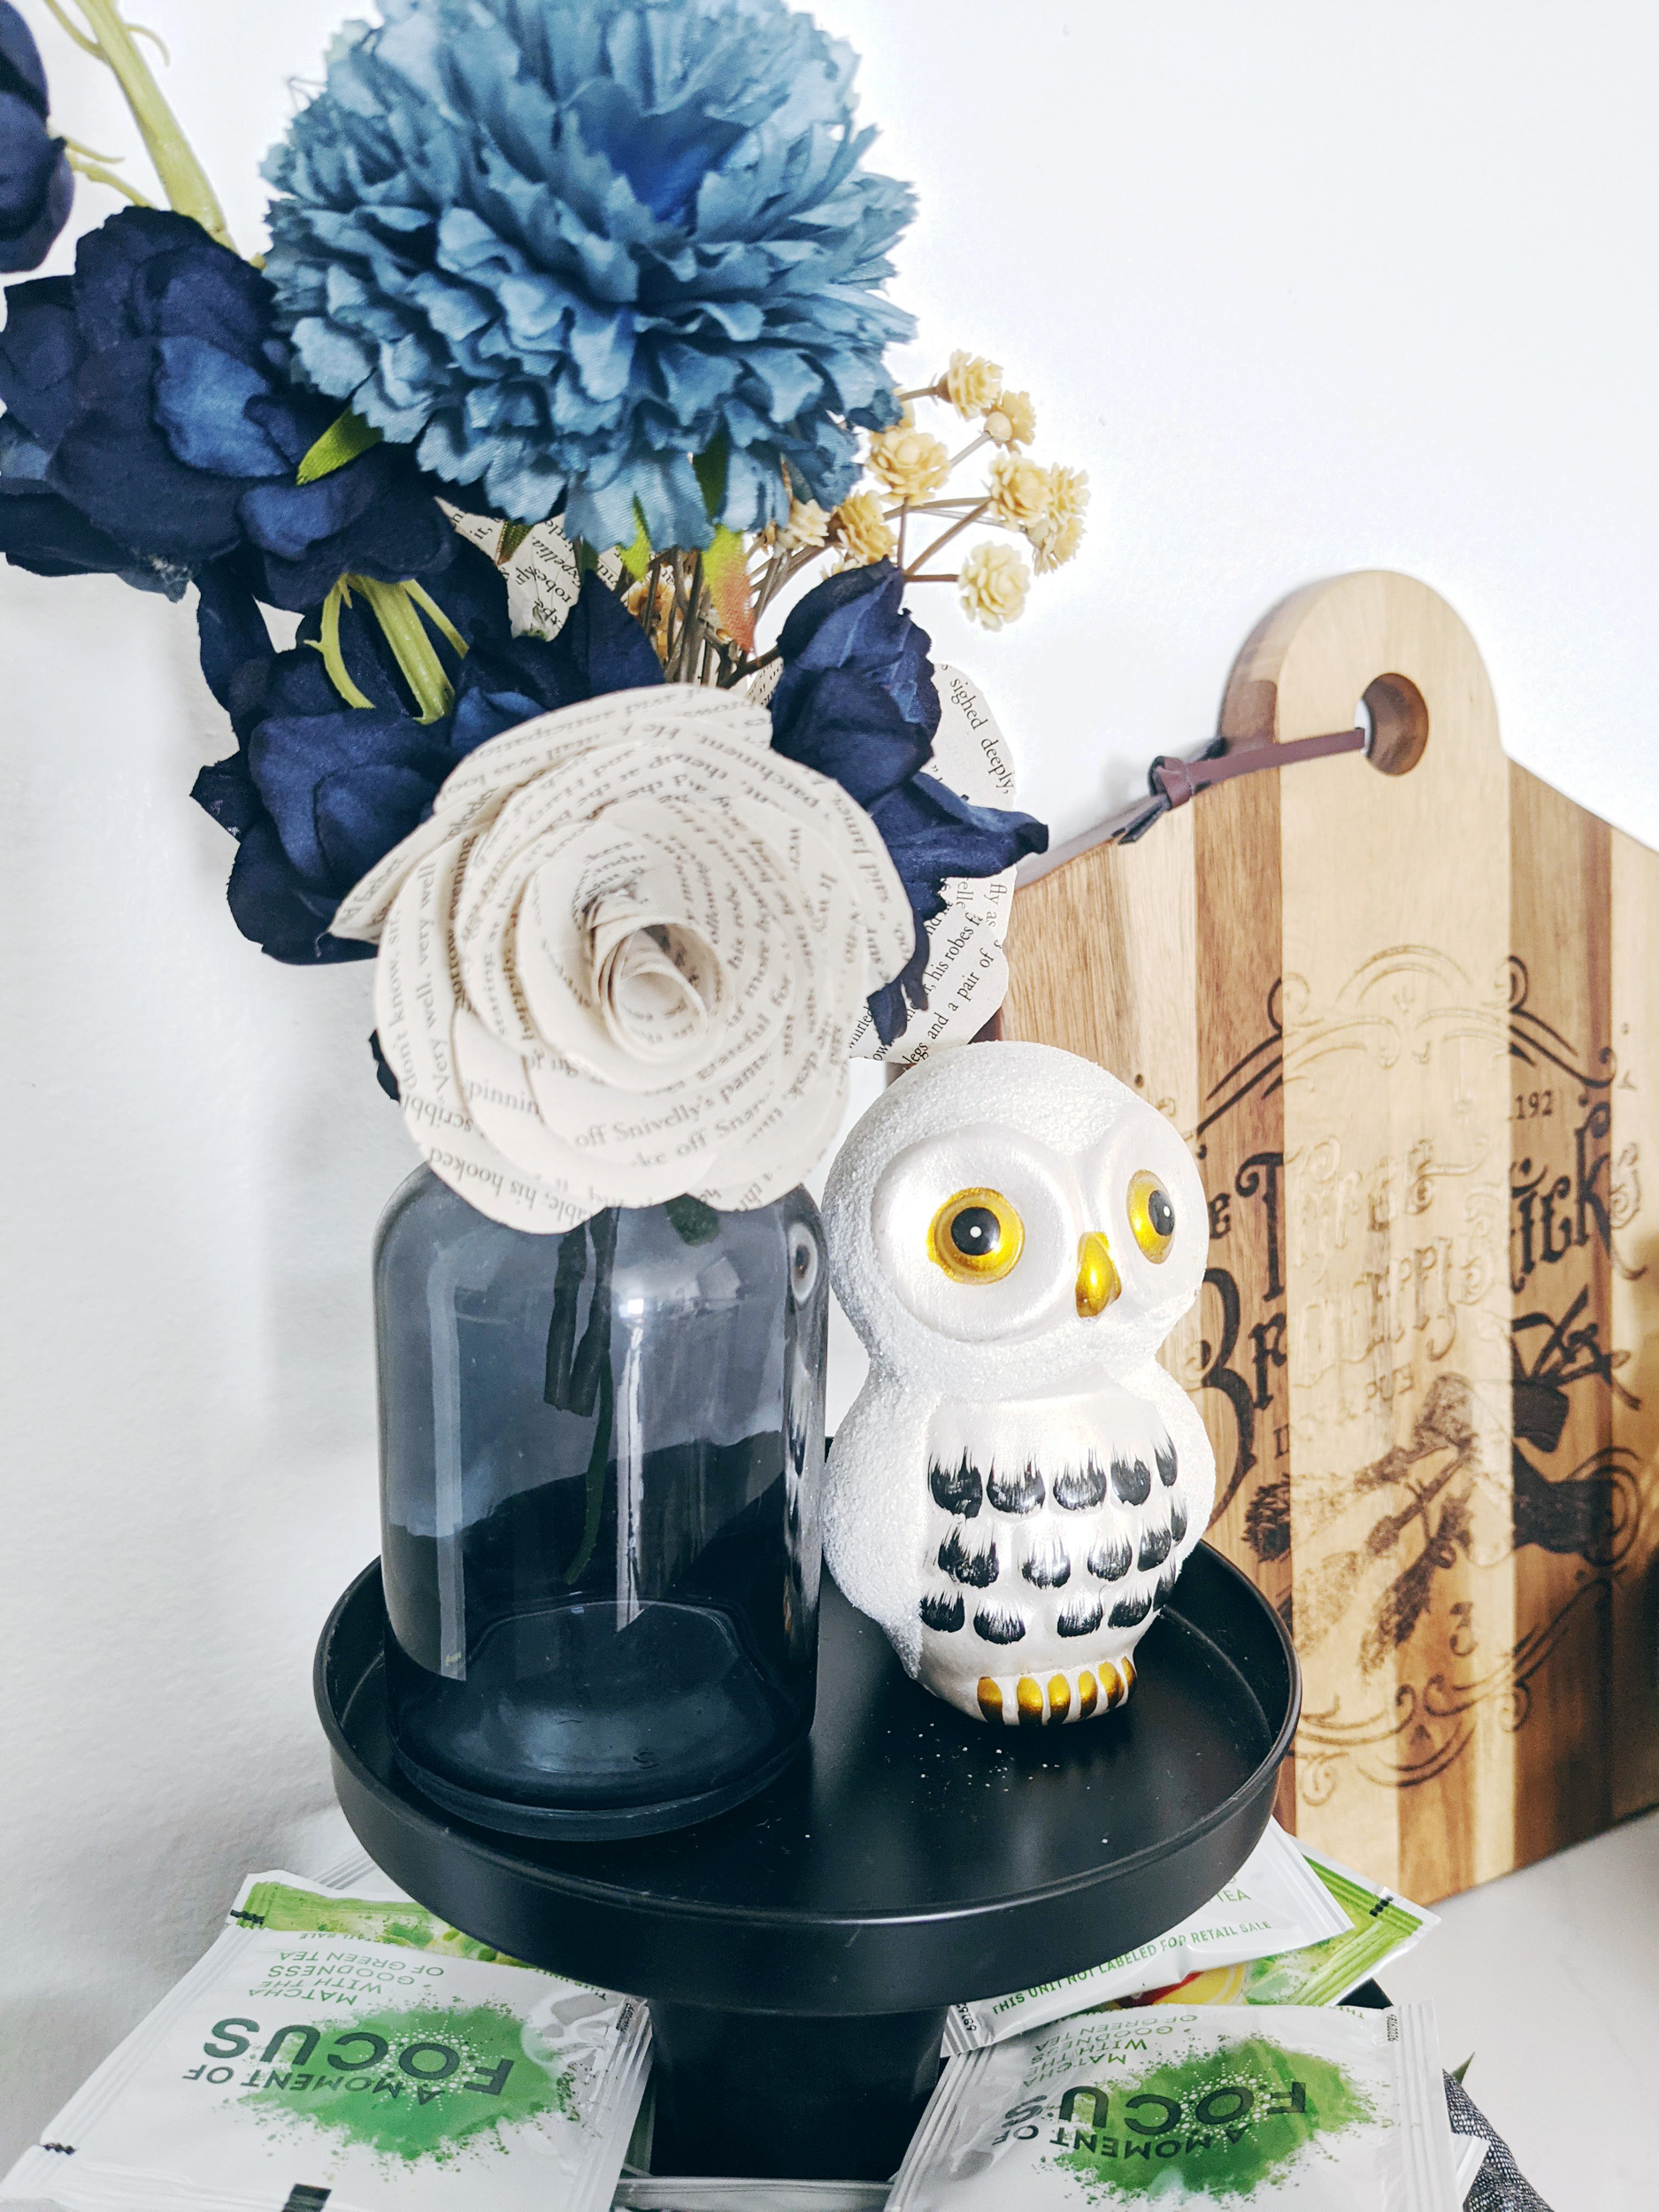
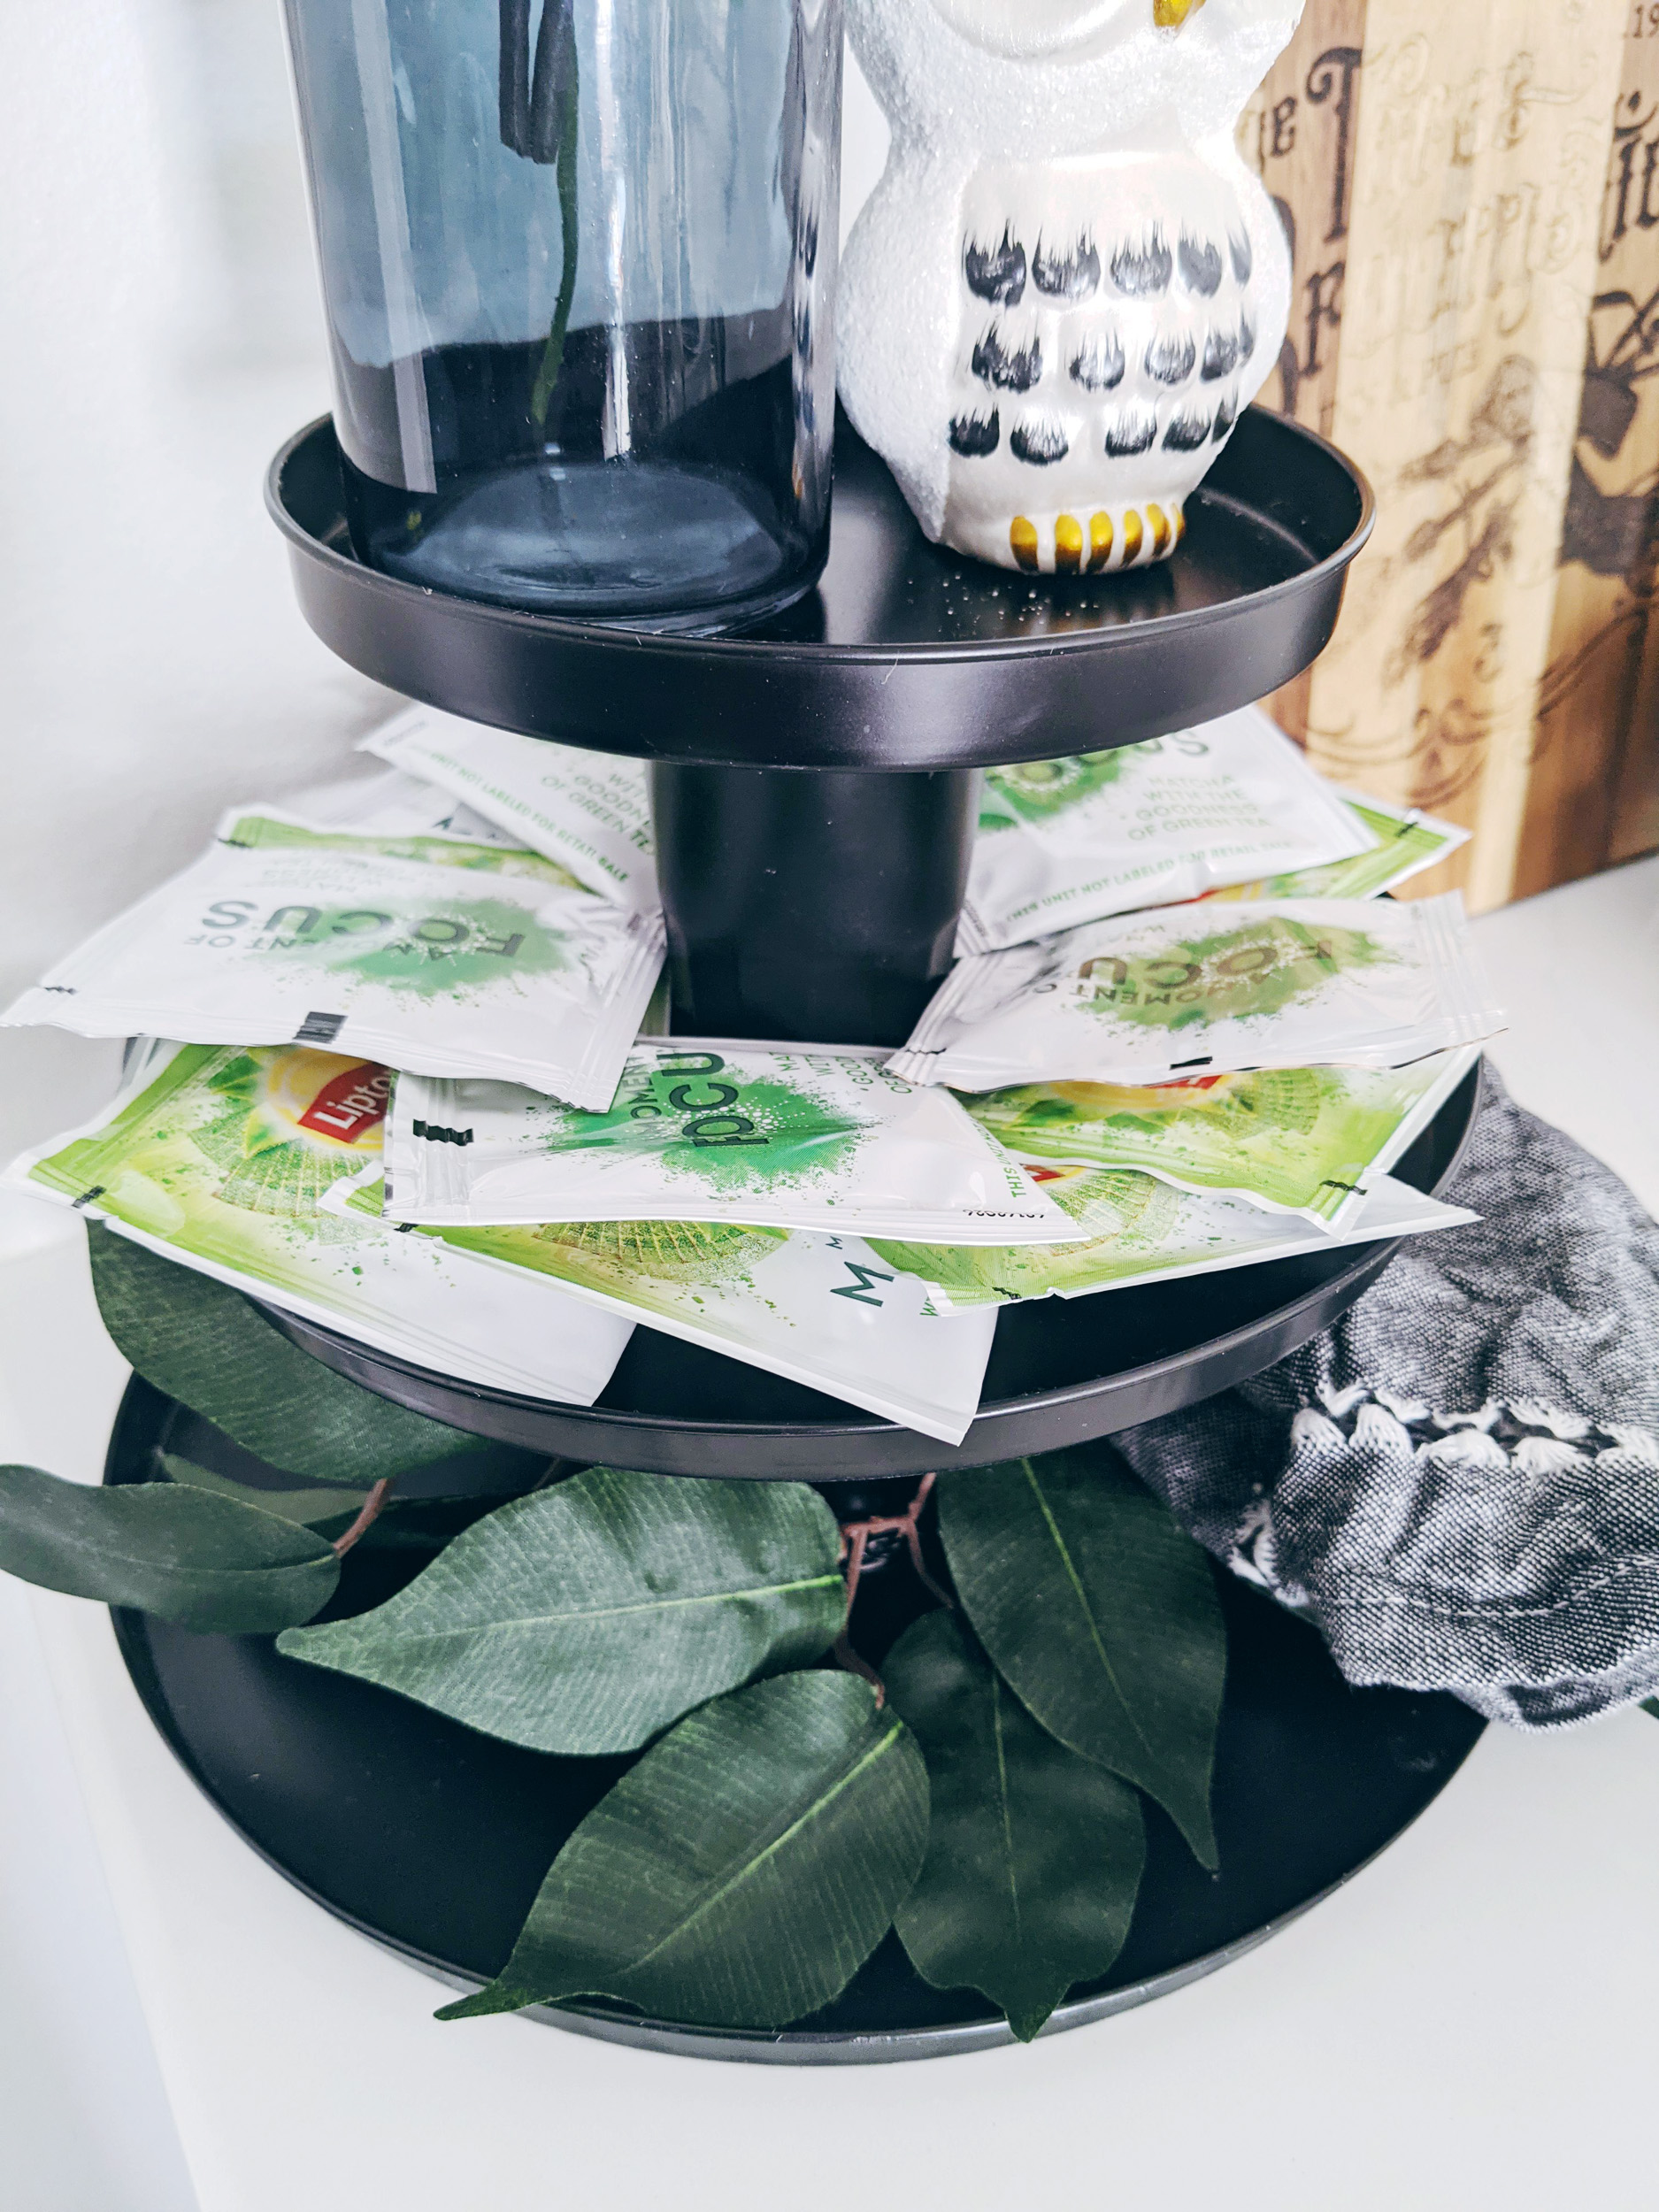
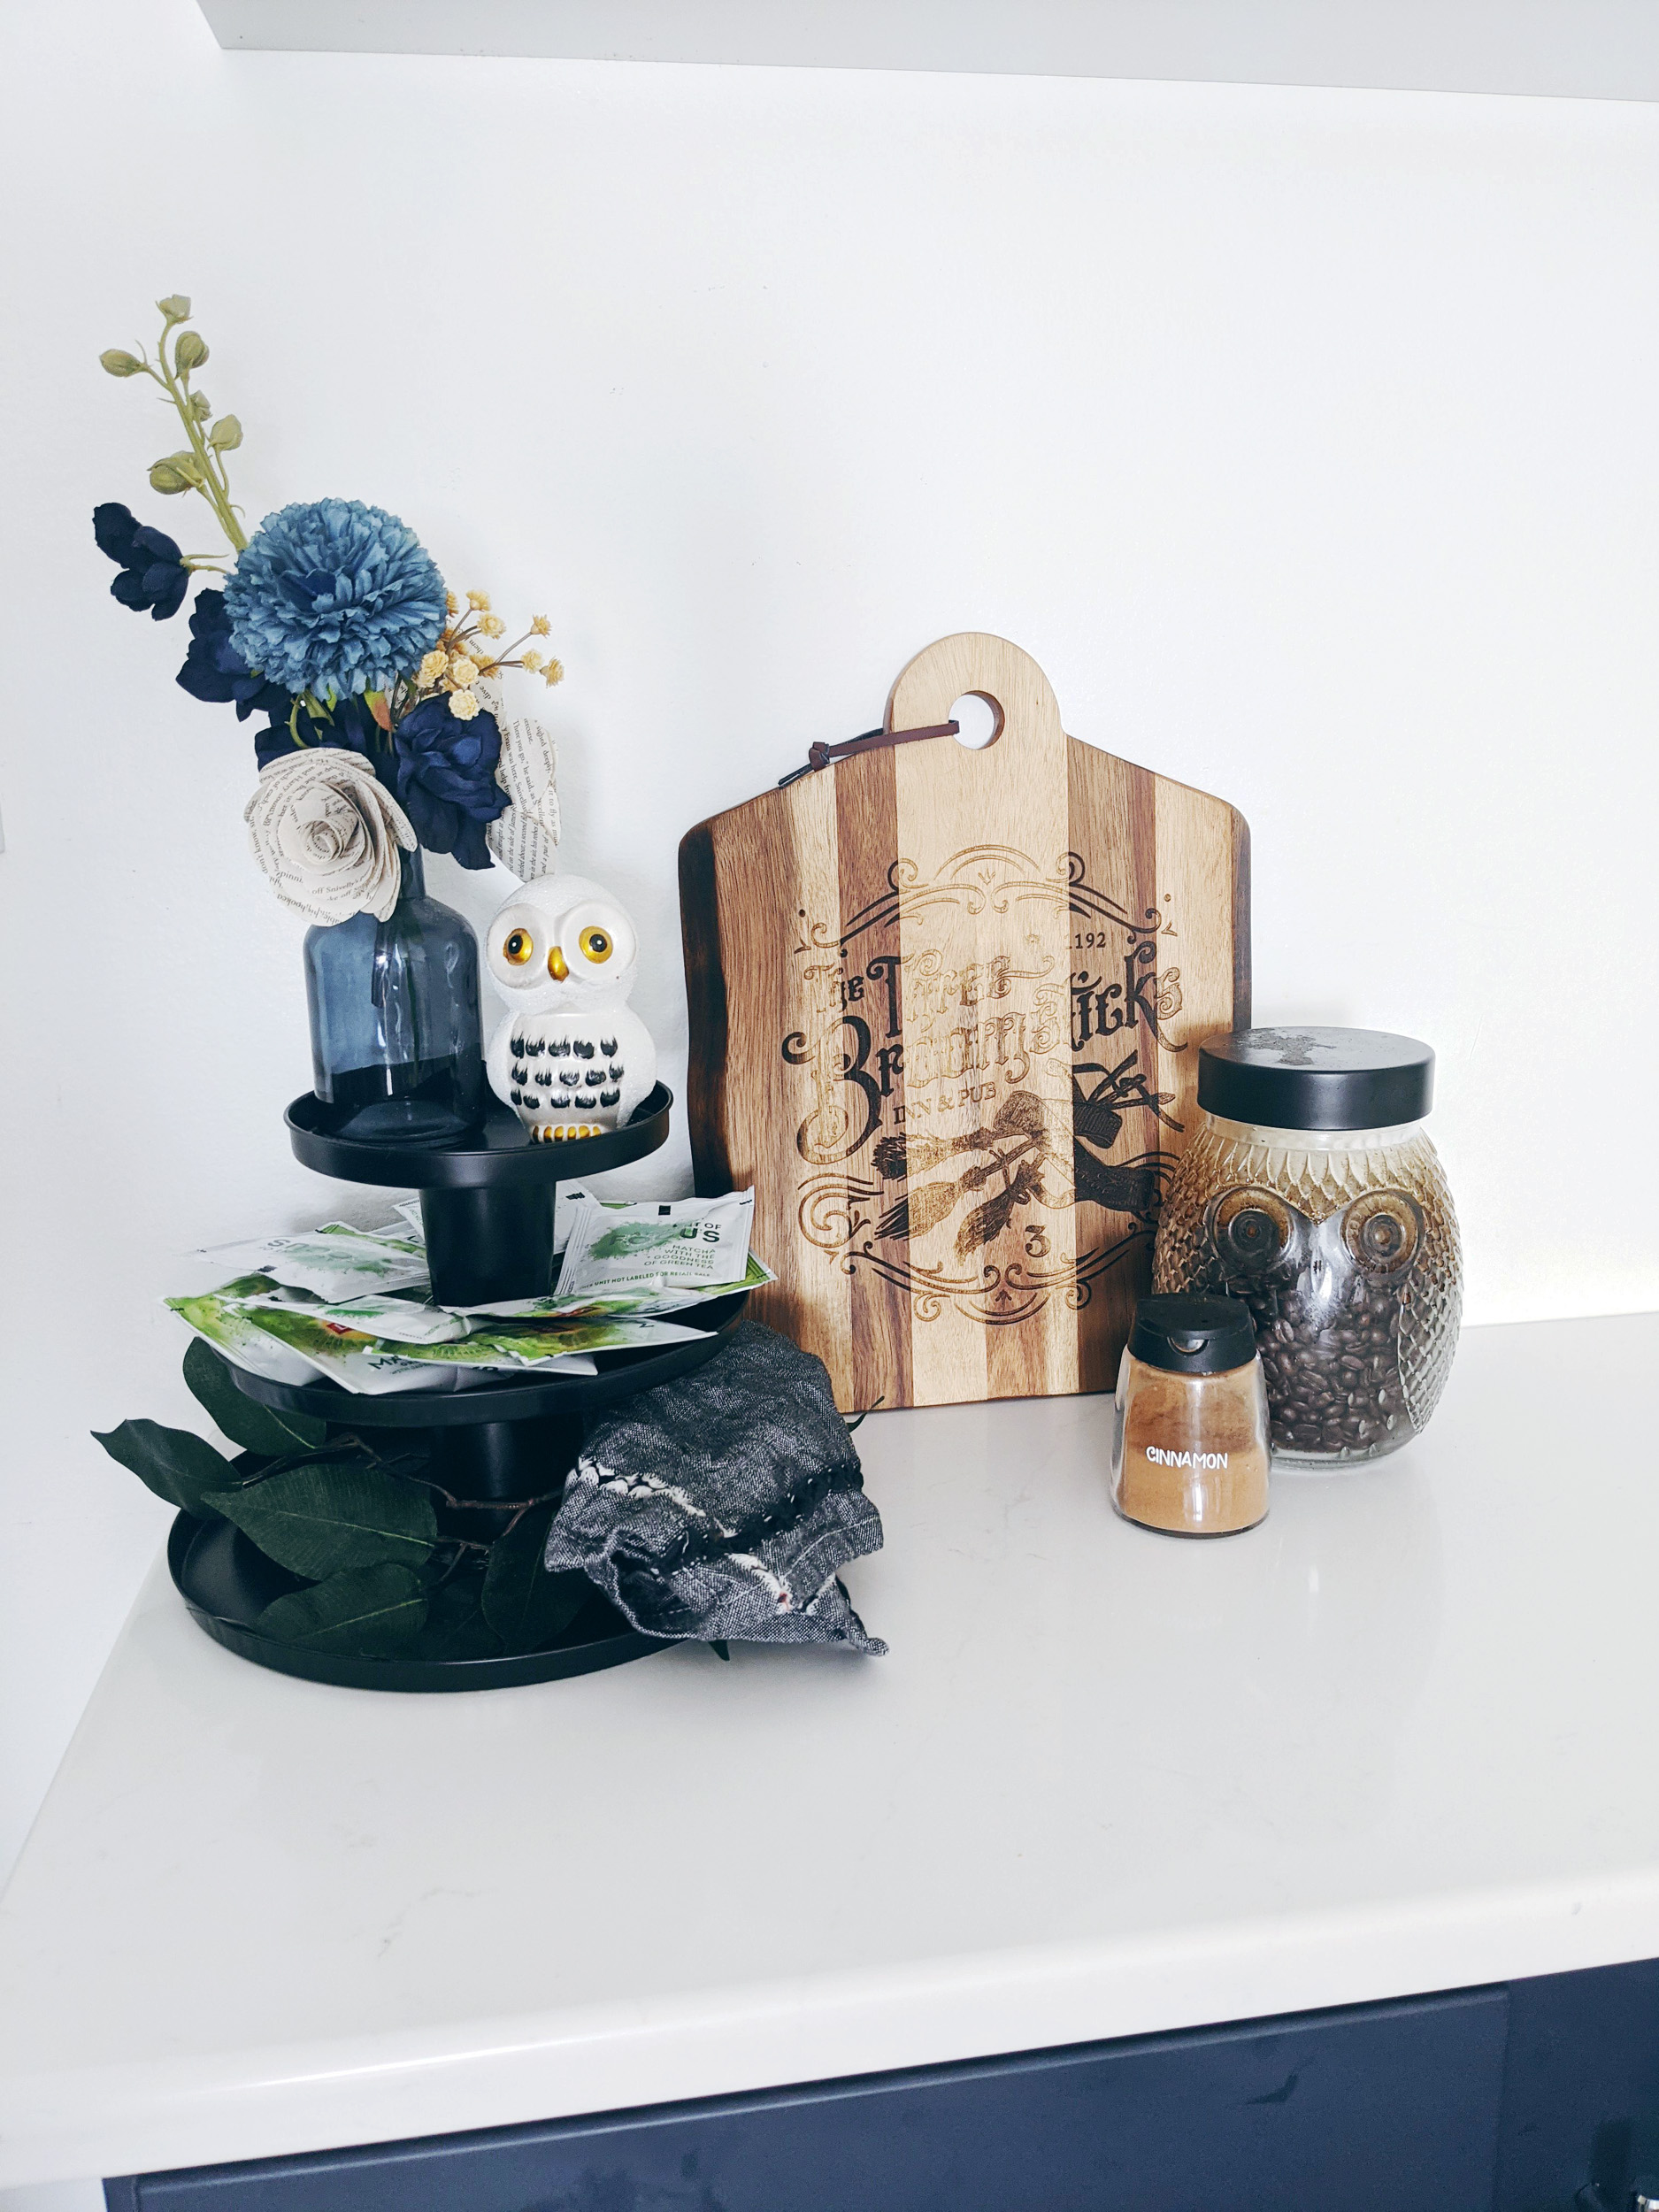
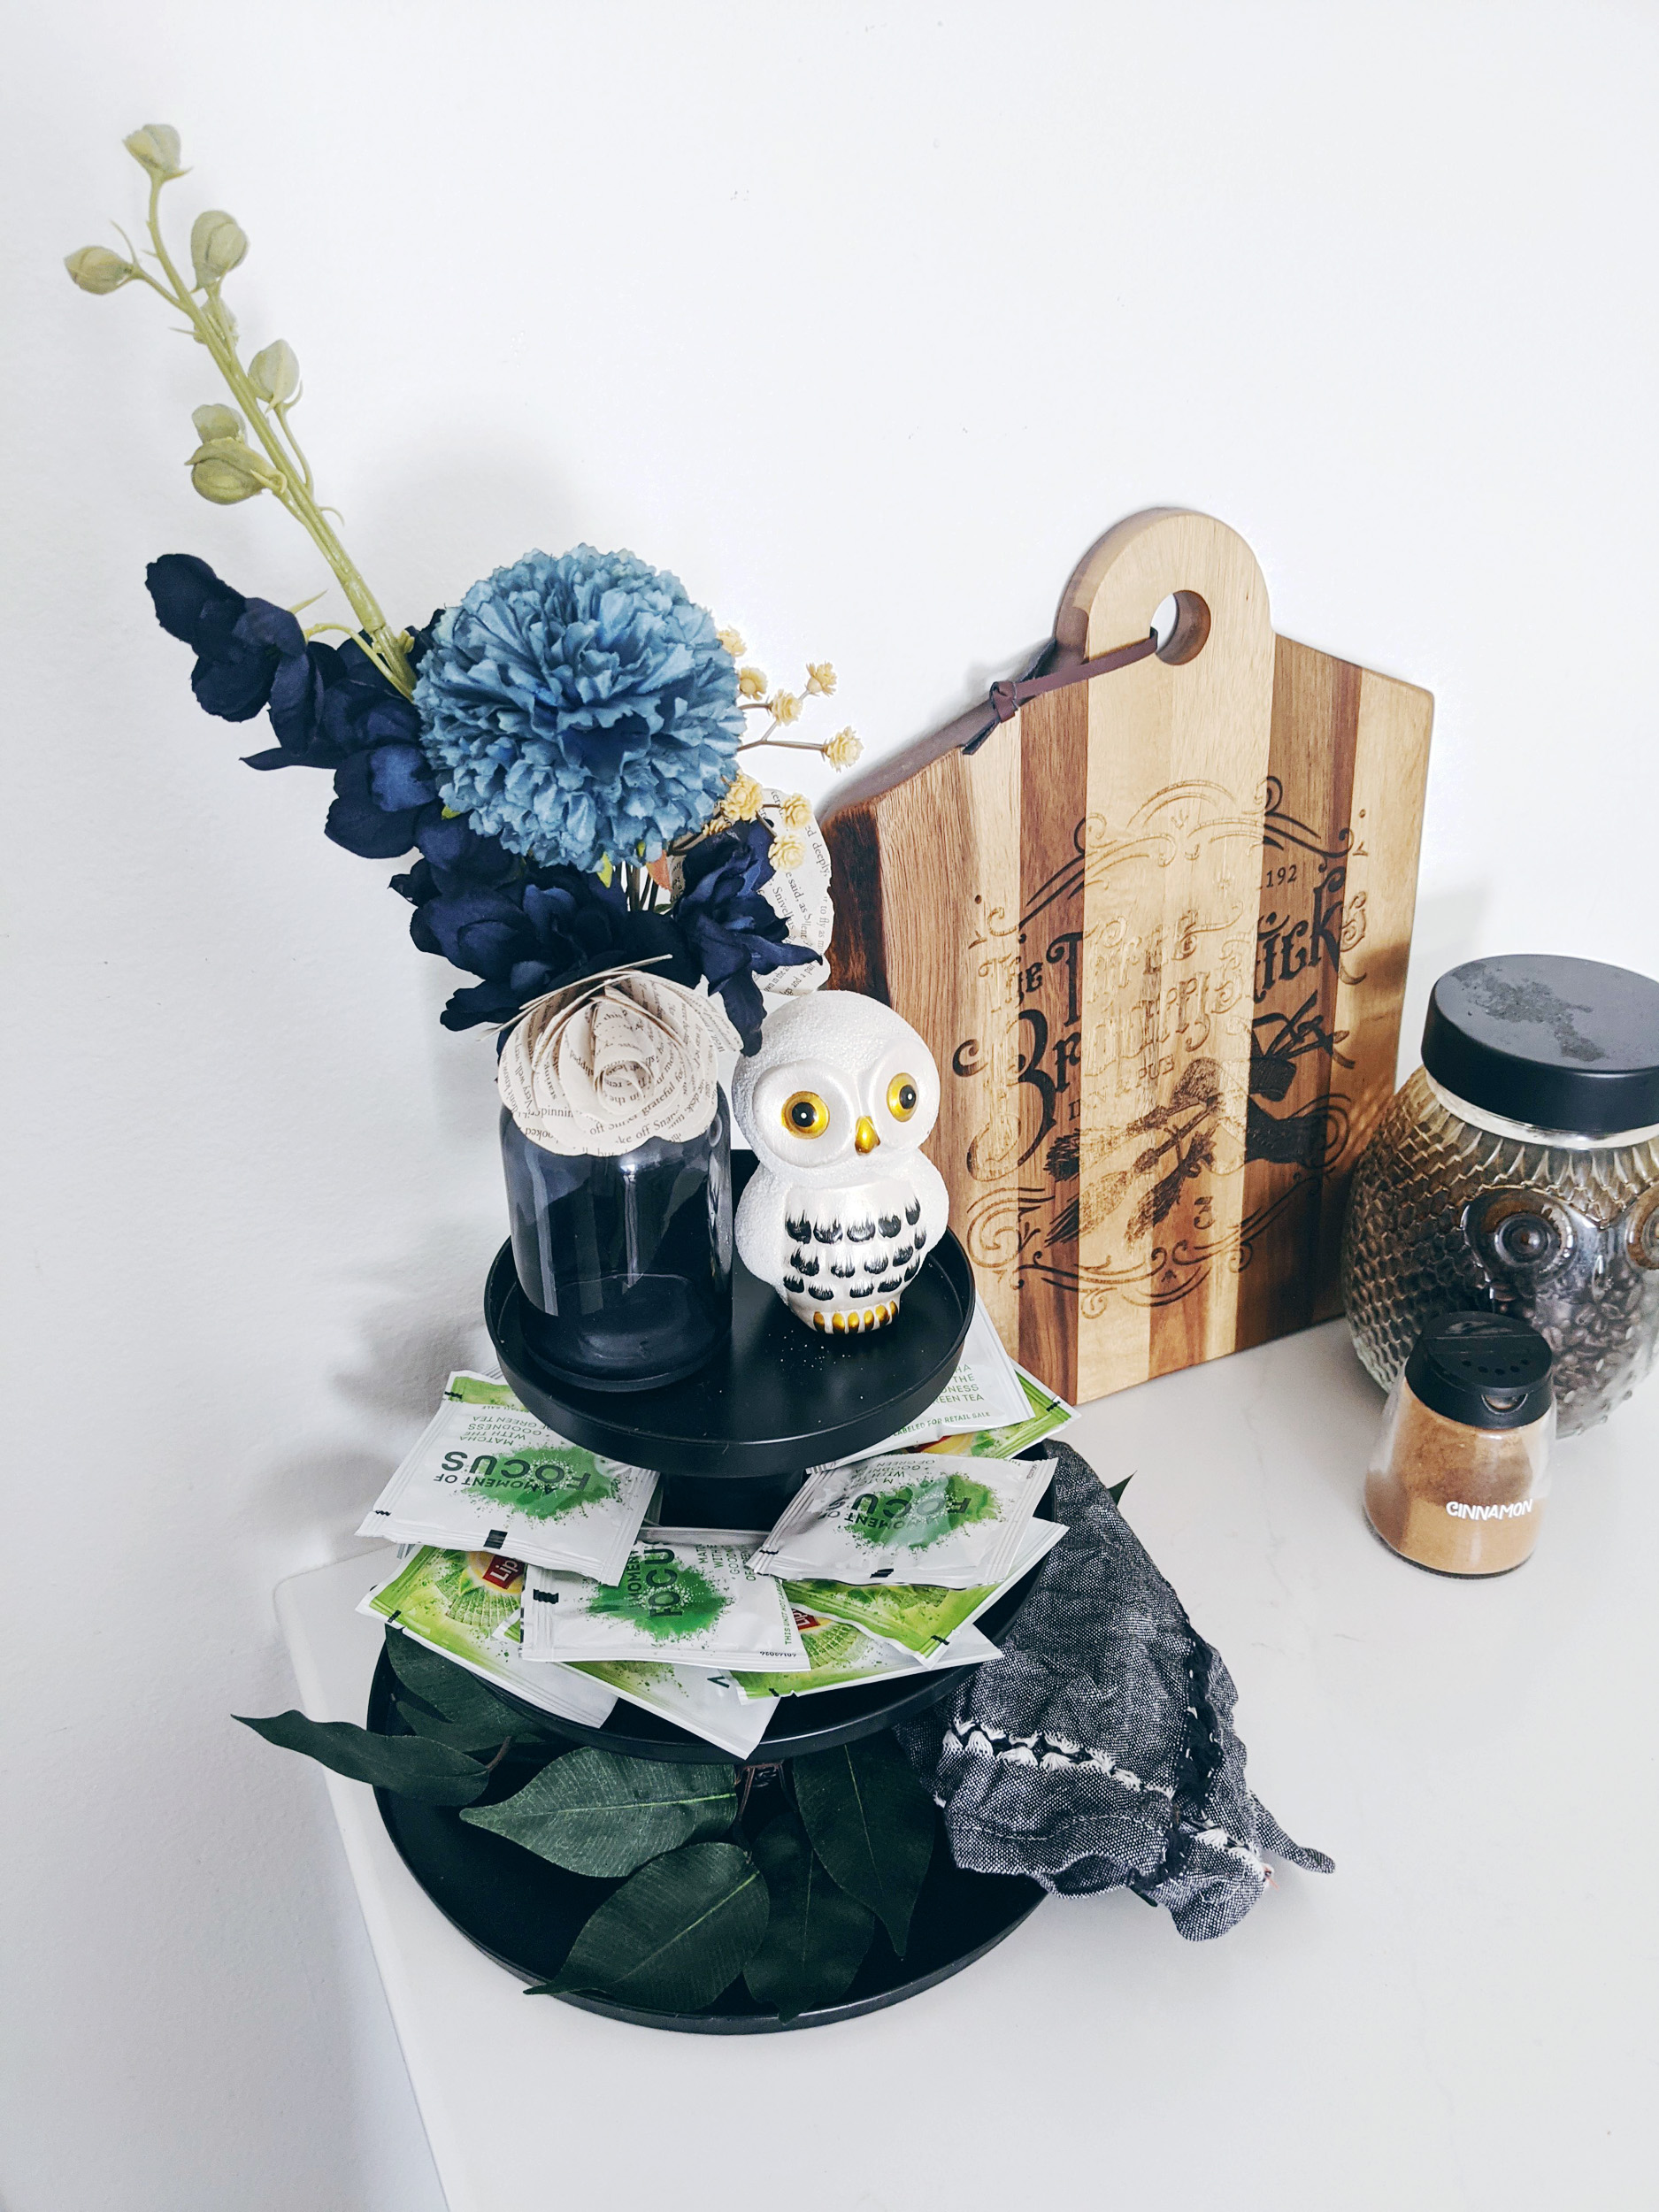
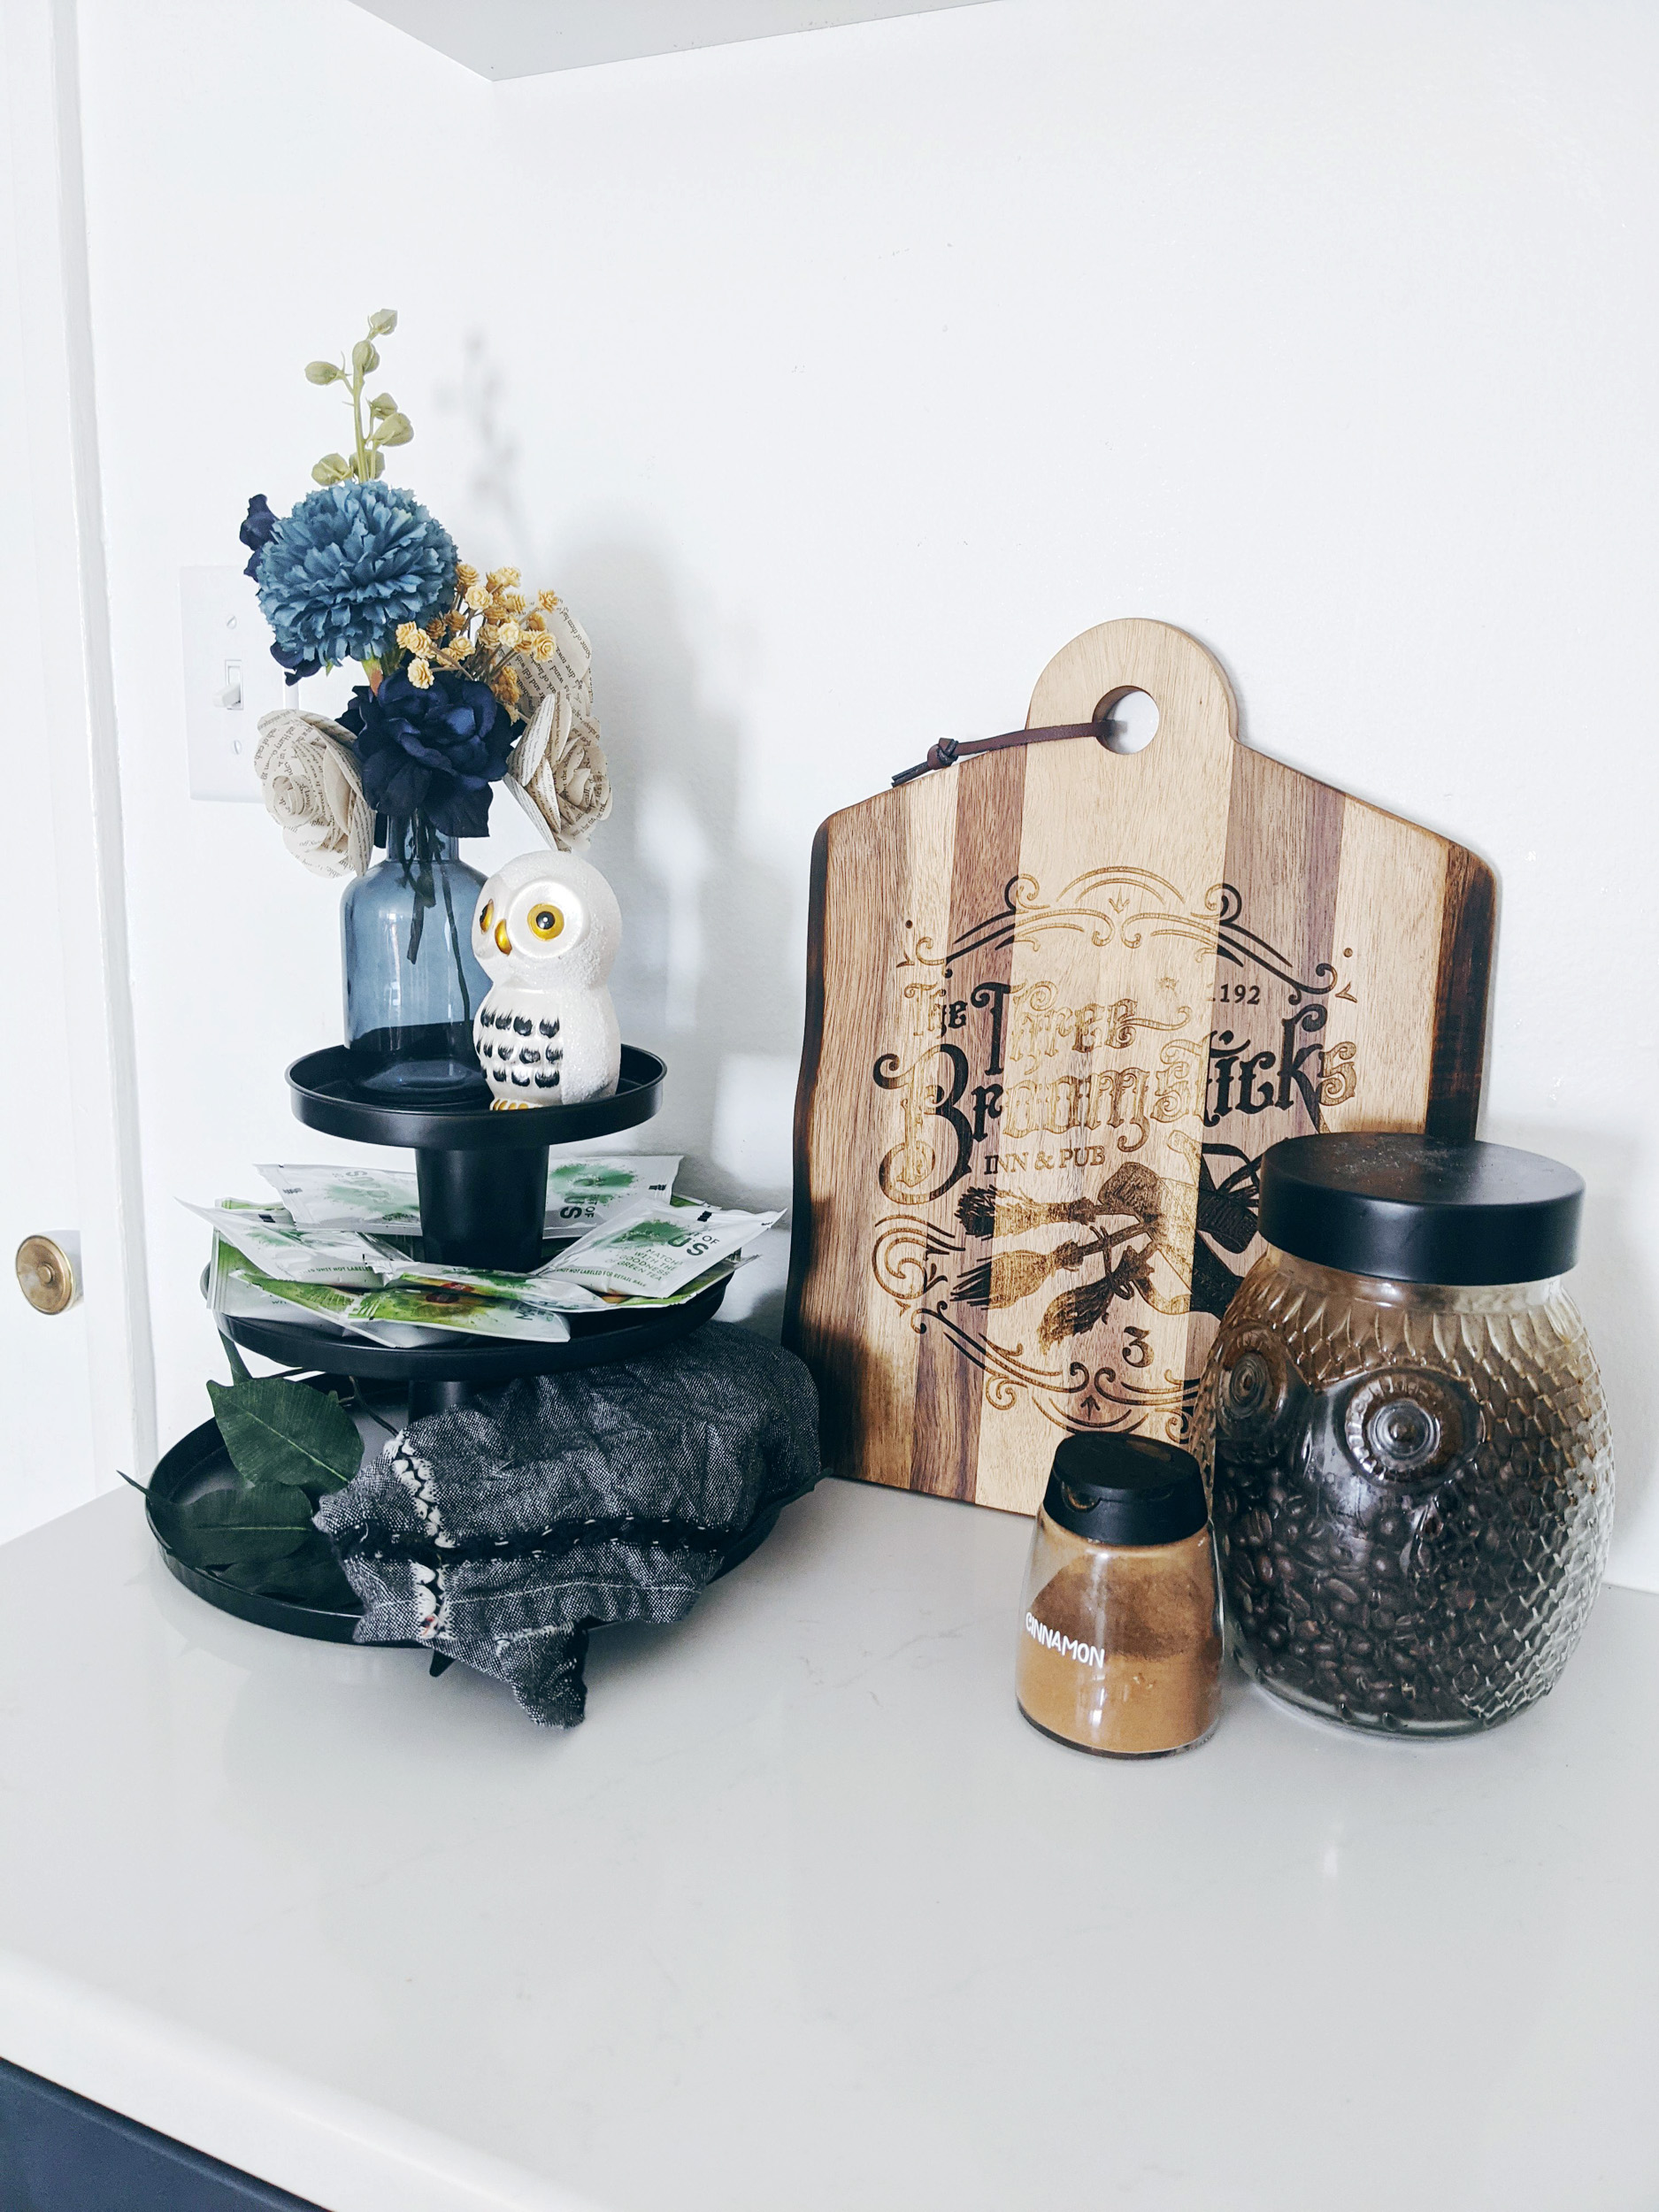
I like to style my 3-tiered tray with leaves, tea bags, a small vase and one of my favorite owl statues (an old Dollar Tree find)! Let me know in the comments below what color you would paint your 3-tiered or 2-tiered tray centerpiece and what you'd decorate it with! And be sure to tag me on Instagram (@withlovejoey). I just love seeing all your creations and being able to repost them to my Stories!

