How to Clean Vintage Silver
There have been so many times in the past when I've walked away from or repainted tarnished silver home decor because I didn't know how to properly clean it without spending a ton of money. Turns out what I need was a few pantry staples and elbow grease. Today, I'm passing off that knowledge to you on how to clean vintage silver so you don't have to turn away that next thrifted purchase!


The pieces I'm using I found on my local Buy Nothing Facebook group, which meant I was going in with 0 consequences (as in no money invested). I first tried one method that I've seen floating around a LOT on Pinterest. Spoiler alert: it didn't work.
What Didn't Work
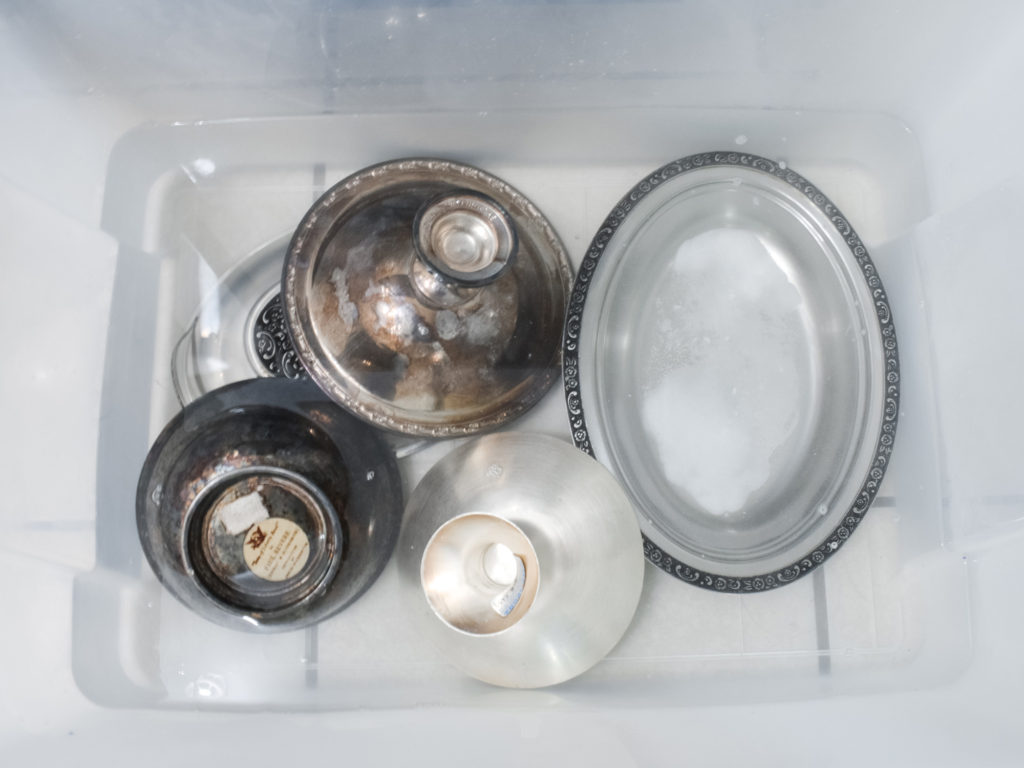
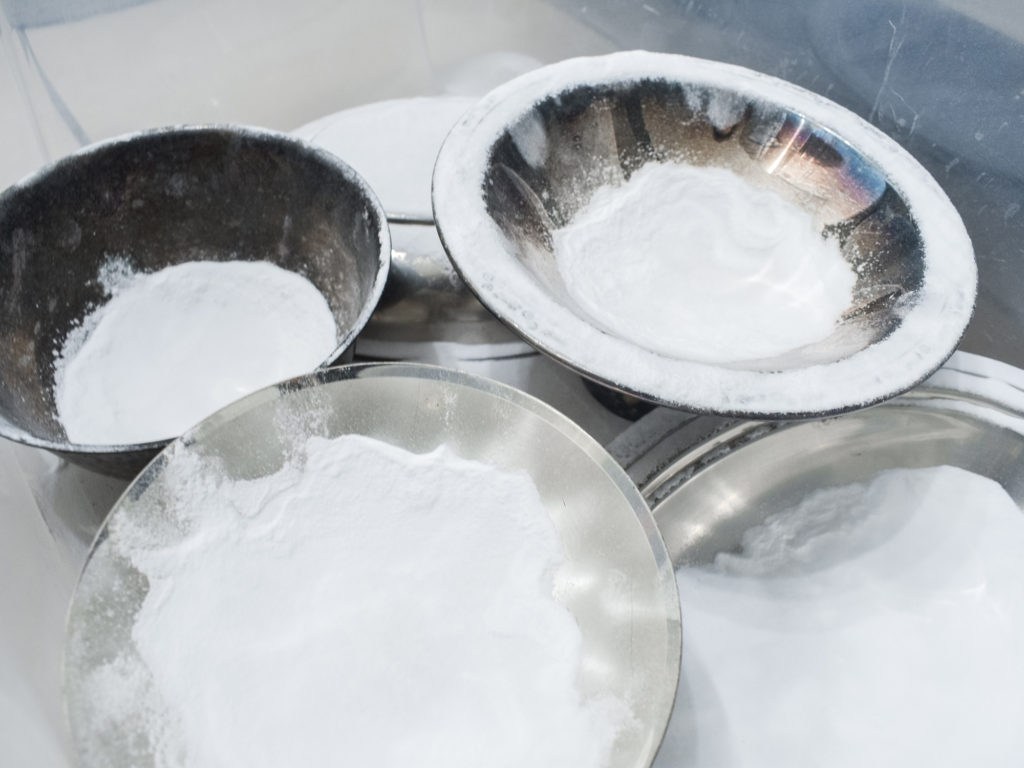
What they instructed to do was to pour boiling hot water into a bowl or tub and adding a ton baking soda. In some cases, also adding in white vinegar. This method did nothing but fizz a bit and waste my time. I let everything soak for nearly an hour and kept adding boiling water back in to reheat with no luck. It did help a bit with cleaning the one stainless steel dishware that I received, but the silver was either too tarnished or it was just a failed method to recommend.
What Did Work

I took a chance and hoped onto YouTube to look up alternative methods, when I found the one. NZ Coins had a video where they cleaned true silverware in a bowl of hot water using a sheet of aluminum foil, salt, and baking soda. The key, they found during the process, was that you needed to touch the silverware in order to activate the chemical reaction. Luckily, 3 of the dishes I treated didn't need me to touch it to work, but I did notice the process went faster when I was touching them and swirling them around a bit.


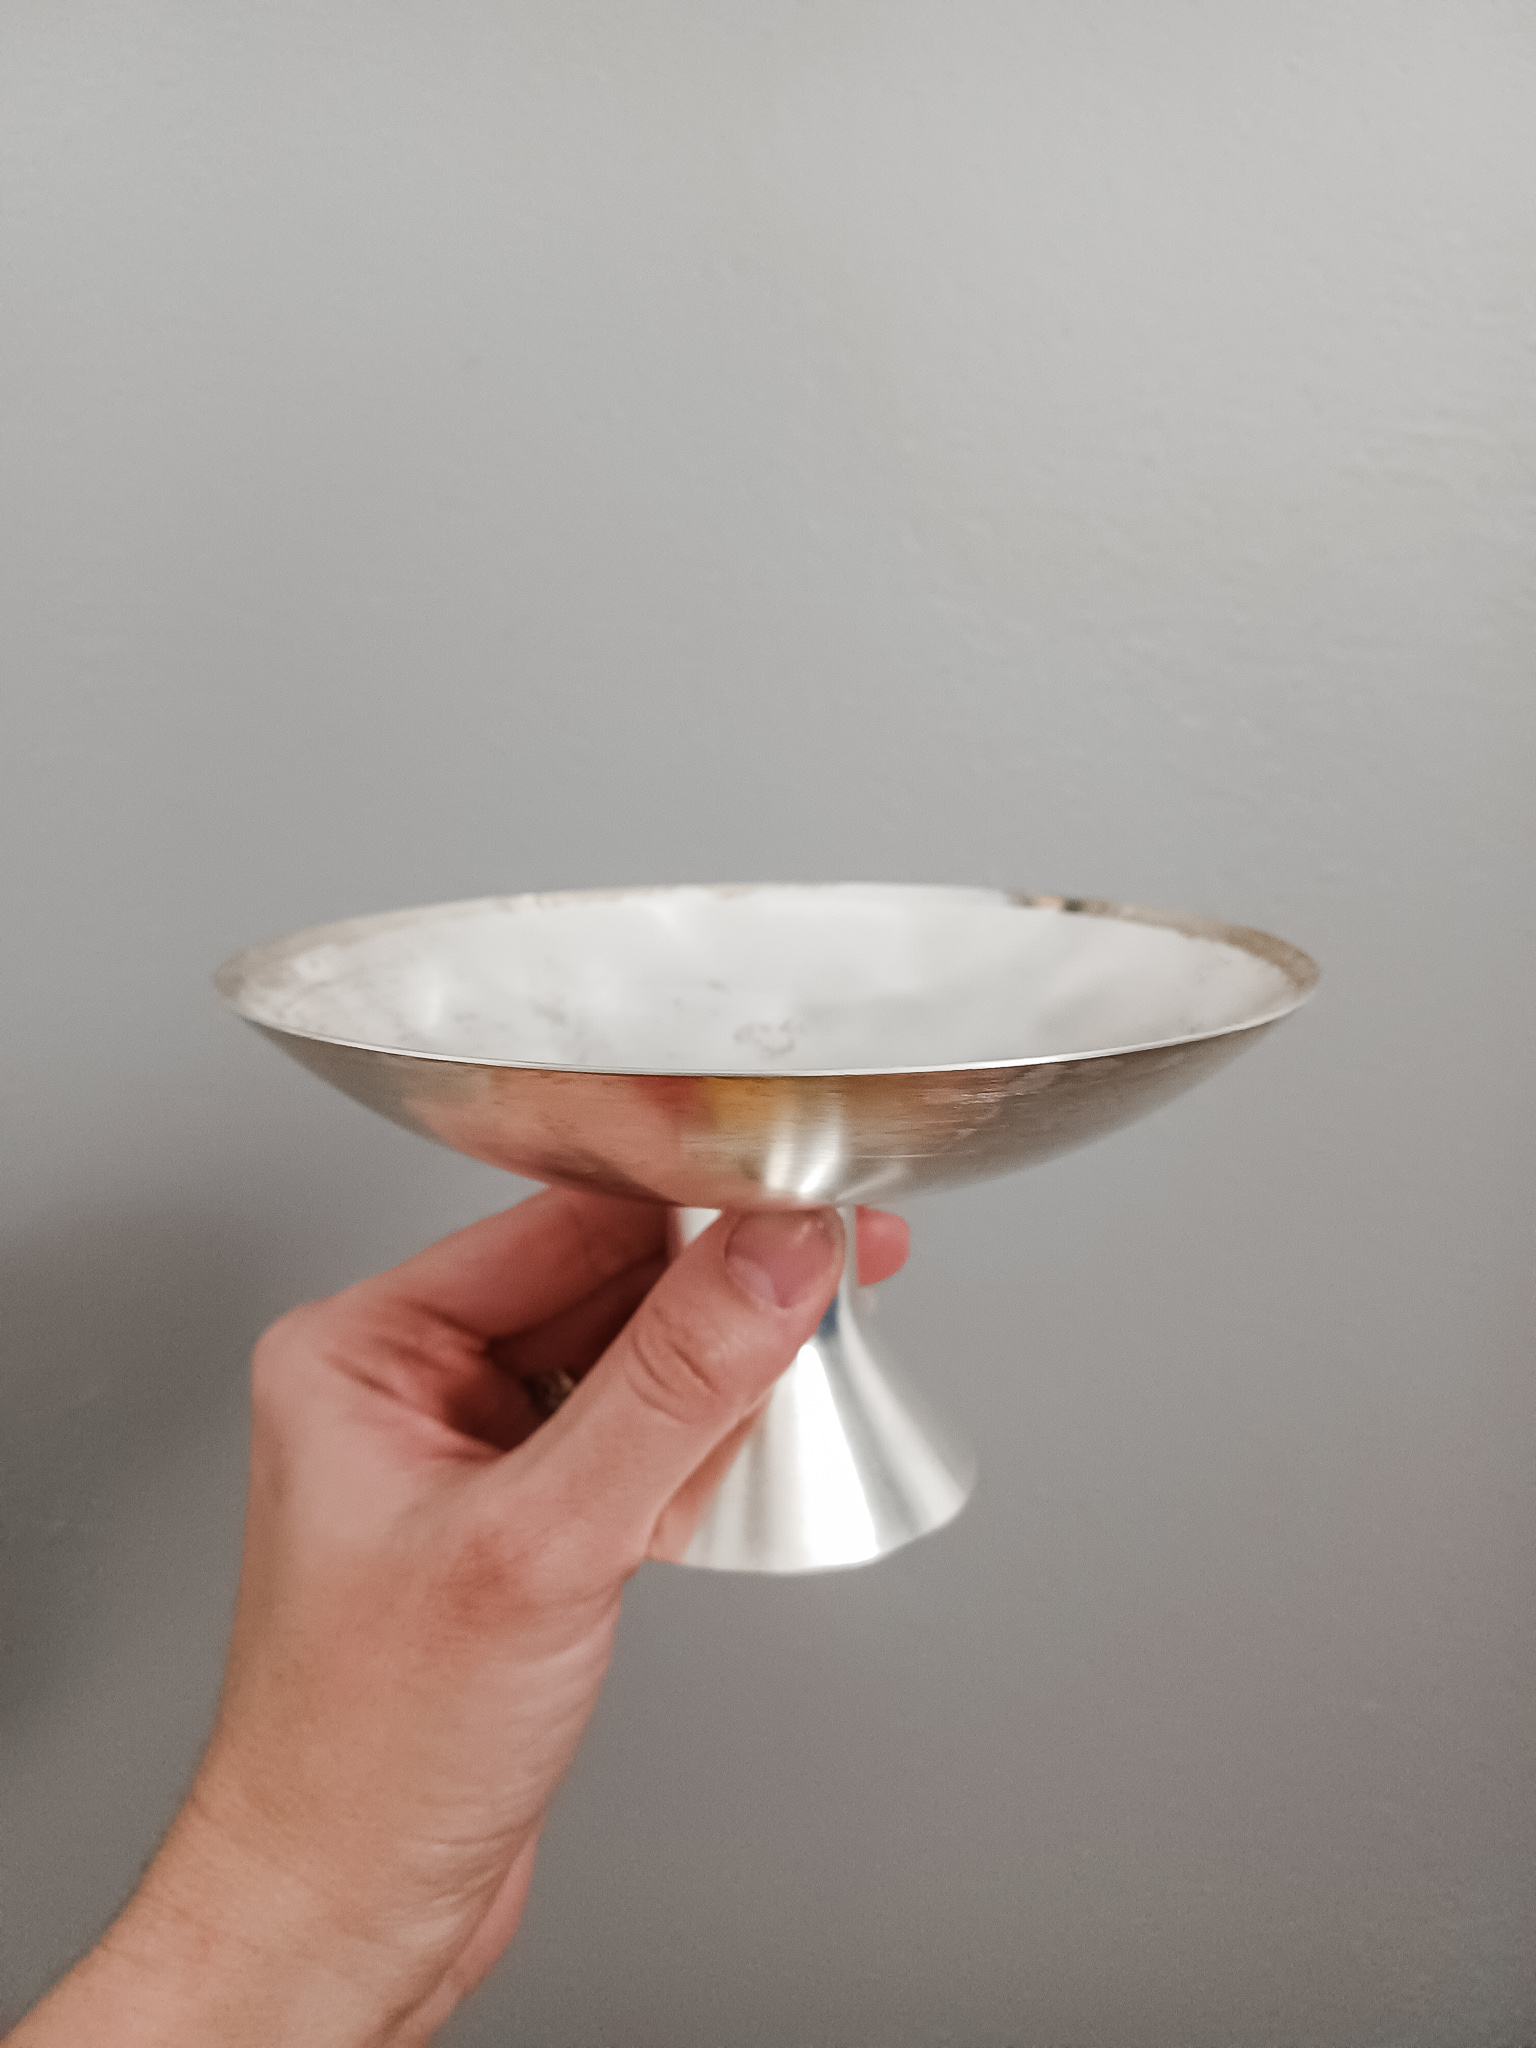
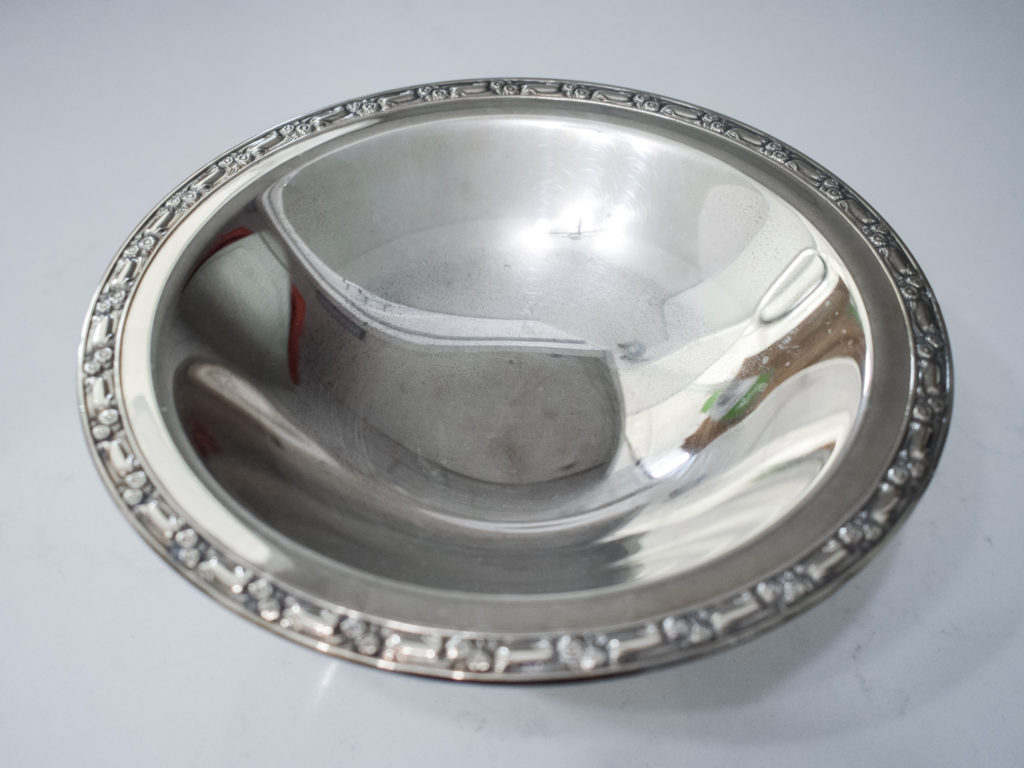
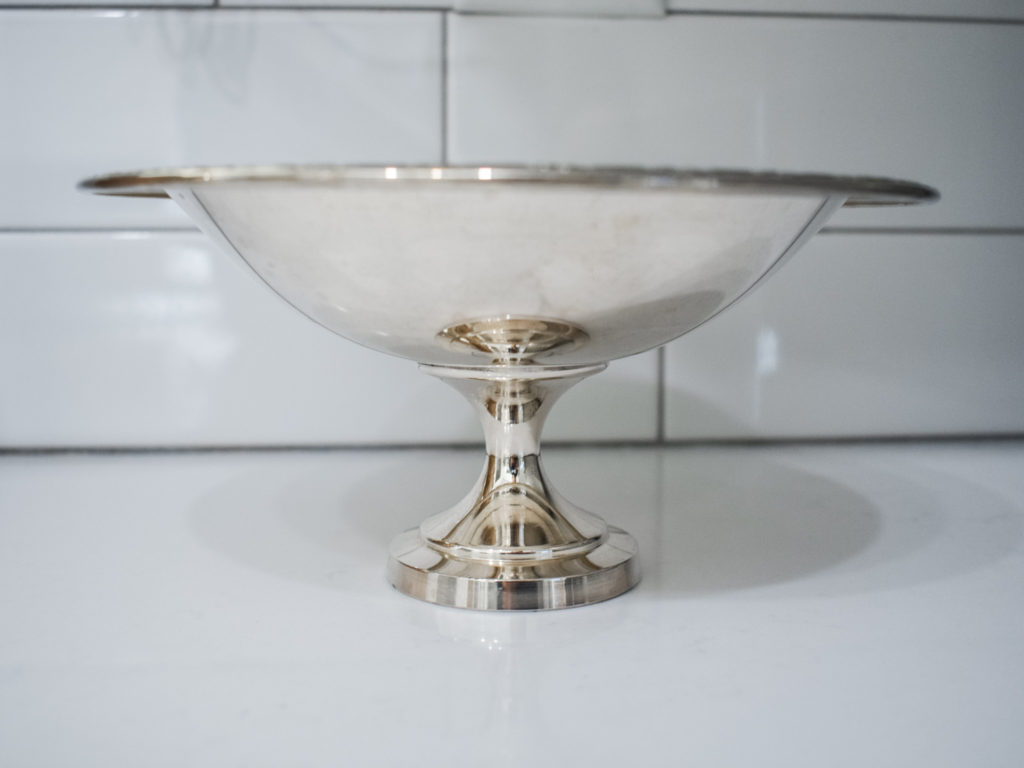
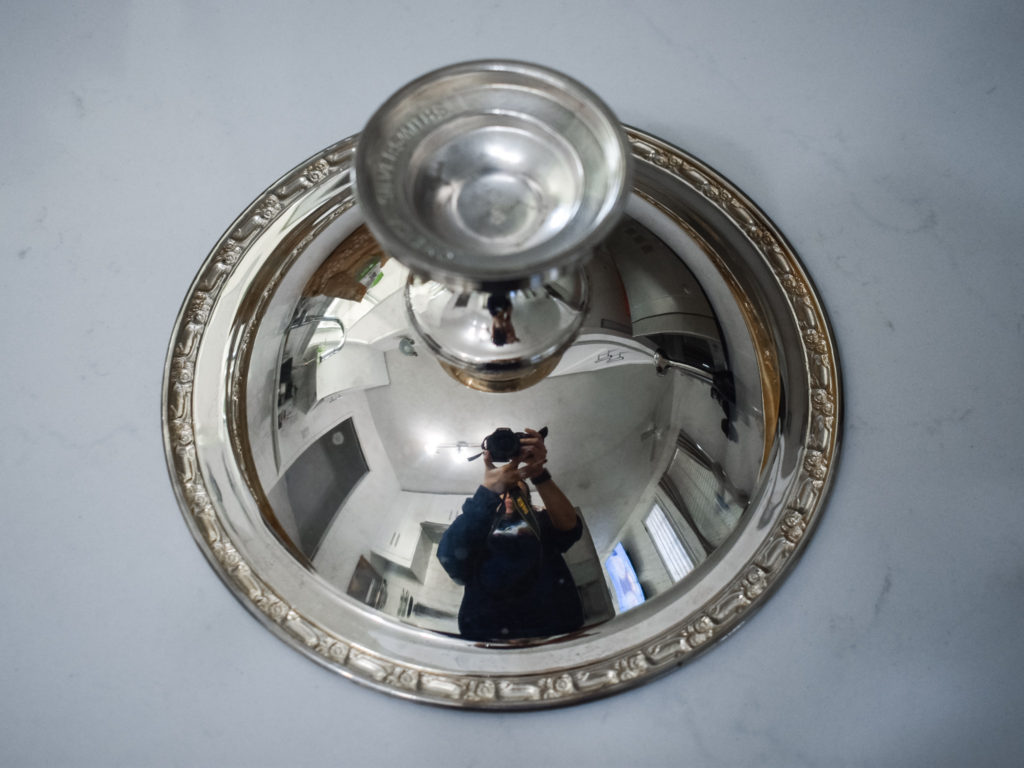
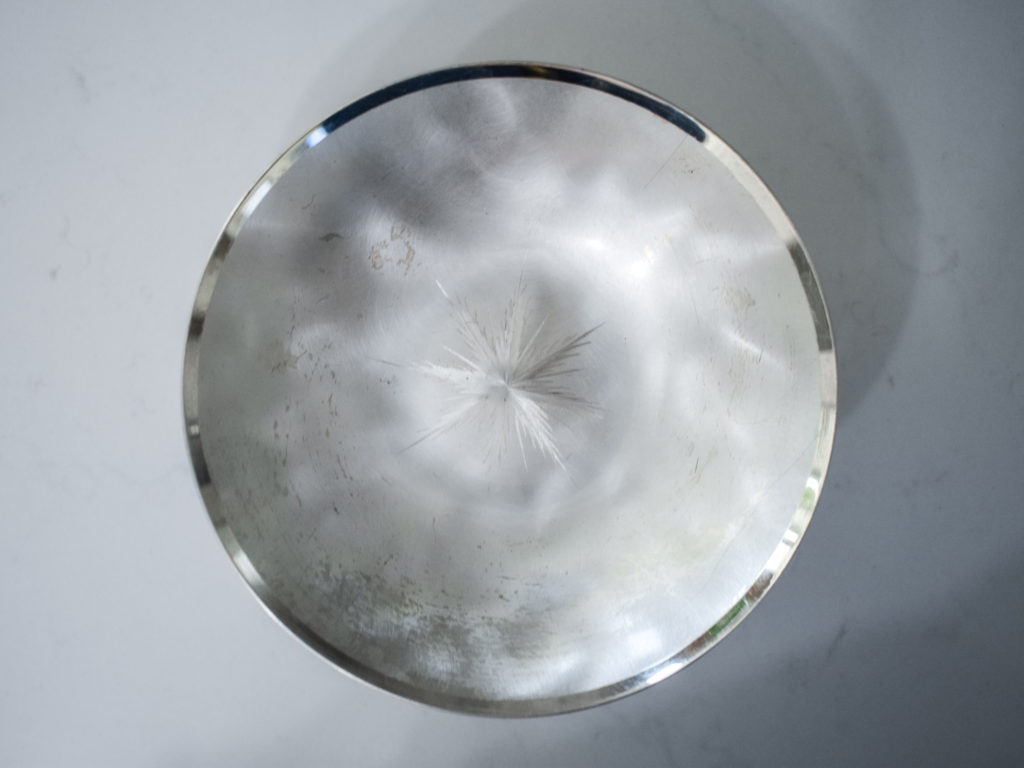
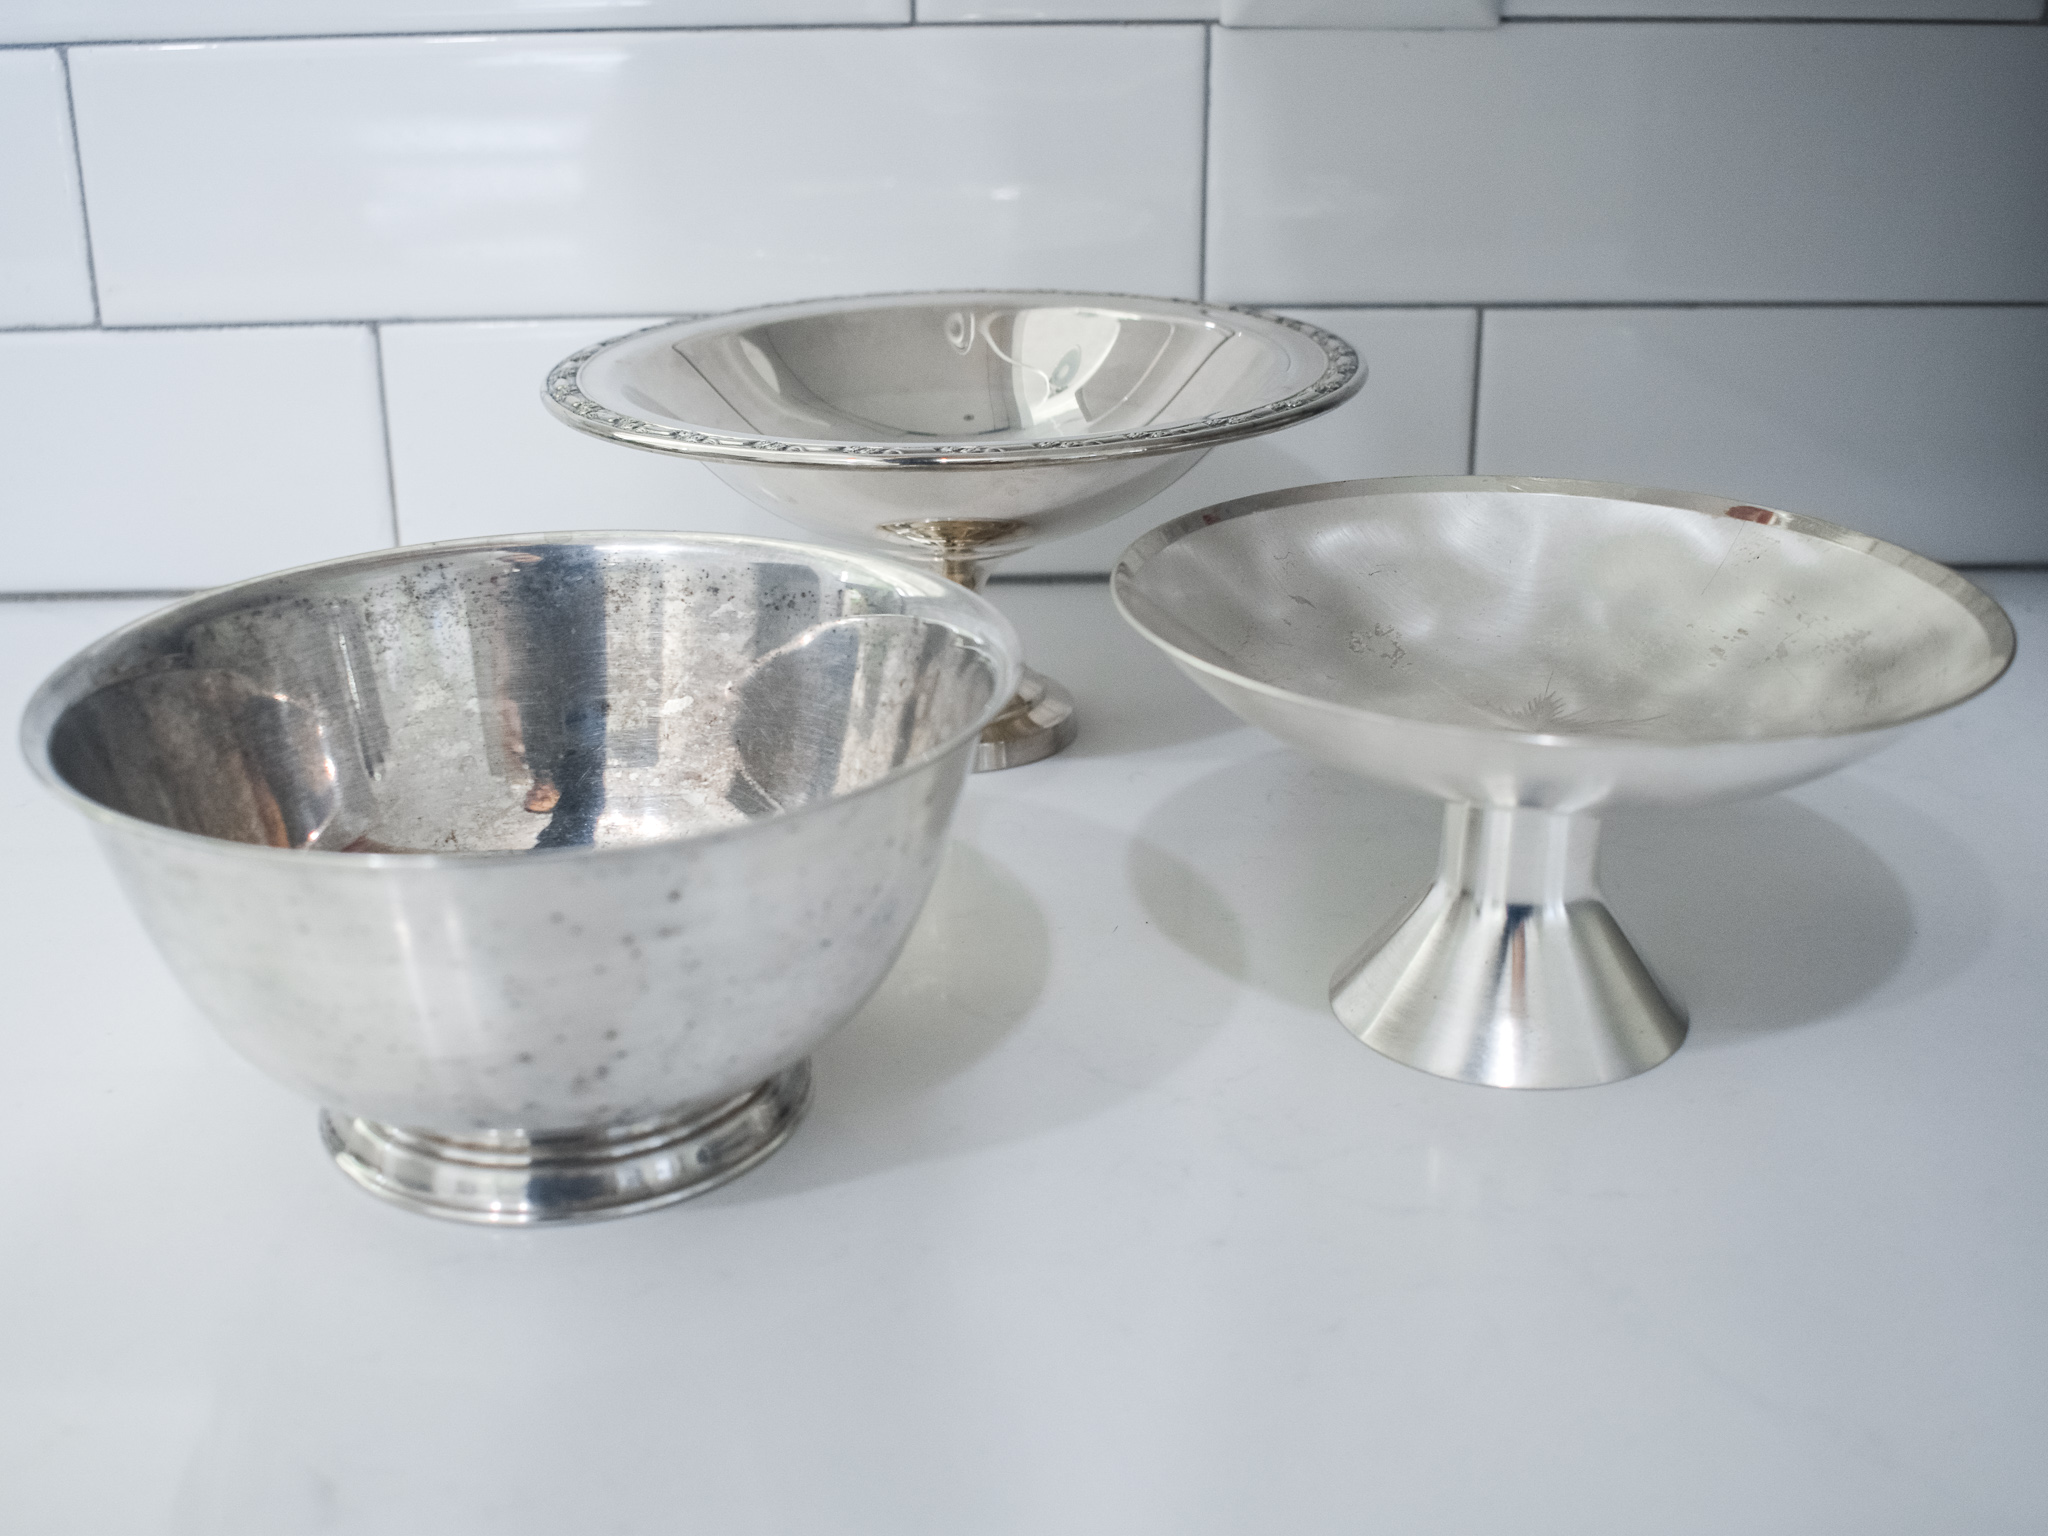
As you can see from this particular candy dish, the metal was turning various shades of blue and yellow. I can only assume this is from years of use, perhaps even being placed near direct sunlight, etc. Luckily, I was able to get a lot of the yellowing and 98% of the tarnish removed. There is a bit in the center of the bowl that I'm working on, but it's very difficult to see it in person.


One bowl in particular has been so bad that I'm still attempting to remove all the tarnish days later. The bowl was almost entirely black, and it looked like there were 2 spots where candy had melted and potentially burned into the bowl. I'm still trying to remove that, but I'm at least at the point where I can start to see my reflection in the silver.
The tiniest dish was in the best condition, with just a weird layer of orange tarnish that scrubbed away from outside of the dish after soaking for an hour in the solution.

How to Clean Vintage Silver
You will need a container large enough to hold the item(s) you'll be cleaning, aluminum foil, baking soda, salt and a microfiber cloth. I happened to have an empty storage tub at the time and used that for this project. Line the container with aluminum foil. The bigger the container the more you'll need. I needed 2 long sheets of it. Place all your items inside the tub. Shake a very large amount of baking soda and salt all over the item(s) and the floor of the container.
Pour hot water into the tub, but not directly onto your item(s). I just pulled water from my faucet at the hottest possible setting. If your faucet water doesn't get that hot, consider heating up some in a pot, but not to boiling. You don't have to completely cover your items. Let everything sit in the hot water for a bit. If, and only if, you can handle the temperature of the water on your skin, swirl the items around a bit. Be careful not to burn your skin; remove your hand if you can't handle the heat and wait for it to cool down more. Be careful not to scrape the foil at the bottom as you might break the foil and scratch your silver.
You should see an immediate change on your silver. If not, grab a microfiber towel and rub at the tarnish to see if it will wipe away. The more tarnish you have, the longer you'll want to let the item soak before rubbing away. Keep in mind that hot water will need to be added back in after a while to keep the water warm, and more baking soda and salt will be needed. In total, I've gone through 2 boxes of baking soda and half a container of salt. Rub as much of the tarnish off the silver in between refills to help it along. Do not use a rough sponge or a scrub sponge as this will scratch the surface and leave marks.
I Wish I Would've Known
There's so many pieces I've passed up or spray painted in the past, so convinced that they were beyond saving. I wish I knew then what I know now about how to clean vintage silver, because my home would have been filled with all the vintage pieces! This method can also help clean tarnished costume jewelry for those hoping to save faux metal jewelry. Where do you love to shop for your vintage silver? We somehow get a lot at our local Goodwill, and I can't wait to get back in the store to see what neat things I'll be able to find and refinish!
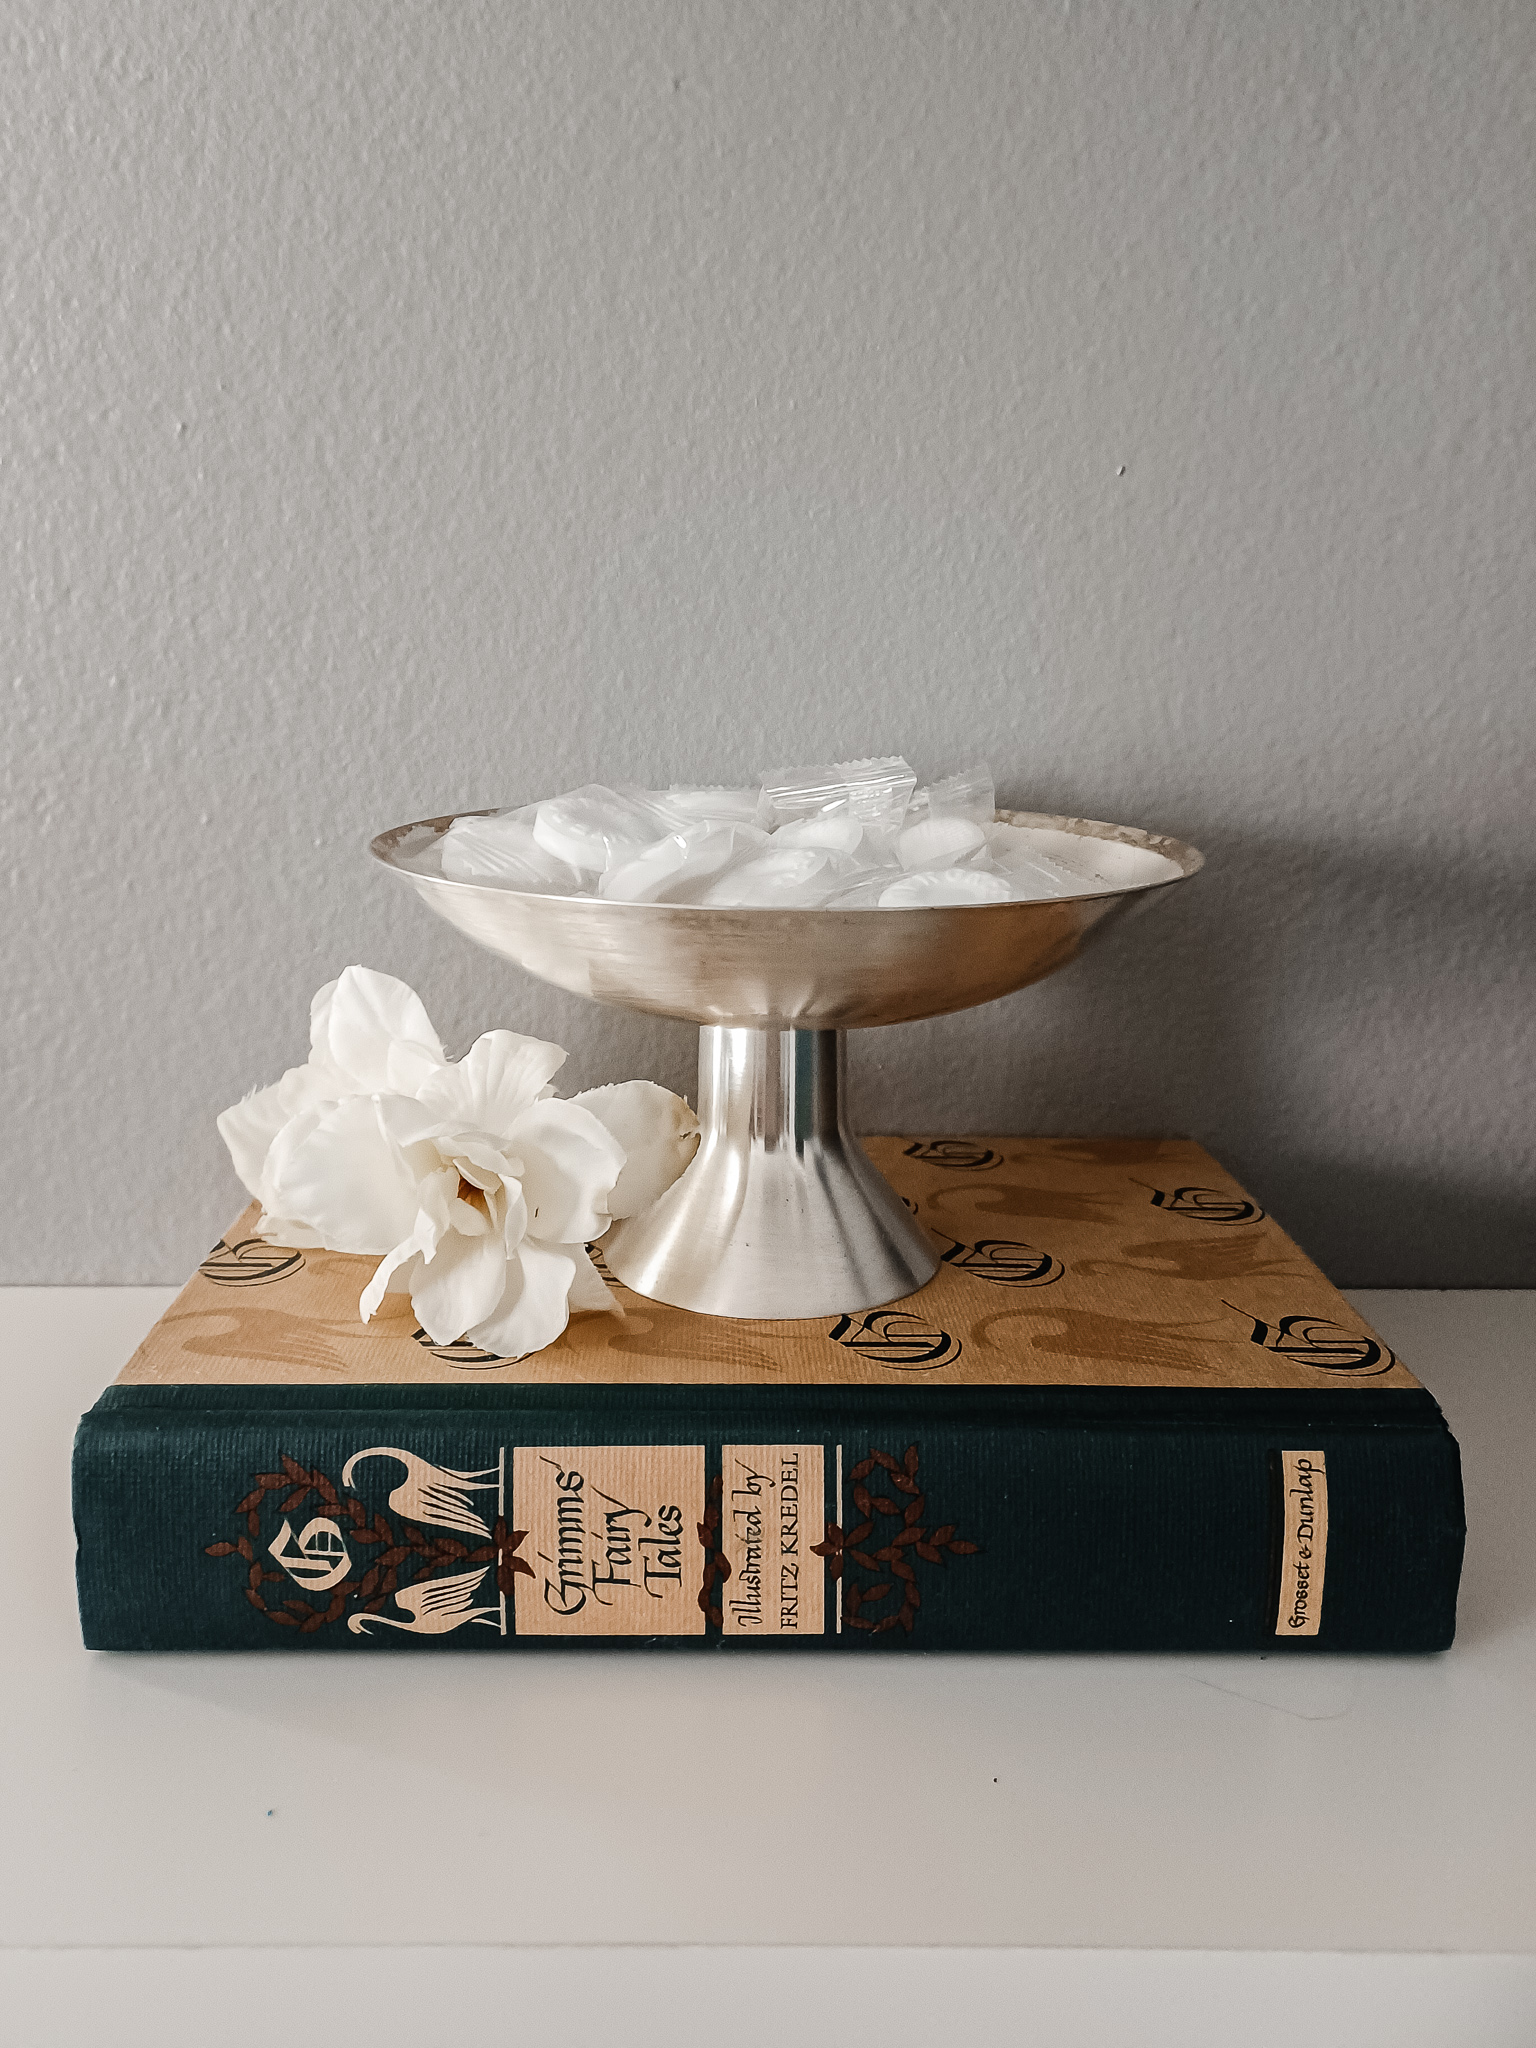
I can't wait to give all of these delightful pieces a new life in our home! I've already been stocking up on snacks and playing around with layering on shelves to see what they look like. Unfortunately, the snacks and candies never last long enough. Oh well!


