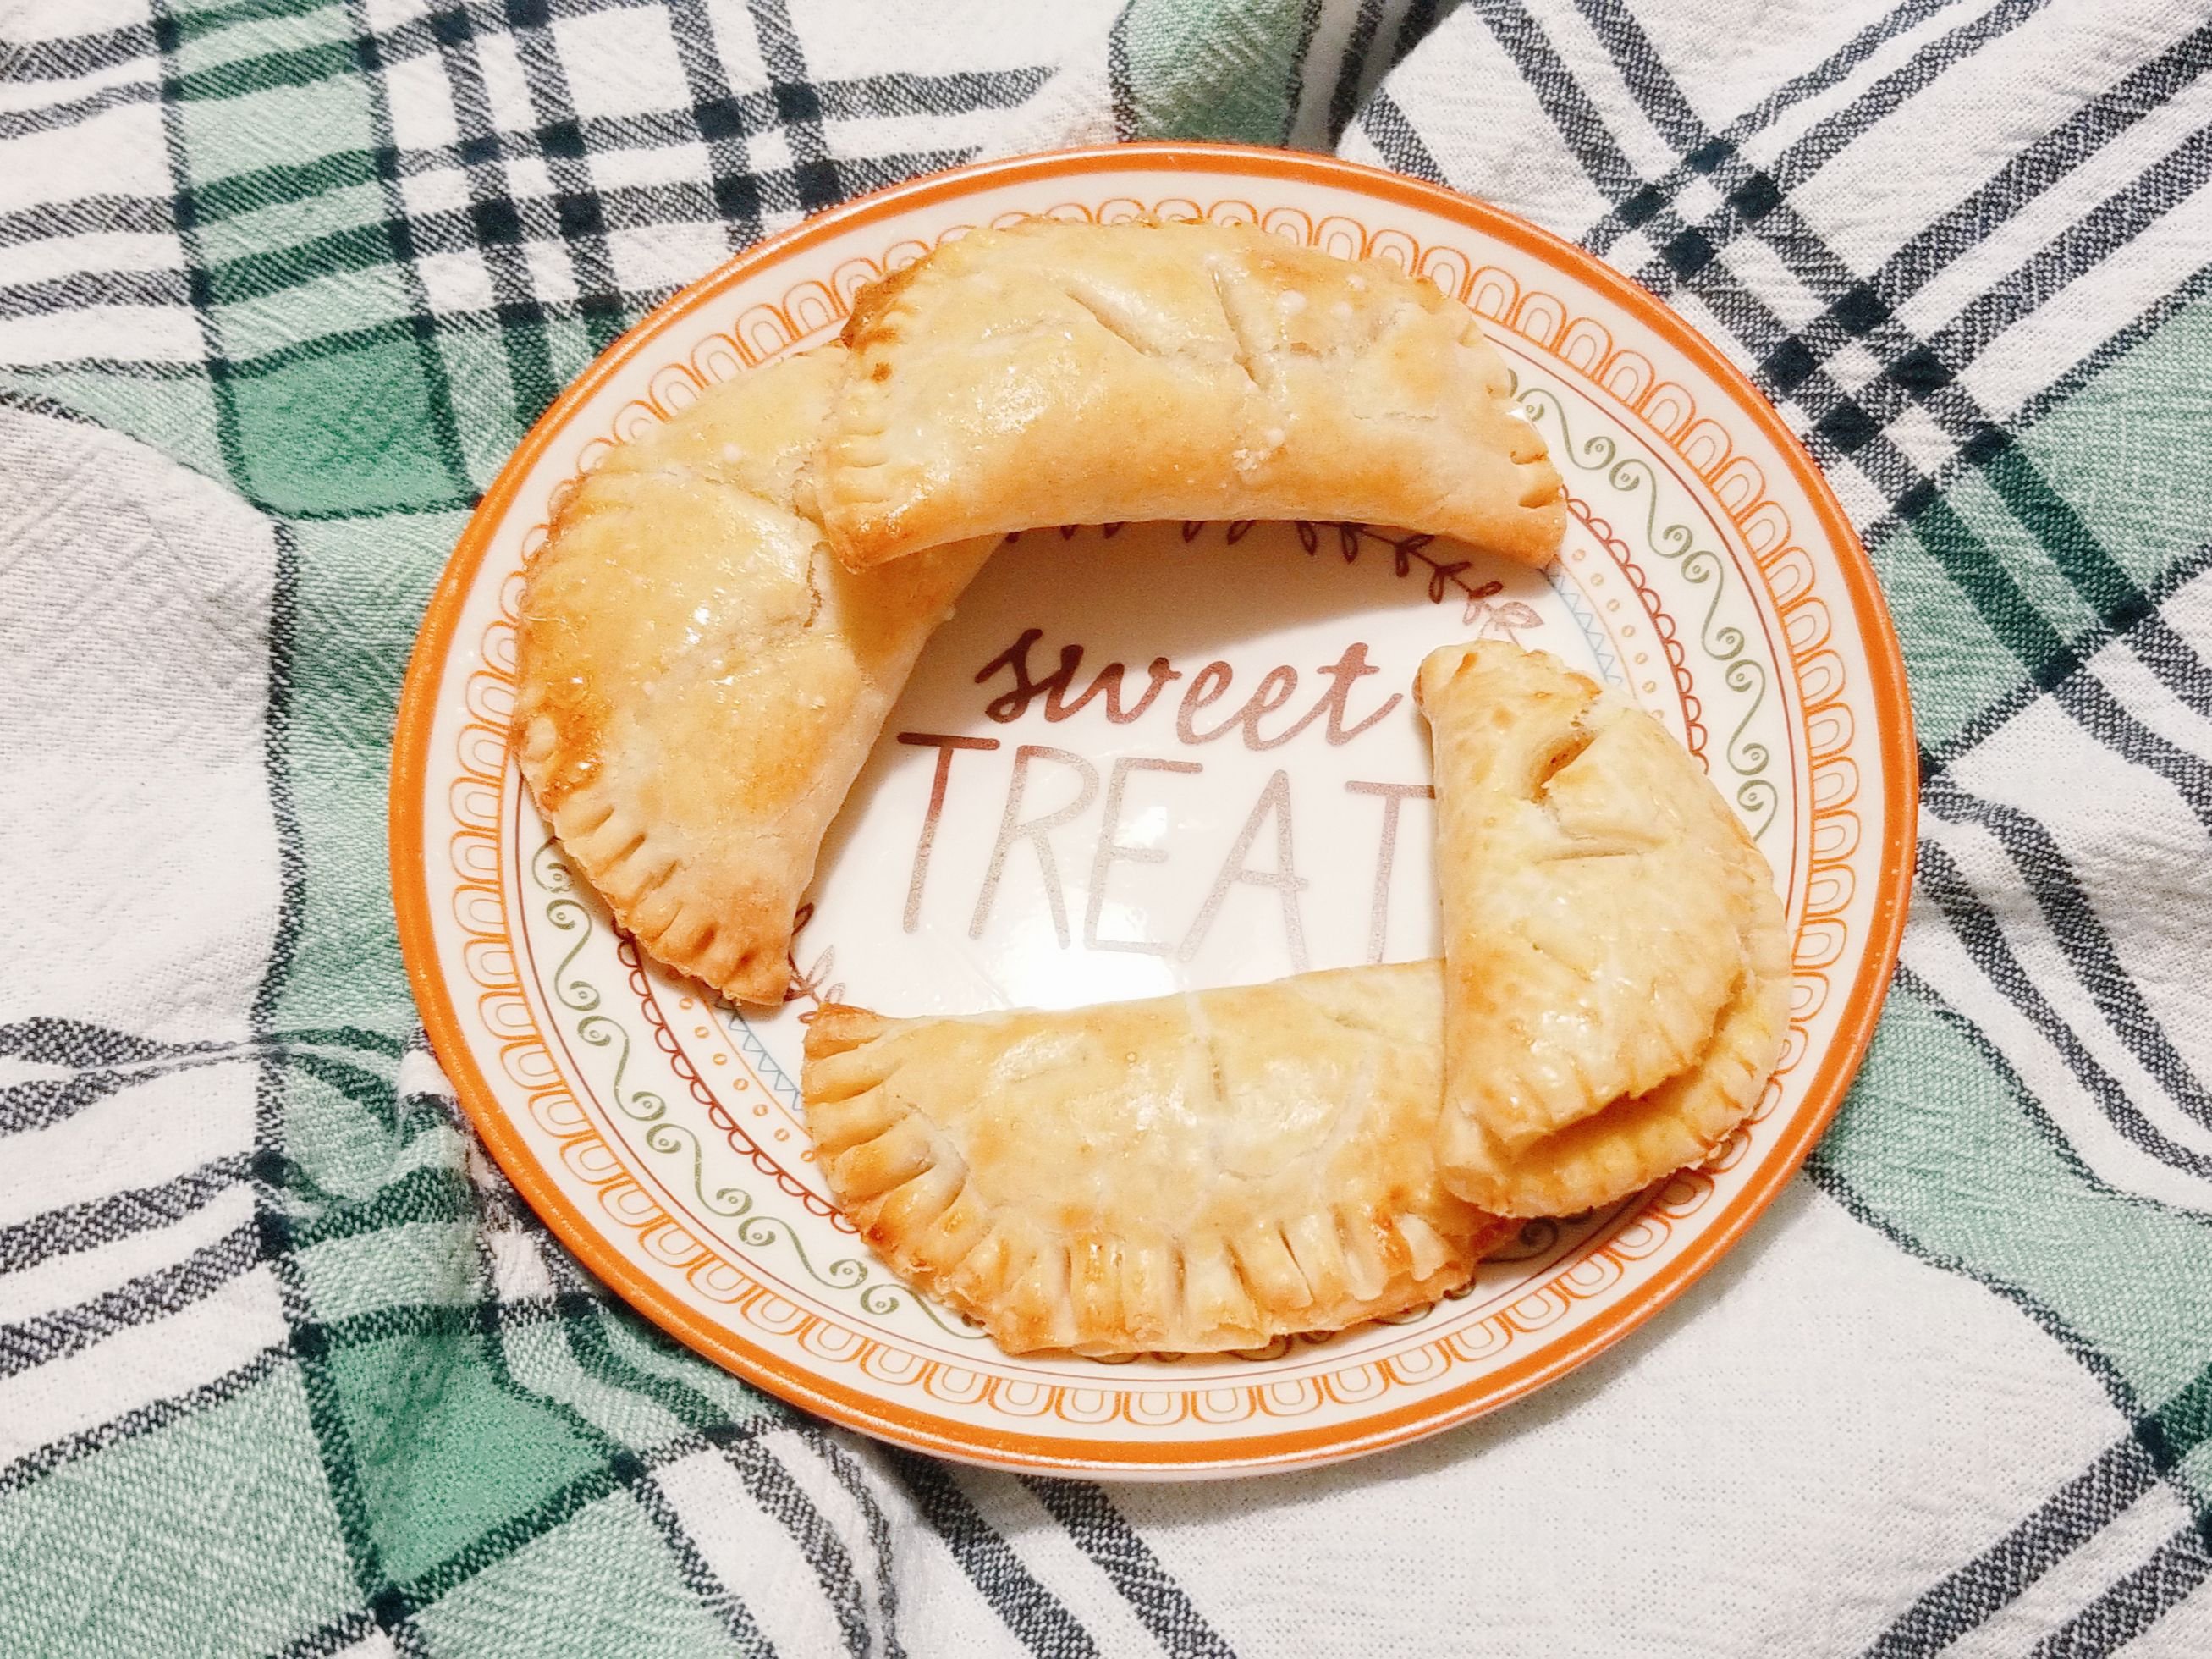
Pumpkin Pasties

Pumpkin Pasties have become my new favorite Fall/Winter treat. I first heard these delicious treats while reading Harry Potter and the Sorcerer's Stone. The treat is sprinkled throughout the series and has stuck with me in the back of my mind as something I always wanted to try (along with cauldron cakes and warm butterbeer)!
I originally found this recipe on Bijoux & Bits, who features the recipe in sweet and savory versions. If you'd like to try this out as a savory treat, I definitely recommend checking out this recipe!
I've modified the sweat version ever so slightly to more of my taste. I love tasting more of the puree than the seasoning, so I increased the amount of puree to reflect that. I also love this being more sweet and topped these delicious pies with a sugar glaze.
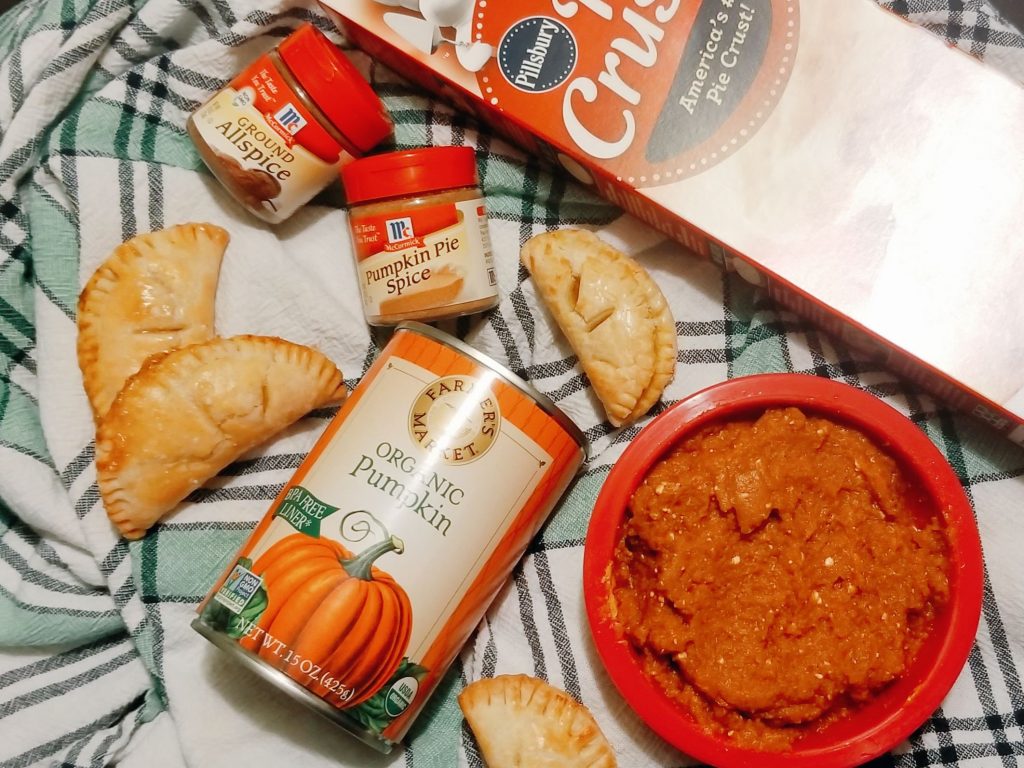
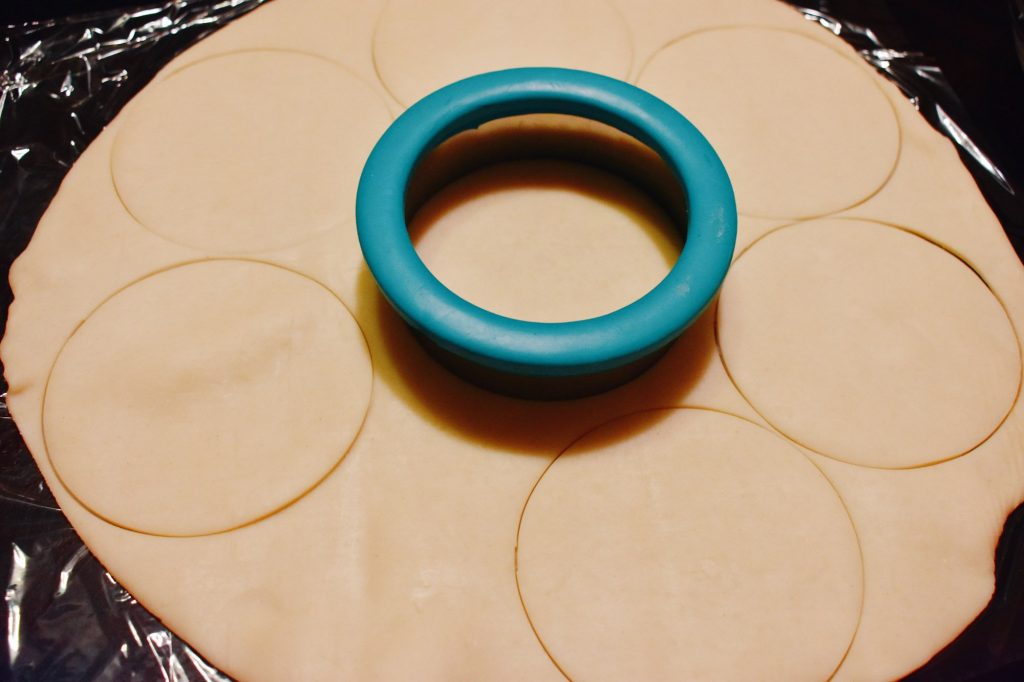
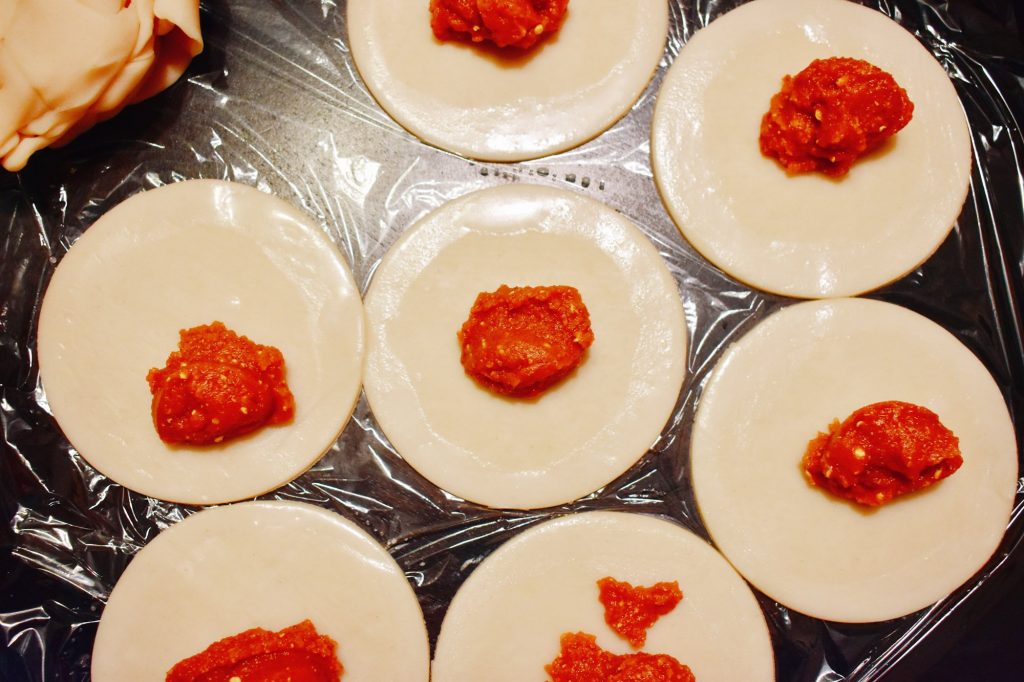
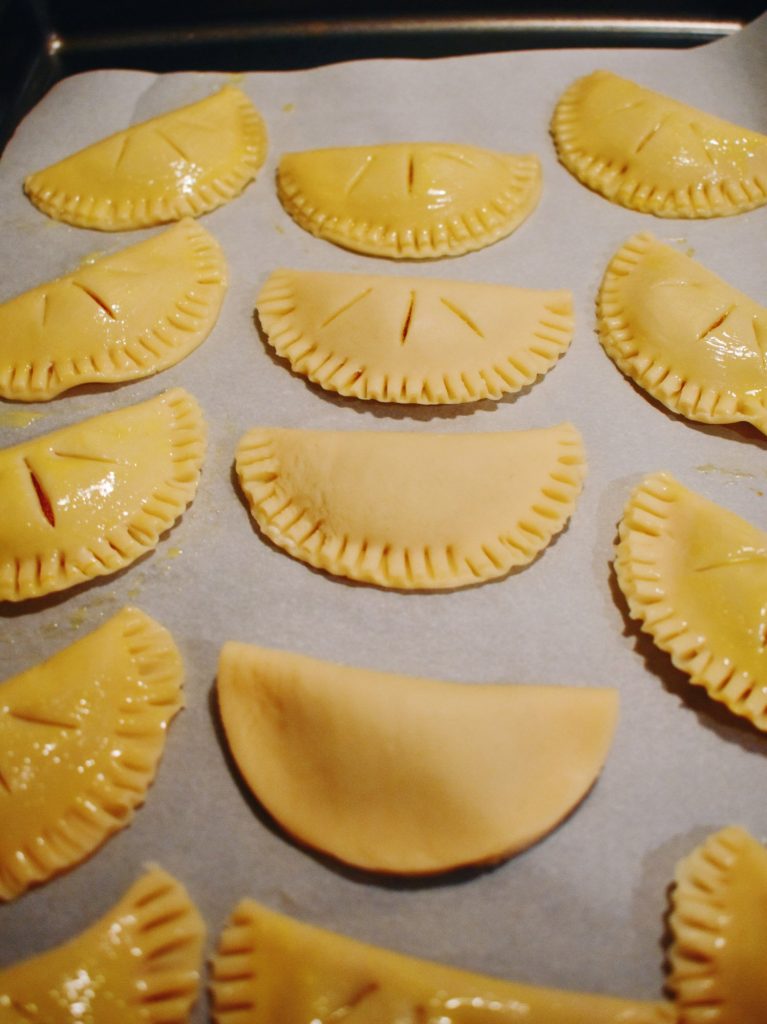
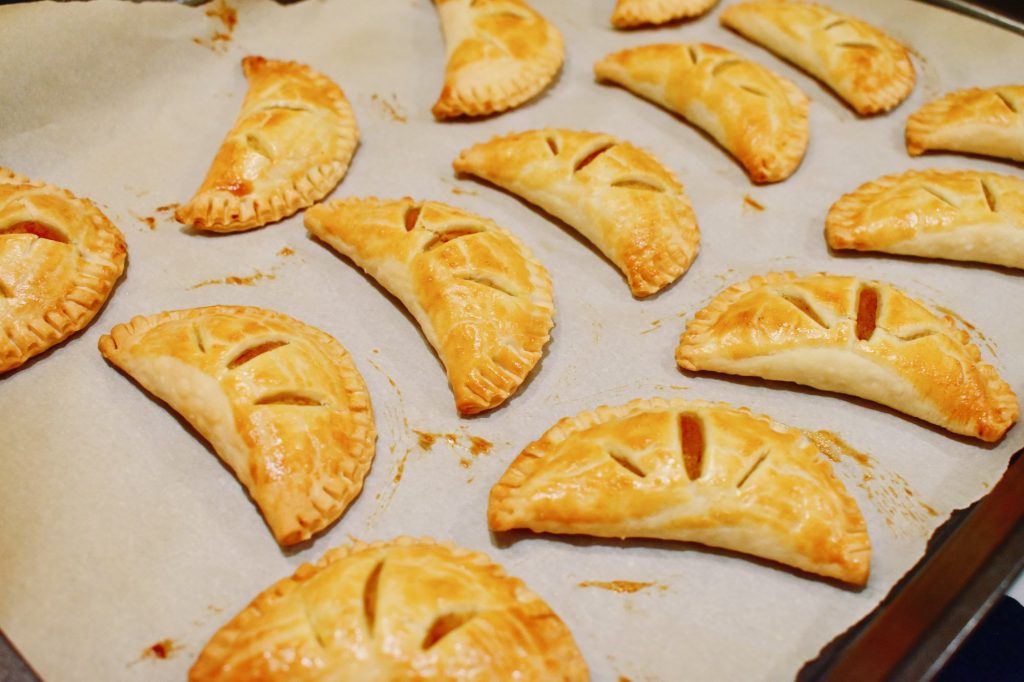
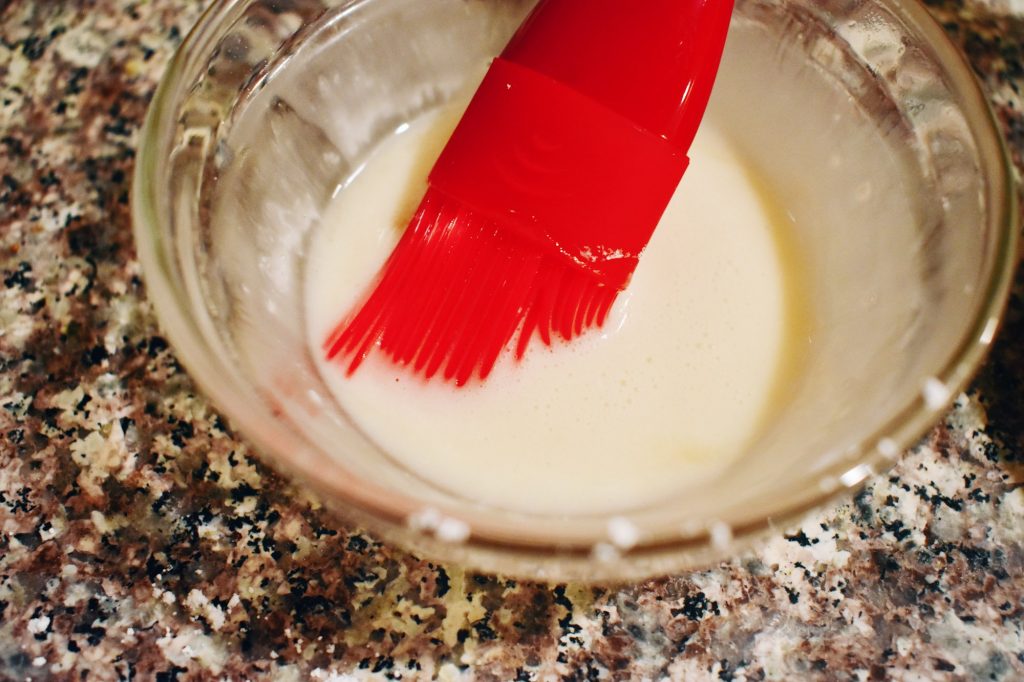
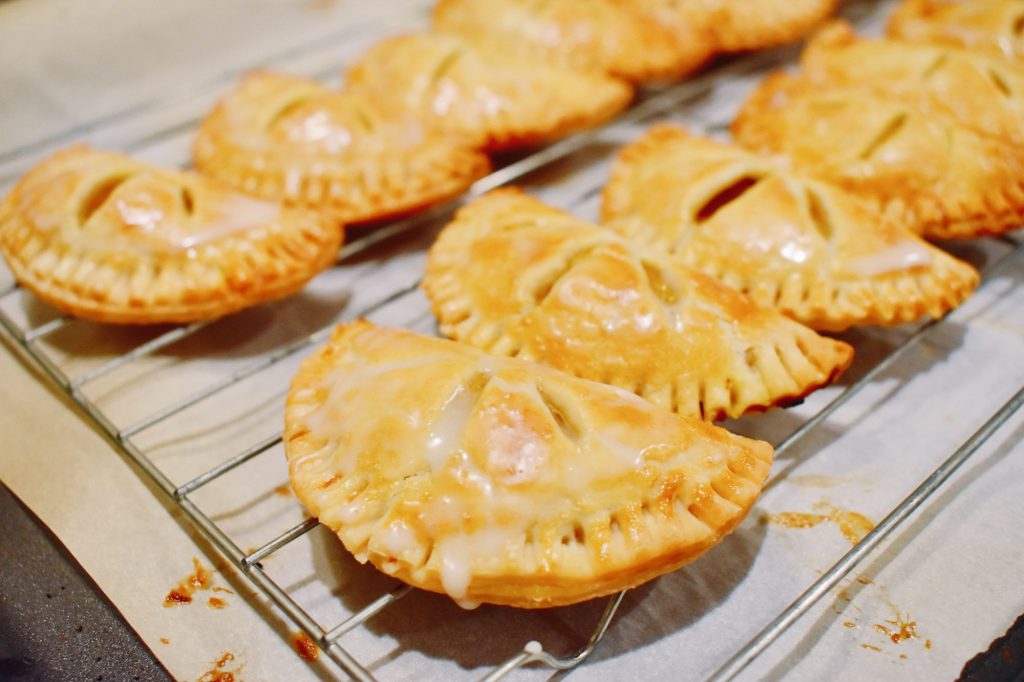
This recipe also makes a ton of hand pies, which is perfect because you can easily binge eat these snacks over a couple days. They definitely don't last very long in my house. In fact, you only see half of the pieces in these shots because the other half was eaten by me and my family before I could photograph them!
These make for great party desserts since you can grab them off a display and enjoy during conversation or games!

If you make these delicious Pumpkin Pasties, be sure to tag #pngdorkydishes on Instagram for a repost!
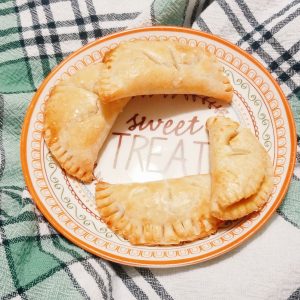
Pumpkin Pasties
Ingredients
Pasties & Filling
- 1 can pumpkin puree
- 2 tablespoons sugar granulated/white
- 1 tablespoon butter room temperature
- 1 teaspoon pumpkin pie seasoning
- 1/4 teaspoon all-spice seasoning
- 2 packages 2-pack pie crusts
Sugar Glaze (optional)
- 1/4 cup powdered sugar
- 1/2 tablespoon milk
- 1 splash vanilla extract
Egg Glaze
- 1 egg mixed
Instructions
- Preheat oven to 400 degrees. Unravel your crust onto clear wrap or a lightly floured surface. Use a circular cookie cutter of at least 3" to cut the dough. The smaller your circle the smaller the pies and less filling you'll use in each. The larger the circle, the less pies you'll have but each will have more filling. I used a 4" round cookie cutter. I recommend 4-5" if possible. A tall beer glass also works great for this.
- Mix together all your ingredients in a medium sized bowl. (See notes below on making some sugar free.)
- Fill each pie with about a 1 teaspoon or so of filling. Take a small bit of water on your finger and rub the edge of each circle. This will help the pies stay closed.
- Fold each pie in half and crimp with a fork. Cut three small slits on one side of the pie for ventilation.
- Using a brush, fork or spoon, lightly coat the top of the pies with a bit of egg. This will help with browning and making a nice crunch to the pie.
- Bake for about 15 minutes, or until lightly brown. You can keep these guys pretty close together if you're trying to bake as many at once as you can. They don't really expand too much. I would try to keep at least a 1/2" distance between each.
- While the pies are baking, mix together your sugar glaze. This is optional, but I recommend it for added sweetness. Wait at least 10-15 minutes before brushing the glaze on to the pies. Allow additional time for the glaze to dry before stacking.
- Serve and enjoy!
Notes


