

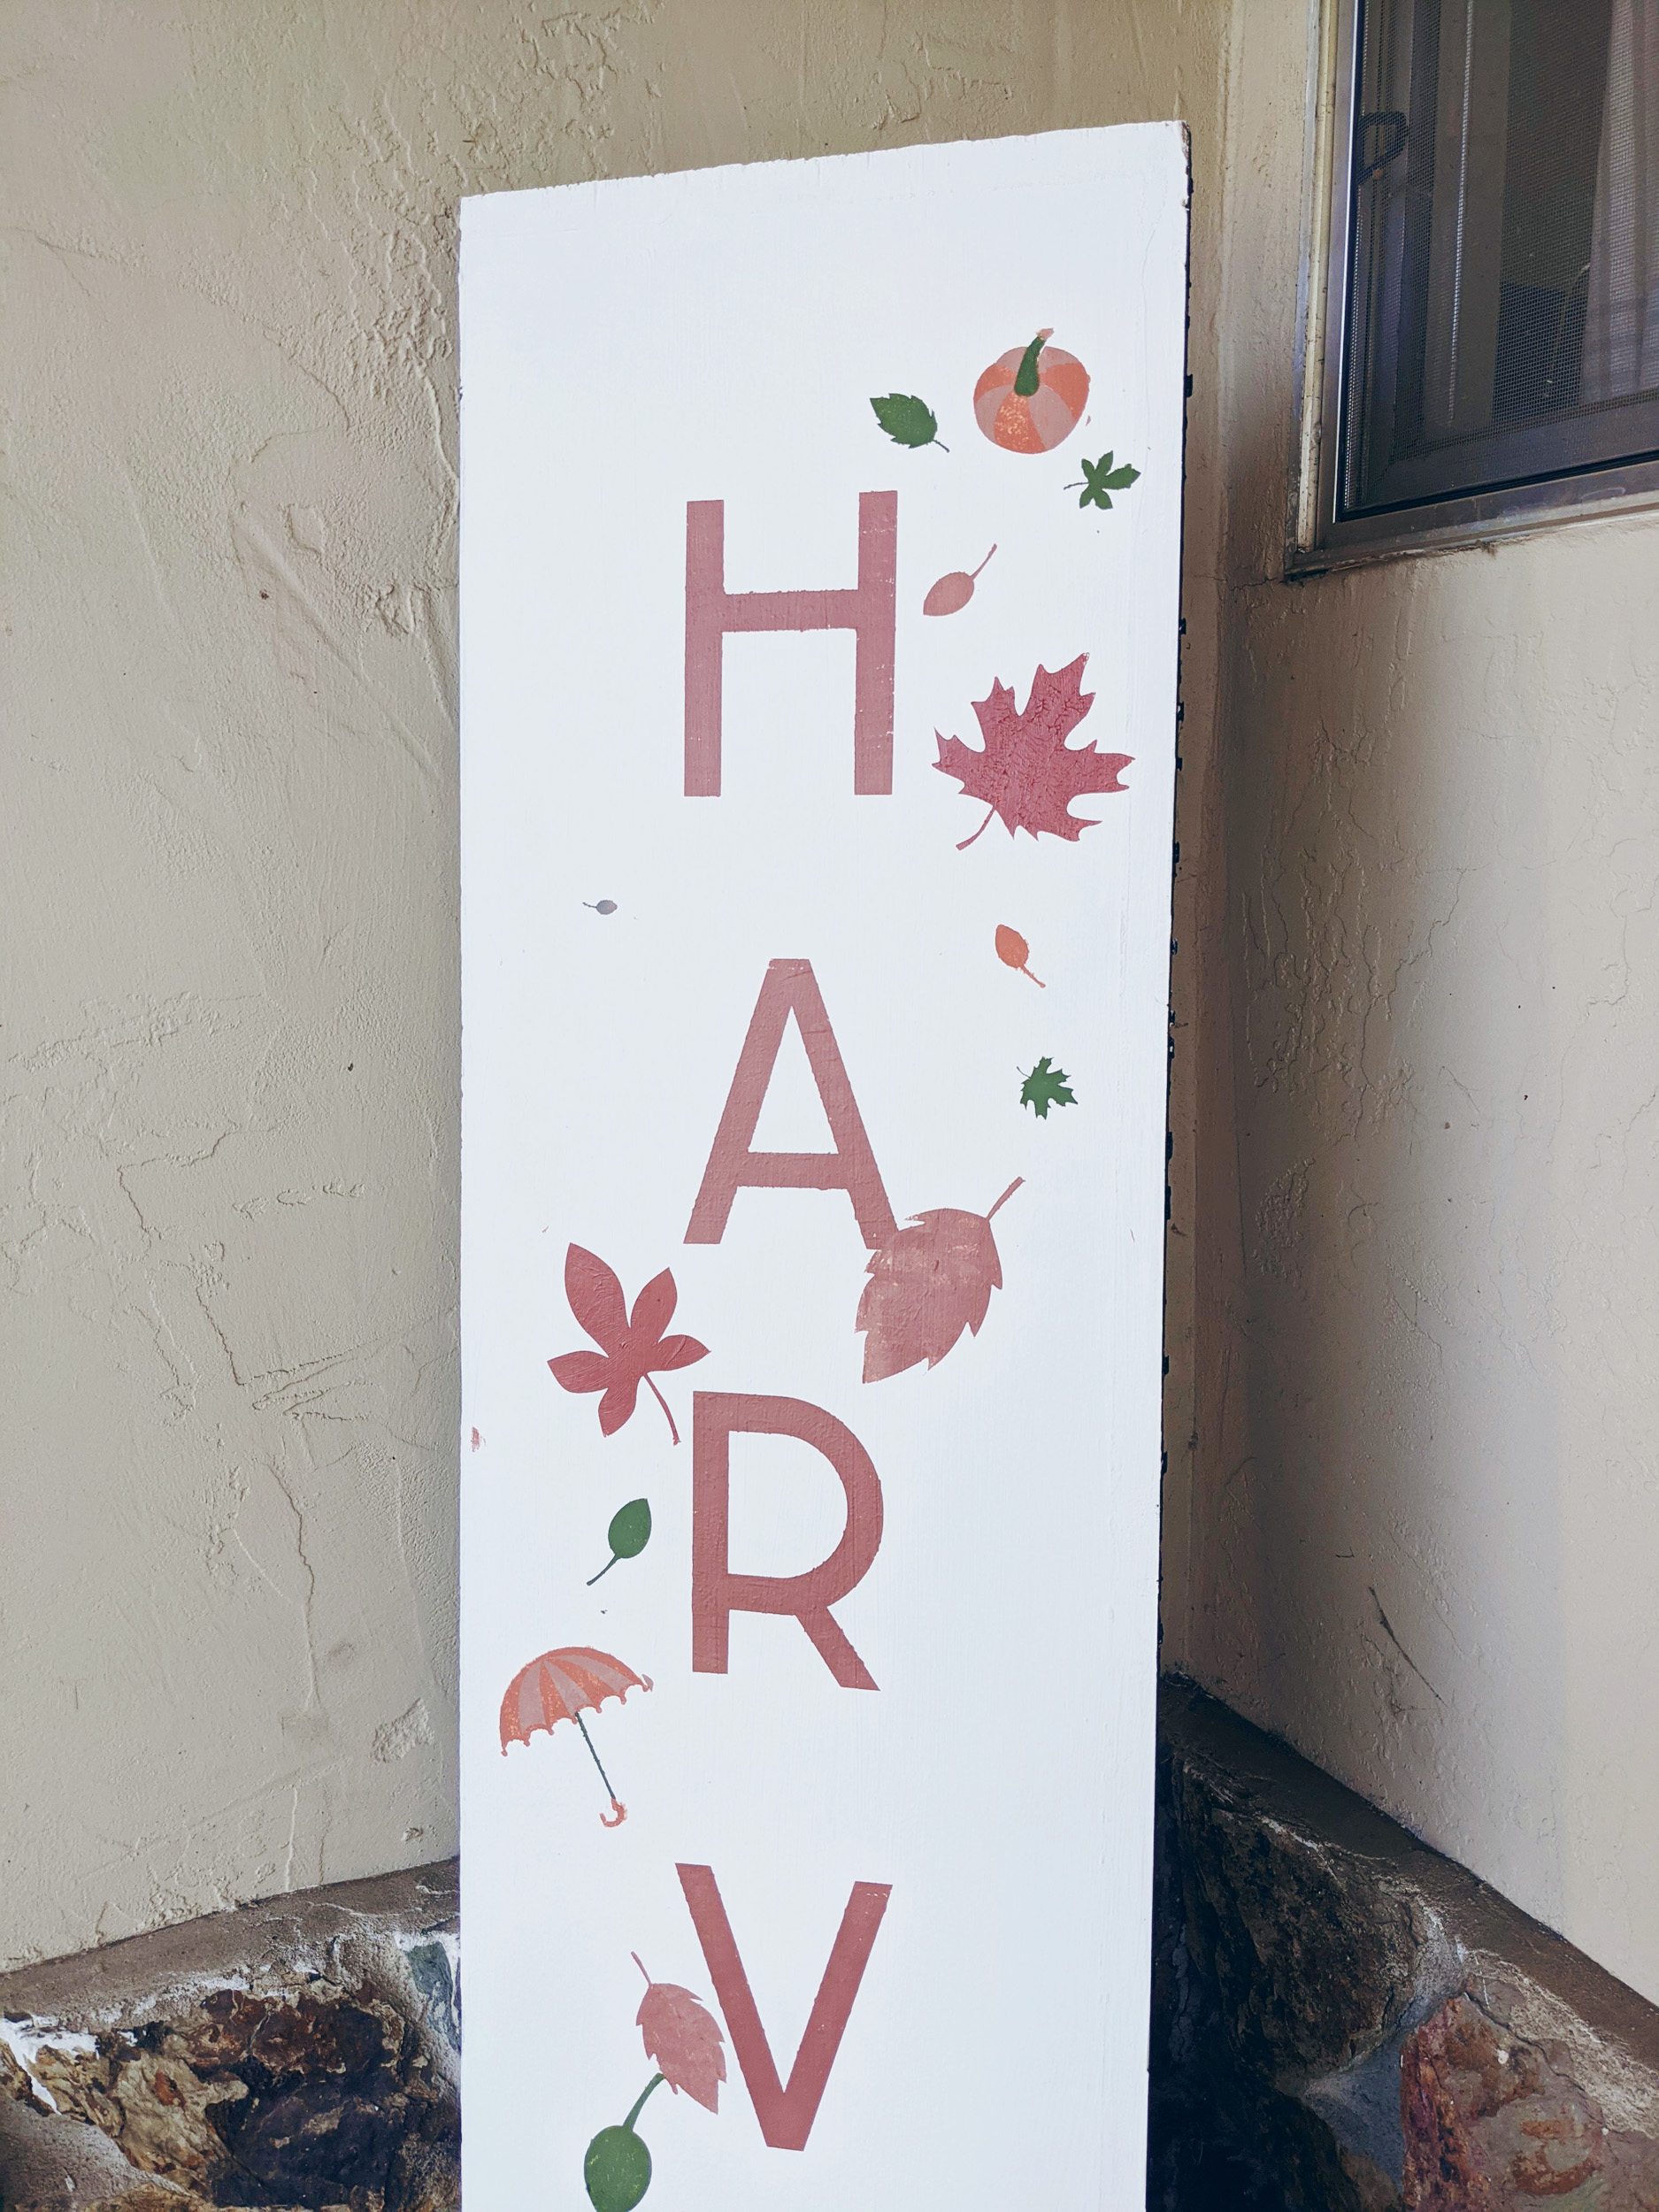
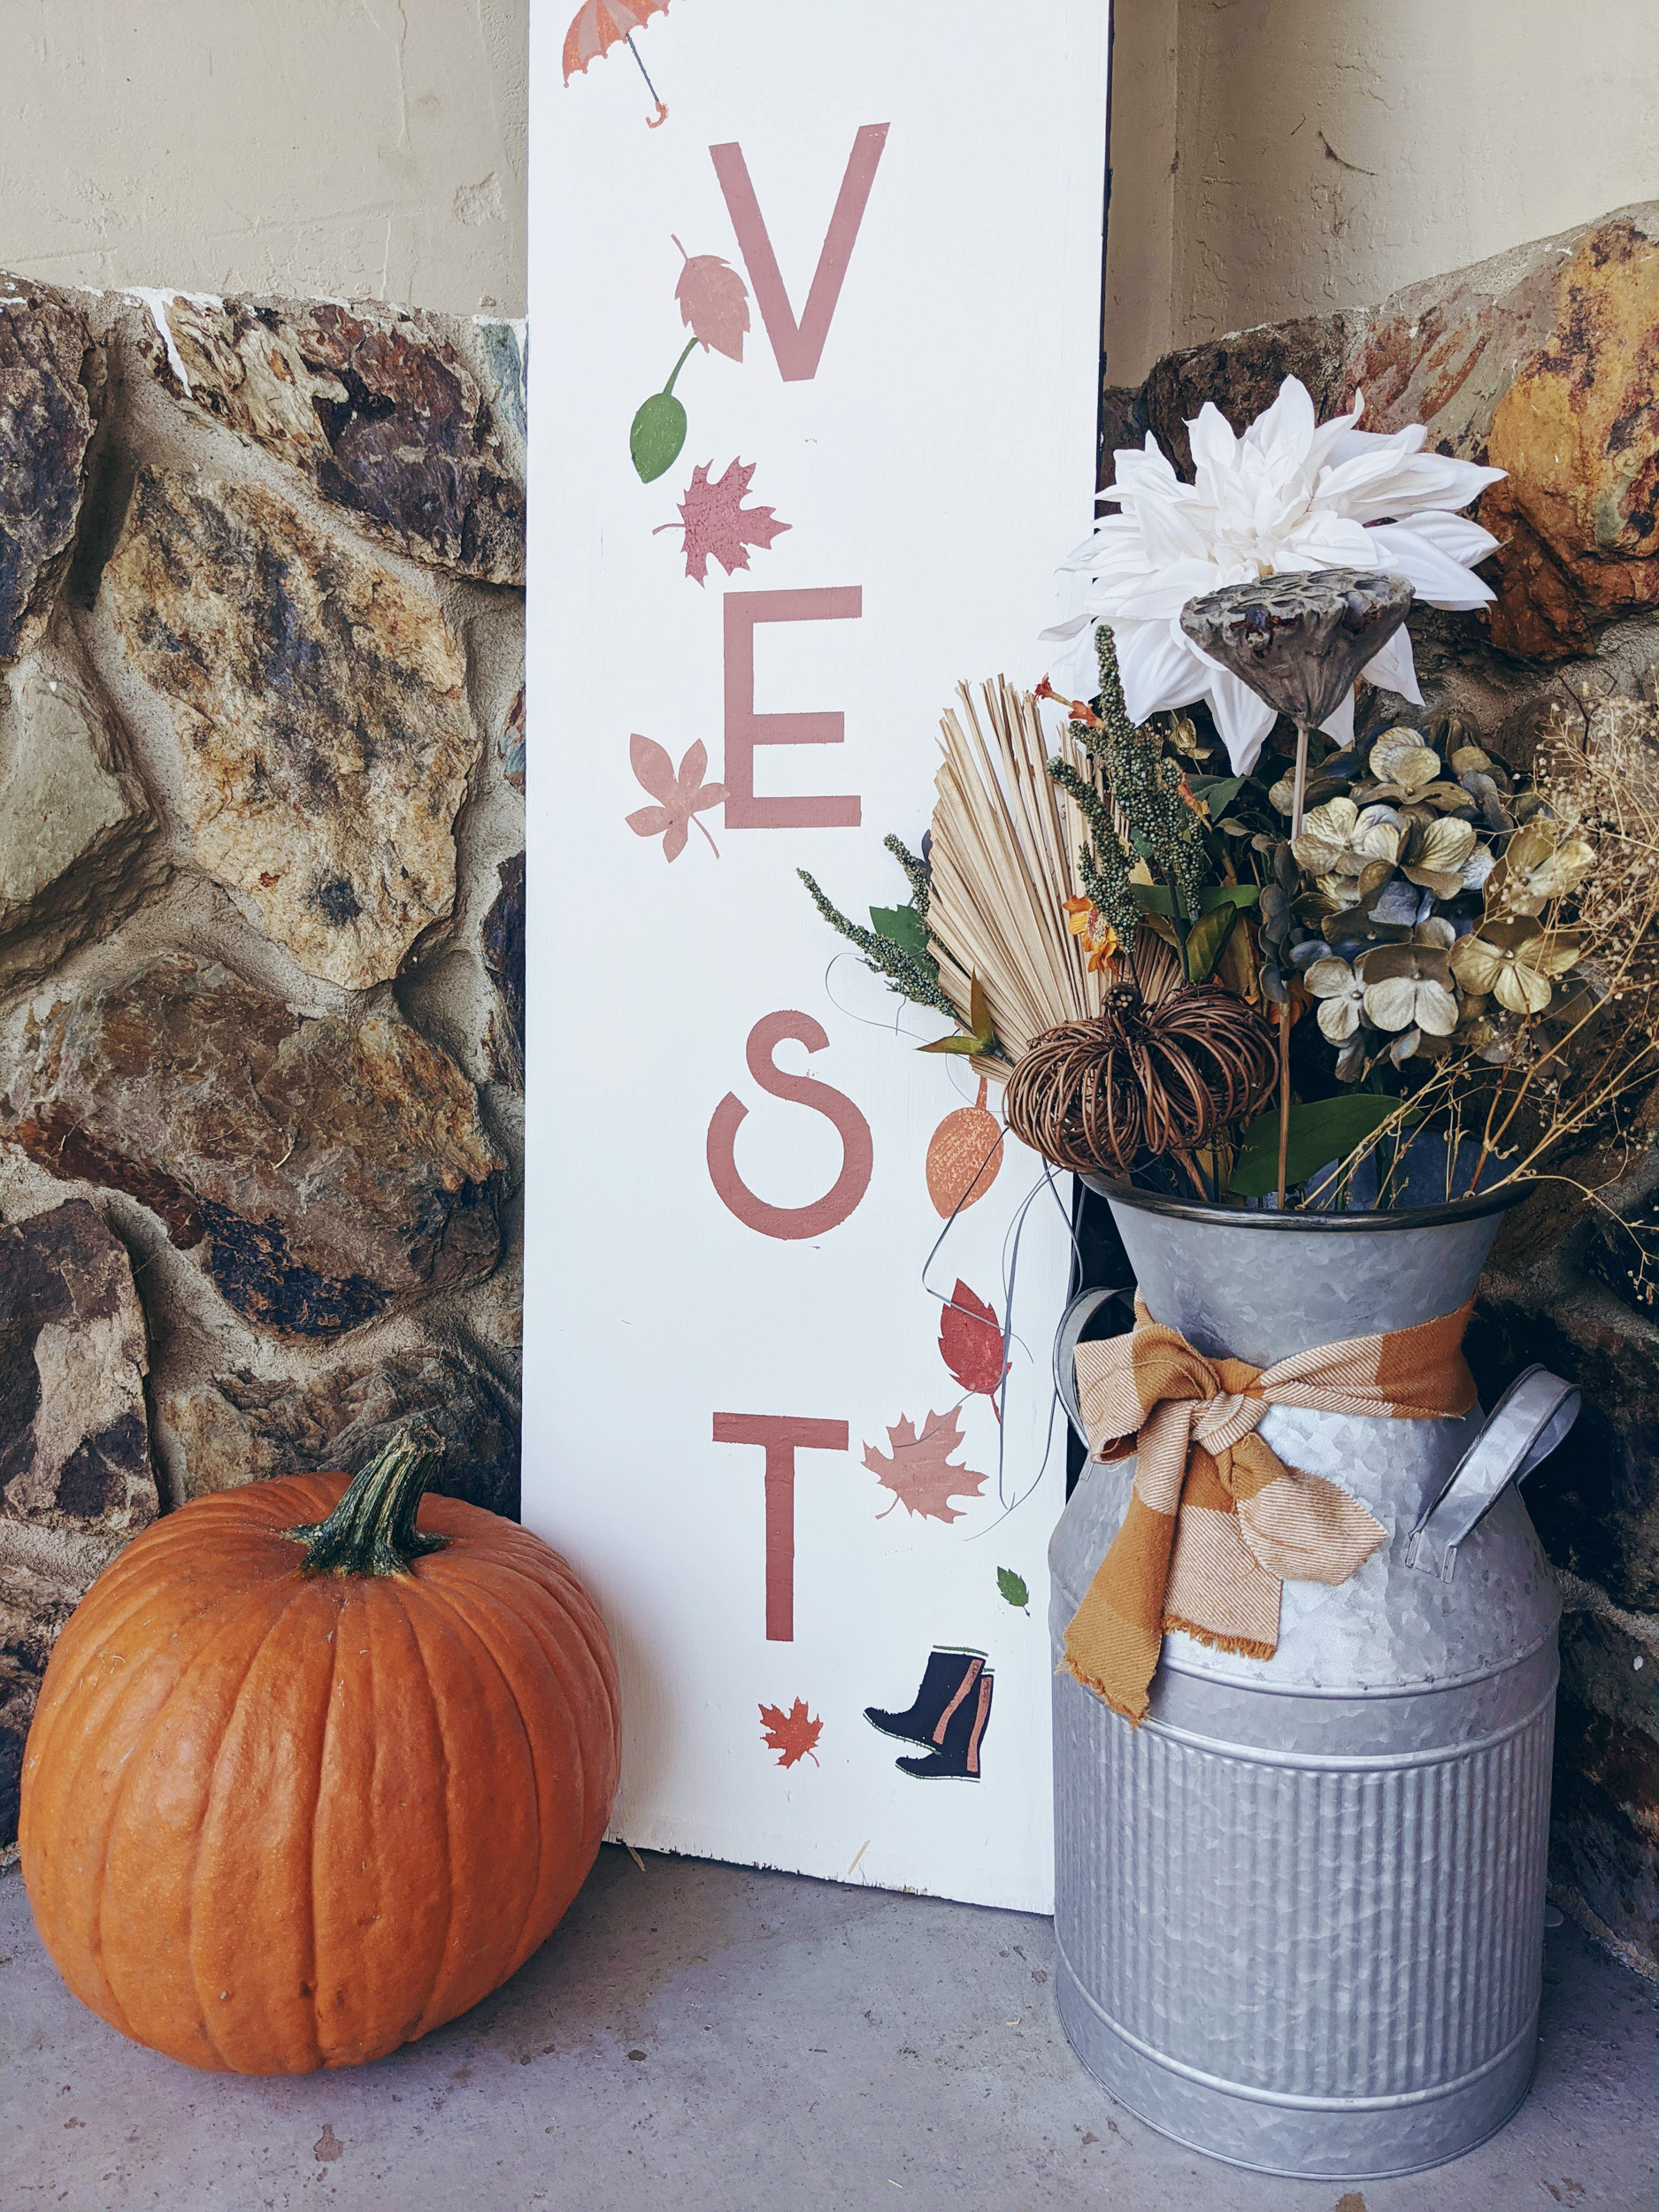
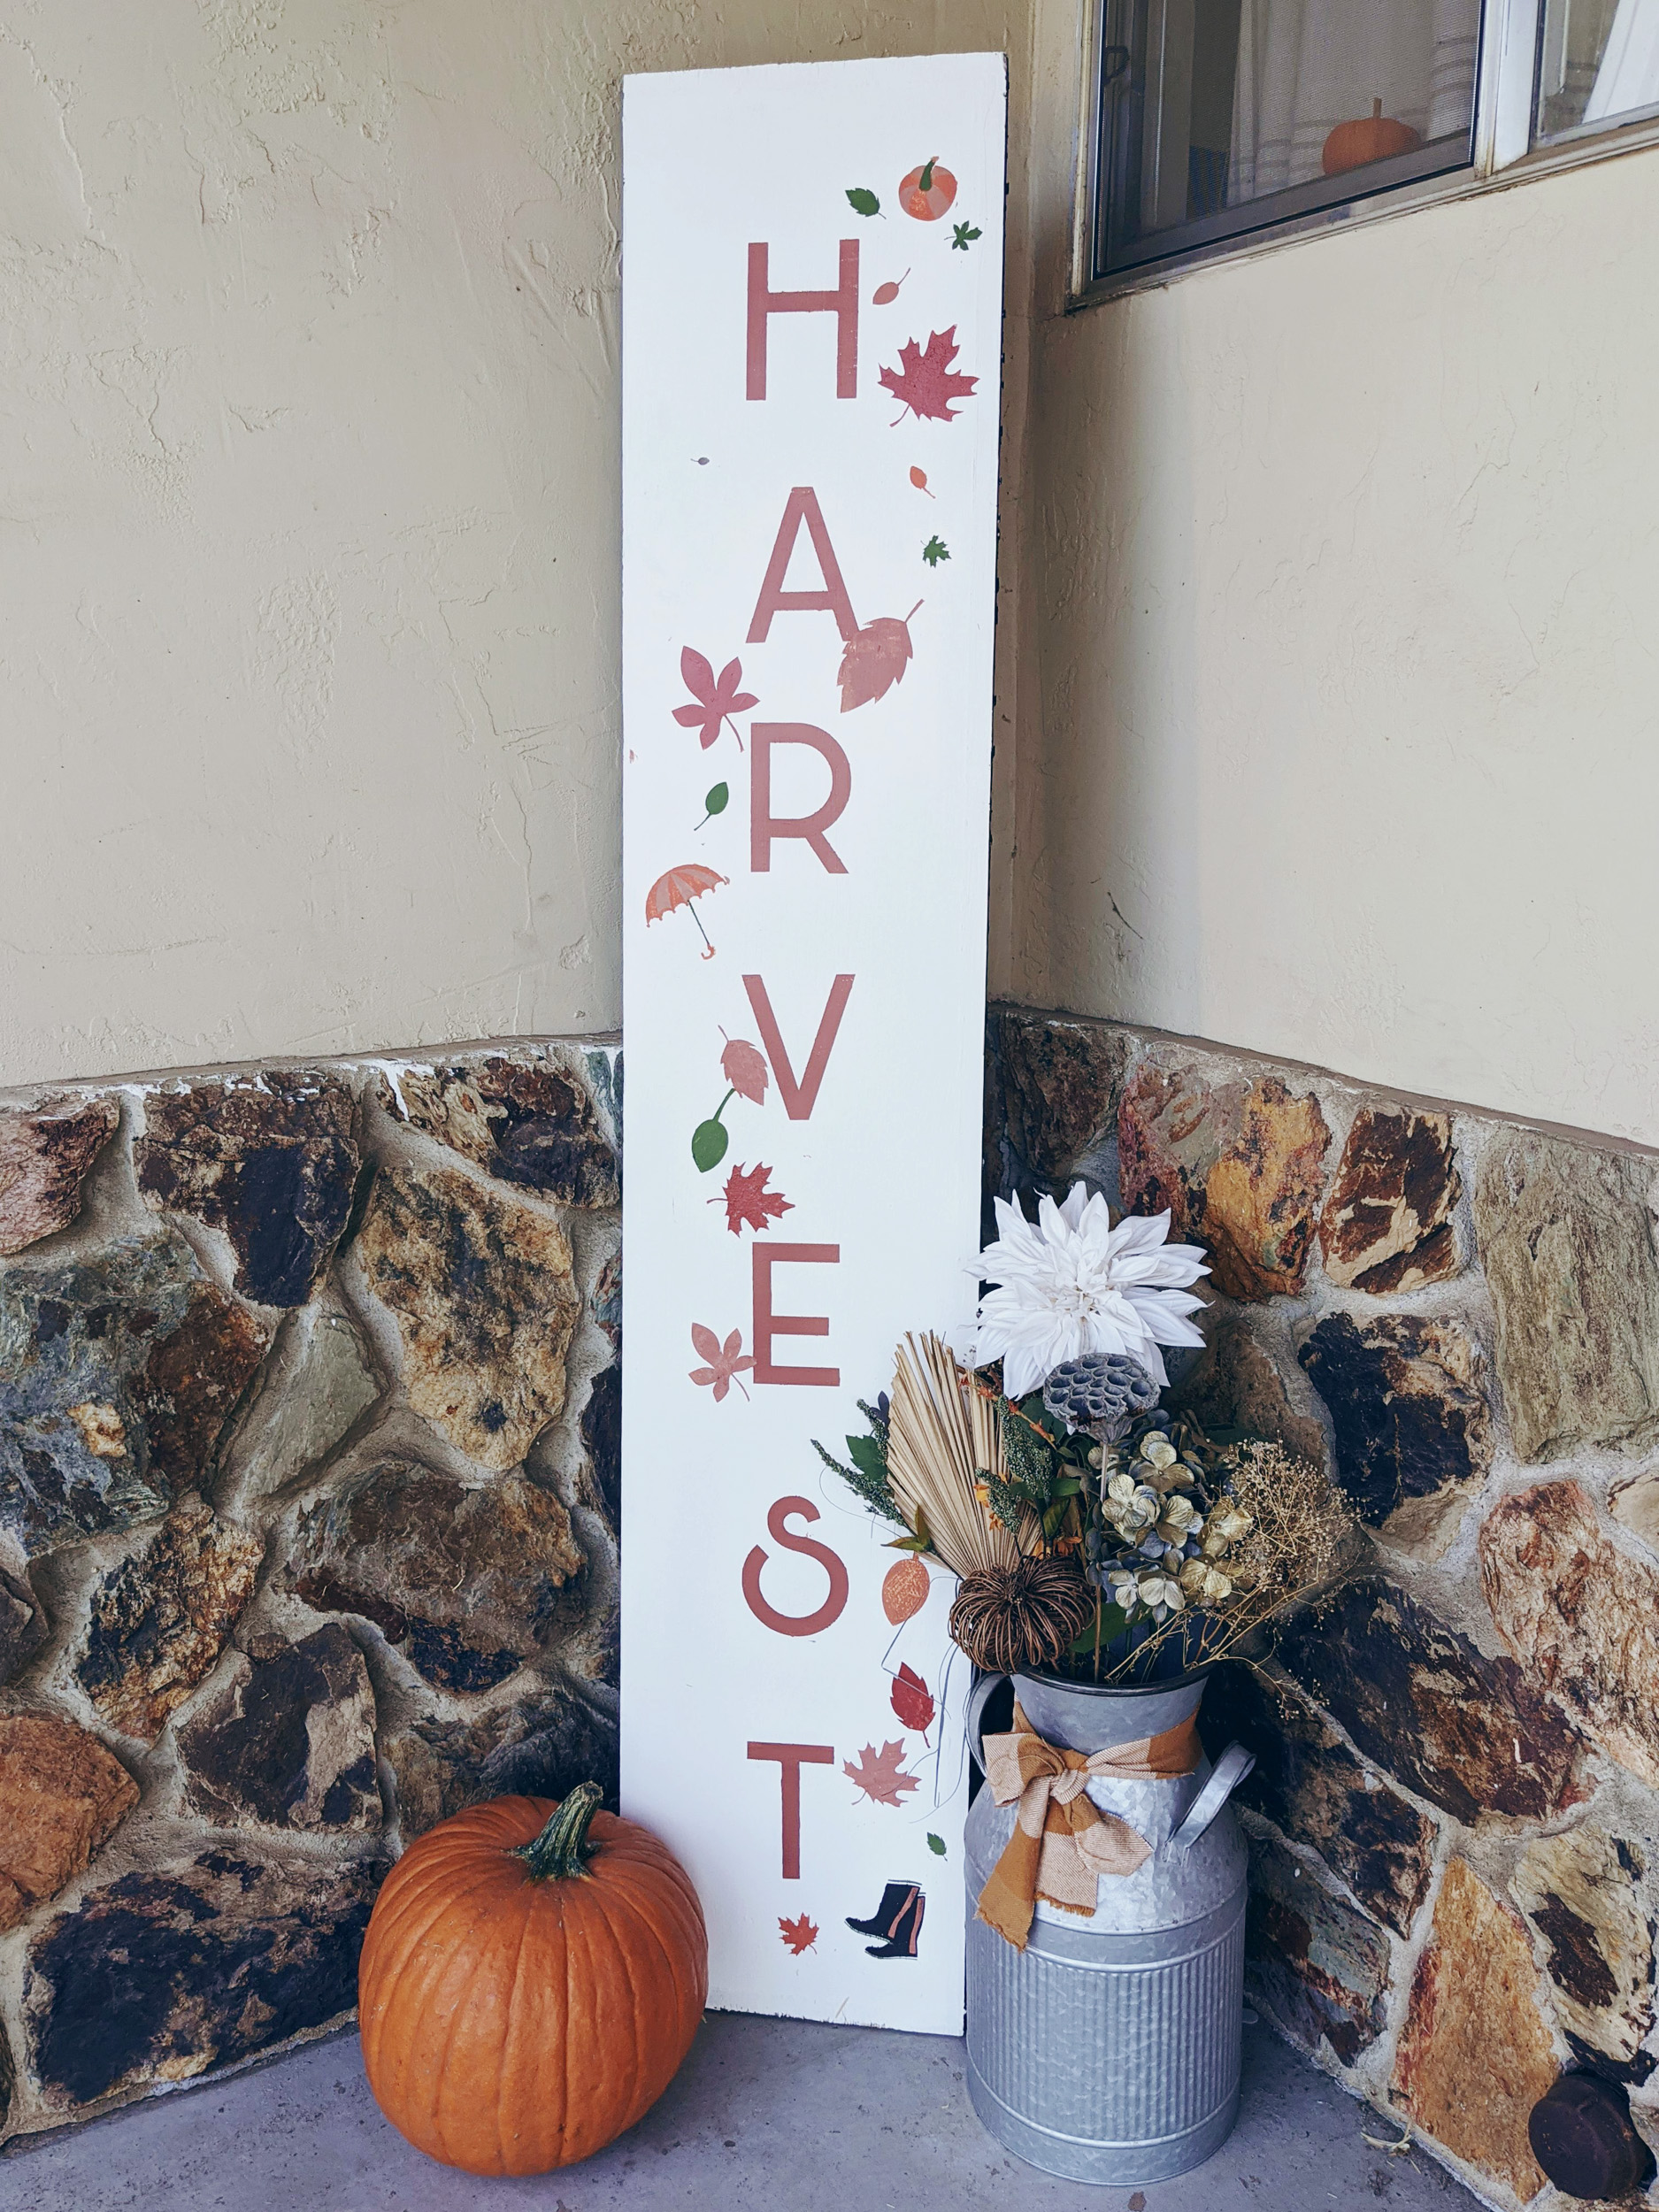
Fall and Halloween Double-Sided Wood Signs
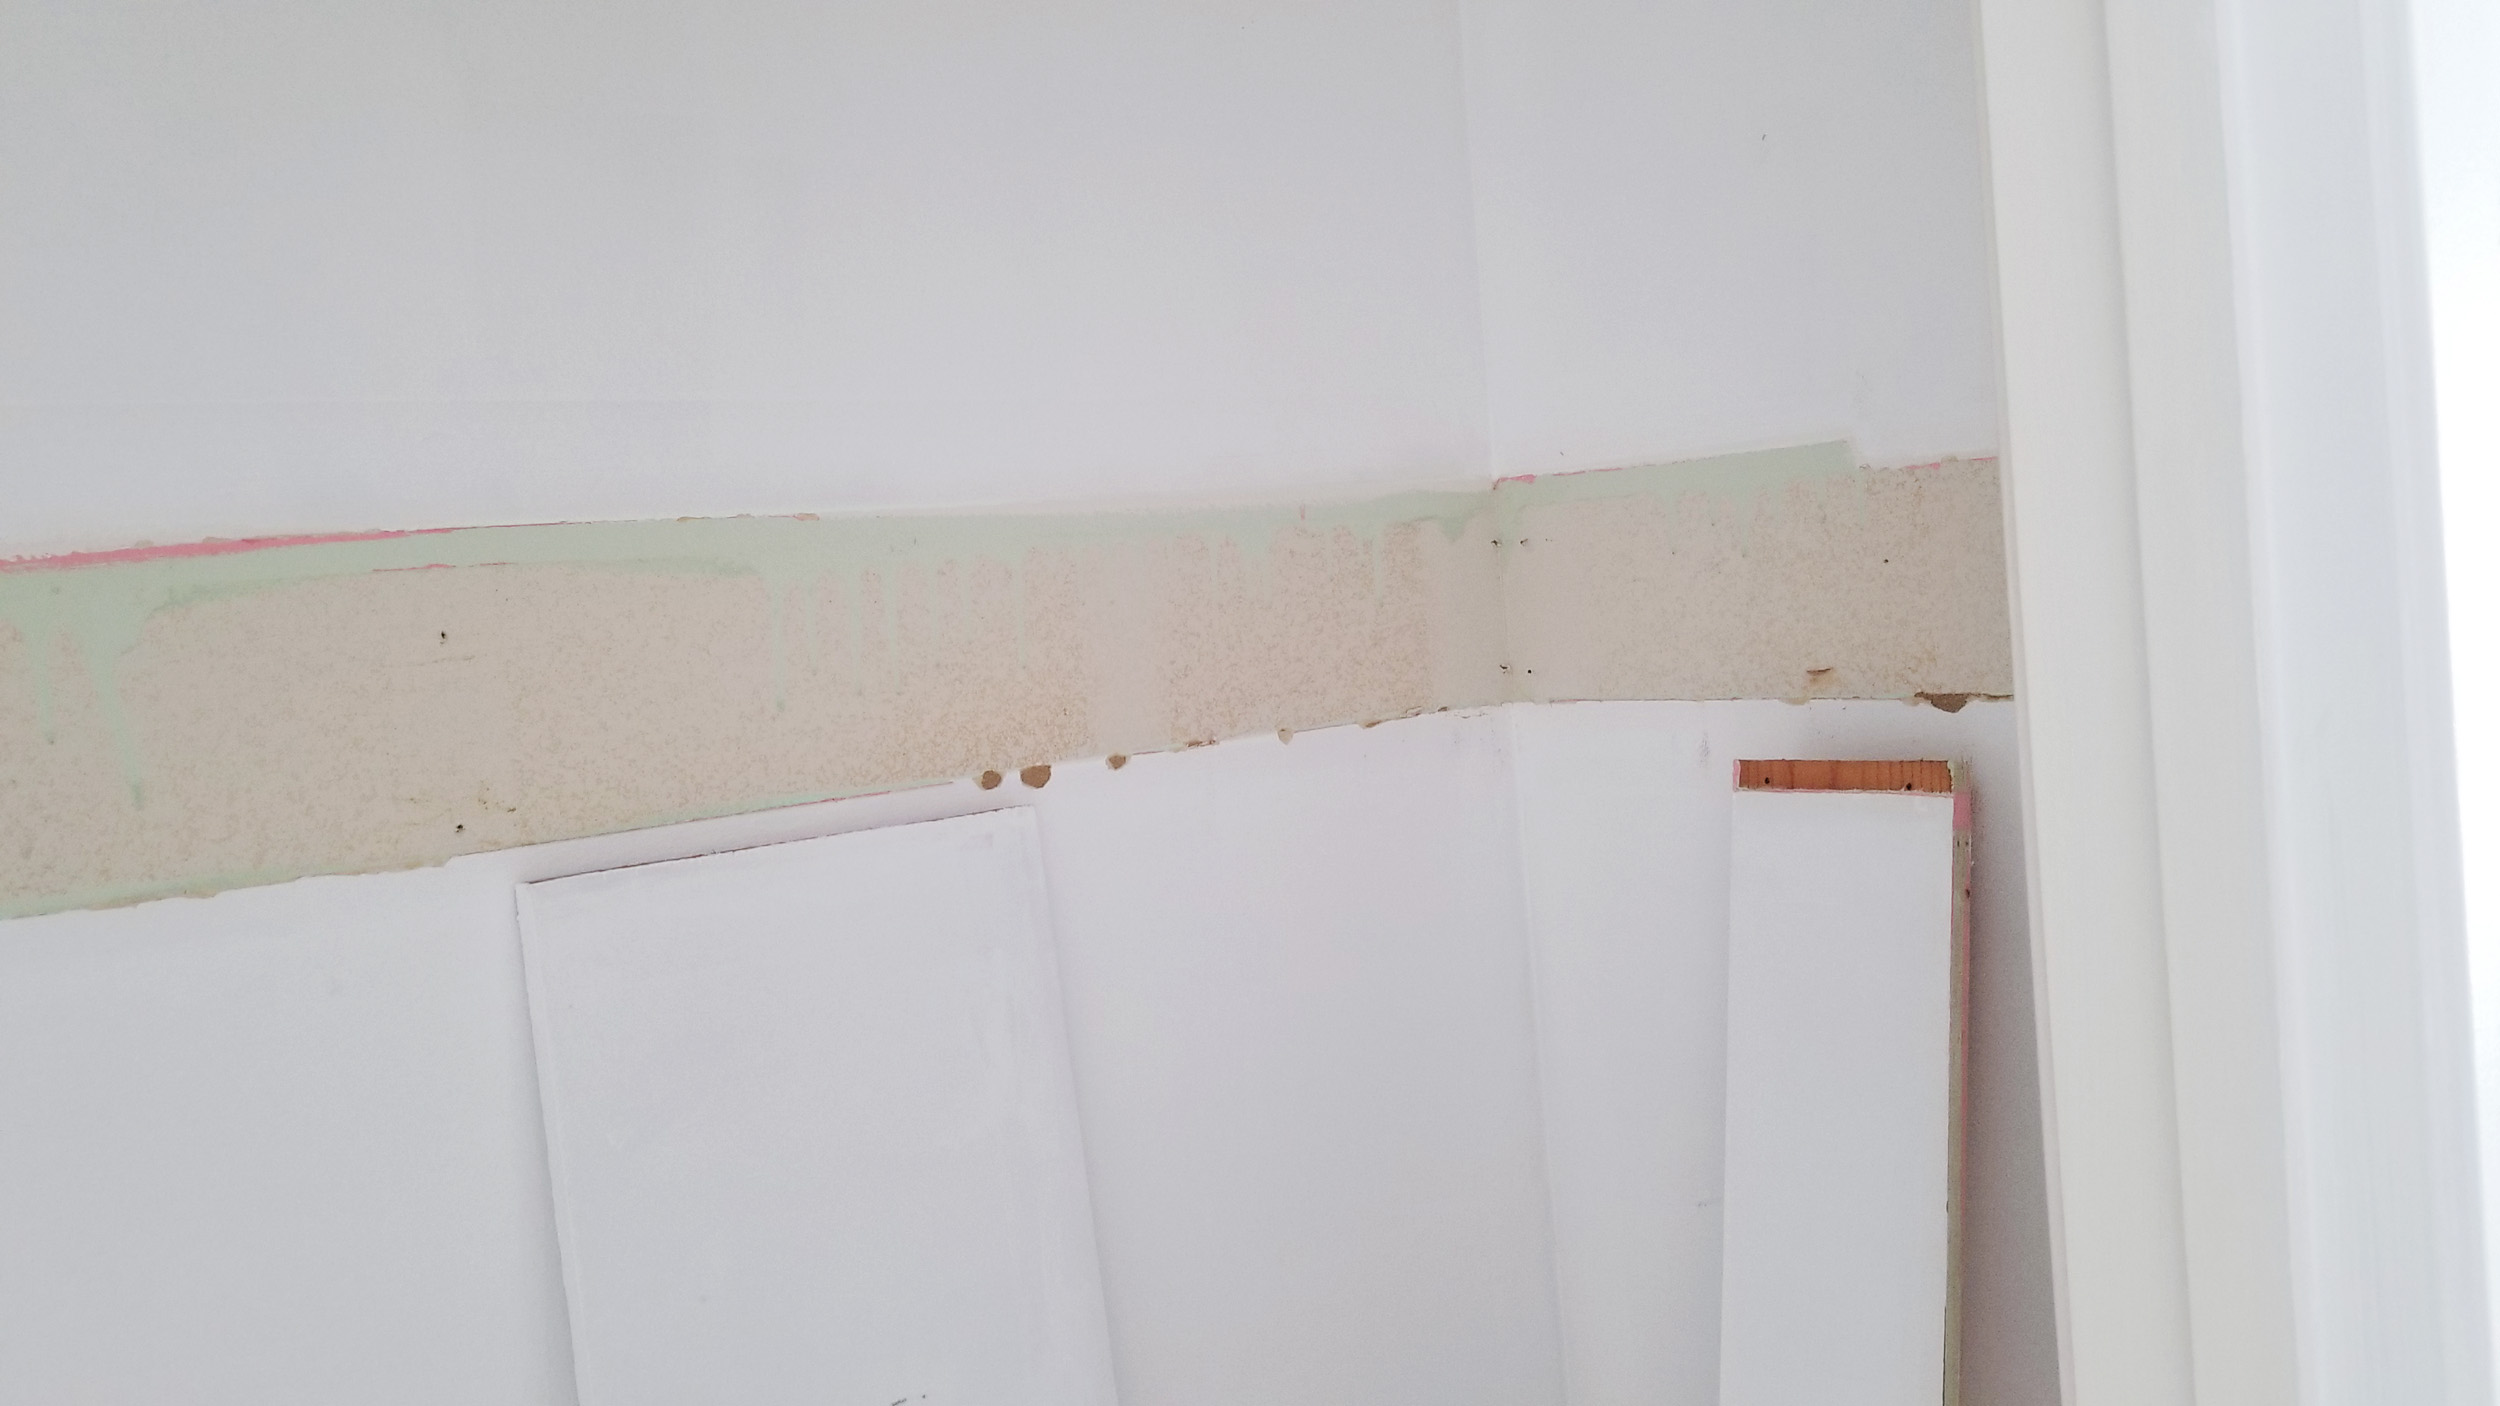
Being able to repurpose trash or unwanted items is always such a fun project. When we originally redid our closets over a year ago, I knew I need to save all of the wood pieces from the shelf because everything stayed in such good condition. In today's post, I'll be showing you how I took one of our bedroom closet shelves and turn it into a Fall and Halloween double-sided wood sign for a front porch!
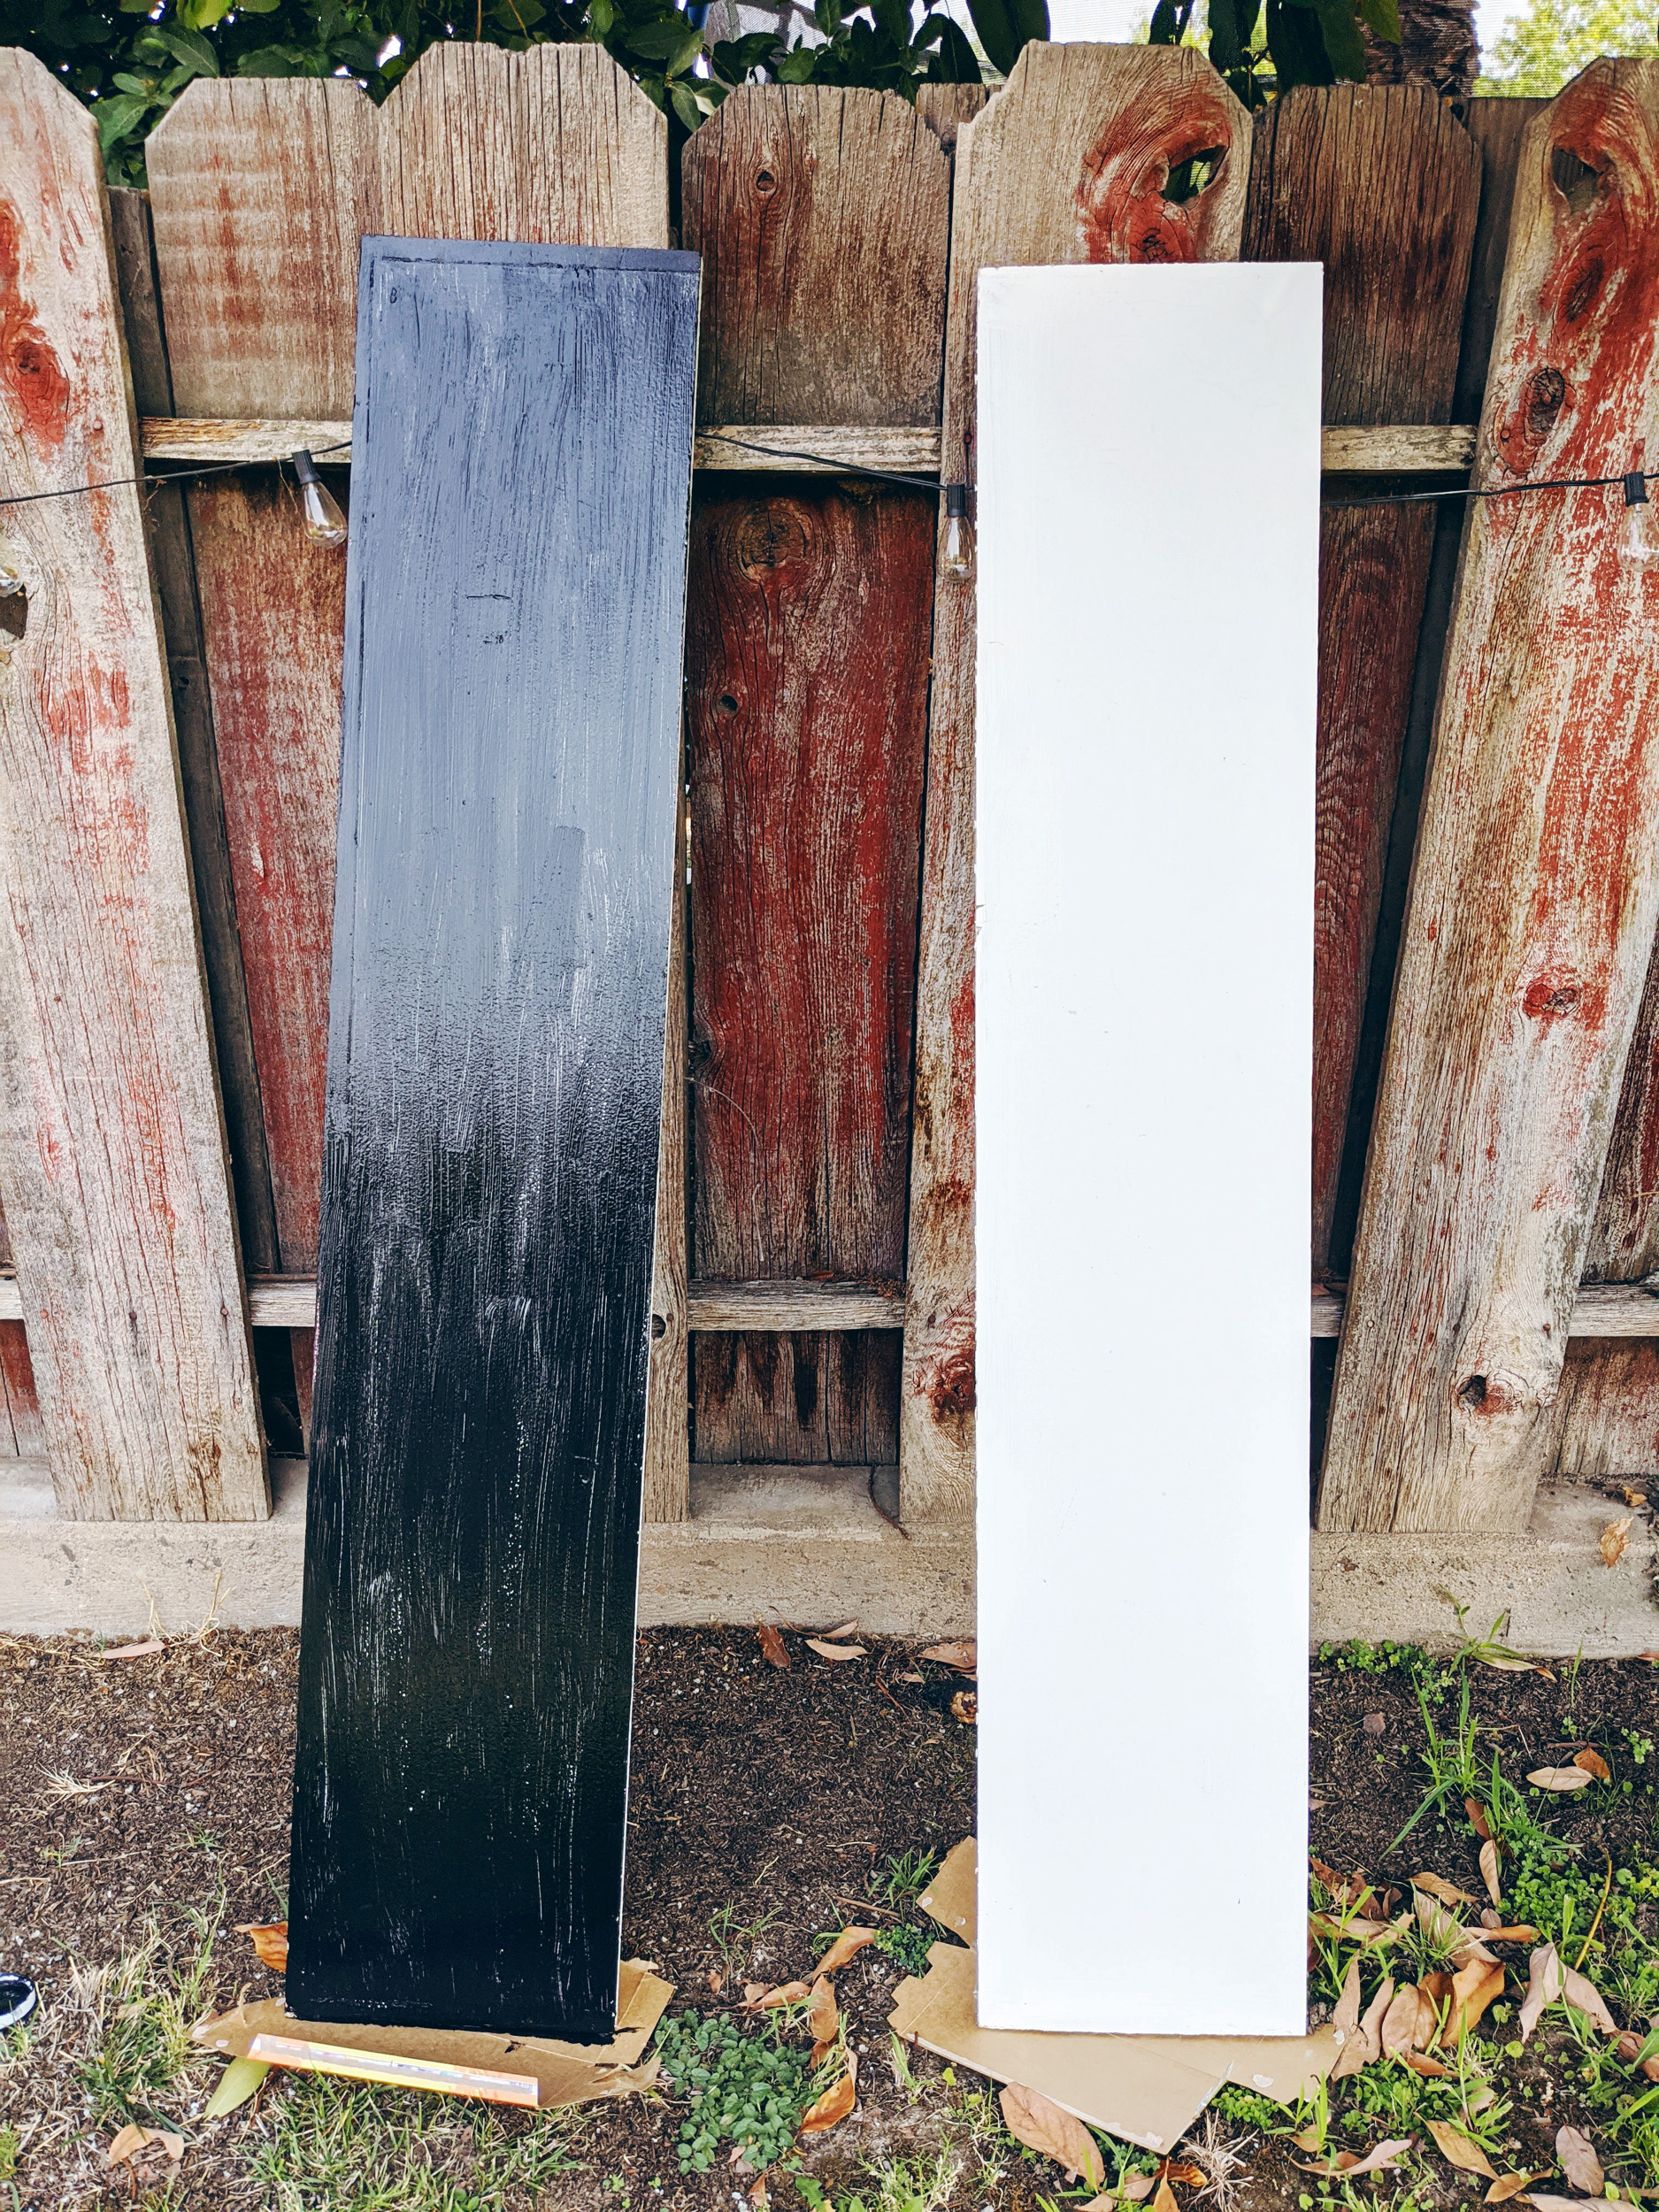
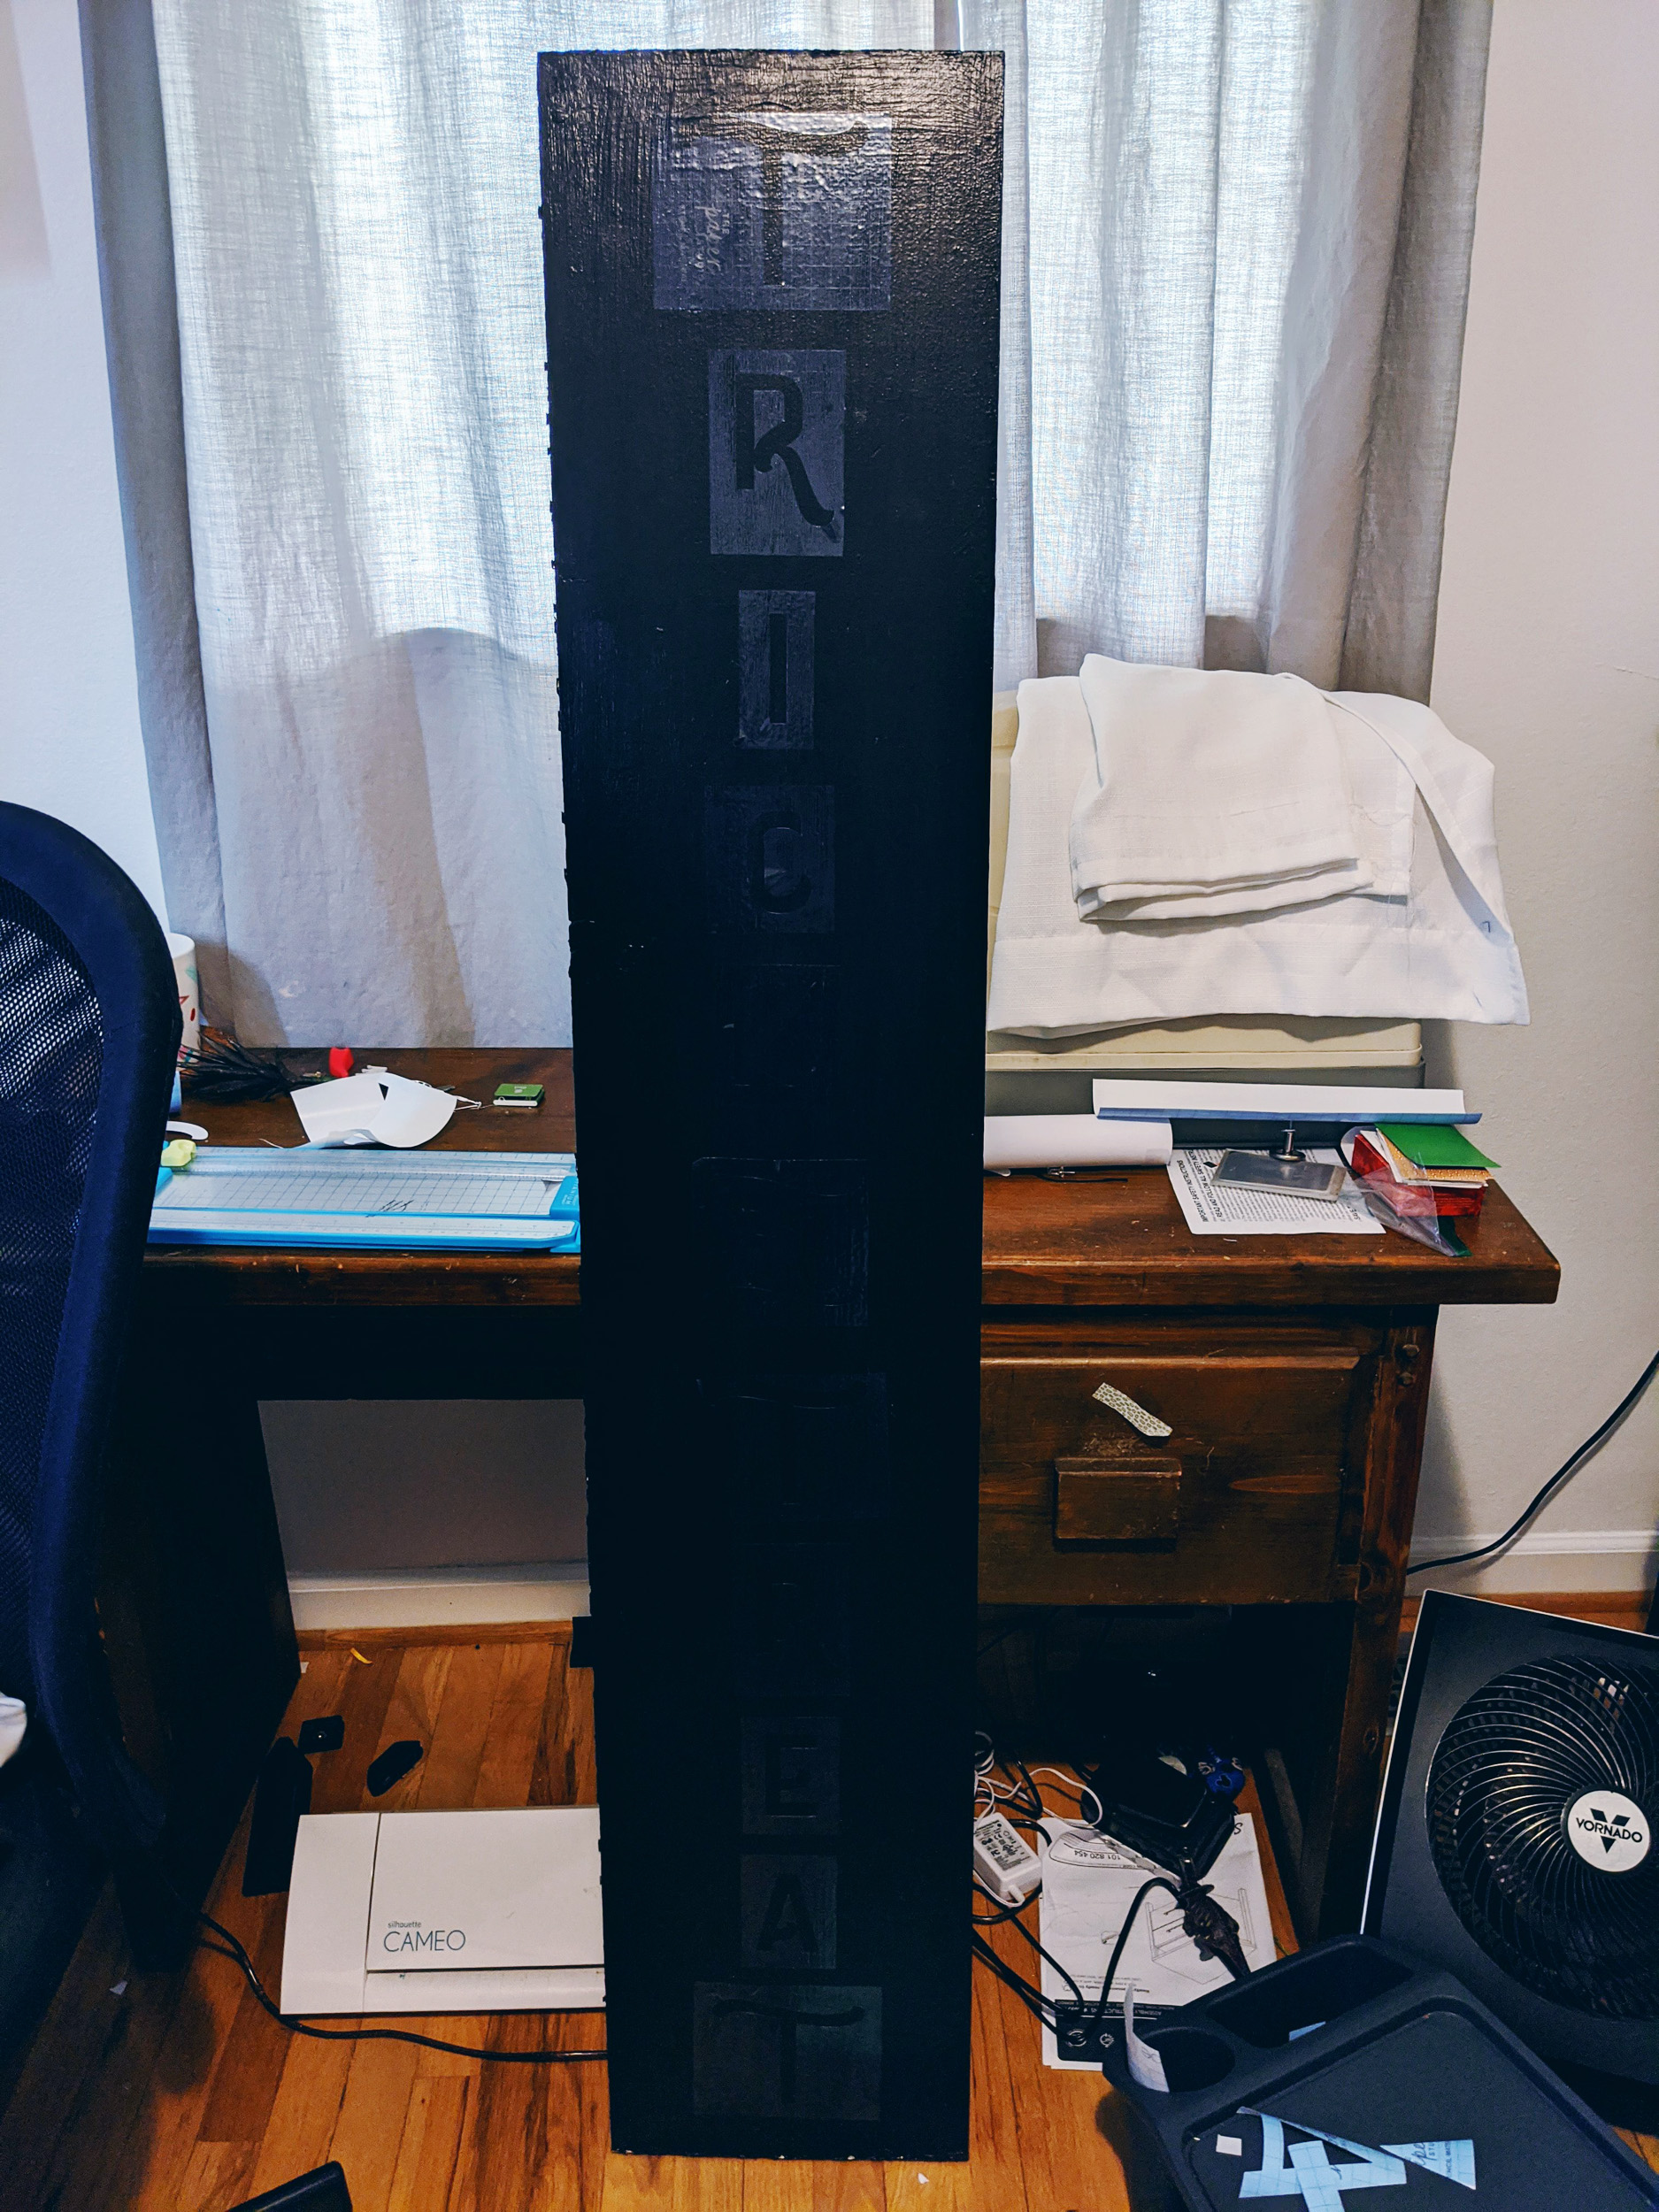
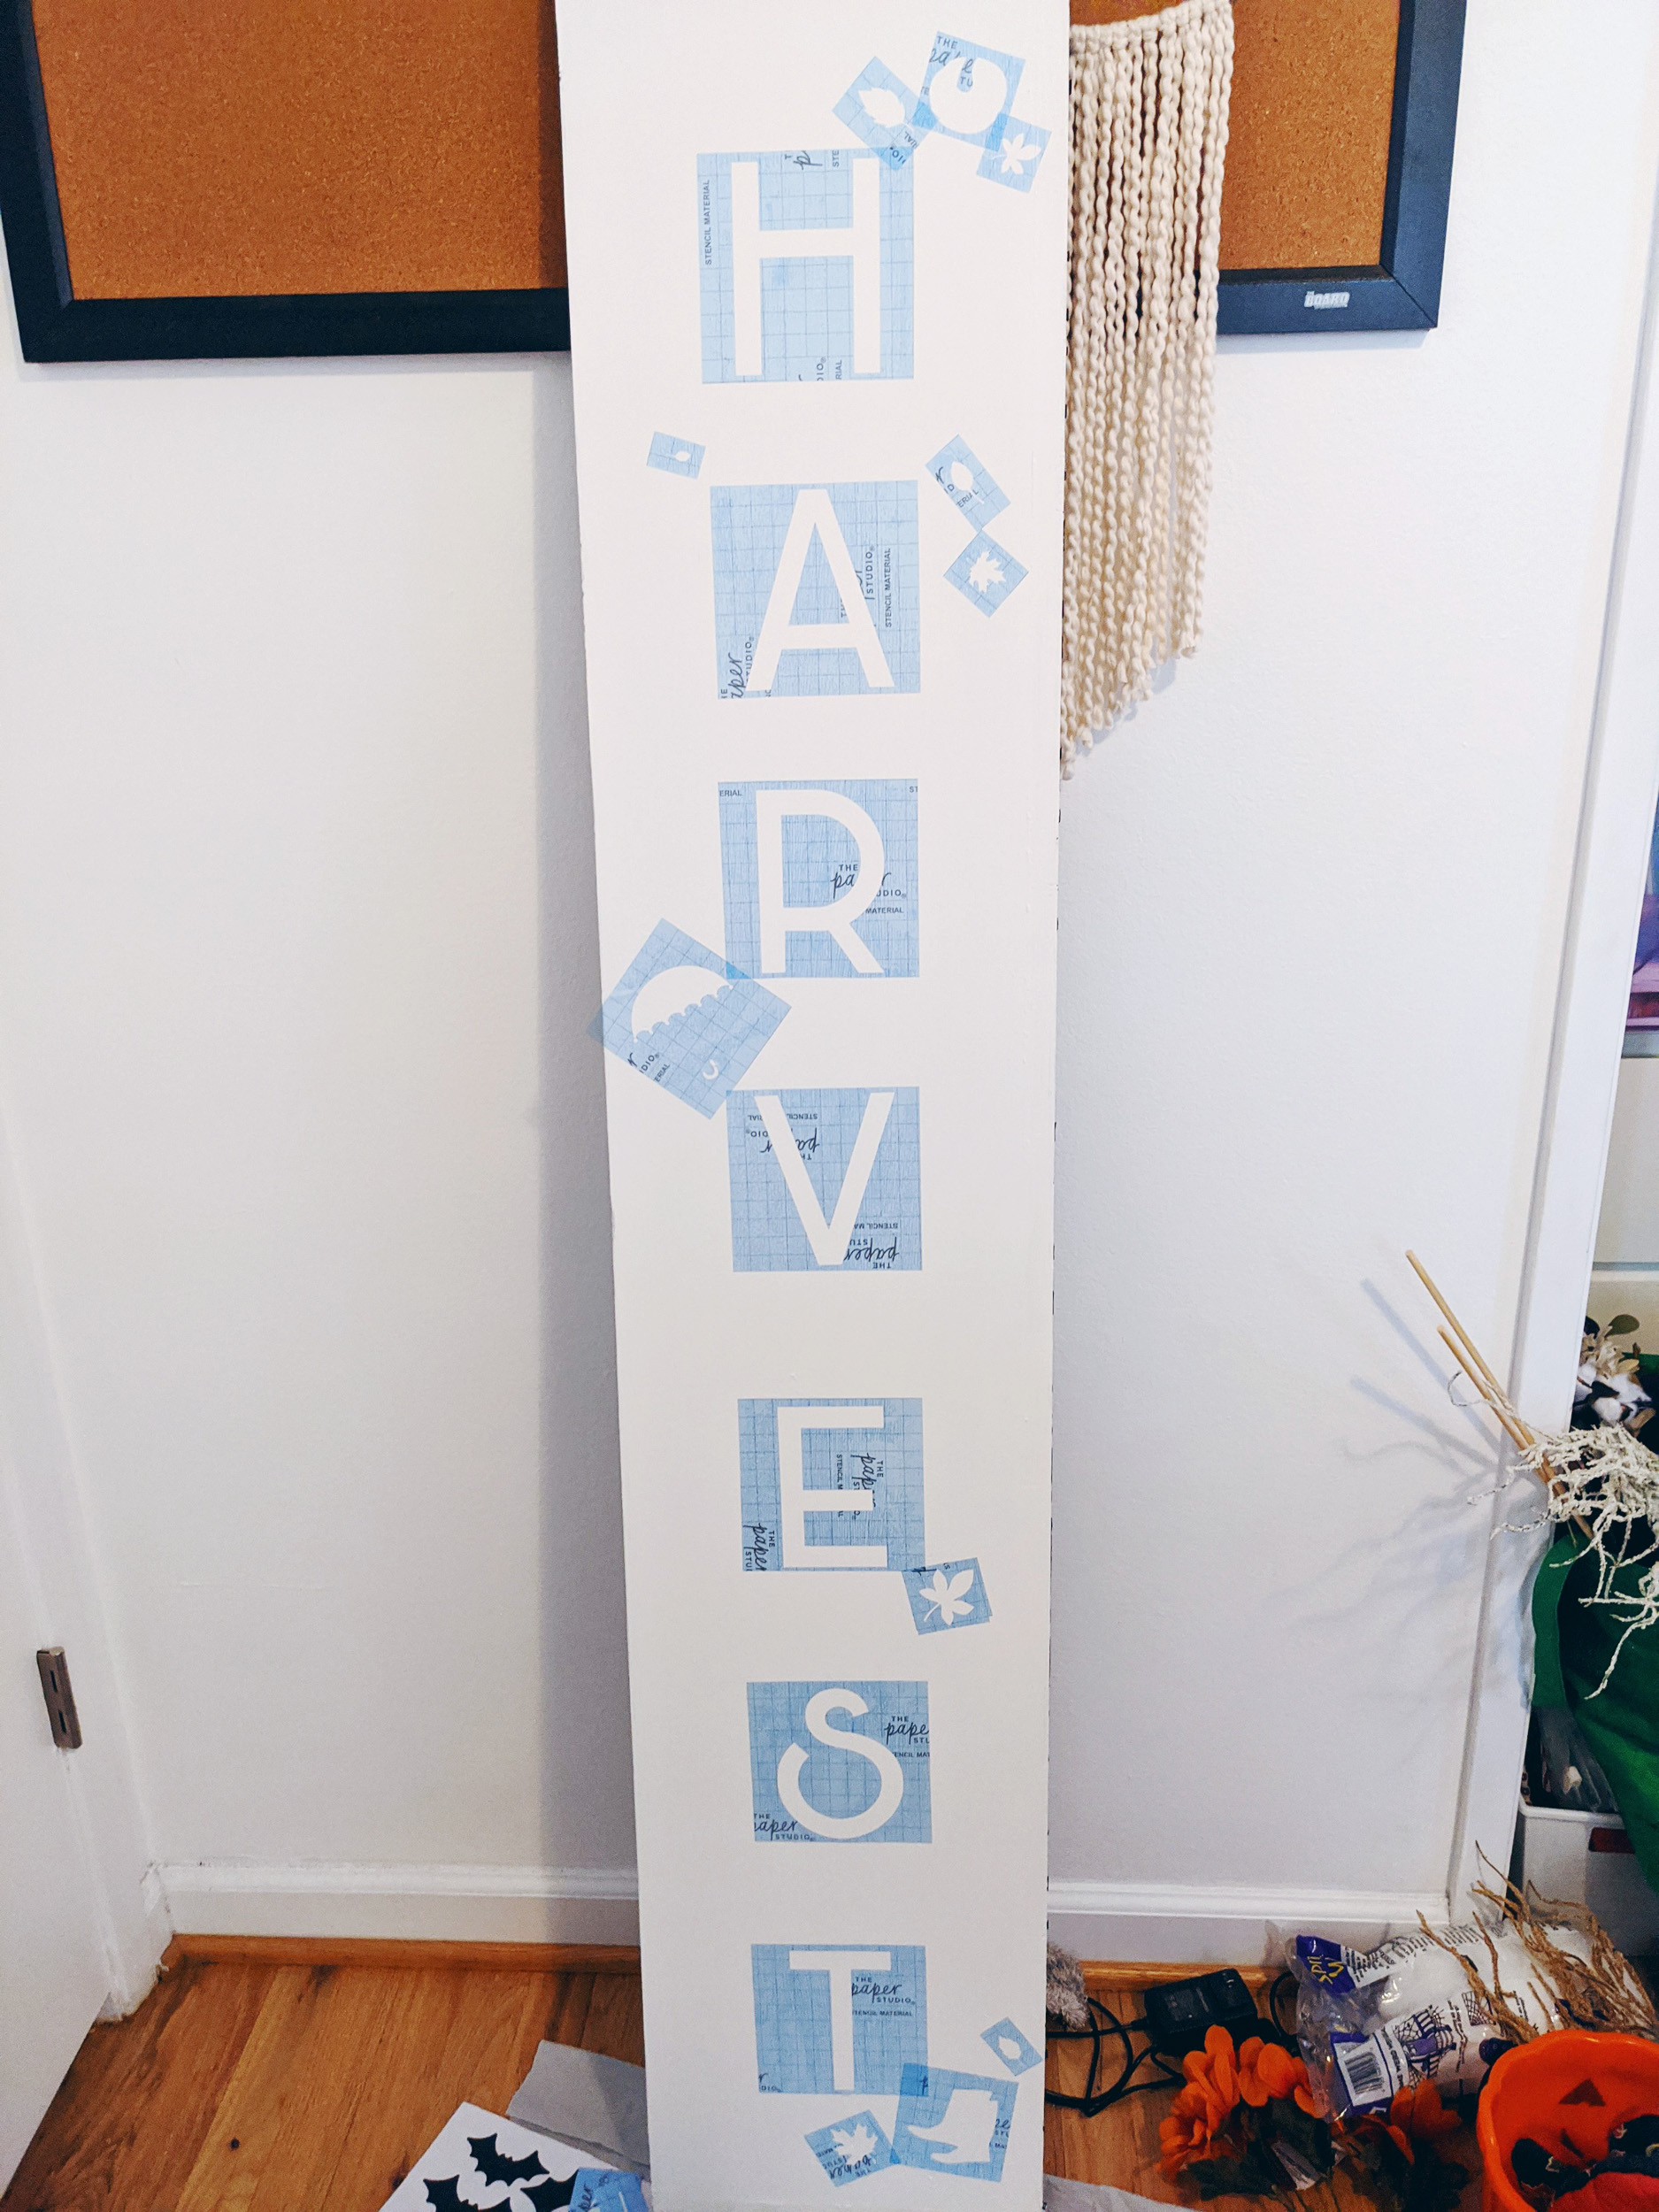
After giving it a good wipe down from all the dust and webs that it collected in the garage, I gave each side a nice coat of paint. I used black on one side and chalkboard white on the other. I did this for no other reason other than these were the paints that I had left over to use. You can utilize any colors you'd like based off of whatever color scheme works best for your home. I did black for Halloween and white for Fall.
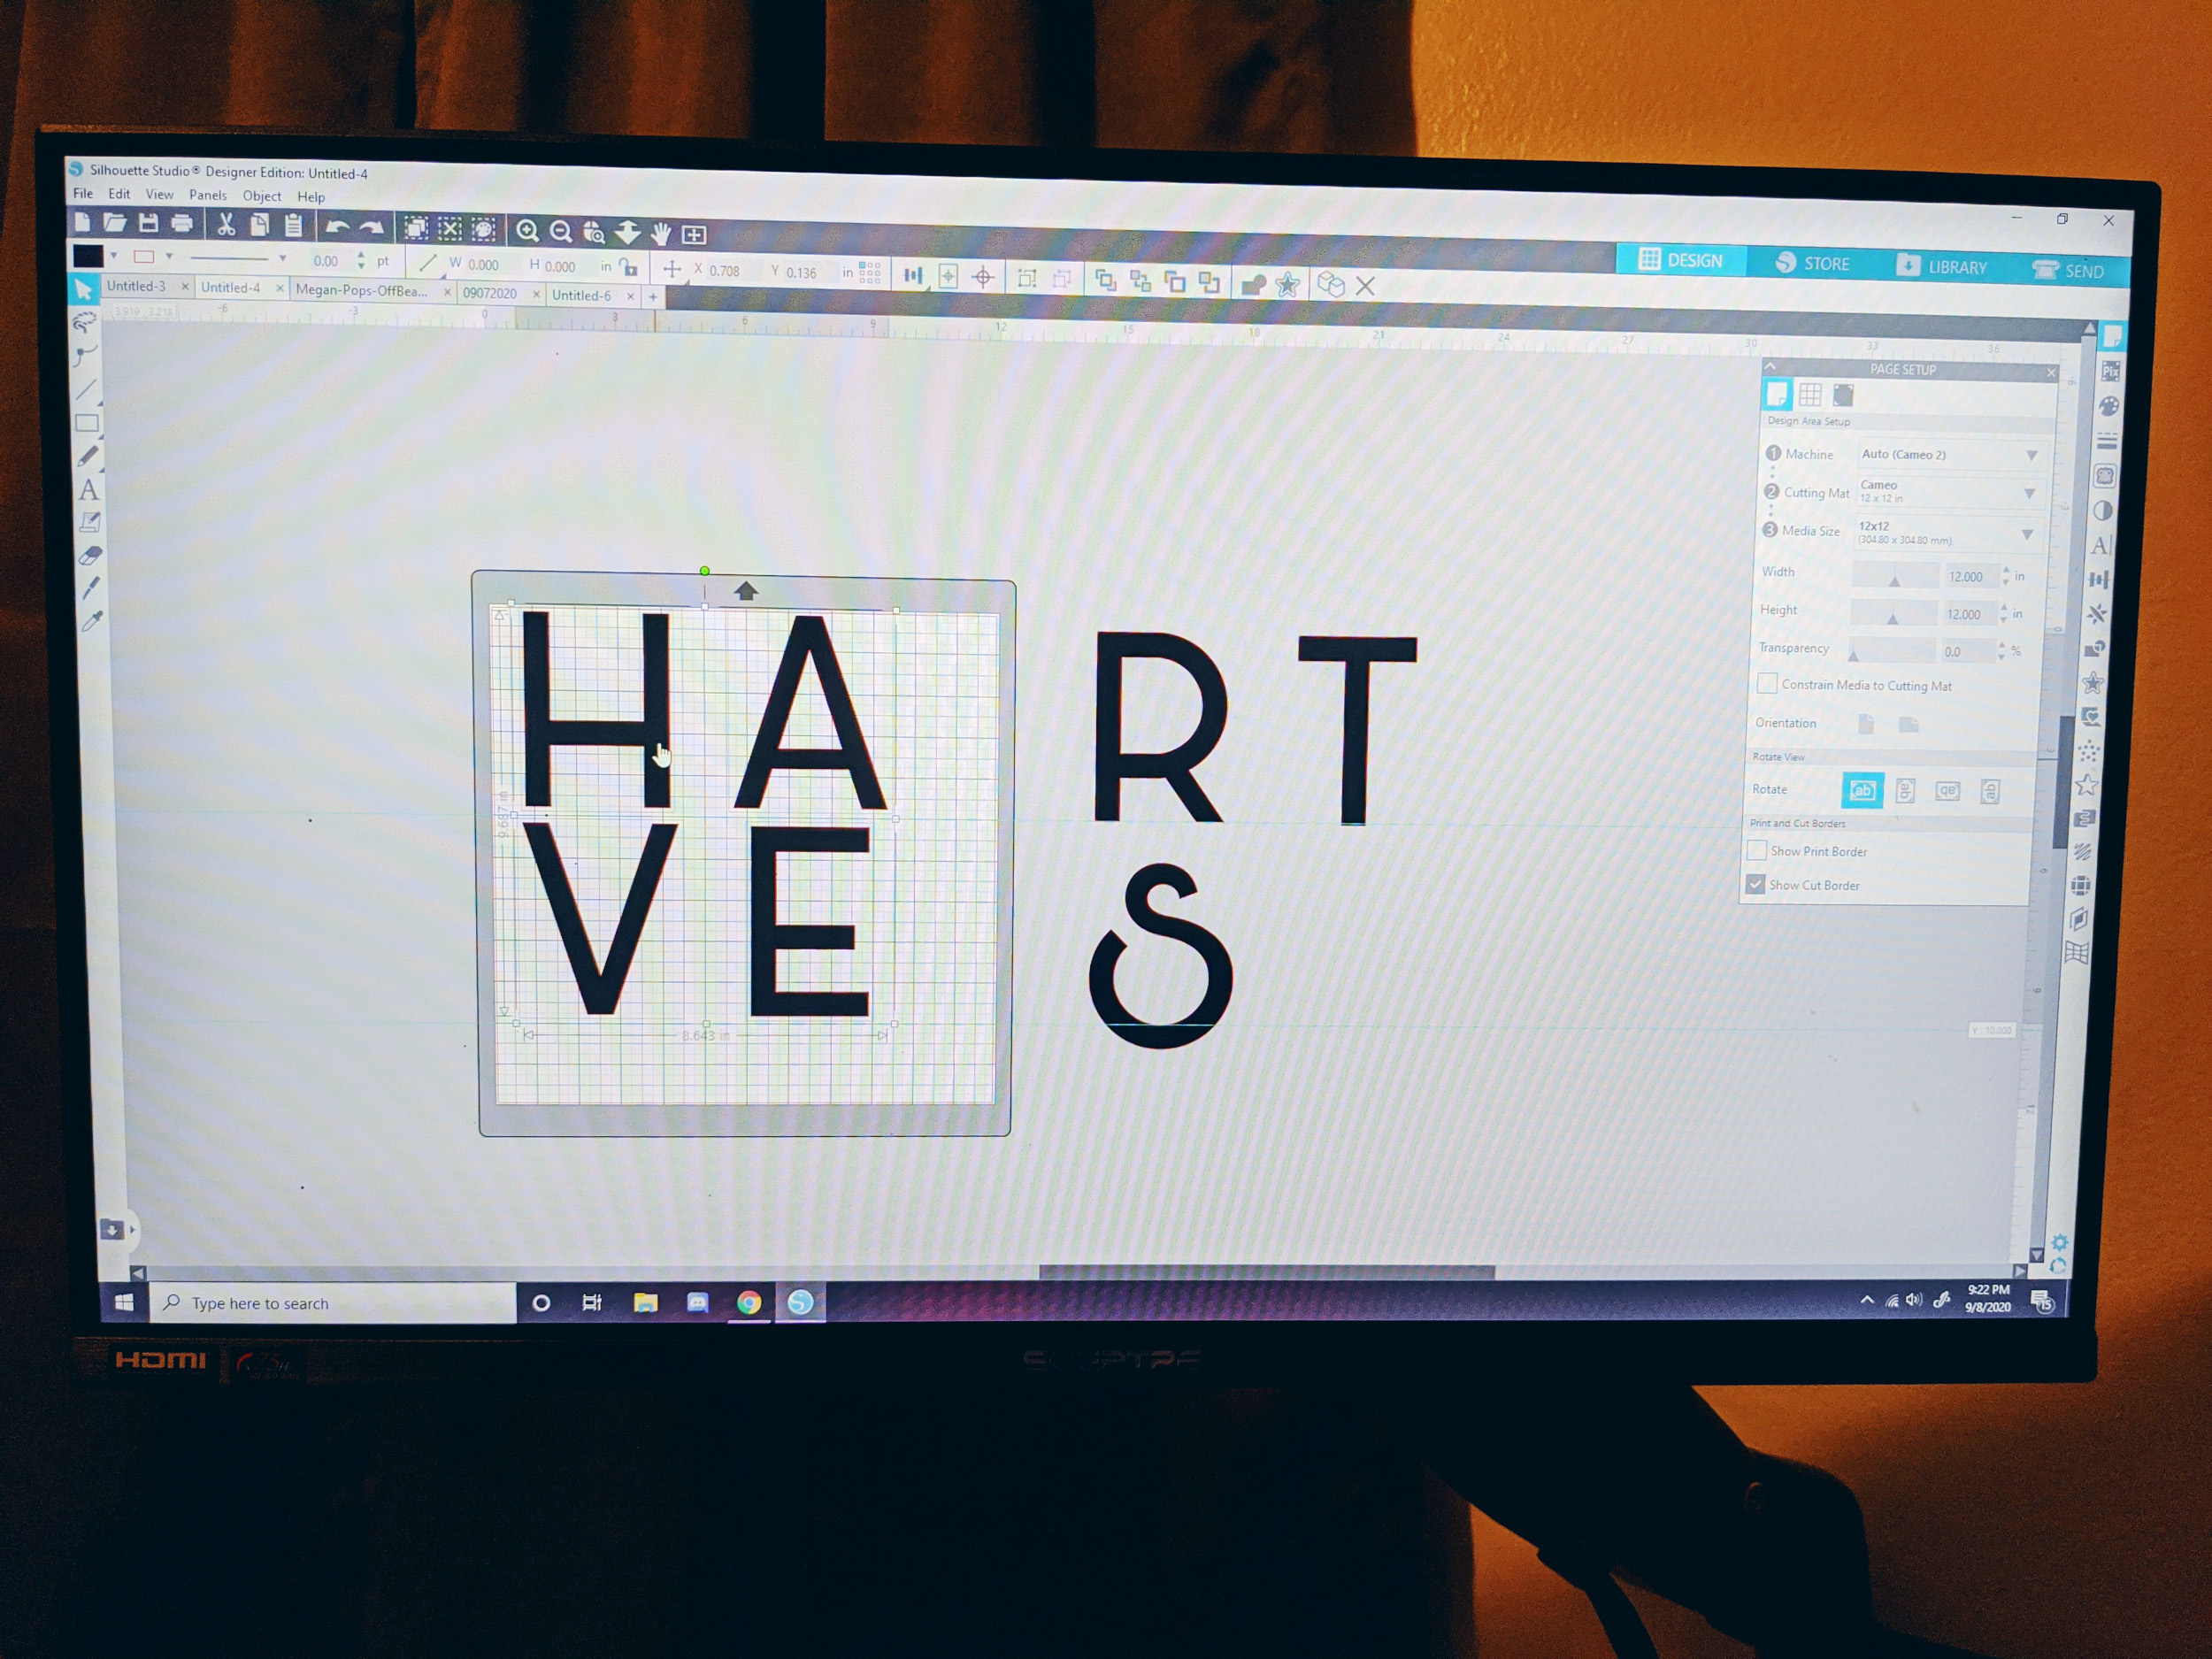
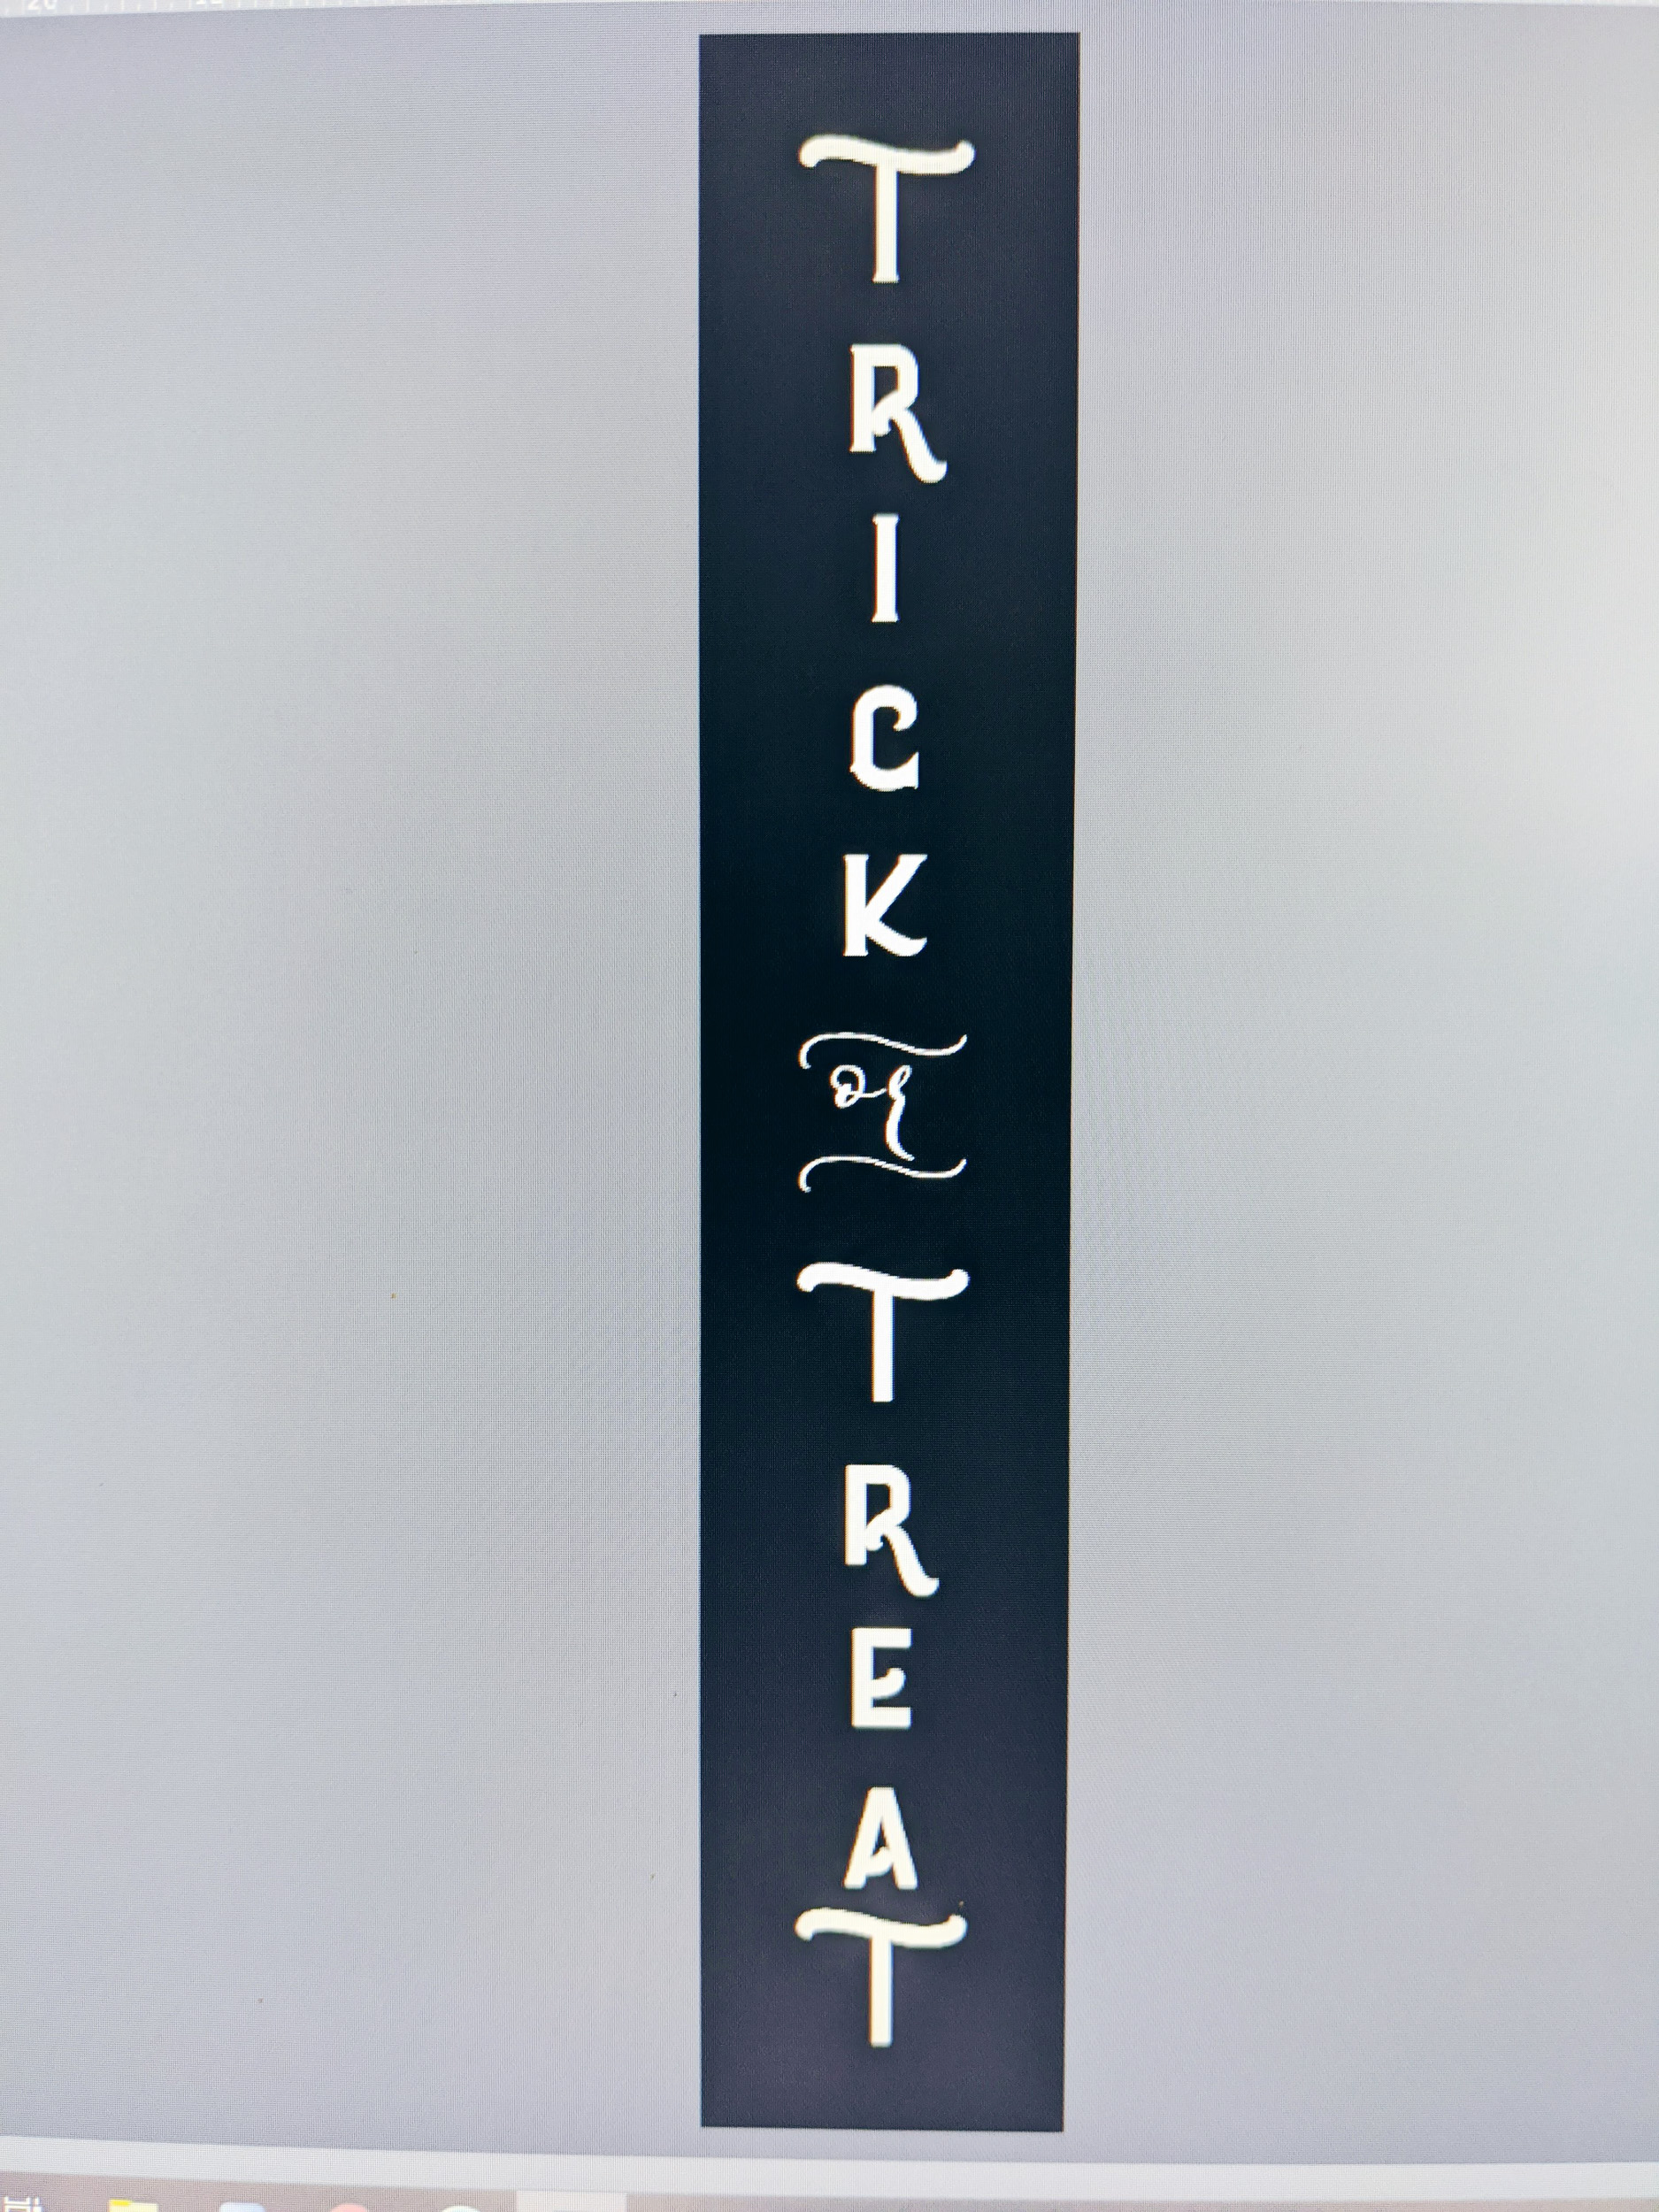
Next, I pulled up my Silhouette Design Studio on my computer and, utilizing fonts that I've collected over the years as well as some wonderful graphics through lovesvg.com, I cut all of the designs that I needed using my Silhouette Cameo and some stencil tape material. If you don't have a die cut machine like I do you can either freehand your designs, purchase some from your local store, or purchase some through Etsy. Hot tip: draft up your design in Paint or Photoshop so you have a rough idea of how you want everything to look.
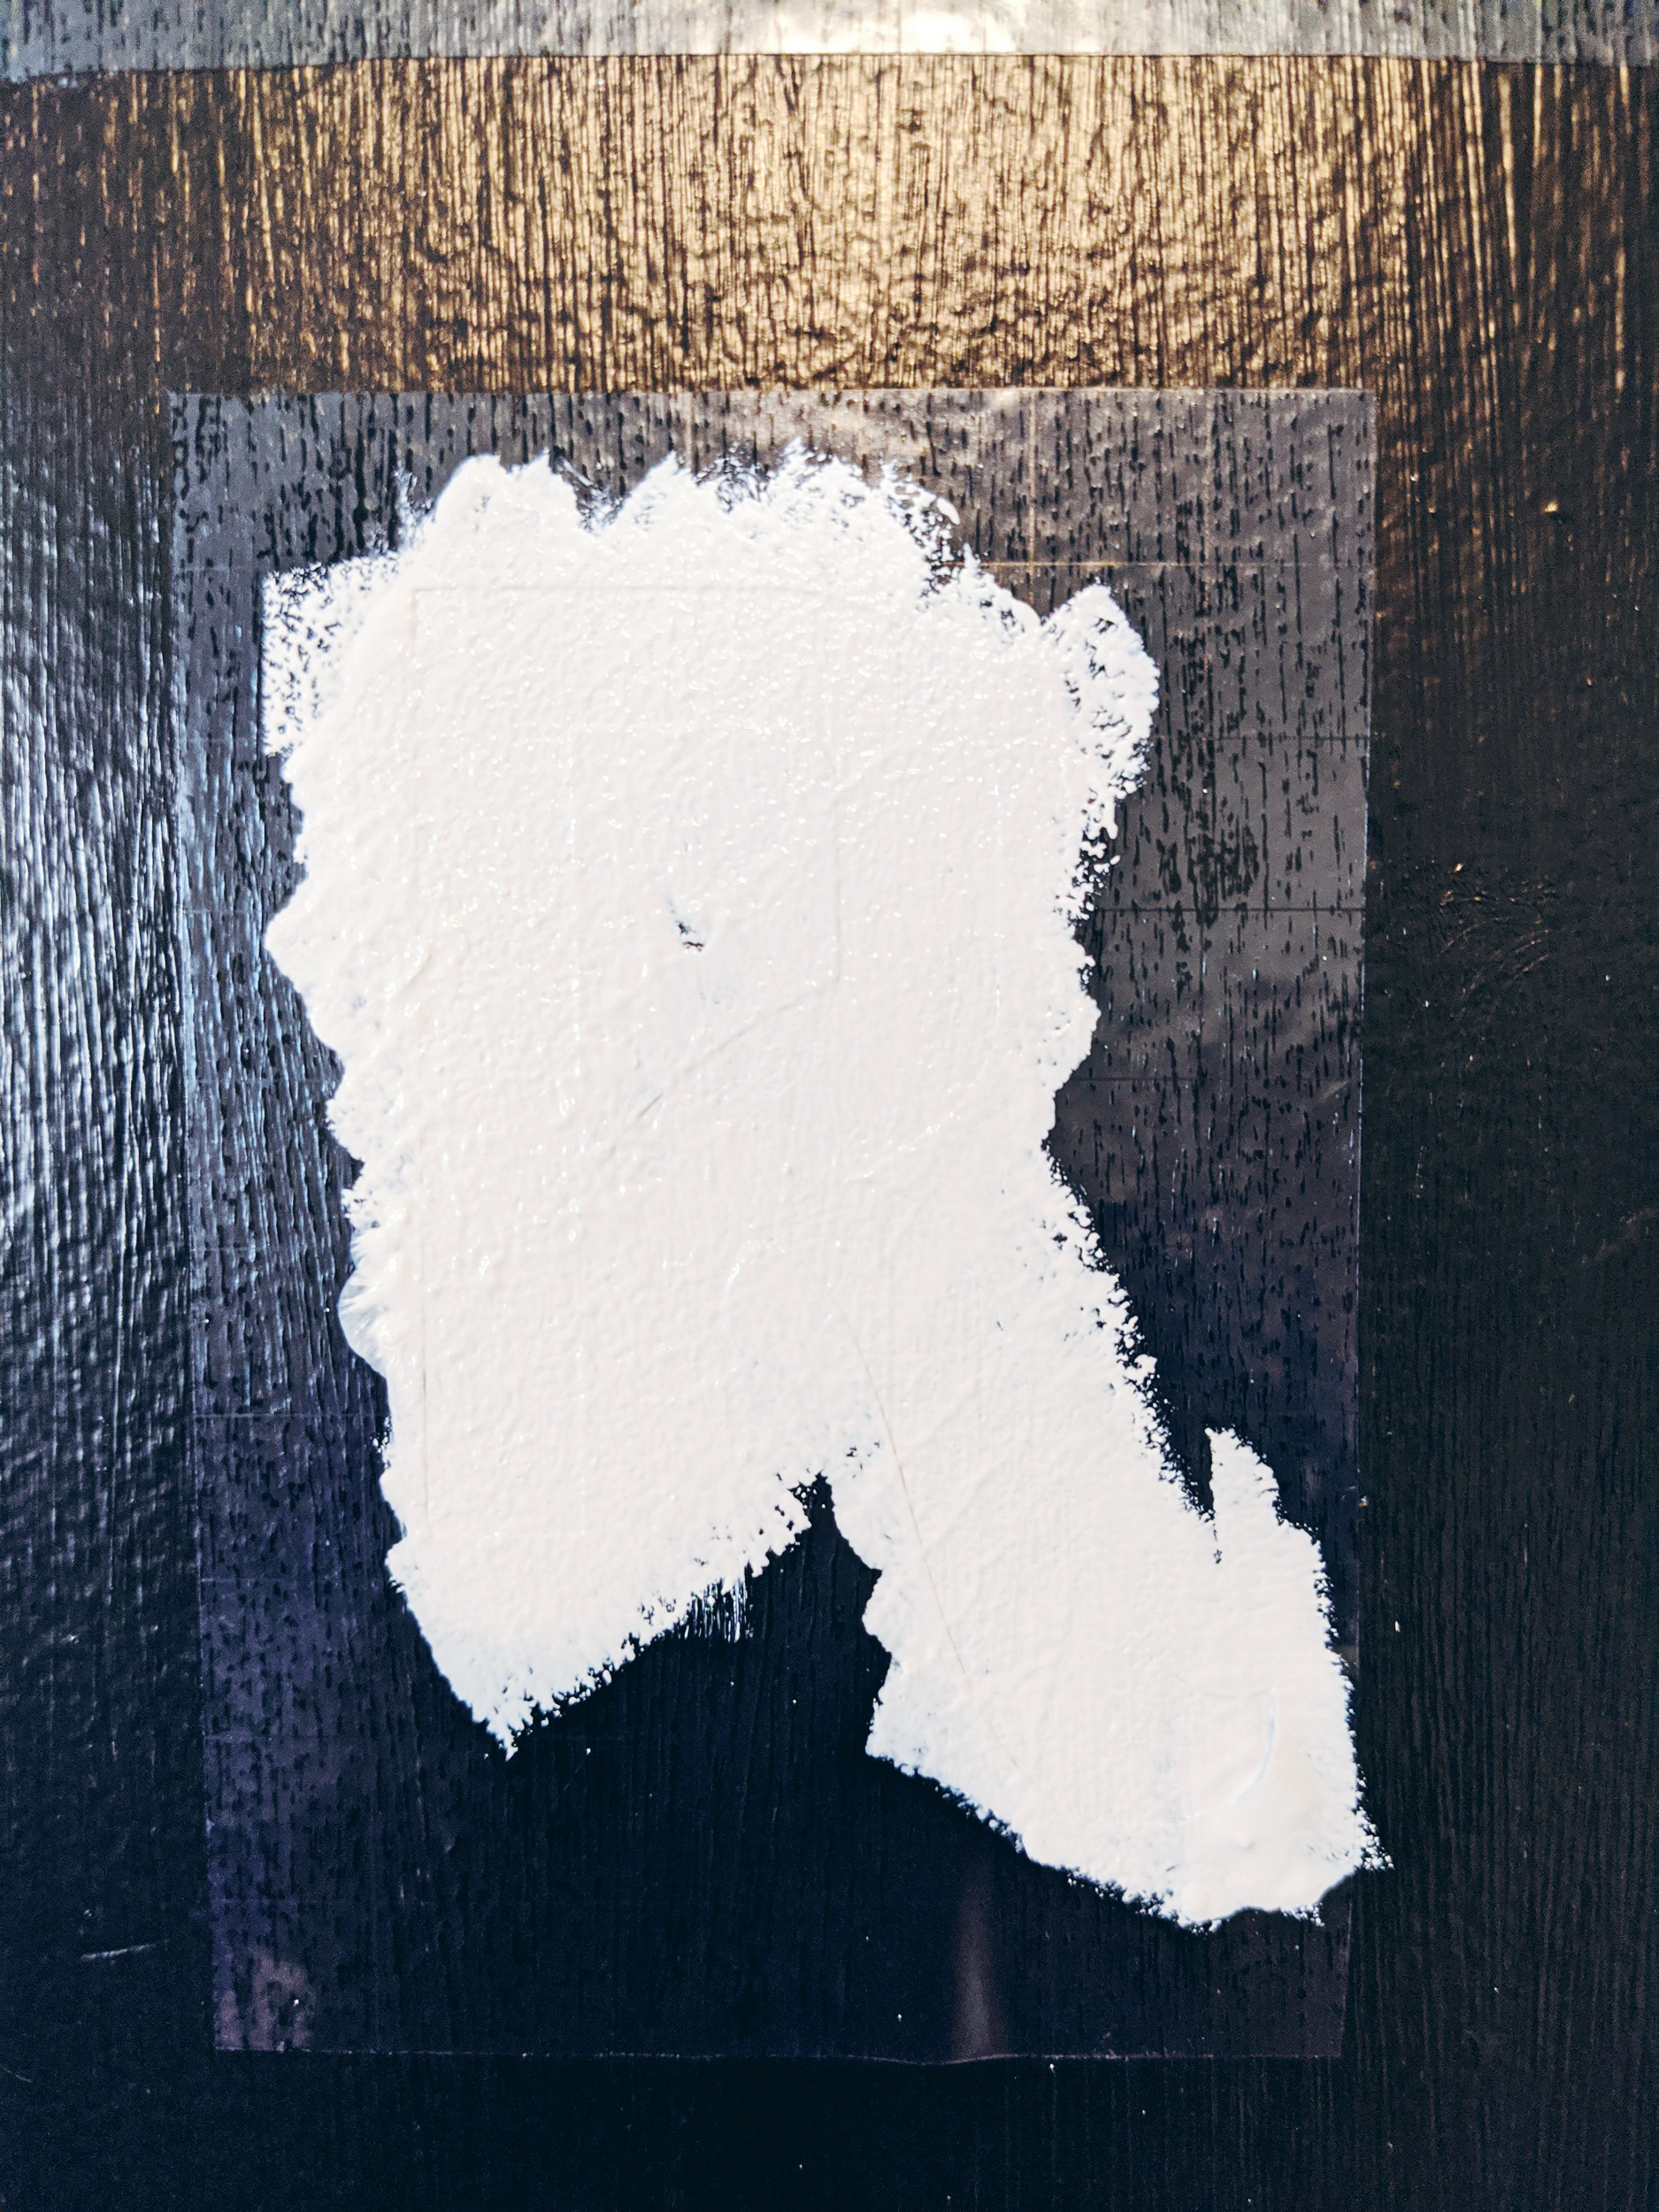
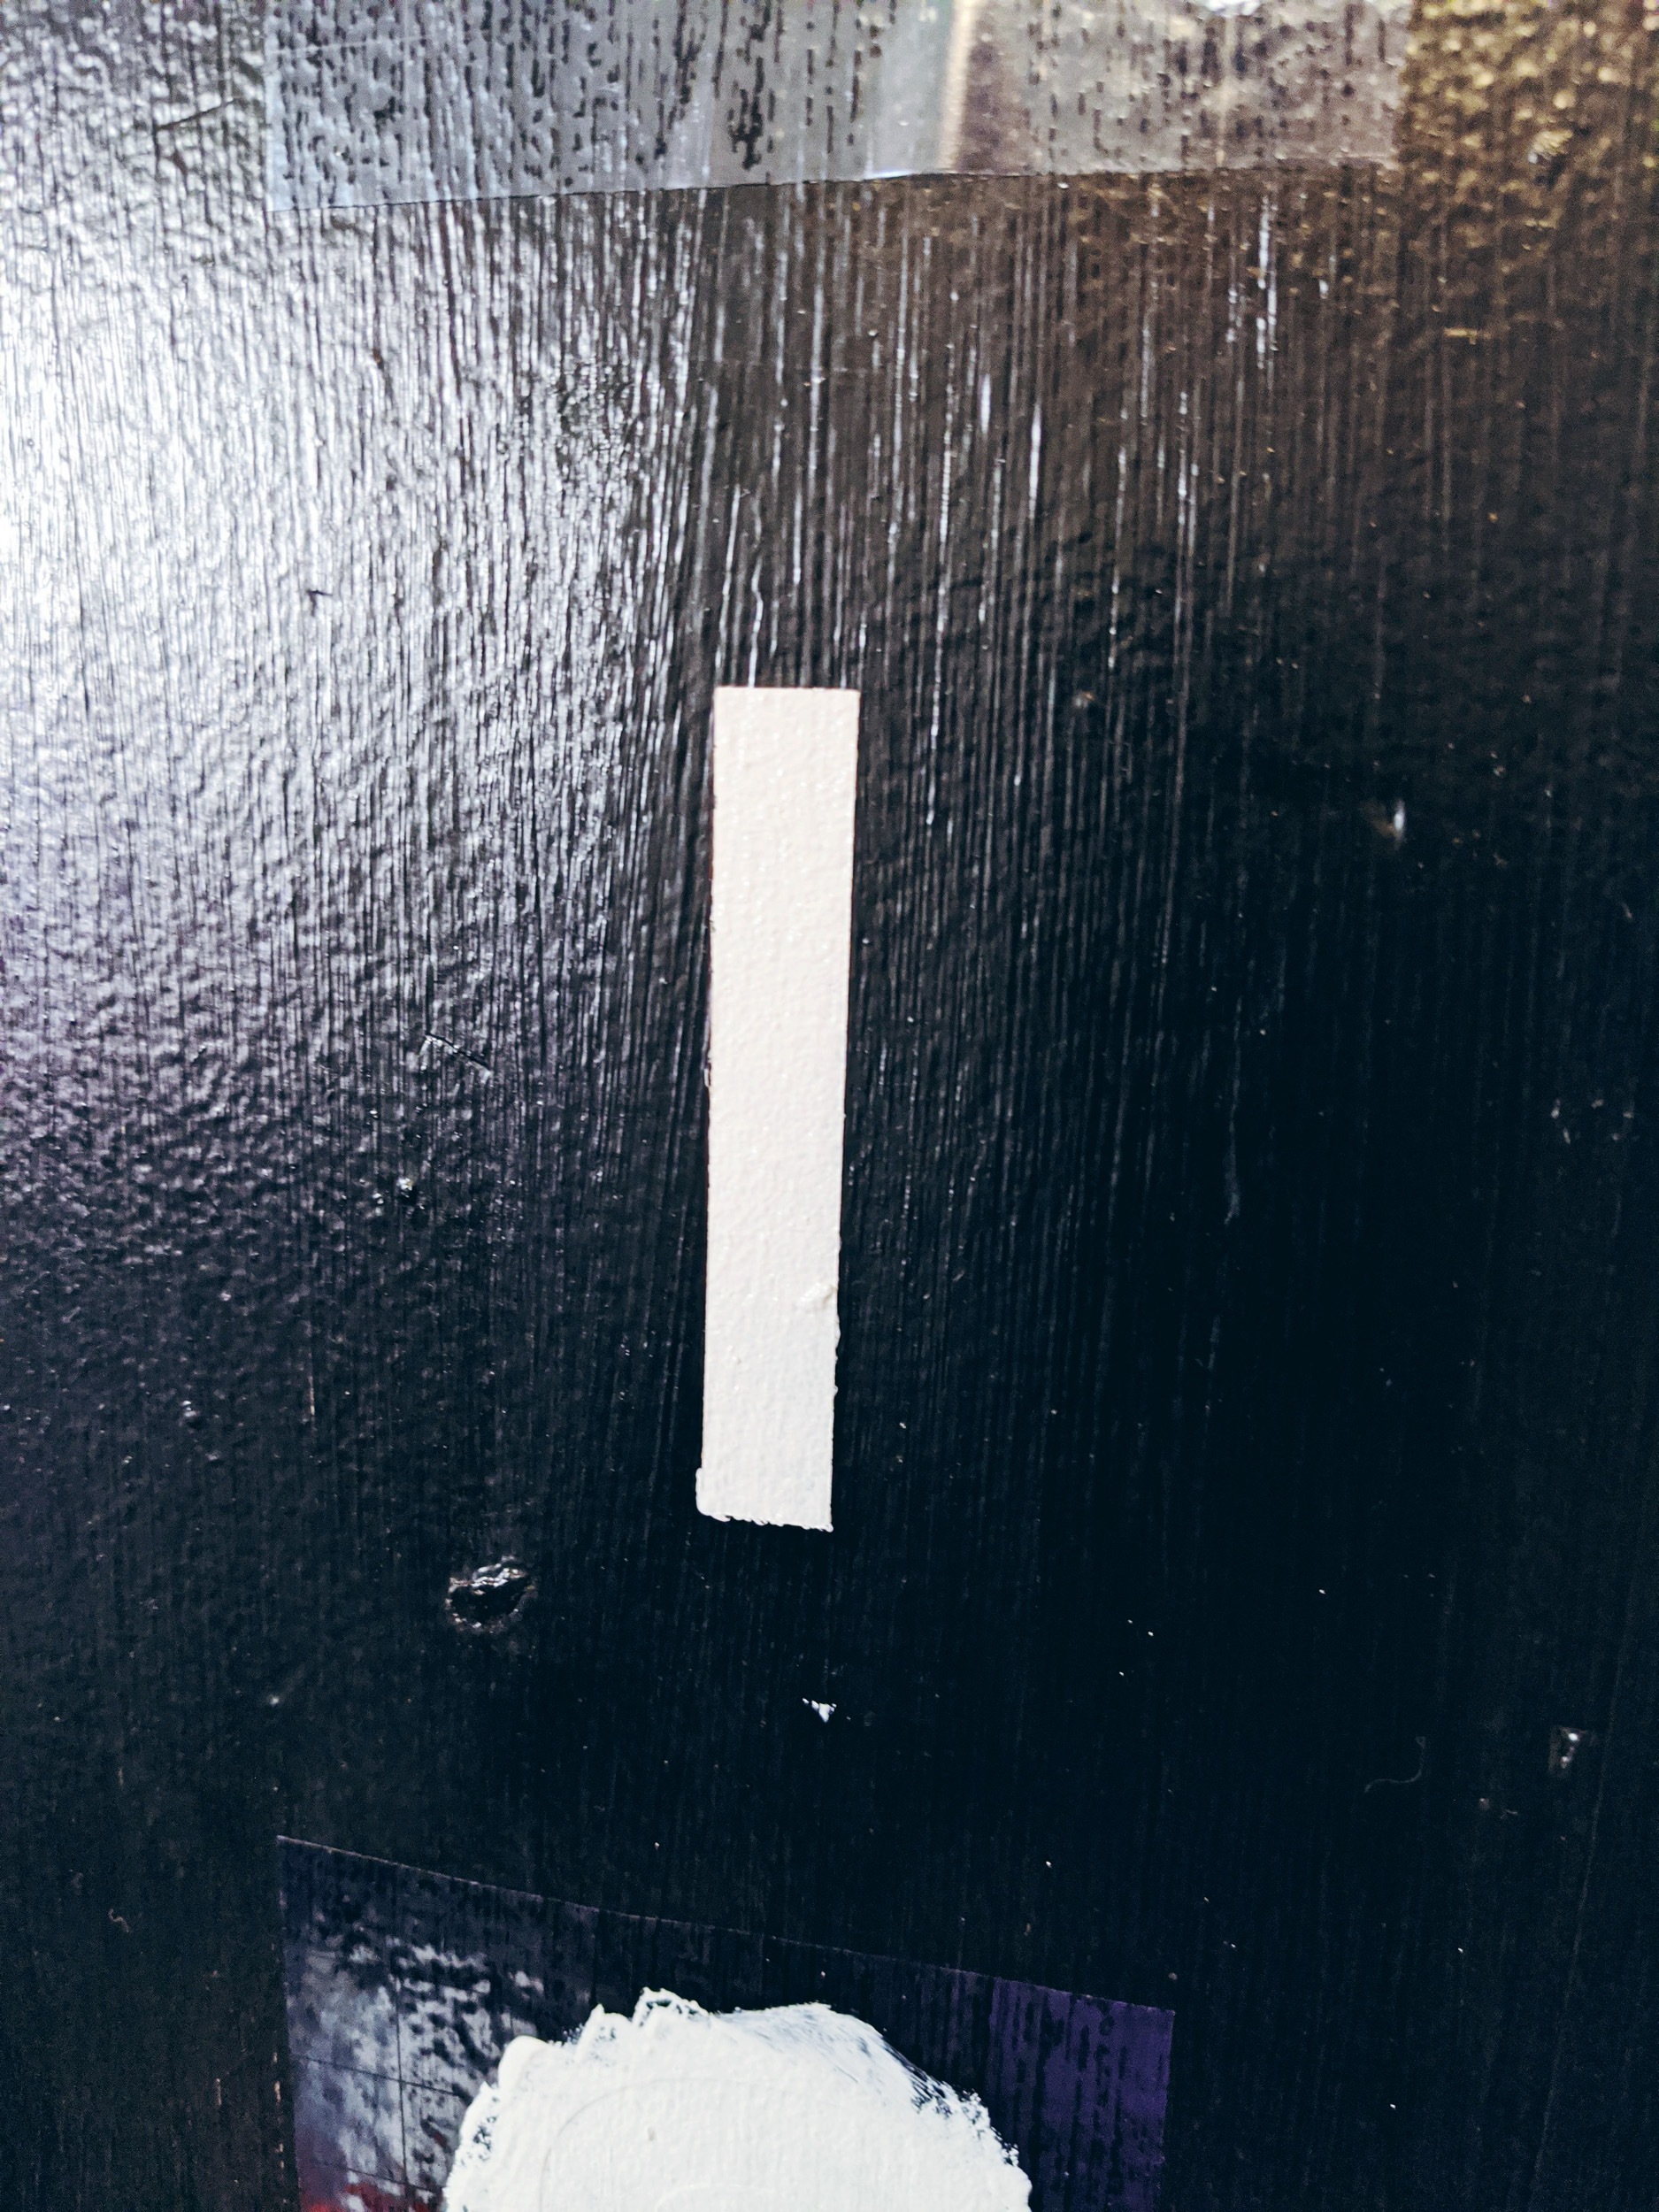
I used acrylic paint that I had on hand and a sponge brush to dab on the paint through the stencils. You want to make sure that you dab and not brush as dabbing will help eliminate the look of brush strokes.
Let the signs sit overnight, and once done I gave it a nice layer of clear top coat. This is just to help make sure the colors stay nice and vibrant all year round, and that the overall piece stays somewhat protected from weather. Since we don't get much extreme weather other than heavy rainfall, I wasn't too concerned about preserving the wood. However, if you are an area that gets snow and it happens to get onto your porch, I recommend getting a can of exterior polyurethane to heavily coat your wood piece and ensure that it'll stay nice and perfect all year round. You can also leave your wood piece untreated to help give it a nice weather look over the years.
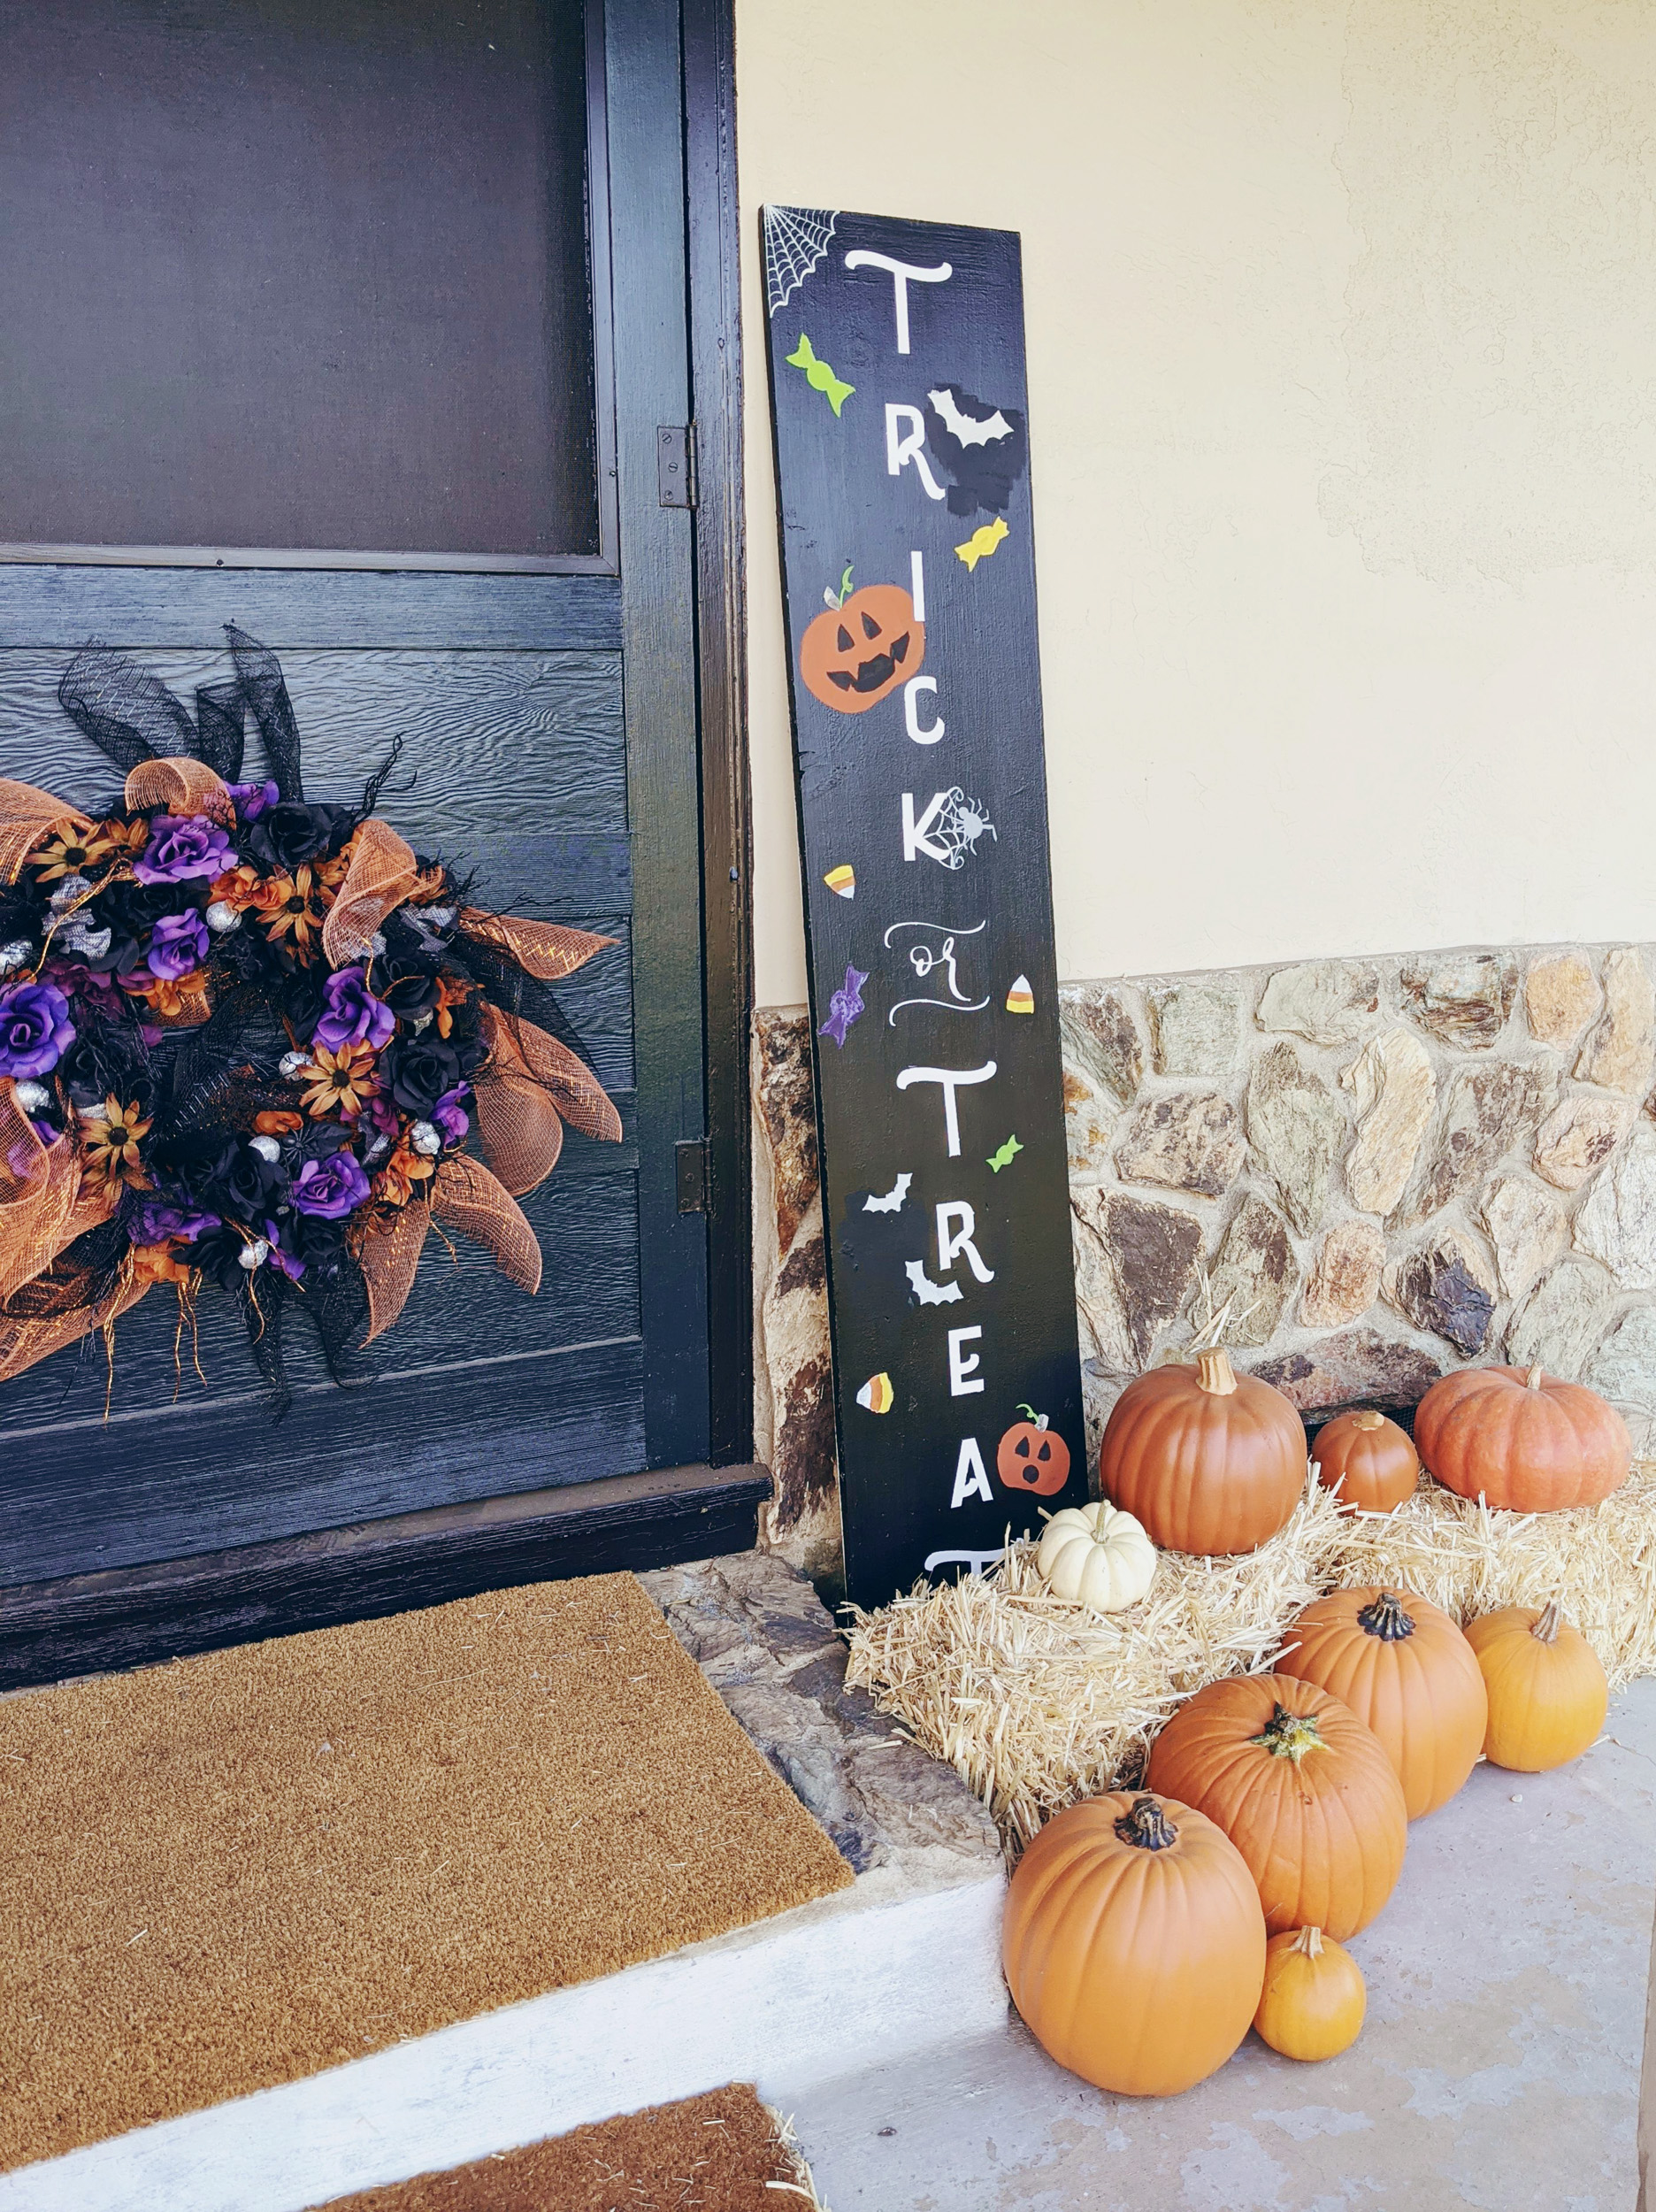
Once both sides of my side were done I set it out on my front porch for all of mine and my neighbors viewing pleasure! This was such a fun and easy project that hardly cost me anything. I'm a firm believer that you should always have acrylic paint, furniture paint, top coat, and sponge brushes on hand for any project occasion. If you're starting with nothing, expect to pay about $1.25 per acrylic paint bottle, $8 for the furniture paint, $6-15 for the wood, and $0.50 per sponge brush. Always check with your local Lowe's or Home Depot to see if they have any scrap wood that customers have left behind for free to cheap scores. Consider fence posts or wood in off colors (like red) since you'll be painting over them anyways!
If you don't have a die cut machine, I can't recommend investing in one enough! There's so much you can do and make with those little machines. I originally bought my Cameo several years ago to help me make an address all of my wedding invitations. This past year has really opened my eyes to all the things these machines can do. Even though I have the original model, I am surprised every day with all the things that I can make that I didn't know I could. I can't wait to share all of those projects with you in the upcoming months!

