

Organizing a Converted Pantry
Originally, this house (and many in this neighborhood) used to have built-in ovens with countertop stoves. The oven was removed from the wall and the countertop that had the stove was ripped out a long time ago. We have what I call a converted pantry, and it's definitely awkward to work with.
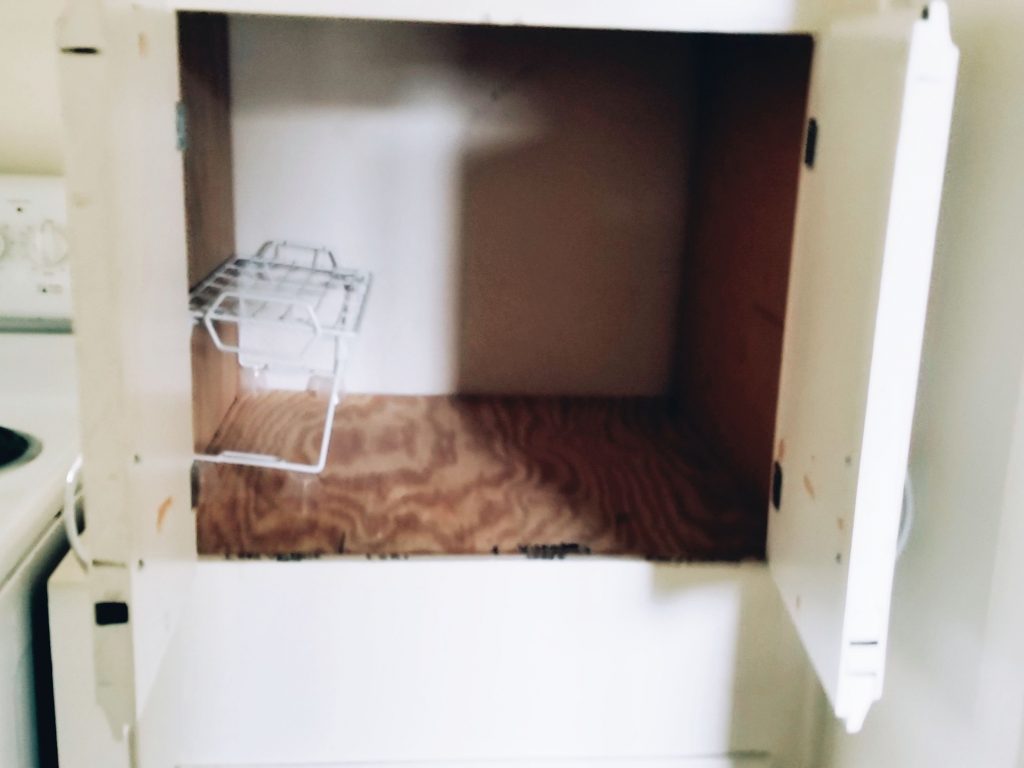
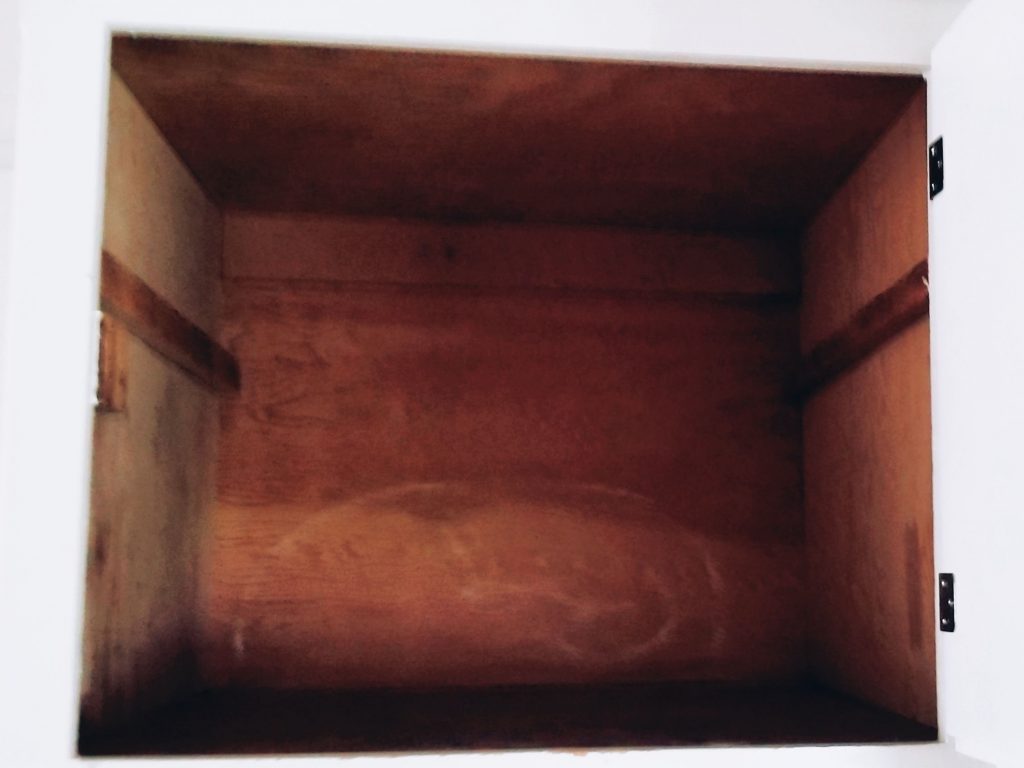

The first thing we did was paint the whole thing, inside and out, using this cabinet paint. The interior took 3 coats of primer and 2 coats of cabinet paint to get solid, which was insanity. Don't do what we did. Look up ways to paint untreated wood. We tried living with that for a couple of months before I lost my damn mind.
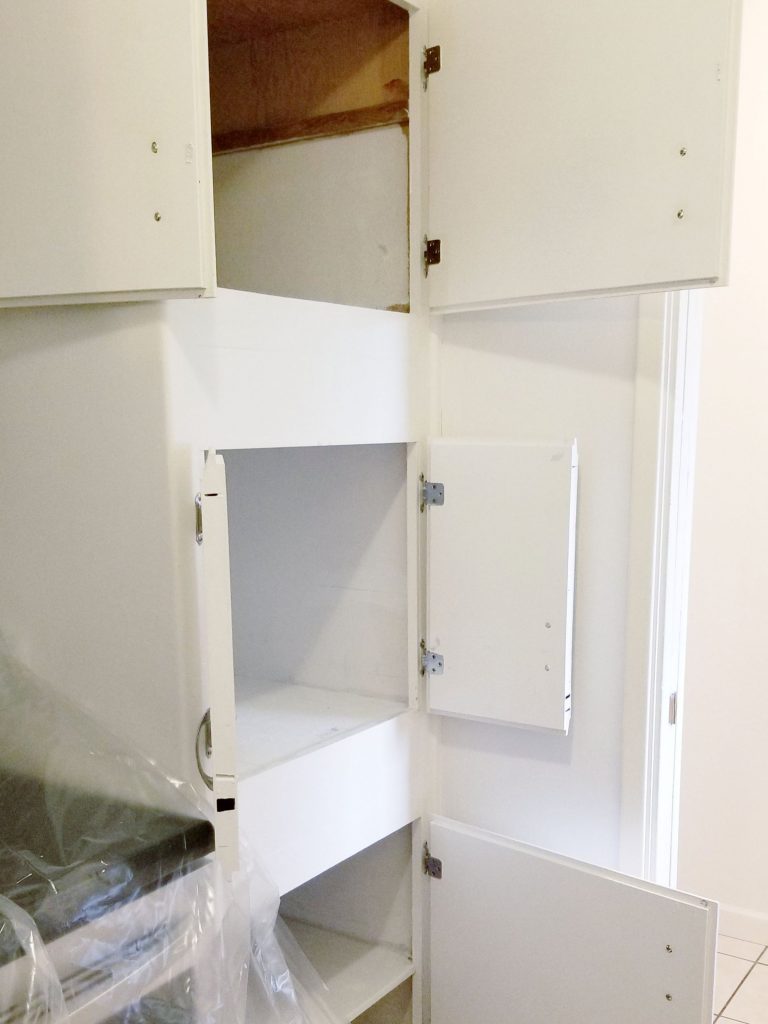
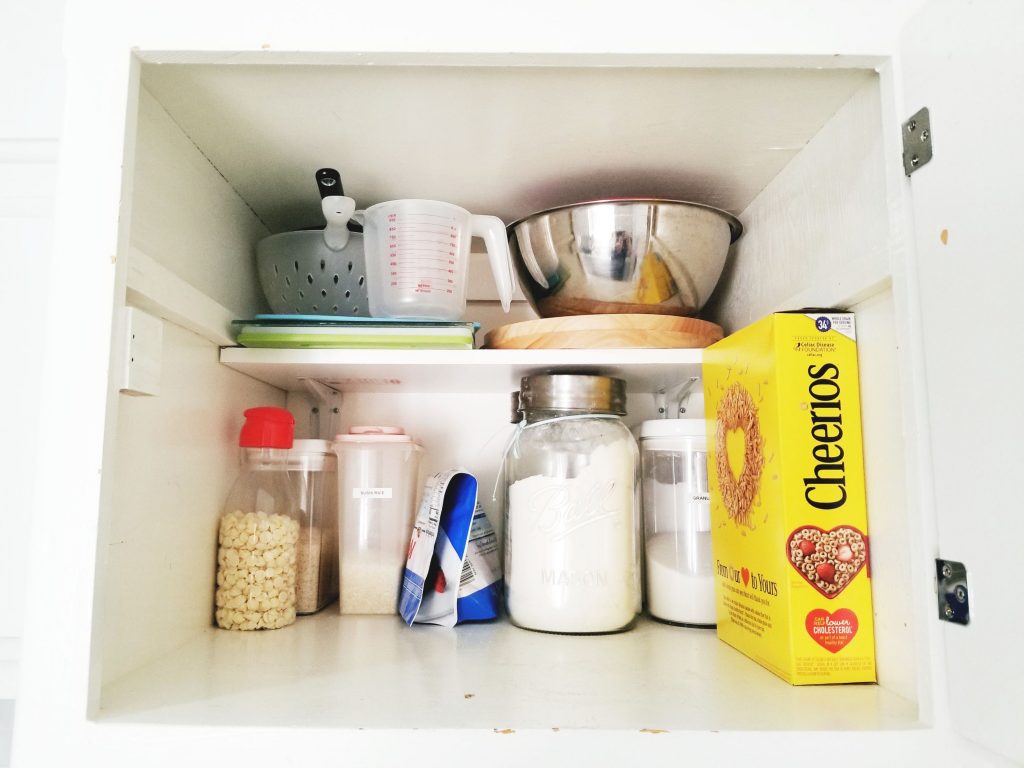
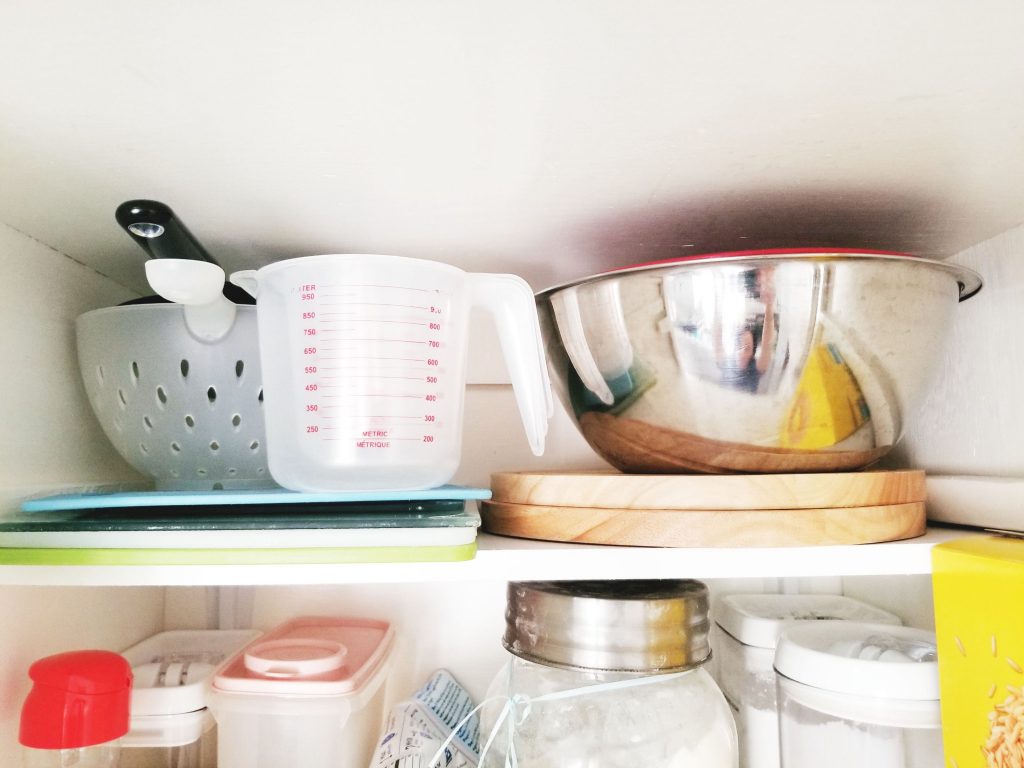
Next, we install these Rubbermaid shelves with these brackets. The cabinets are very deep with no means of separation. This allowed us to utilize the space better and stack in more items. Since there are no anchors holding the shelves in place, we have to watch how much weight is placed on the shelves. I store our cutting boards and mixing bowls in the stop cabinet shelf, and our snack canisters and condiments on the middle cabinet shelf.

None of our organizers match, and that's ok. Not everyone has a matching set, so don't let Instagram fool you. If you're just getting into organizing, start with what you have and buy or replace, as needed. Live with what you have to work with once it's organized and buy as you need. That's how I made my list of replacements for going forward. These after photos changed every 3 months from the start of this project (a year old now) before I realized I just needed to get this post out, haha!
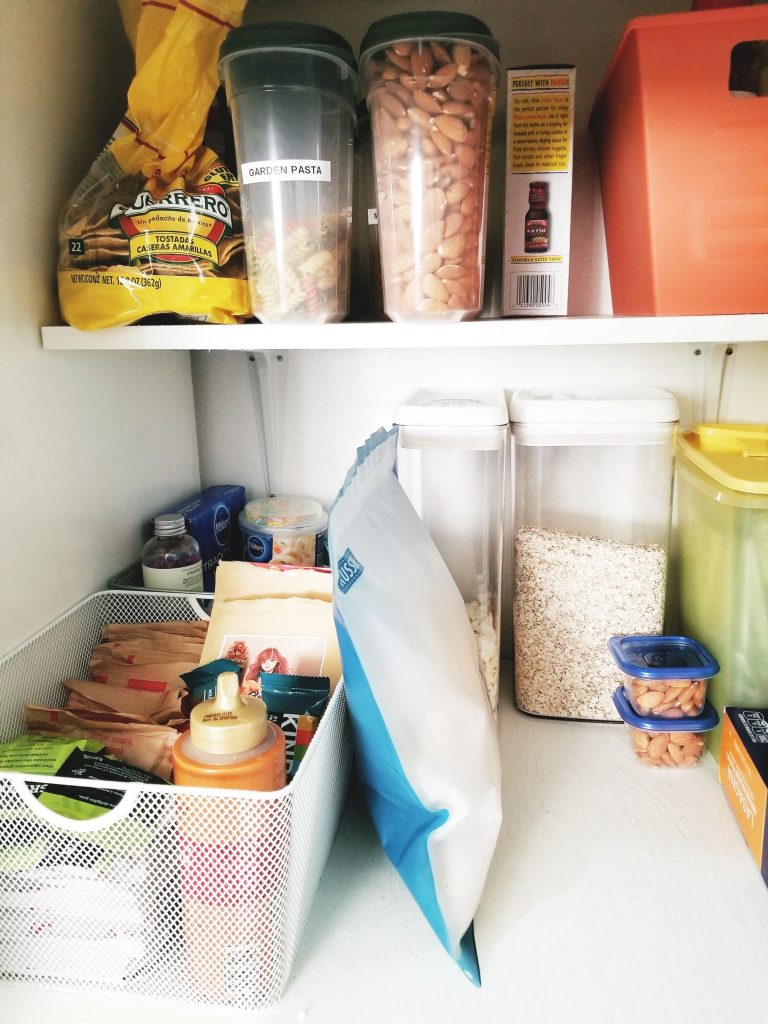
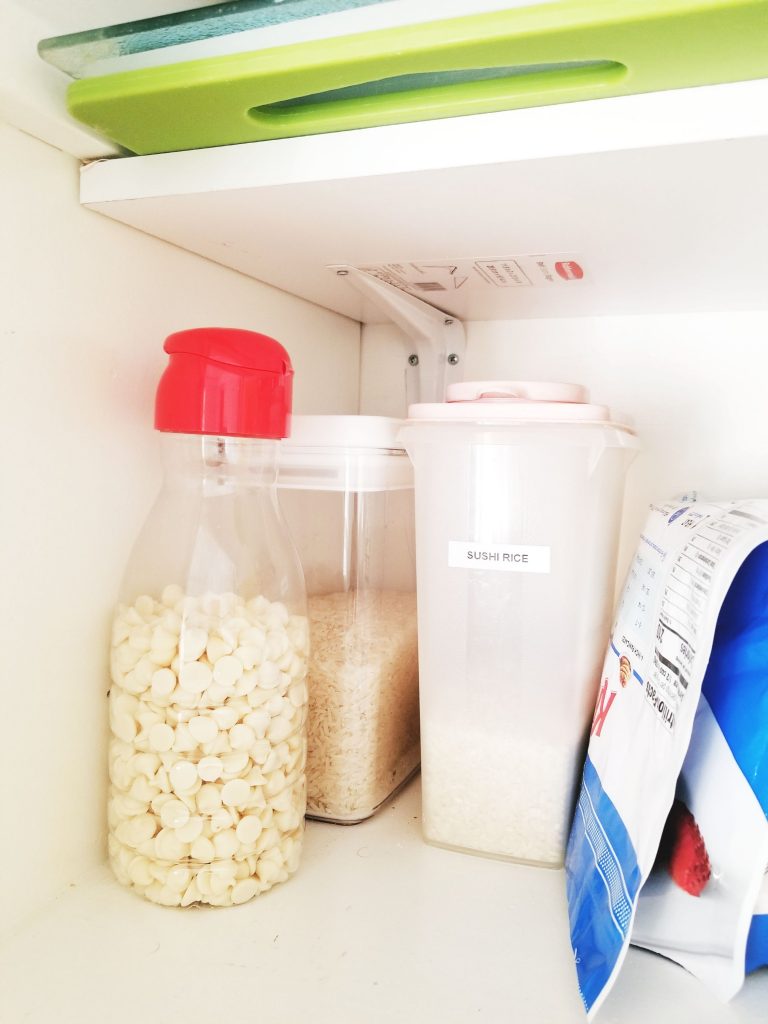
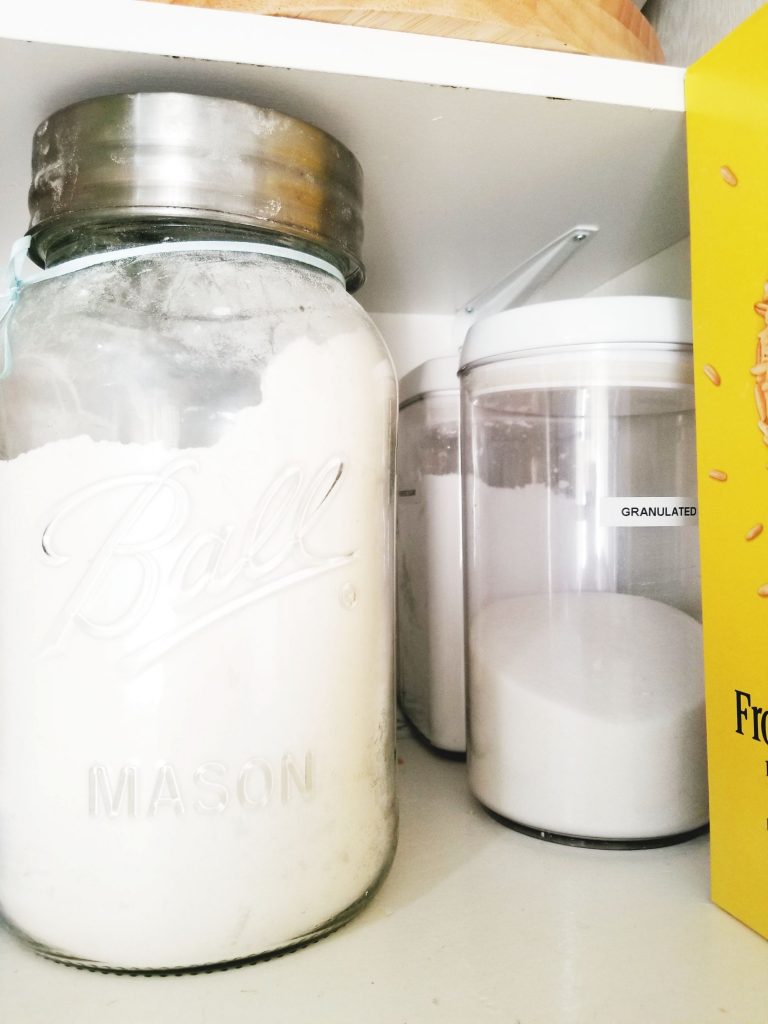
I love these Dollar Tree easy-pour containers for our pasta and snack foods. I can layer 2 rows on our shelf. The locker baskets they have work great for organizing smaller items that can't be taken out. If you can catch them in time, Target sells these metal baskets during back-to-school season in the Dollar Spot area for around $2-$5. I also have vintage Tupperware cereal containers from my mom, airtight containers that I found at Marshall's, and a couple of 128 oz Ball jars (that I'm hoping to replace soon).
For some of the smaller items, I use baskets the I got from the Dollar Tree. I have one for baking, and 2 for small individually packed snacks & drink packets. This helps keep everything grouped together and prevents heavy baskets from being kept in higher places.
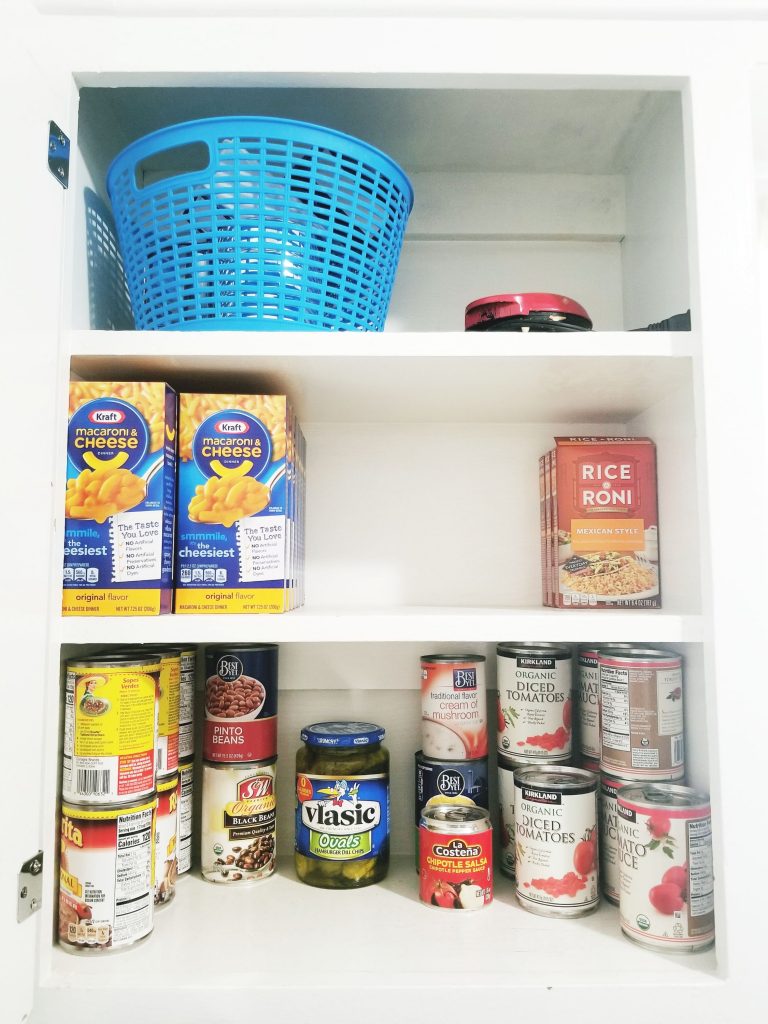
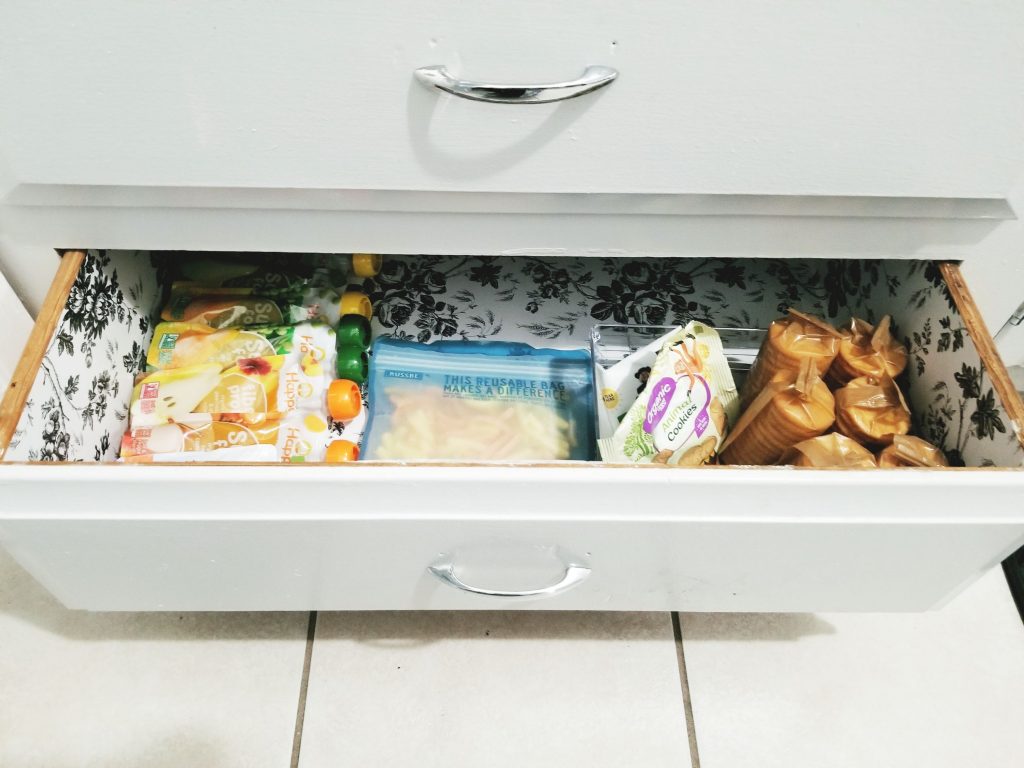
Our cans and multi-box packs of food get placed in a cabinet across from the pantry since we can't make use of the bottom pantry cabinet. We have floor vents in our home, so we can't keep any food down there since the heat would spoil it and the cold would harden it. It sucks since that takes away a bit of usable space, but that's ok. The bottom drawer below it houses all of Miles' all-day snacks. It's something we're testing out with him that seems to be working so far. These are the snacks that he's allowed access to all day without permission.
When you have a converted pantry, organizers become your strongest ally. Invest in risers and shelving first to help create usable layers. If you can use like colored risers and shelving, it helps to blend the background together and make it easier on the eye to find things. If you have a wood cabinet interior, use a wood shelf or cover a white shelf in a wood laminate cover. If you have a gray interior, paint a white shelf gray. Invest in food organizers when and where you can that are appropriate for the size of your shelving. If you already have food containers, try to work your shelving around them.
Have you worked with a converted pantry? What are your favorite food organizers? Let me know in the comments below! I'm always looking for new ideas to improve on my own, and we can all help each other.

