

Custom Naughty and Nice Mugs
Finding an affordable set of mugs that match your unique home decor can be a difficult ordeal. Maybe you don't want a catchy phrase, maybe you prefer simpler designs. Or, maybe you have a color scheme not commonly used.
I ran into that issue with our holiday mugs. Most weren't big enough, or we just didn't like their over-the-top designs. And at $12+ per cup, I'd like to 100% satisfied with my purchase!
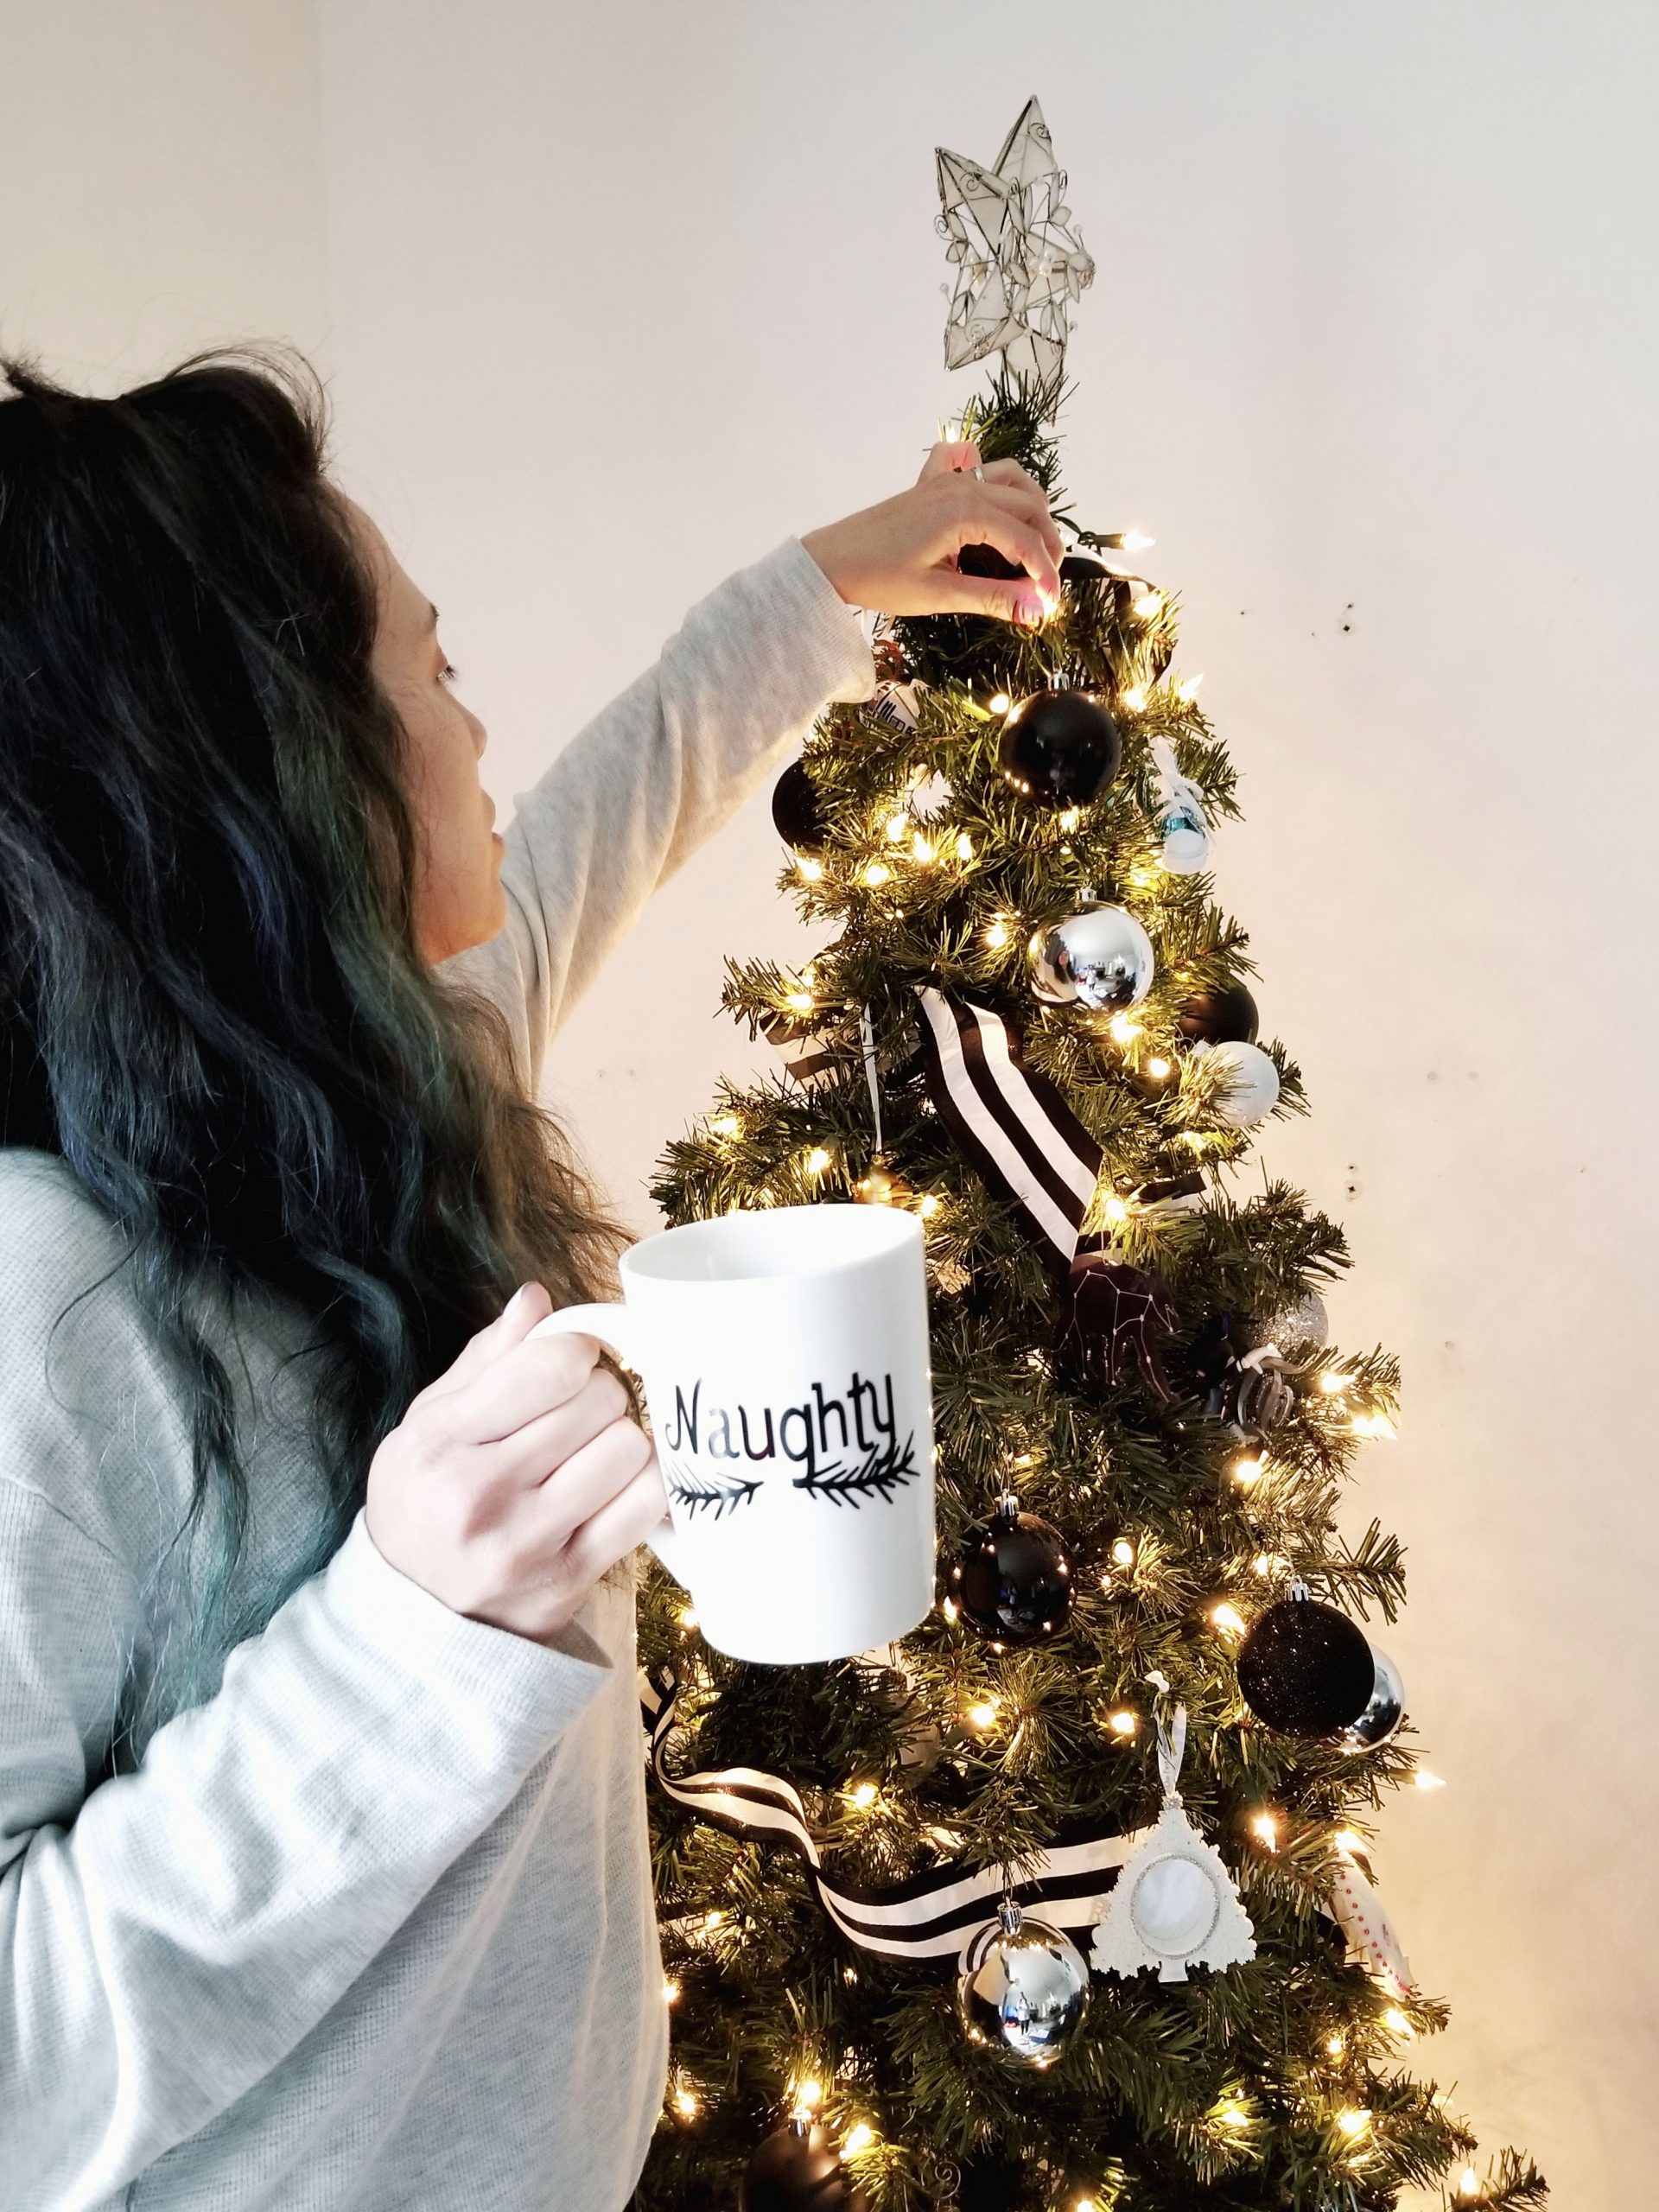
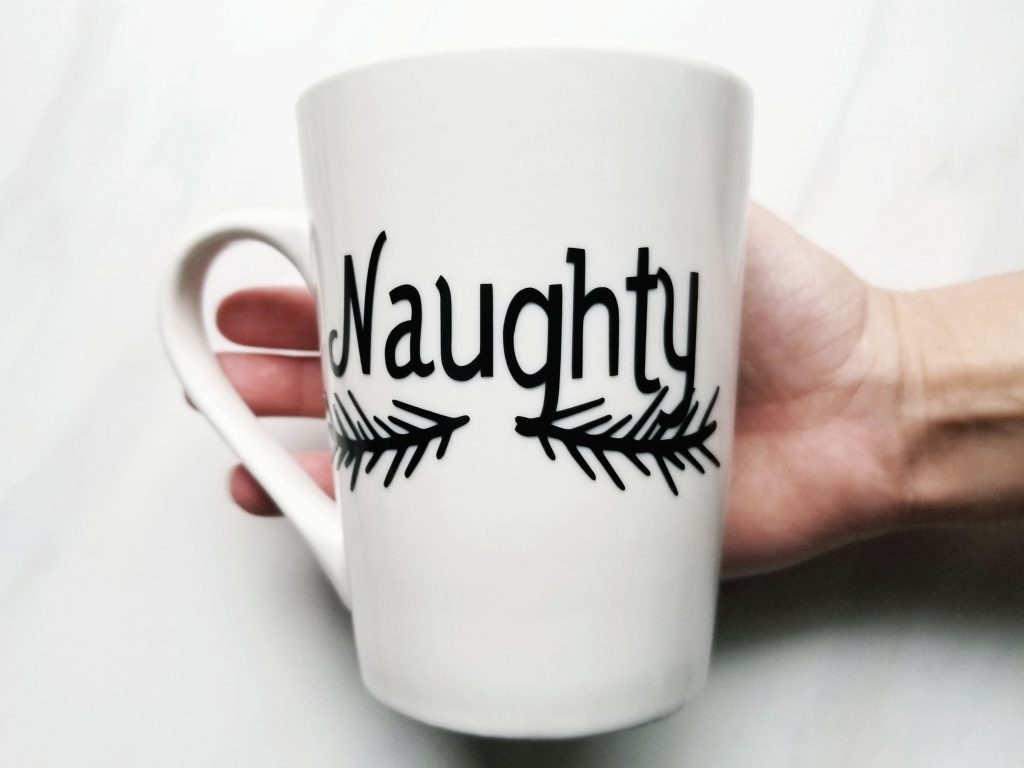
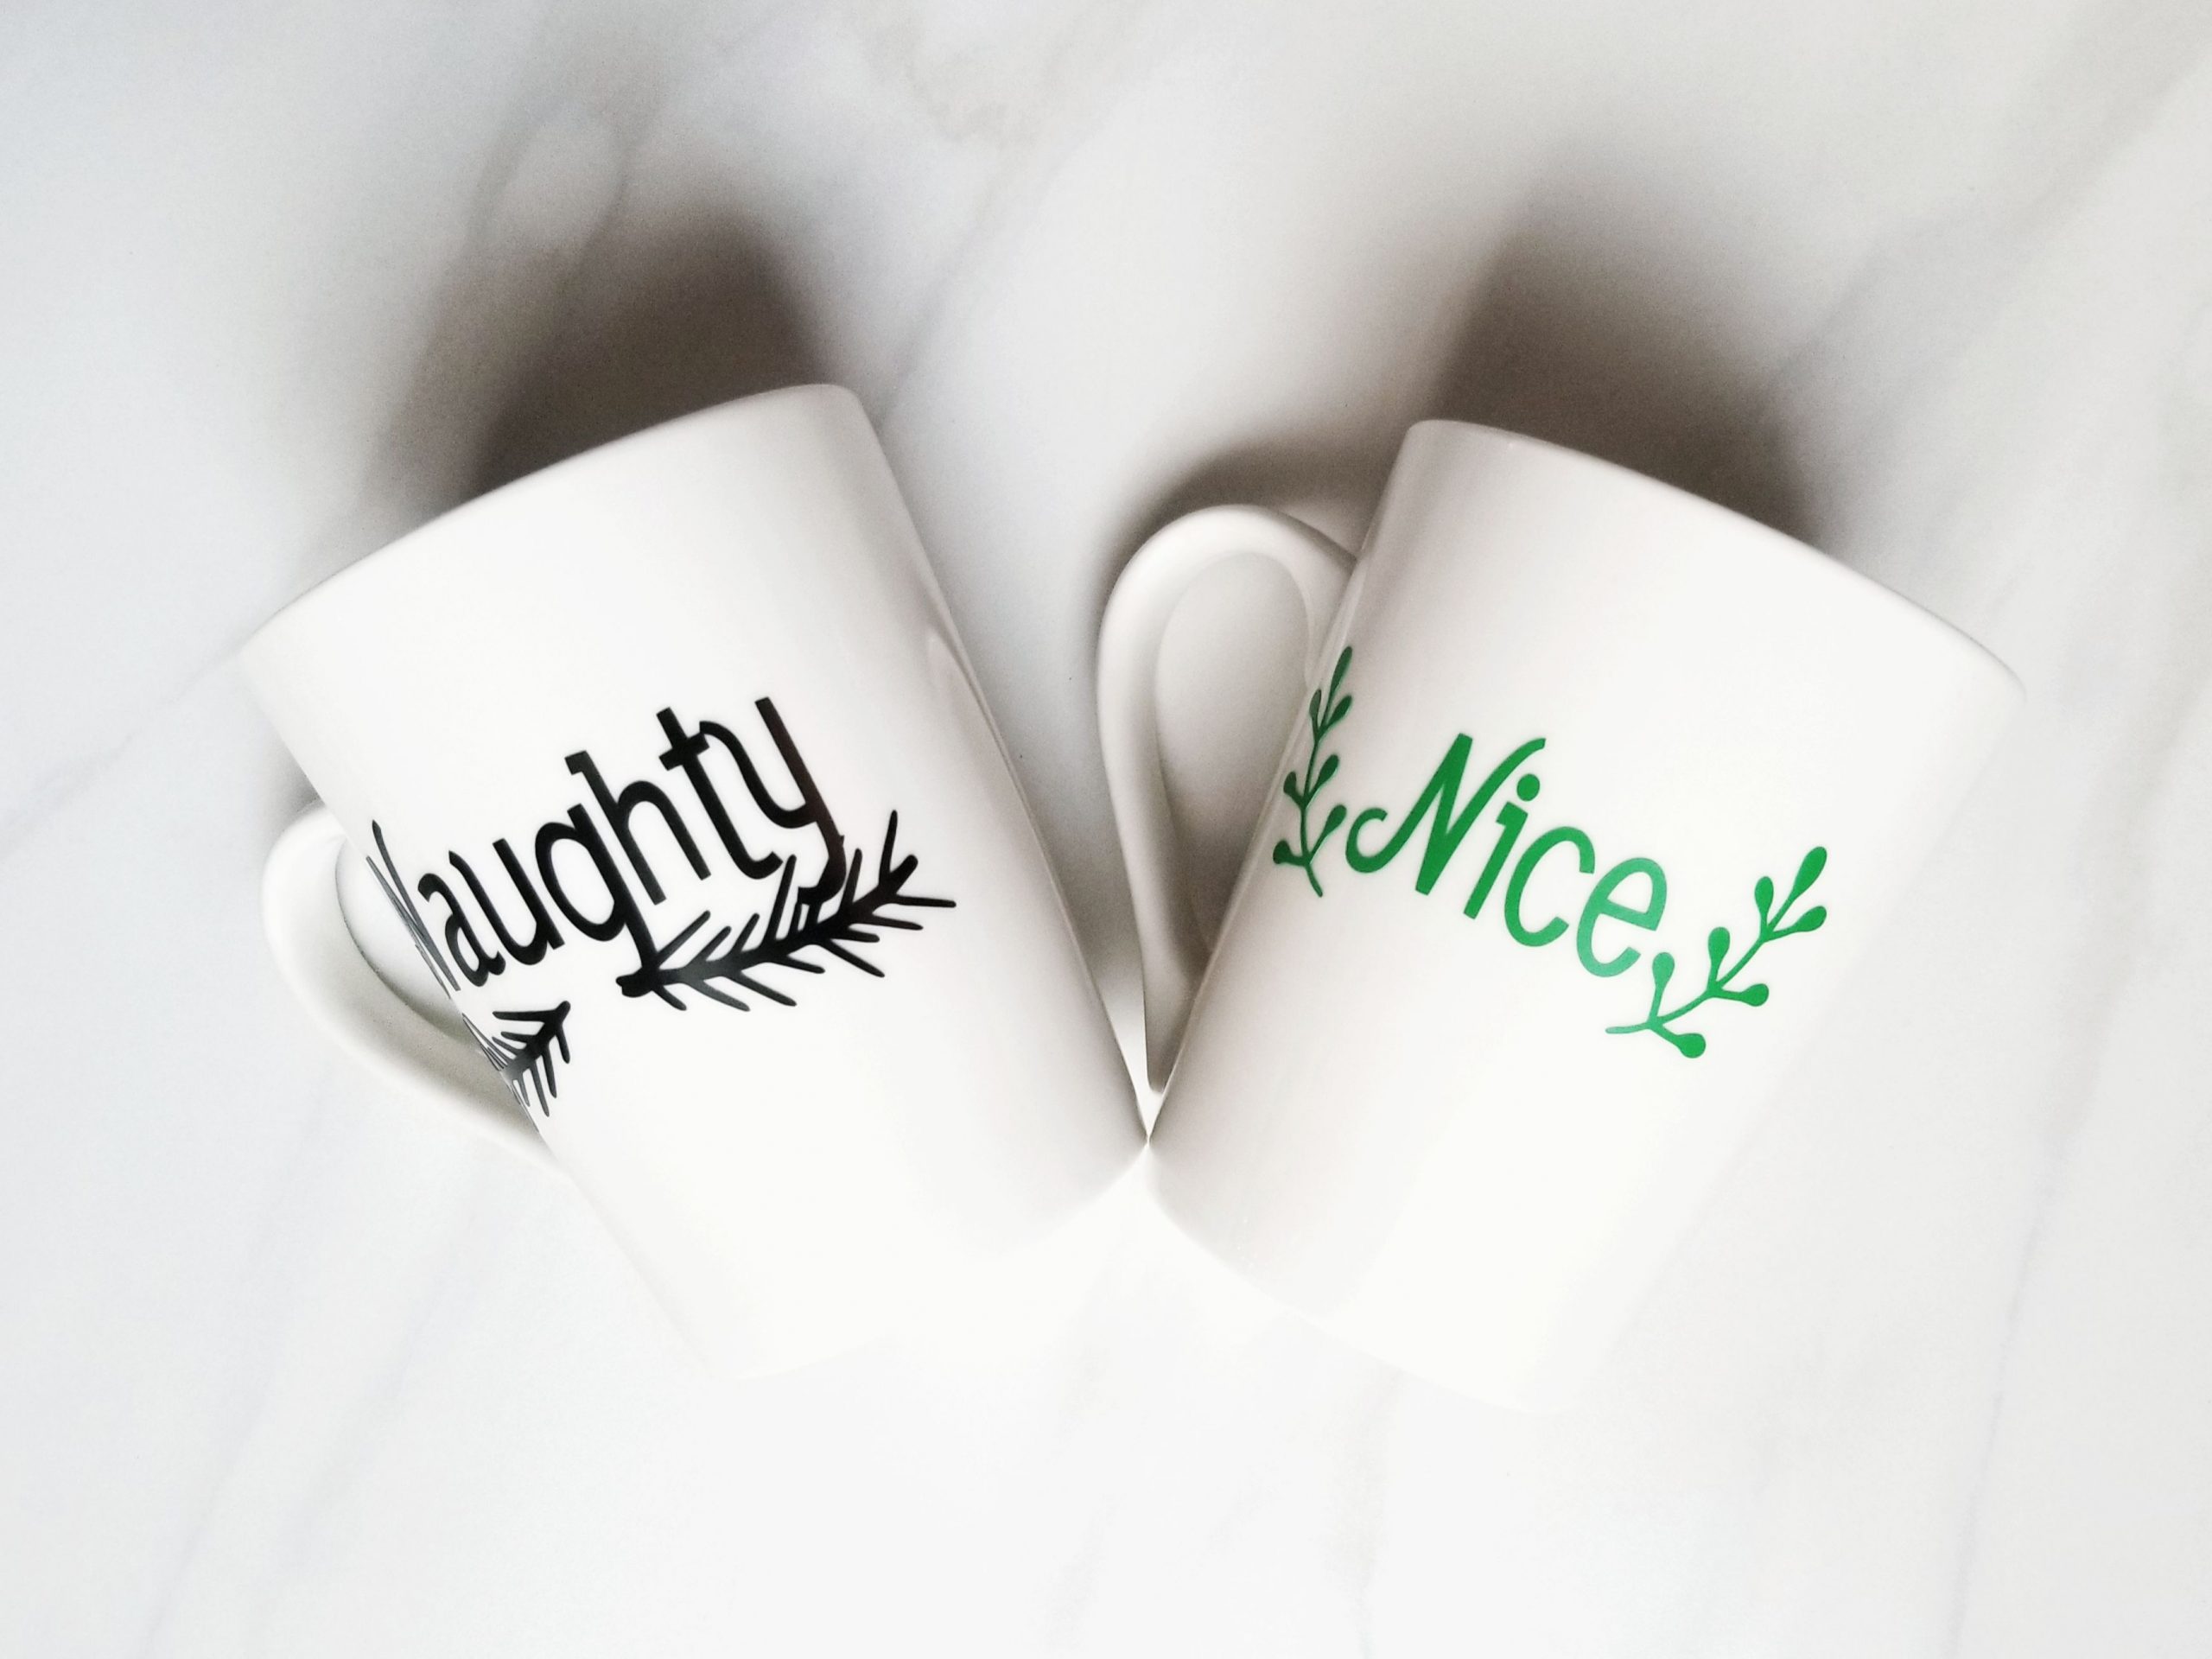
So today, I'm sharing how I made my simple DIY Naughty and Nice mugs using these white stoneware mugs from the Dollar Tree and vinyl I had in my stash! The designs are very simple and just a touch festive. And the best part of all: they're exactly what we wanted!
You can make this design using any font you would like (I recommend visiting dafont.com if you're looking for some great free ones) and a few little flourishes. For the designs I don't feel like making from scratch (like the leaves here) I got to my favorite SVG file site, lovesvg.com. They have a TON of options that can work in almost any software you need it to.
I used my Silhouette Cameo (original because its my tried and true) to cut out the decals. You can use a Cricut, too, or take a visit to Etsy to purchase a custom design from one of the talented creators. A lot of craft stores are also now carrying a few premade designs that are super adorable, too.
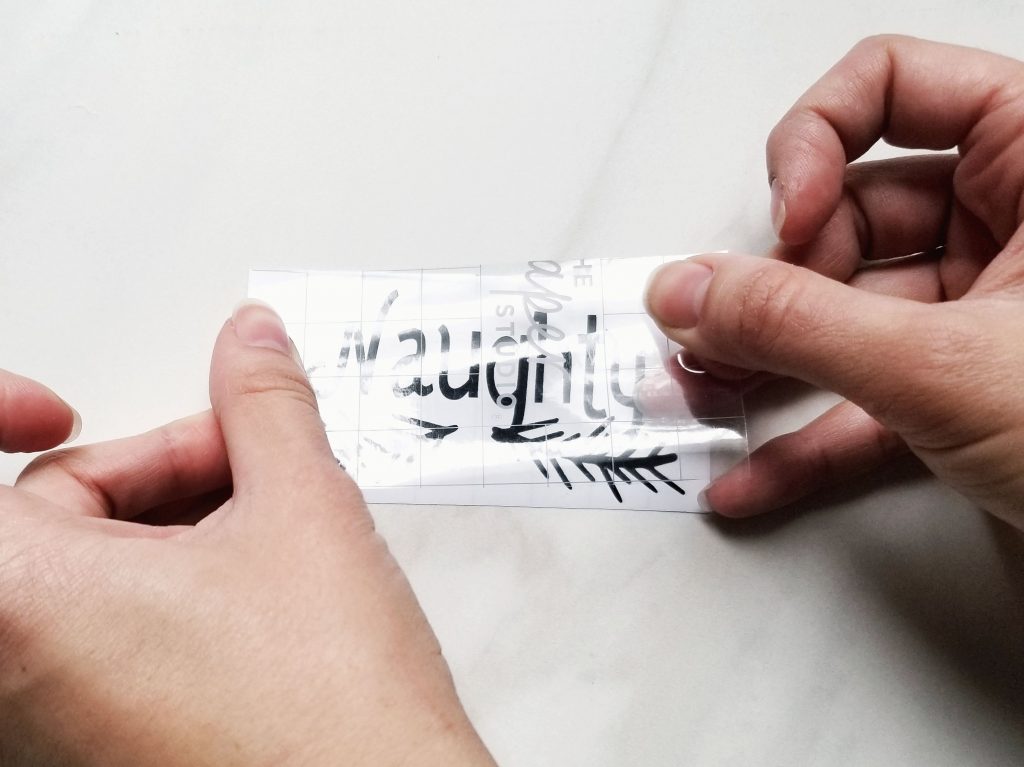
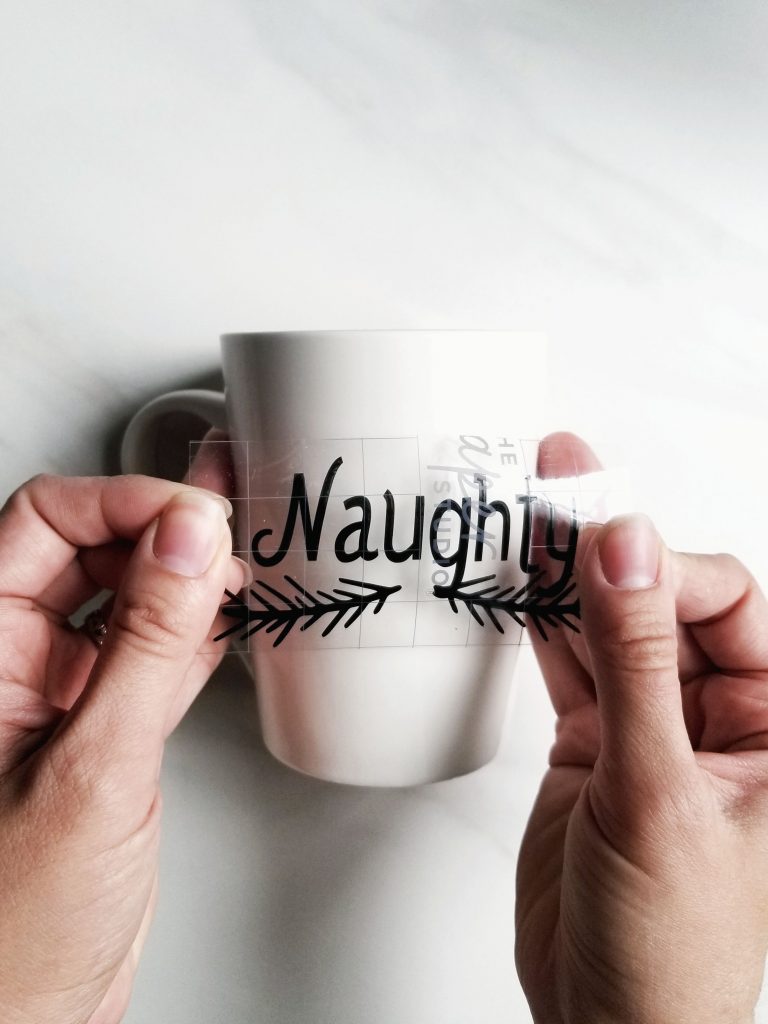
I used clear transfer paper tape from Hobby Lobby to pull the design off and apply with easy to the mugs. This is a must-have for easy applying! Make sure to run your fingers over the vinyl decal to ensure that it's all the way adhered and there you go!
This vinyl says its dishwasher safe so you should be good. But if you're worried still, order some ModPodge Dishwasher coating off Amazon and apply a good layer over the design.
What will you be putting as your design for your mugs? These also make fantastic gifts if you're looking to add a personalized touch to someone's special gift! Let me know how you'll be utilizing this DIY in the comments below!

