
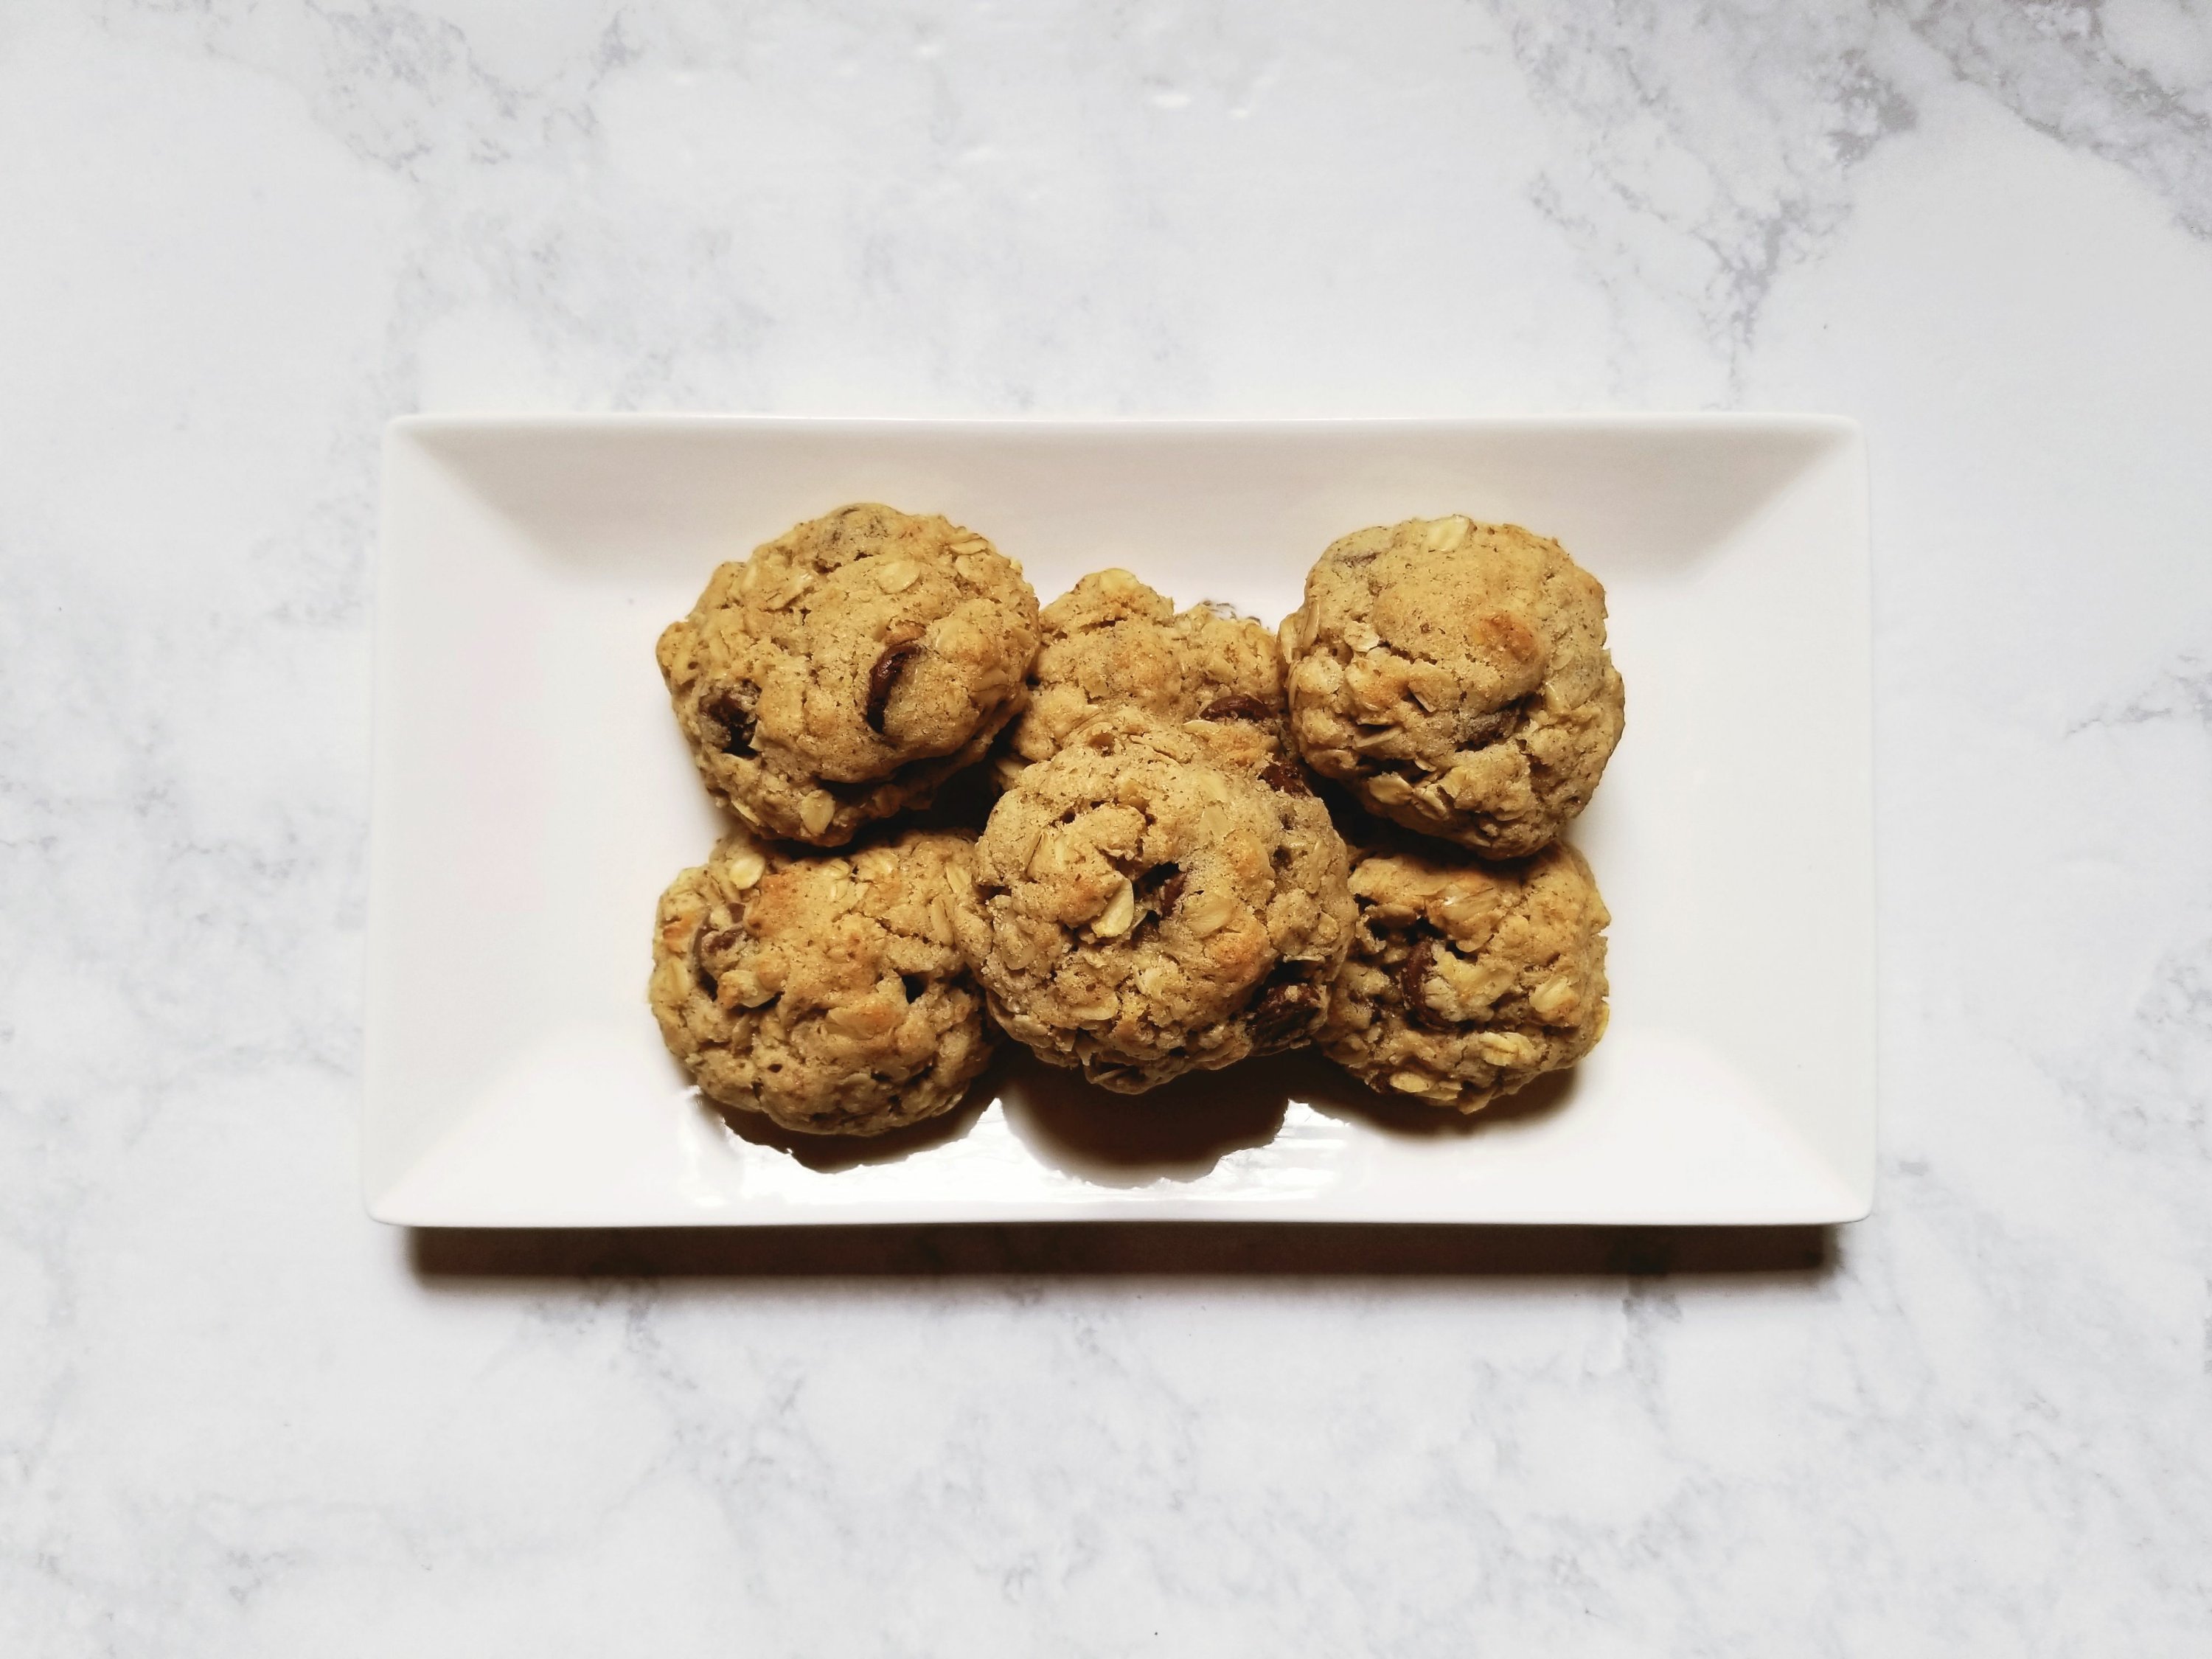
Lactation Cookies - Two Ways
When asking me if I would be breastfeeding my son, my mom revealed to me that she actually had a hard time producing enough nutritious milk when she breastfed me. After speaking with and hearing about the struggles of other mamas, I knew that I had to try and be proactive in my plan to breastfeed.
I would like to first break to say that I am a FIRM believer that FED is best. After discussing it with my husband in detail while still pregnant, we both agreed that if we had to switch to formula to make sure he was getting the nutrition he needs then so be it. Ultimately, his health was by far the most important. That being said, we still wanted to try our hardest to do breastfeeding first.
I had originally found this recipe by How Sweet Eats and modified slightly to better accommodate my accessibility to ingredients and my budget. I've linked all the ingredients down below to the items I used.
After making the initial batch to see if I would even enjoy the taste of them, I definitely noticed a tiny change in my... well, for lack of better and more eloquent terms, nipple discharge. I didn't want to have too much of these since I've read mixed opinions of eating them while still pregnant, but needed to know which was superior: with peanut butter or without peanut butter.
Honestly, I still couldn't tell you, but I am highly leaning toward the peanut butter version. In fact, after telling another new mommy friend of mine about my cookie recipe she immediately asked for her own batch! Always nice when you can share the love!
If you make these cookies, be sure to tag @withlovejoey on Instagram, or link in the comments below! I would love to see how your cookies came out!
Lactation Cookies - Two Ways
Ingredients
Dry Ingredients
- 3 cups old-fashioned oats
- 1.5 cups organic unbleached all-purpose flour
- 1.5 cups organic sugar
- 1 cup dark chocolate chips 1.25 if using minis
- 5 tbsp brewer’s yeast powder
- 3 tbsp ground (or milled) flaxseed
- .5 tsp baking powder
- .5 tsp baking soda
- .5 tsp ground cinnamon
- .25 tsp salt
Wet Ingredients
- 12 tbsp softened butter
- 4 tbsp organic raw extra virgin coconut oil
- 1 egg
- 1 egg yoke
- 2 tsp vanilla extract (I usually pour more)
Optional
- 2.5 tbsp honey peanut butter
Instructions
- In a stand mixer or a large bowl, mix together all your wet ingredients. Be sure that your coconut oil isn’t hard. I made the mistake of trying to carve out the oil after just getting it in the mail and ended up with coconut oil chunks in my cookie batter. To be fair, I had never used coconut oil before this recipe for anything and wasn’t aware of this mistake until the next day. Everything should be creamy and smooth.
- Next, add your sugar, yeast, flaxseed, baking soda, baking powder, salt and cinnamon. Once well combined, slowly add in your flour 1/4 to 1/2 cup at a time. Add the oats next. If you’re using a stand mixer, lower it to the slowest possible speed you can and don’t let it over mix. Lastly, add in your chocolate chips. I recommend only letting your mixer do a few rounds before going in with your hands or a large spoon to finish your mixing. The amount of batter this makes can push a lot of the batter up to the top and create a potential mess if you’re not careful.
- Bake the cookies at 375 degrees F for about 10-14 minutes, depending on your oven. Depending on the size of your scoops, you should be able to get anywhere from 18-24 cookies from one batch. I recommend shooting for 21 cookies so you can have one a day for 3 weeks.
- Let cookies cool completely before moving into freezer-safe containers/ziplock bags and freezing until use. I recommend eating the cookies no later than within 7 days of defrosting.
Notes
- Old-Fashioned Oats
- Organic All-Purpose Flour
- Organic Granulated Sugar
- Dark Chocolate Morsels
- Brewer's Yeast Powder
- Raw Extra Virgin Coconut Oil
- Honey Peanut Butter
- Baking Powder
- Baking Soda
- Ground Cinnamon
- Vanilla Extract (Pure or Imitation) - note: pure vanilla extra contains alcohol and some stores card now
This post contains affiliate links for products that come at no additional cost to you, but a small percentage of the sale does go towards supporting the blog, helping it be sustained and grow. All opinions are of my own and honest.

